Scraping Your Own Popcorn Ceilings – It’s a Messy Job, but Someone’s Gotta Do It!
Many of you guessed correctly that I would be scraping my own popcorn ceilings.
It wasn’t hard to do, but it also isn’t for the bad neck or bad back sufferers. Normally I hire out this job — but because our laundry room is so small — it seemed silly to pay someone else to do the work. Now that it is done, I’m really glad I decided to tackle this project. The sense of accomplishment and the resulting smooth ceiling is HUGE!
IMPORTANT NOTE: If you live in a house that was built around 1978, take several small samples of your ceiling and test it for asbestos before you begin. Even though the cutoff date for asbestos in popcorn texture was 1978, the inventory could still be bought from store shelves well into the 1980’s. Do yourself and your family a favor, If you have asbestos popcorn contact a professional who is trained in asbestos removal to handle the job. If you want to learn more, you can read more about our experience with asbestos remediation.
Materials:
- Thin disposable drop cloths
- Painter’s tape
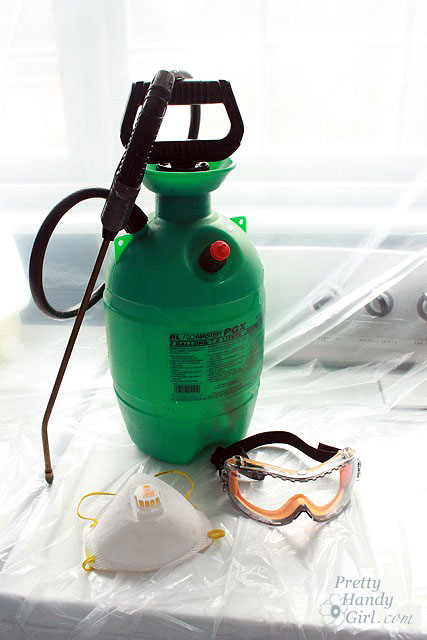
- Garden style sprayer (much better than a squirt bottle)
- Full goggle eye protection
- Dust mask
- Spackle knife
- Joint compound (or spackle)
- Big sponge (car wash sponge is a good size)
- Sandpaper (180 grit or higher)
- Hand sanding block
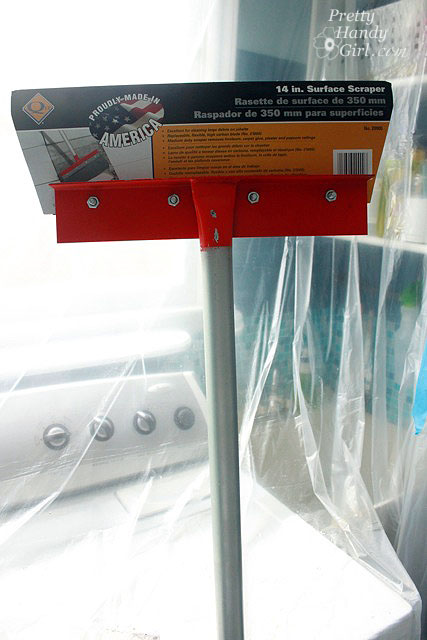
- optional: floor scraper
(I’ve included affiliate links for your convenience. I earn a small percentage from a purchase using these links. There is no additional cost to you. You can read more about affiliate links here.)
Difficulty: Medium Hard
The scraping is relatively easy if you have a popcorn ceiling that hasn’t been painted numerous times. The hard part is looking up for an hour and also finessing the joint compound to look smooth. But, if you can ice a cake, you can do this!
Preparation:
Remove any light fixtures (Be sure to turn off the power to any light fixture before removing it.) Put the wire nuts back on the exposed wires and cover the fixture box with a plastic and tape.
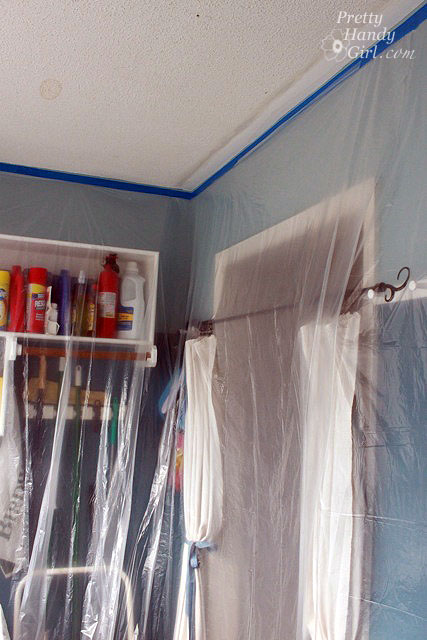
You must — I repeat — you MUST tarp off the entire room. This project is messy and in the end it will be so much easier to roll up the tarp and throw away the removed popcorn.
Tape the plastic at the very top of the walls. Tape any seams in the overlapping sheets of plastic.
Removing the Popcorn:
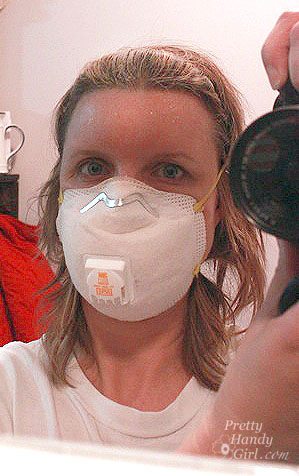
Fill the garden sprayer with water. Put on your dust mask and eye goggles. Spray the entire ceiling. Throughly wet every square inch.
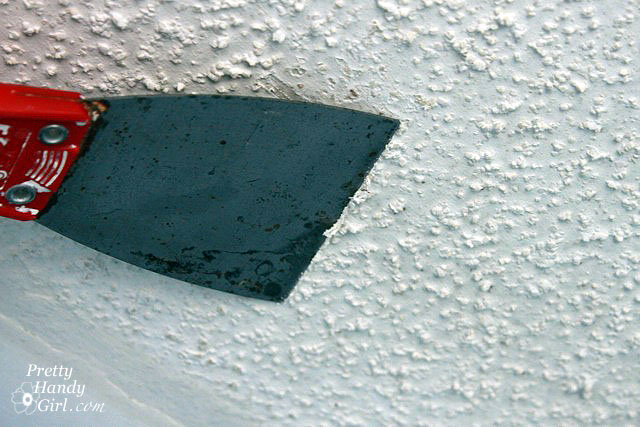
Allow the water to soak into the popcorn. After 15 minutes, spray the entire ceiling again. Wait a few minutes and then test an area to see if the popcorn will come off. When it’s ready, that stuff will just slide right off as you push the spackle knife along the ceiling.
I bought this floor scraper because my friend Sandra (Sawdust Girl) mentioned that it might make the job easier.
Once I tested the corner with the spackle knife, I got so excited by how easy it was coming off that I never used the scraper. If I were to scrape a larger room, I would definitely use the floor scraper next time.
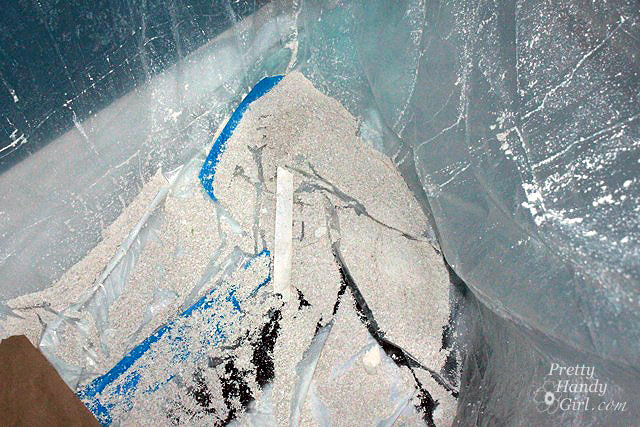
All the popcorn will fall into your plastic tarping. Talk about seeing the fruits of your labor:
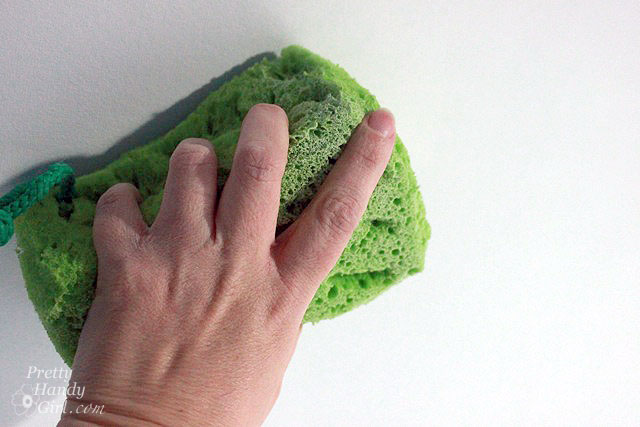
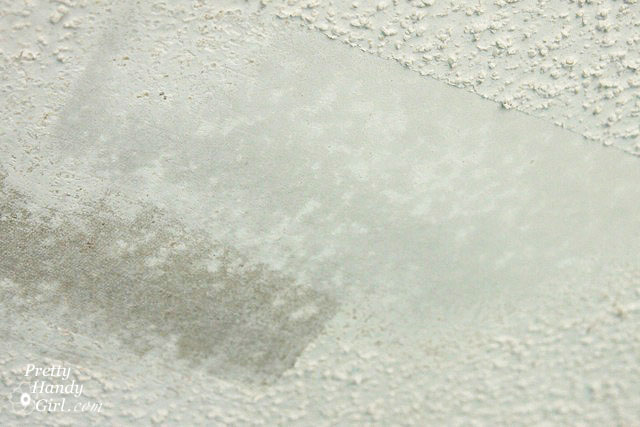
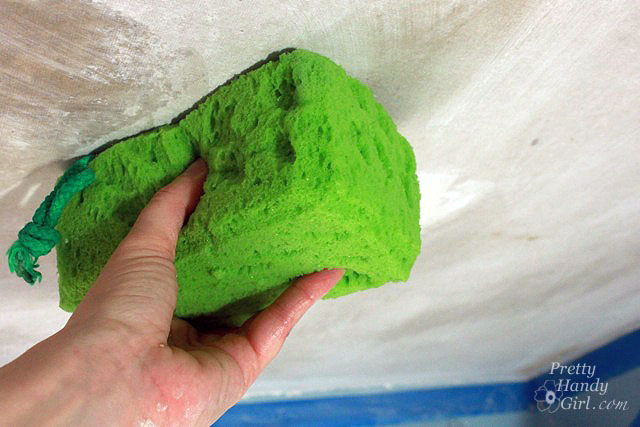
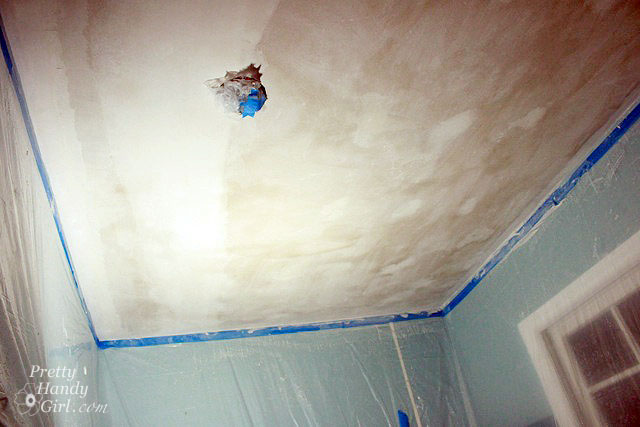
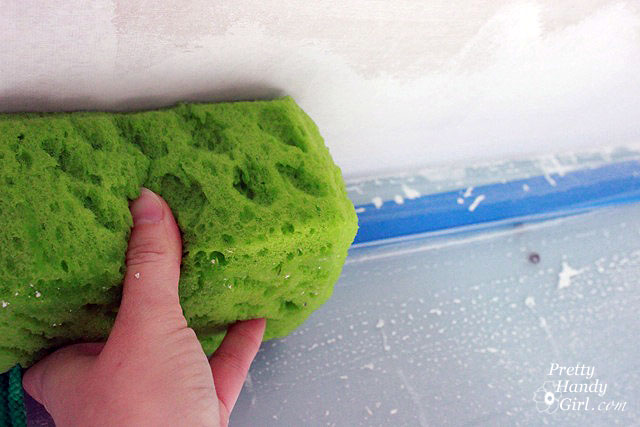
Once all the popcorn has been sloughed off, take a damp sponge and wipe off any remaining pieces and the film that is left. Be careful not to get the drywall paper too wet or it will rip.
Inspect the ceiling for any gouges, holes, or imperfections. Use spackle to fill any of them.
Spreading joint compound (or spackle) over large areas that need smoothing:
- Dip spackle knife into joint compound.
- Spread the compound over imperfections in the drywall.
- Continue spreading the joint compound over the drywall in the same direction until the entire “line” has been covered.
- Wipe off excess joint compound back into the bucket. Gently drag the spackling knife along the joint compound perpendicular to the direction that it was applied. Resist dragging the knife over a 2nd time. It is okay if you have some raised sections, they will sand down. Holes and dents in the joint compound are no good and you will need to spread more onto the ceiling.
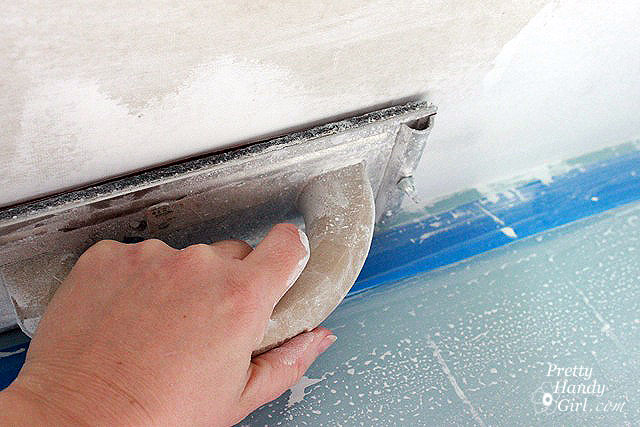
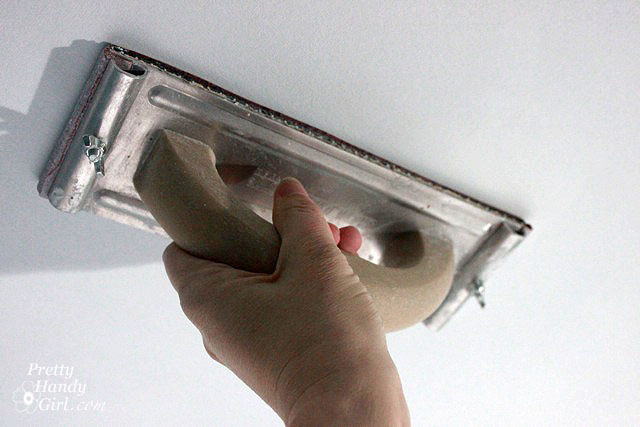
Allow the spackle to dry and sand it smooth with the sandpaper.
Wipe off the ceiling with a damp sponge.
Prime and Paint the Ceiling:
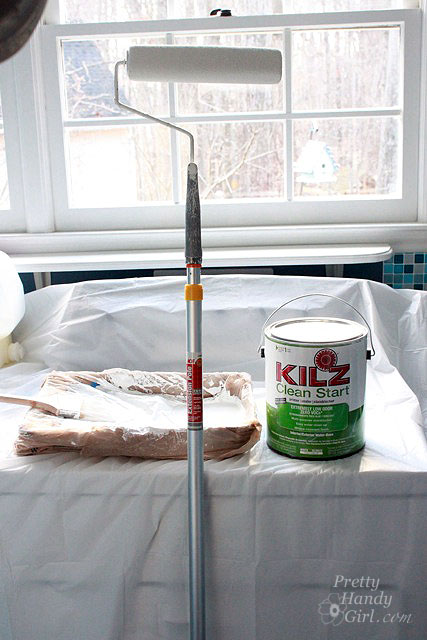
Using a paint roller on an extendable handle, roll primer onto the entire ceiling.
Allow the primer to dry.
Lightly sand the ceiling to knock down any imperfections.
Wipe off any sanding dust with a damp sponge.
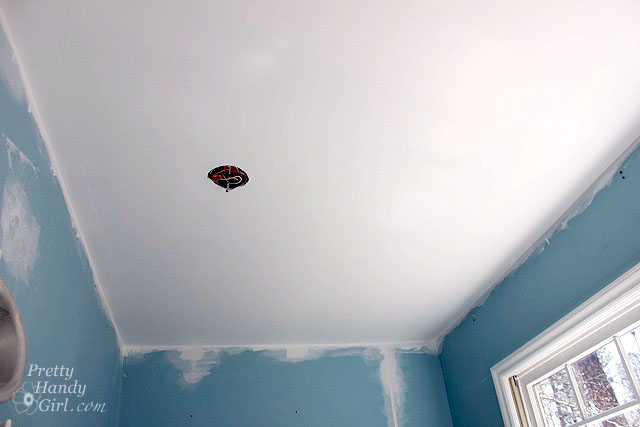
Paint the ceiling with two coats of a flat paint in your color choice. If you want a more thorough tutorial on painting ceilings, read this post.
Personally, I like using an ultra bright flat paint like Valspar. It has the best light reflection ability.
After all your hard work, pat yourself on the back and then carefully roll up the tarps and take out the trash. That will be one heavy bag!
Coming up next week: Installing the FlowWall System and a giveaway! You don’t want to miss it.
 P.s. Thank you for all your prayers and kind words while my son was sick. He is finally feeling better and went back to school yesterday after three weeks. We are fairly certain that he had norovirus and it just sent his system into a tailspin. Thank goodness for hospitals and modern medicine!






I agree with you Doreen. The blog gives great knowledge regarding popcorn ceilings removal. Even I was looking for a blog like this!!
I am so happy I stopped and read your post about this sort of project. I am helping my mom with projects in her 1973 home w/popcorn ceilings in every room; Thank you for pointing out it is not good for bad backs and joints….lol. I will be hiring this portion of the job out now.
We are getting ready to tackle removing popcorn ceiling in our entire home prior to moving in. It is about 2550 sq foot. The ceilings have been painted before, and we have heard that makes it harder to remove. I know there are many variables that factor in time, but how many sq feet was your room and how long did it take you? Thanks!! Enjoyed your post!
EXACTLY WHAT I WANTED TO DO!!! Thank you so much! Glad I found you! What If I had already painted the ceiling with a product called “KILZ”? How do you think that may come off? Where can I have my ceiling checked for asbestos? I am grateful! Jeff
It may give you some grief since you sealed it with Kilz, but once you get the moisture under the texture, it should hopefully release for you. Regarding Asbestos testing labs, do a google search for one in your area. Or there are plenty that you can mail samples to.
Very curious if anyone has scraped a popcorn ceiling that had radiant heat?? We had individual thermostats in each room for this radiant heat. It has long been disconnected. Now I want smooth ceilings. Can this be done via scraping??? Any suggestions??
I haven’t. I’m not sure I’ve seen radiant heat strips in a ceiling. Maybe test a corner?
Just saw this video. Do you think this would work? I have several rooms I want to do.
http://www.littlethings.com/popcorn-ceiling-vcom/?utm_source=kras&utm_medium=Facebook&utm_campaign=hacks
Looks like a clever idea. I’d say try it! Then let me know how it worked for you ;-).
Nice Blog. You exactly describe how to scrap a popcorn ceiling with nice and needful images. The blog content is useful for all.
This is an excellent article on removing these nasty ceilings! We actually just launched a new tool that eliminates the mess of a popcorn ceiling removal. Check it out! Below is a link to our website as well as a link to our product demo video!
https://www.youtube.com/watch?v=KTqzxltNako
http://www.pcrbucket.com
We have a contract on a house that will need the ceilings in the entire house scraped. One YouTube video showed the guy using his paint sprayer to wet the ceilings very quickly although I wonder that may be too much water.
We are concerned about the quality of the sheet rock preparation under the popcorn and have debated simply running a blade across the popcorn to flatten it and then paint it. Our next door neighbor had this done and it doesn’t look too bad.
Assuming the inspection and contract go through we should be attacking the ceilings in early April.
I guess that depends on how fine a spray you have going through the paint sprayer. It could work well, especially in small sections. Best of luck to you.
Thanks for this post! In the last 8 months or so I’ve taken down the popcorn ceiling in 2 bedrooms and I just did our guest bath. With the first room I was redoing EVERYTHING so I didn’t bother with the plastic on the walls. I did with the second bedroom and had a bit of an issue with the tape falling down. But today when I did the bathroom, the second I sprayed the plastic came falling down. I used the expensive 3m tape AND some duct tape on a few spots that the 3m wasn’t sticking. I ended up so mad I just scraped it and made a huge mess in the bathroom.
What tape do you use that stays on when getting damp? I plan on doing our master bedroom next and really don’t want to worry about it.
Hey PHG! I am a pretty handy senior and I just scraped 3 rooms of popcorn, oh, how I hate that stuff! I sprayed the ceiling using a small spray bottle, so that I didn’t over- soak the ceiling and scraped with a flexible putty knife. I held the lid of a large garbage pail in my left hand to catch the popcorn instead of letting it fall to the floor. That insured that I didn’t tackle too big of an area at one time and made my clean up much easier as I wasn’t tracking the stuff all over with my feet, bonus was, I could protect my hair and eyes from the falling popcorn!