Leen the Graphics Queen and Installing Wall Vinyl
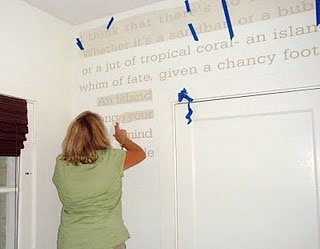
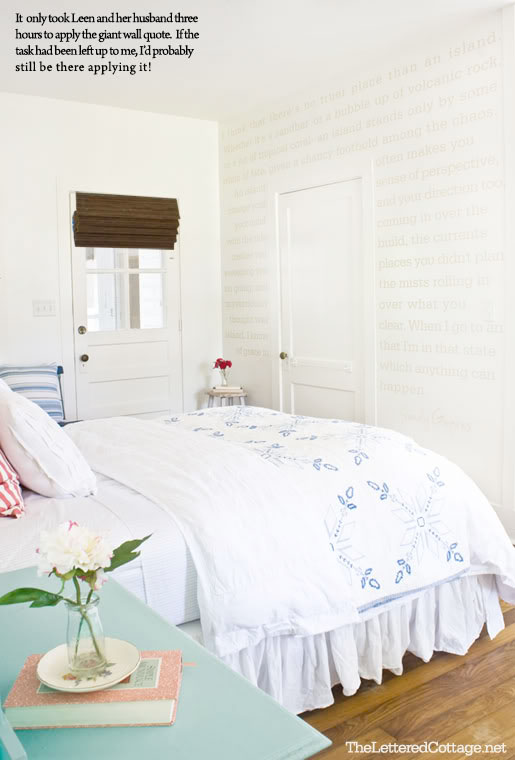
I had the opportunity to meet Leen the Graphics Queen last week when she, her husband and her two sweet boys were in town. We met at Monkey Joe’s (an inflatable playground) and our boys had a fun and energetic afternoon playing together. If you haven’t heard of Leen, she is widely known in the decorating blog circles as the go-to gal for wall decals and vinyl. She helped Layla & Kevin install an ENTIRE wall of words for a beach cottage makeover.
Beautiful, don’t you think?!
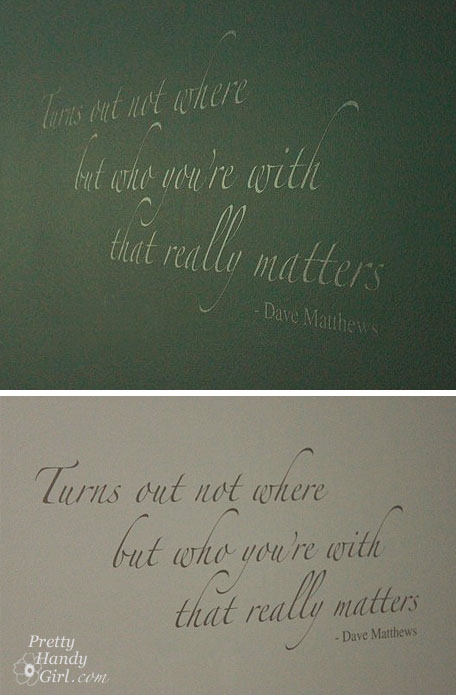
I asked Leen to make me a custom quote for our bedroom wall, the one where I had agonized over what phrase to put. After months of thinking about quotes, one came to me and I knew it was the quote for us. You see Pretty Handy Guy and I are HUGE Dave Matthews Band fans, and this lyric has special meaning to us:
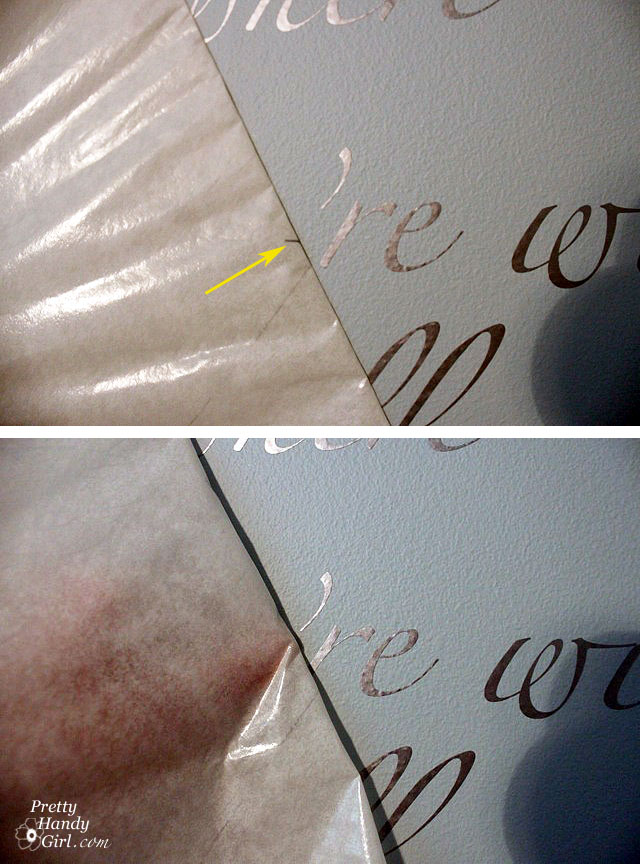
Leen sent me a few samples of vinyl colors to help me decide. I fell in love with the silver vinyl which changes color depending on the lighting and where you are standing in the room (as shown above.)
If you’ve never installed vinyl before, it isn’t terribly difficult, but it does help to know a few tricks of the trade. Here is how I learned to install vinyl (back in the days when I worked for the sign and banner company):
Materials:
(I’ve included affiliate links for your convenience. I earn a small percentage from a purchase using these links. There is no additional cost to you. You can read more about affiliate links here.)
- Wall decal
- Level
- Pencil with eraser
- Painter’s tape
- Old gift card
- Spray bottle filled with water
Installing a Wall Quote:
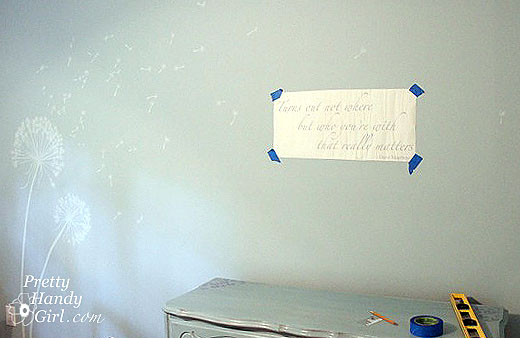
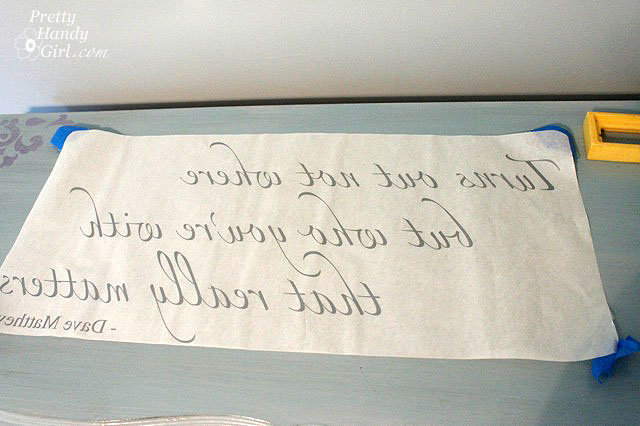
Start by hanging your vinyl (front, lettering, backing and all) on the wall using painter’s tape to hold it. Adjust the location until you like where the decal will rest.
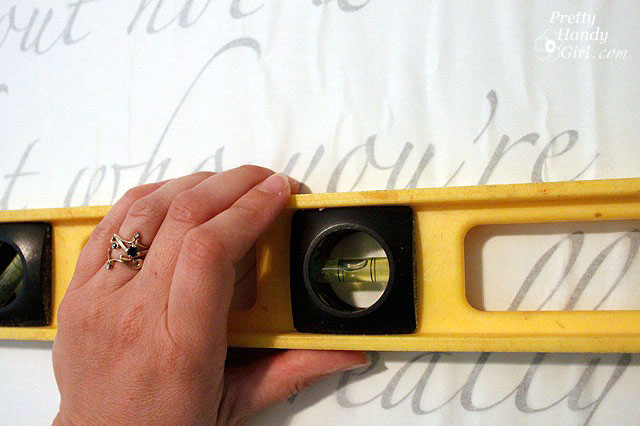
Set a level up against the bottom of the middle line of text. Adjust the placement of your decal until the type is level.
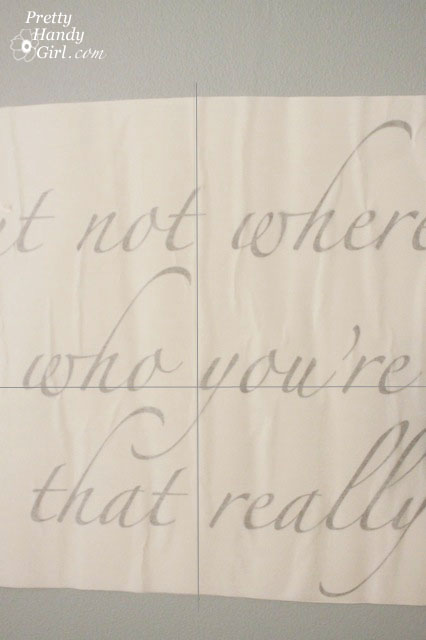
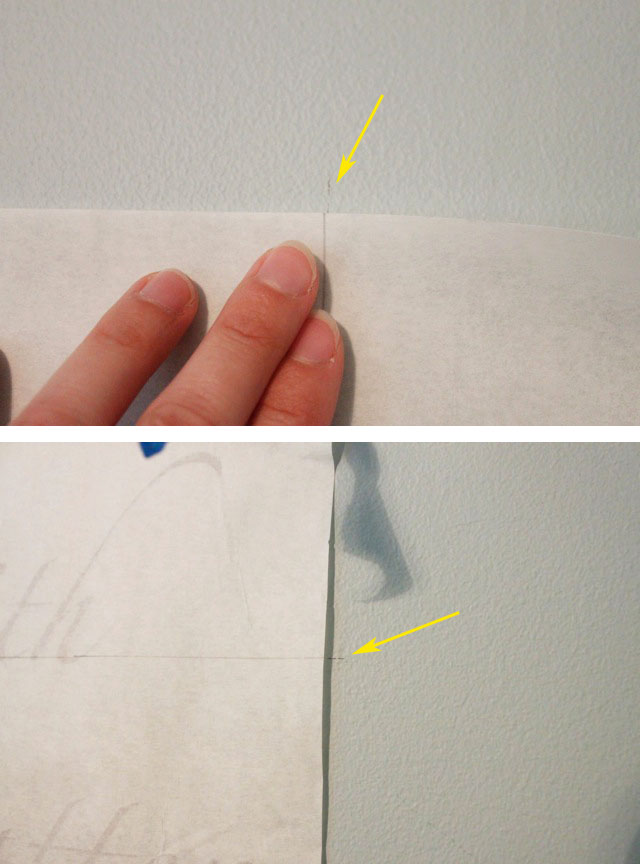
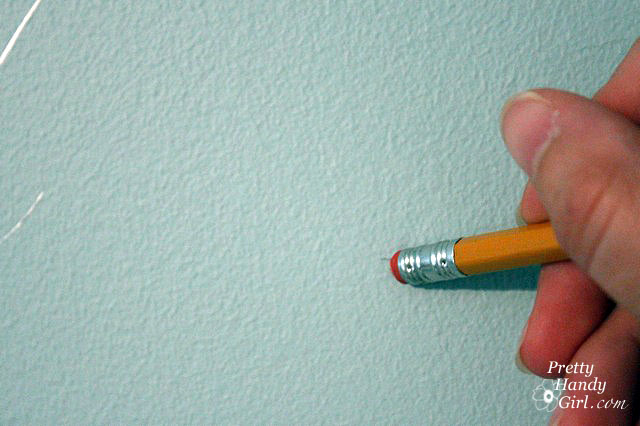
Draw a level horizontal line across the paper and let the line extend slightly onto the wall. Make a vertical line that is plumb (level up and down) and be sure to extend your line slightly off the paper and onto the wall.
You should now have intersecting lines that run vertical and horizontal on your wall graphic and four small tick marks extending onto the wall.
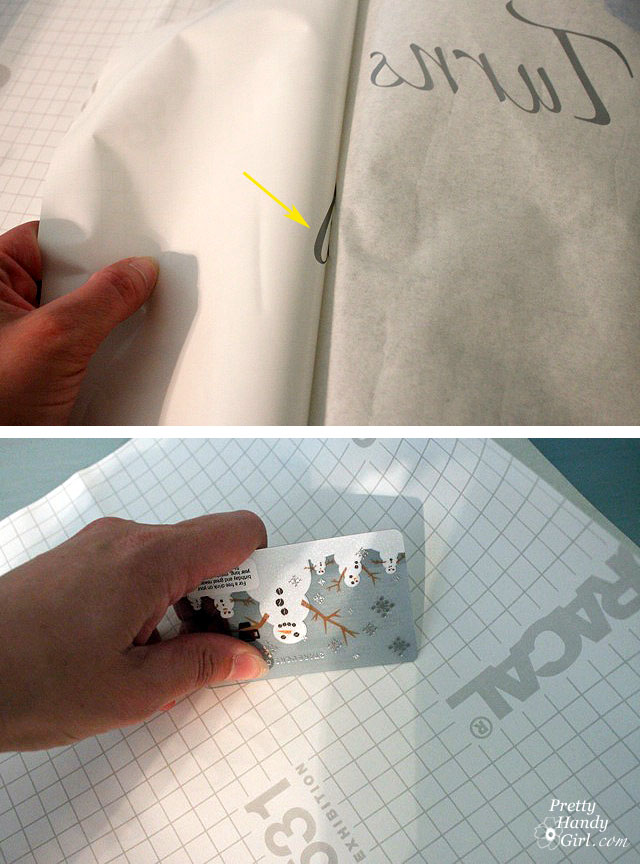
Remove your wall quote and lay it on a flat surface. Begin to remove the opaque shiny backing paper (it may have a grid or lettering on it.) Your decal should stick to the clear semi-transparent sticky sheet that was on top of the quote. If some letters come up, simply lay the paper back down and rub it firmly with the gift card and try again.
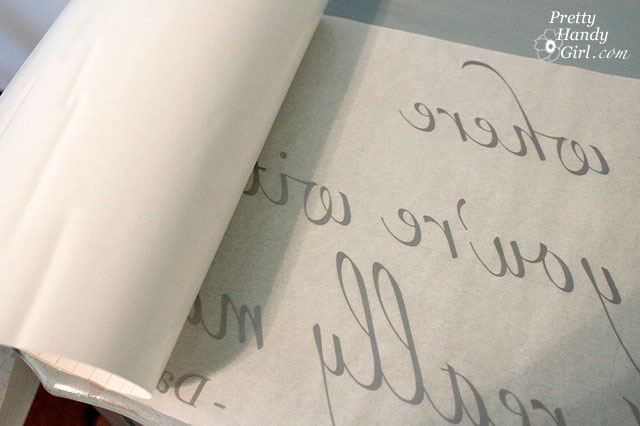
Continue peeling off the backing paper.
Be careful not to touch any of the lettering (or they can stick to your fingers and won’t remain in proper placement.)
You are now looking at your lettering in reverse on a sticky sheet. Good job, the hard part is over. Well, almost over.
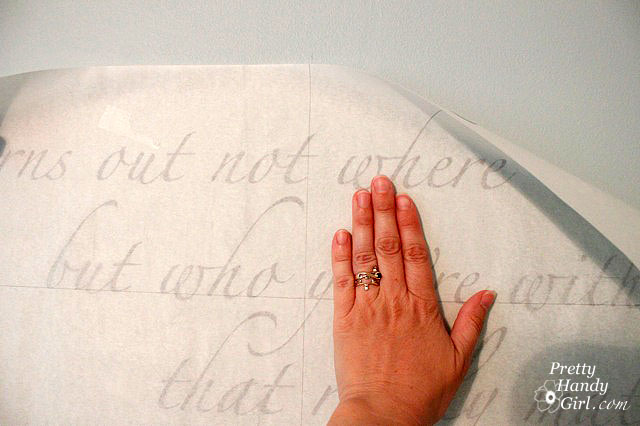
Carefully pick up your quote and turn it so the sticky side faces your wall. Line up your lines with the tick marks still on the wall being VERY CAREFUL not to rest the sticky paper onto the wall. (If it accidentally sticks, carefully pull it off being sure that the letters come off with the sticky paper.)
When all four tick marks are lined up with your horizontal and vertical lines, gently press your decal down. Starting from the center, rub your hand from the center out to the edges to adhere the quote and the sticky paper to your wall.
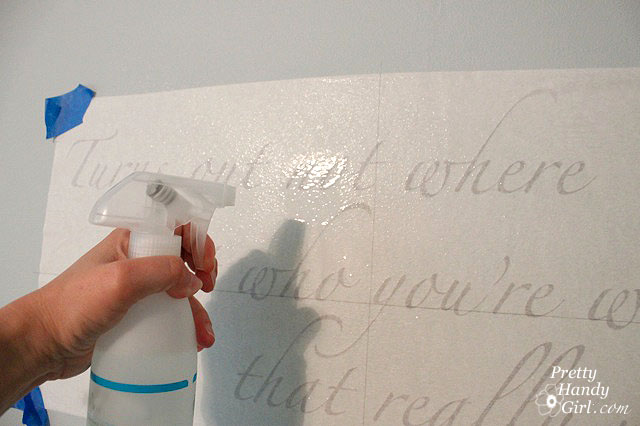
Lightly spray water all over the sticky paper. This will loosen the sticky paper and release the vinyl decal.
Use your gift card to burnish (sign shop lingo) the letters onto the wall. Use firm pressure and be sure to rub all the letters with the card.
Carefully begin to peel the sticky paper off the wall. If the letters start to peel off with the paper, lay the paper back down over that letter and rub your finger on top of the paper to press the letter back onto the wall.
When the paper backing has been removed. Erase your tick marks.
Now stand back and admire your new wall quote!
Thank you Leen for helping me complete my bedroom makeover! I LOVE IT!
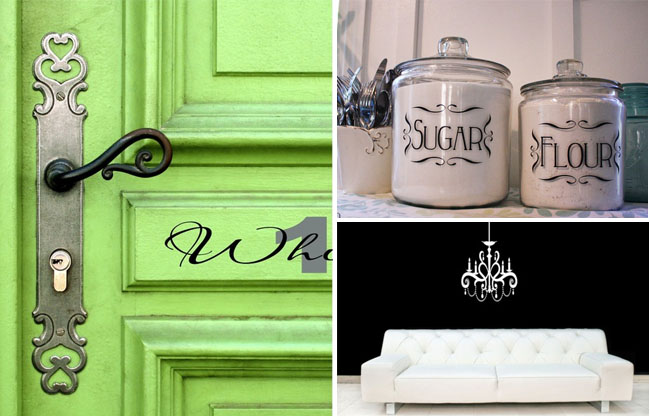
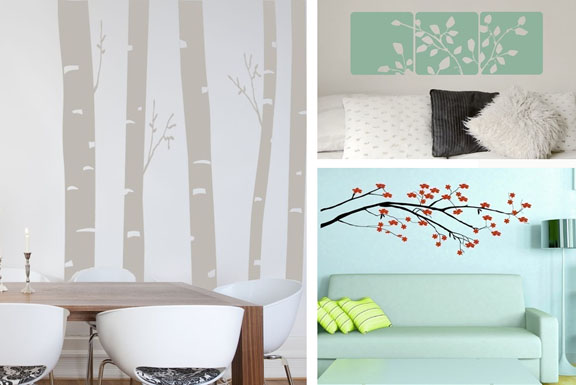
Take a few minute to browse through some of Leen the Graphics Queen‘s beautiful decals in her website.
Some of my favorites are:







I just got a condo, and I am SO excited. In the past, I just wrote on my walls. Because I want an elegant look, I’m going to use vinyl lettering this time. The idea of a whole wall just wagged my tail! Great idea and great technique! Thank you for the inspiration!
I’ve always loved her “Dandelions Blowing in the Wind” decal, and would put it in our guest room. Perhaps with a cool quote about hopes and wishes!
Tweeted!