Installing Your Own Sprinkler System

Last week I shared with you how to grow a better lawn based on what I learned from my education at Pennington Seed. Part of growing a more beautiful lawn is learning how to water it properly. Did you know that the majority of homeowners overwater their lawn and plants? Typically your yard only needs 1 inch of water per week (1/2 inch waterings two times a week) If you install your own sprinkler system with a timer and a rain gauge, you can insure that your lawn and/or landscaping gets just the right amount of water.
When we lived in our old house, Pretty Handsome Guy and I received a quick tutorial on installing a sprinkler system in our yard. Our neighbor — the previous owner of our current home (Yes, it’s complicated like that.) — showed us how to piece together pvc pipes, add spray heads and set up a timer to water our lawn. Now I’m passing this information on to you.
Here is the Pretty Frugal Girl’s method for installing your own sprinkler system!
Installing Your Own Sprinkler System Materials:

- back flow preventer (check with a licensed plumber to verify your required back flow preventer)
- Y-shaped hose connect with shut off
- 1/2″ pvc pipes
- Elbow connectors in 45˚ and 90˚ bends
- PVC primer
- PVC glue (cement)
- Shut off turn valve
- Timer
- Rain gauge
- Short length of hose (can be cut from an old hose and clamped with a hose clamp)
- Shovel
- Pop Up Sprinkler heads
- Shrub Head Sprinkler Heads
- Threaded 12″ and/or 18″ risers
- Threaded T sections
- Pipe Cutter
- Plumber’s tape
- Threaded end cap assembly
(A little note about materials. Plan to spend a fair amount of time rummaging around the plumbing department to find all the pieces that fit together.)
Difficulty: Medium (not hard, just a fair amount of manual labor involved.)
Disclaimer: This is my frugal budget sprinkler system installation. Before you take on this project, you will need to check with your local ordinance and any laws that may pertain to residential sprinklers and water usage. I am not responsible for any omissions that might be included in a “professional” irrigation installation. In fact, I’m prepared to be slammed by some irrigation companies for “doing it wrong”, but this is the system that worked for us. I highly recommend you consult a licensed plumber to verify or to install a code required backflow preventer (more on backflow preventers here.)
Safety: It is very important to call your local utility companies and have them mark the location of your power, water, gas and other utility lines so you won’t accidentally dig into them. Normally this takes a week to 10 days. To be safe, allow up to two weeks. In most areas you dial 8-1-1 to notify all the utility companies at once. Or look up Ms.Utility in your area.
Drawing Up a Plan: Before you begin you will need to draw up a plan for your sprinkler system. You can try to do it yourself. OmniNerd has some ideas for drawing up your sketch. Or you can send your yard and water information to RainBird and have them design a plan for you. In order to create your plan you will need to calculate your gallons per minute (GPM). Choose a 2-5 gallon bucket and set it under your spigot. Turn the water on full blast and record how many seconds it takes to fill the bucket.
Determine gallons per minute (GPM) with the following formula:
Gallons (how big is your container) ÷ Time (in seconds) x 60 = GPM (gallons per minute)
(5 gallons ÷ 16 seconds x 60 = 18.75 GPM)

And you will need to know your water pressure. Purchase a water pressure gauge to determine your home’s water pressure and how many heads you can add to the sprinkler system. The gauge shown above can be purchased from Home Depot for only $11.
How to Layout the Sprinkler System:
Locate your home’s outside faucet. If there are more than one, choose a spigot close to the location you want to start your sprinkler run. The further away from the water source you get, the lower your pressure is and the less effective your sprinklers will be. Also be aware that if your pvc pipe has to run uphill (against gravity) you will lose pressure as well.
Make a list of all the parts you will need based on the size and location of your sprinkler heads. Be sure to buy extra parts. (You never know when you will need to make a design change or have a faulty part.) You can always return the extras later. You may want to keep some extra parts on hand for future repairs.
Start by adding a backflow preventer onto the faucet. Attach a two head hose connect (diverter) if you wish to continue to use this spigot in addition to the sprinker system.
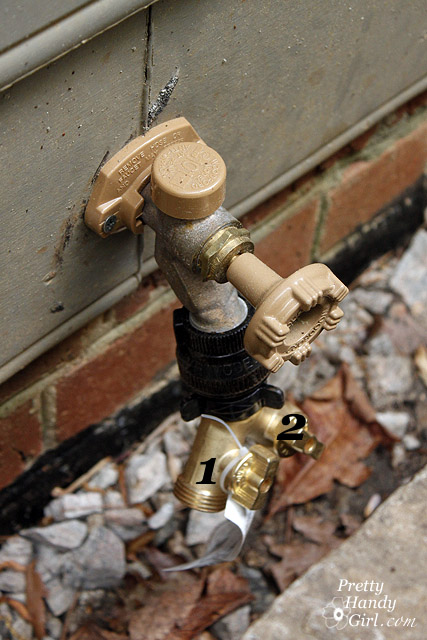
From the hose connect, attach a piece of flexible garden hose. Clamp the other end of the hose to a threaded connector. This connector gets attached to the PVC pipes. When using flexible pipe that is exposed (as shown below) it is a good idea to add foam pipe insulation over the hose to protect it from freezing if there is a sudden dip in temperatures.

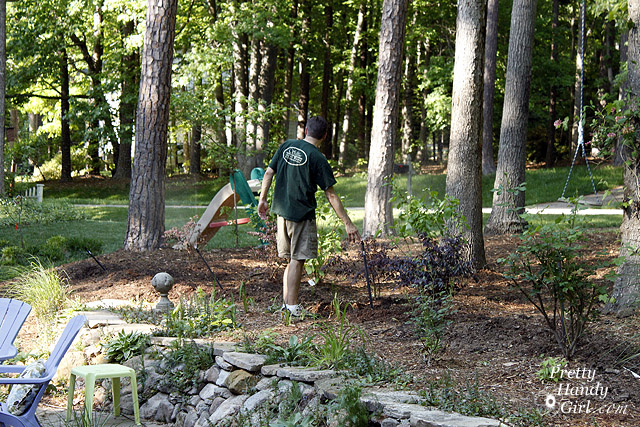
Walk out from the faucet along the path your water pipes will take. It is very likely that you will need to dig under or through obstacles. I had to chip away at the mortar on a retaining wall to run the pvc pipe through the wall.
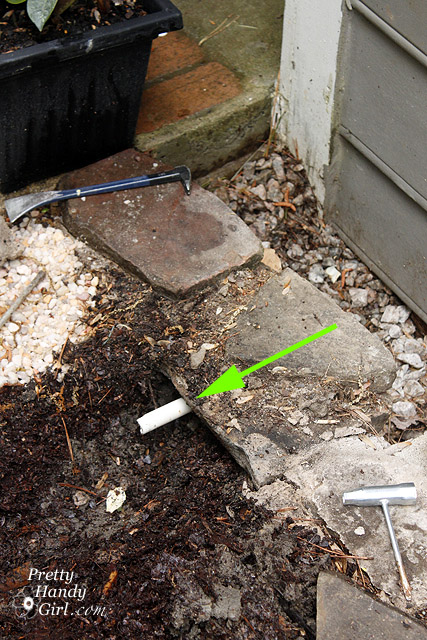
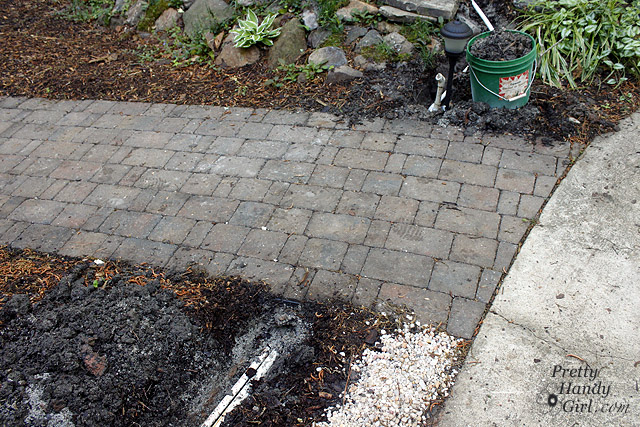
At our previous home, we had to run a pipe under the sidewalk. This can be done by putting a cone shaped head on the end of the pvc pipe and let the force of the water dig through the dirt (and mud) for you.

(This process reminds me of the scene in Raising Arizona when the prisoners emerges from the mud.)
In the end, you should have a nice little tunnel under the sidewalk.
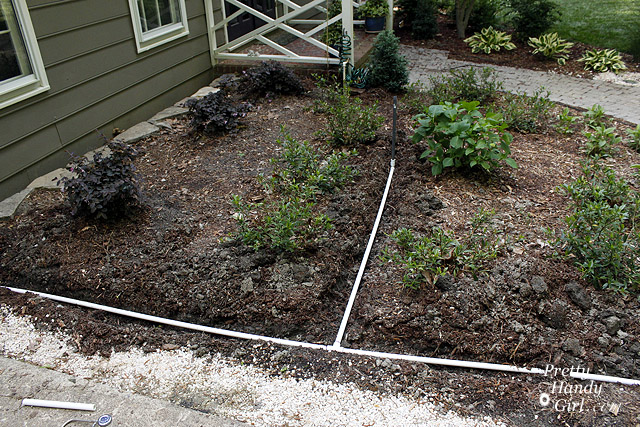
Lay out your pipe on the ground. Choose 90 degree or 45 degree angle connectors depending on the shape of your sprinkler run.

After you have laid out the configuration of your sprinkler system. Start cutting your pipes and select the connectors you will be using.
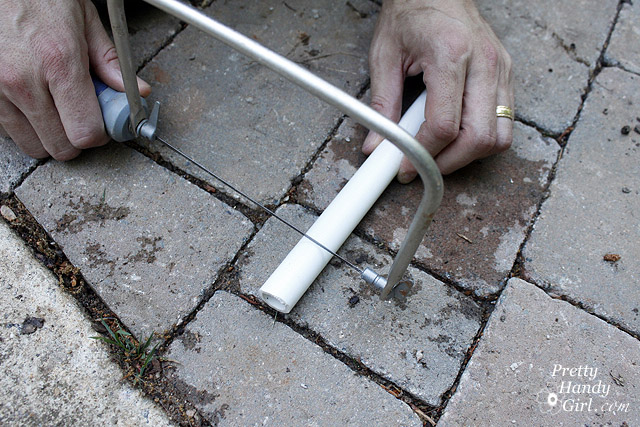
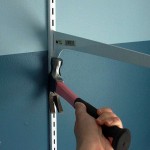
To cut your PVC pipes you can use a hand saw (coping saw shown.)
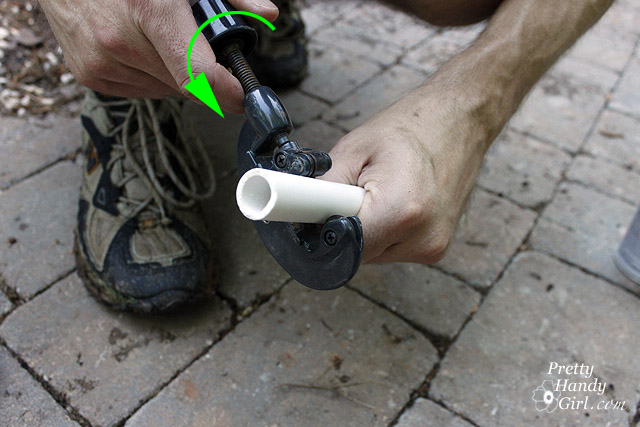
Or a pipe cutter. Either will work, just use what you have.
Use a piece of sandpaper to smooth off any rough edges at the cut.

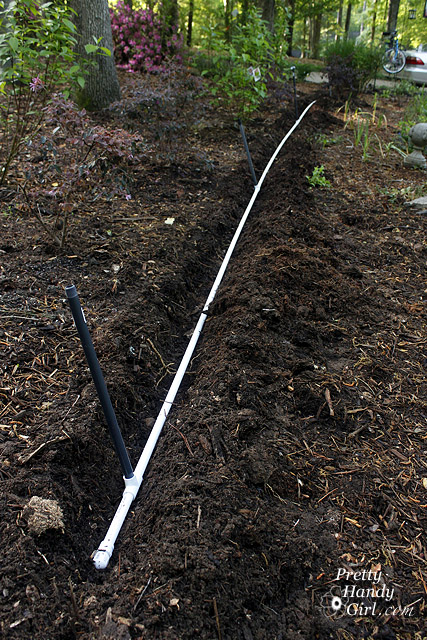
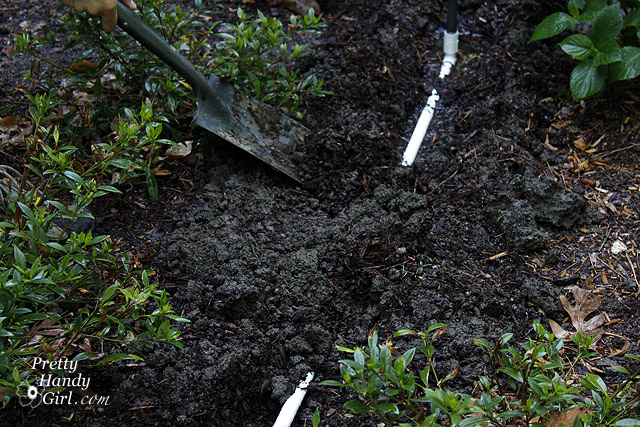
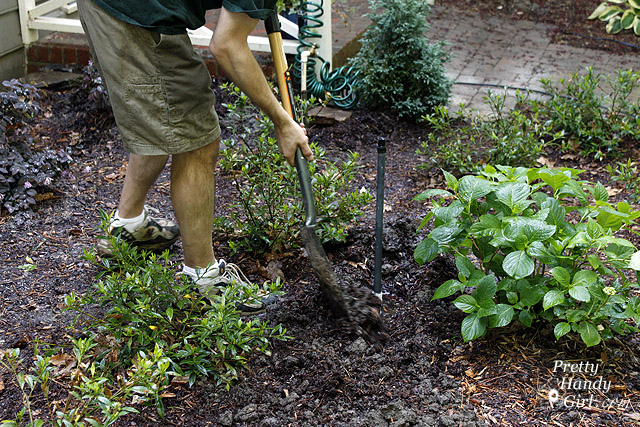
Dry fit all the connectors and pipes together. When the layout is perfect, dig a trench 6-12″ deep below the pipes.

This depth helps to protect your pipes from accidentally being damaged during any planting or other landscape work. In a colder climate region this depth will be necessary to prevent your pipes from freezing should the temperatures drop before you have time to blow out your sprinkler system.
After your trenches have been completed. Lay your pvc pipes into the trenches. Make any adjustments as needed.
If everything fits you can begin to glue your pieces together.
Cutting and connecting PVC pipes:
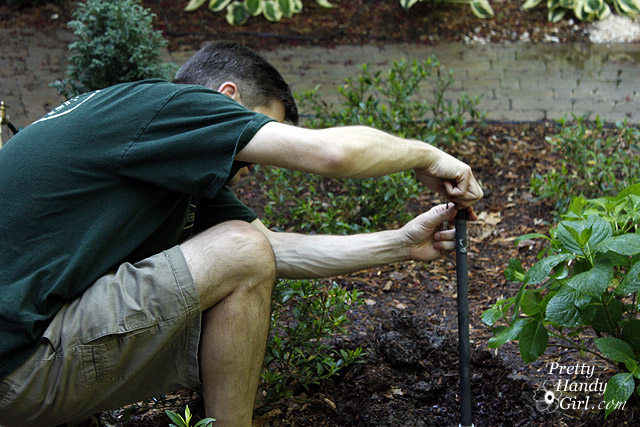
Wipe off any dirt or debris around the connection areas. Before you can glue your pipe and the connector, you will need to use a PVC primer. The primer softens the plastic and allows the glue to create a permanent bond.
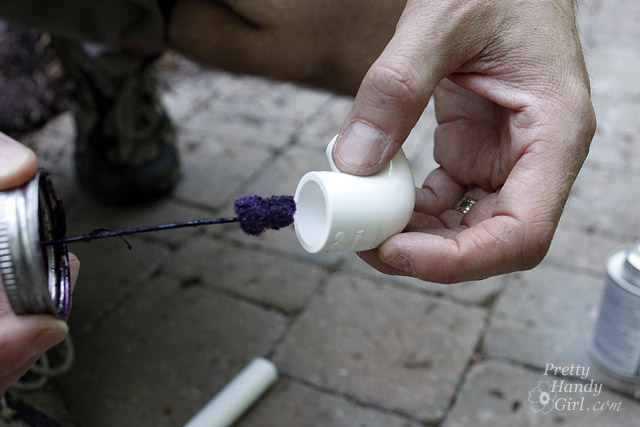
Coat the inside of the connector and the exterior of the pipe with primer.
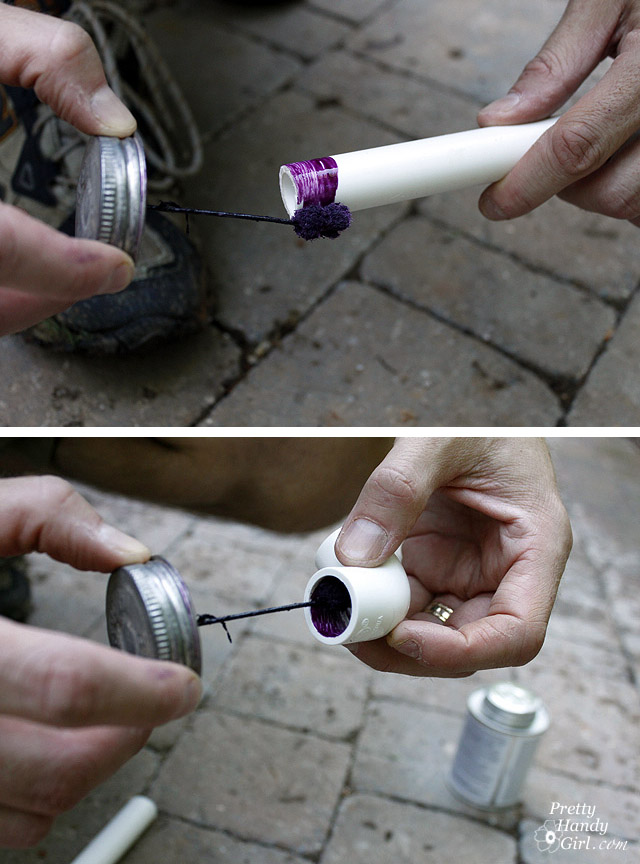
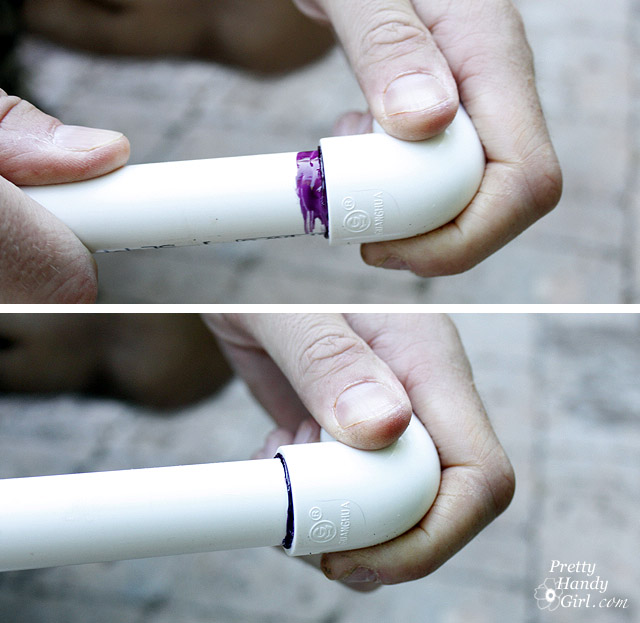
Open the glue (PVC cement) and coat the inside of the connector and the outside of the pipe. Work quickly because the glue will harden fast.

Twist the connector back and forth until it is fully seated onto the pipe.
Attaching the Sprinkler Heads
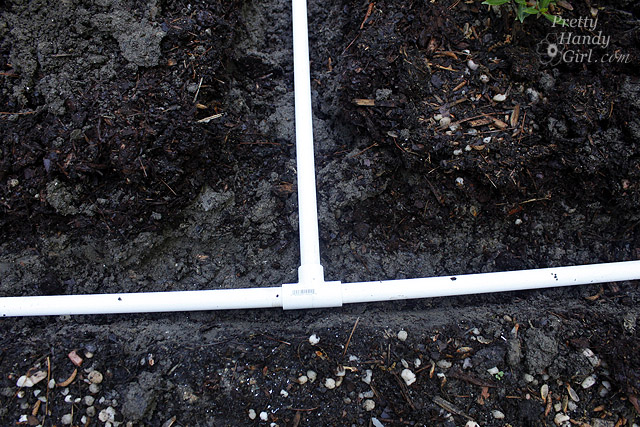
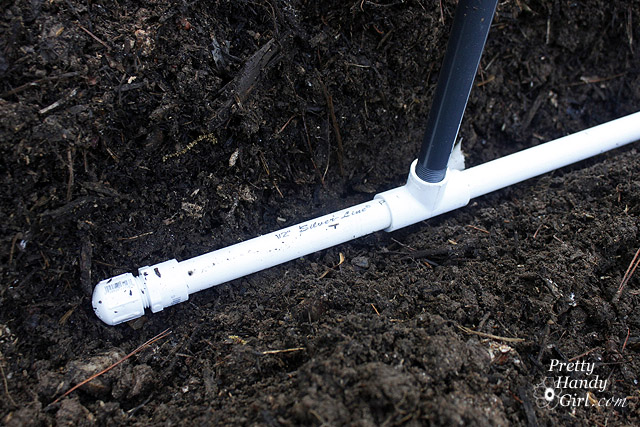
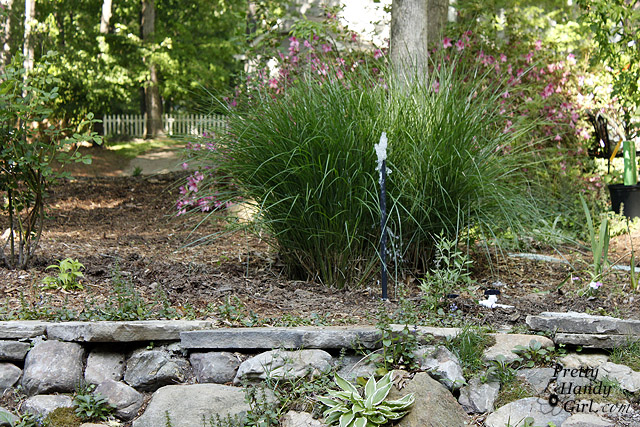
After all the connections have been made, screw in any risers to the T-connectors that are threaded. Wrap plumber’s tape around the threaded pipe ends to get a more water tight seal.
Do not install the sprinkler heads or shrub misters (show on the right above.)
At the other end of your system, install a screw off end cap to allow for clean out before winter. If you don’t blow out any excess water before the temperatures dip, you run the risk of the water freezing and cracking your pipe.
Turn on the water to flush out the system. Any dirt or debris left in the piping can cause a blockage to occur.
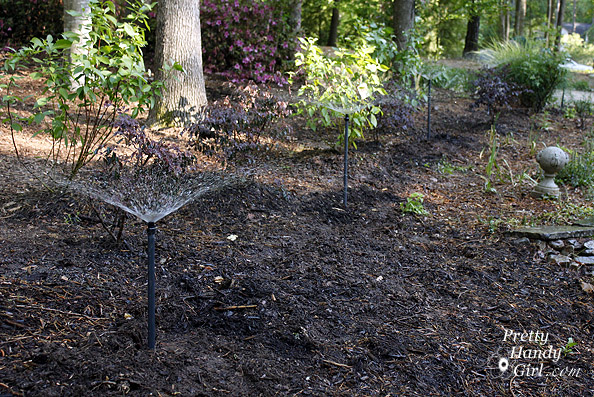
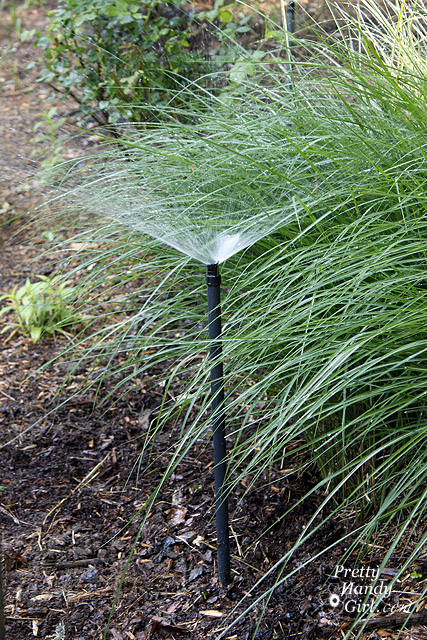
Once the system has been flushed, go ahead and attach your sprinklers, misters and spray heads.
RainBird offers a wide variety of pop-up heads that spray in arc and round spray patterns. Different heads determine the distance they can spray from the head.

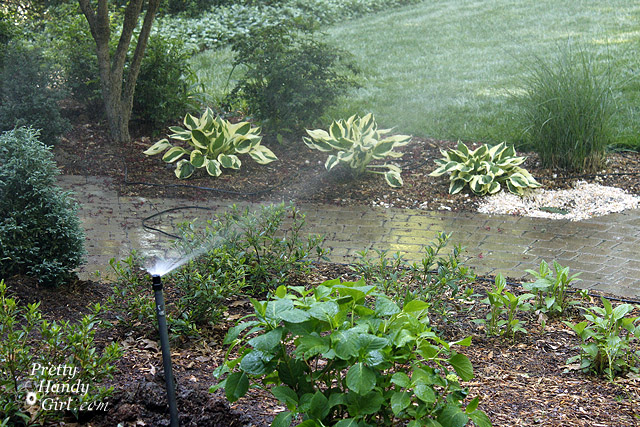
After all the sprinkler heads have been attached, it is time to test your system.
Turn on the water at the spigot.
While the water is running, adjust the spray patterns of the heads to the desired arc pattern and diameter from the sprinkler head.
After the sprinklers are working properly and you have inspected all the pipes and connections for signs of leaking, begin to bury the piping.
Cover all the exposed pipe under 6-12″ of soil.
I highly recommend installing a timer on your sprinkler system. The timer simply screws onto your faucet between the faucet and the sprinkler system hose. The timer has an internal valve that opens at the pre-determined time of day and for the length of time and day you select. Set the timer to run 2-3 times a week. A rain sensor can also be added to the system, it will detect any rainfall and automatically shut off your system to conserve water and protect your landscaping from being overwatered.
The best time to water your landscaping and lawn is early in the morning. Watering overnight can lead to disease and fungal growth.
You will need to test how much water your system puts out and tweak how many minutes your system should run. Overwatering can stress plants just as much as under watering.
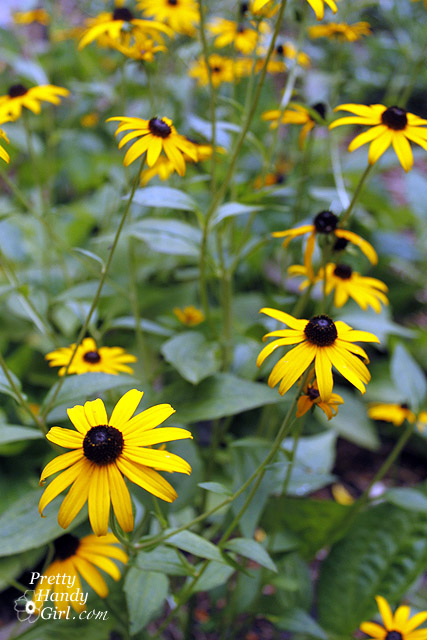
Have fun and enjoy those spring flowers! If you want to amp up your landscaping, learn how to install low voltage landscape lights.

Sharing it with a few blogging peeps: Centsational Girl’s Garden Party

Great job Brittany! A DIY tutorial for your readers to help them installed their own sprinkle system. This is very ideal during summer time, a great way to save time watering the plants.. We also have this on our backyard and my kids enjoy playing with the sprinkler system, one of our family bonding during weekends.
Hi,
I just did your DIY sprinkler system and I’ve run into one minor hitch. I cut a longer hose to create a smaller one, the problem is with the cut off end of the hose. How is it supposed to fit into the pvc pipe and how does the hose clamp come into play? My hose is small in diameter and it doesn’t fit over the pvc connector in order to clamp it down. Also the cut end part of the hose is not threaded so how is it supposed to fit into the threaded connector?
Thanks!
Rudy, you might need a reducer piece that fits over the pvc and then exits at a smaller diameter that your hose will fit over. Preferably a threaded pvc reducer that you can the add a threaded hose cap onto your shorter hose. This should be available near the garden hoses. You might want to take the parts with you to the plumbing department and ask for assistance.
Great Step by Step tutorial!
I asked my yard service guy, a licensed landscaper, to check out my sprinkler system and make sure it was efficient. It was installed in 1991 and several yard guys have repaired certain sprinkler heads or replaced them with what they thought would be best for that area. It is a big yard, and the system has a box in the garage with four areas that go on one after the other. After six months, and having my yard dug up, not all the sprinkler sections worked, he couldn’t find all the valves, and in the back yard, he cut through whatever wires there were that connected the whole system to the control box…so he put a valve box in the back yard and a battery charged timer…that I have no idea how to set. Well, after 6 months I fired him. What a mess for the new yard guy to trouble shoot! Seems like each month there is a leak because one of the pvc pipes cracked or something. He said he capped off the pipes under a new walkway we installed, that he supervised, and yesterday we turned on the system to test and water bubbled up under the walk way…clearly those pipes were not capped! Any hope for fixing this mess myself? Is there any hope for getting the backyard hooked up again onto the system that has the control/timer in the garage?
Lani, I’m so sorry to hear about your sprinkler system woes. If a system isn’t drained before winter (or freezing temperatures) the pipes can break from the water freezing. Sadly, this might be the cause of your leaks. A lot of times I believe that I’m the only one who will take the time to do a thorough job, because I am invested in my own home (not the person I’m paying to fix it.) If you want to do it yourself, you need to located the broken sections of pipe. Then cut out that section with the pipe cutter (or hack saw) and glue two connectors and a new piece into the hole left by the section you removed. It isn’t a difficult job (most of the time unless the pipes are in an awkward spot like under the sidewalk), it will just take patience. But, I have faith that you can do it ;-).
How do you drain the system to winterize it?
We have a cap on the end that I unscrew. Then unscrew the hose from the spigot and drain everything. If your end is not at a low point, you can use a air compressor to blow out the lines.
We have a large yard. Would we be ok? What advice could you give us?
That is awesome. I wish I had this when we were putting in an above ground system at our old house.. I would much prefer an underground system.
Our present house has a professionally installed system and if anything goes wrong you have to call the professionals and it costs an arm and a leg!
Great tutorial! I work for a professional landscape & irrigation company so I am SOOO glad to see that you mentioned the use of a back flow preventer, they are VERY important. Most homeowners prefer to skip this step but I see it as a must and with the one you used it shows homeowners they can be affordable too. 🙂
– Jacque
Pamela, yes, you can use the pop-up heads and they screw in exactly like the risers. You will need to make sure that you get the heads deep enough that they are level with the ground surface. Rainbird makes a swivel pipe that helps make this process easier: http://store.rainbird.com/product/detail/A48035-M.aspx
I could have come across this tutorial on a type of DIY network website and I would have blown it off as though they said was fairly easy to do, I would have thought it was too difficult. But your tutorial makes it really seem attainable and our yard needs this SO BAD. I’m wondering though since you did the tall spouts in your garden, if we just have a flat yard and need it throughout our yard to water our grass, do you think the spouts that pop up like in professional grade systems would be easy to install?
Yeah, I just did it on my yard and it works flawlessly.
I am super impressed! You are pretty handy! 😉 No seriously, this is a really fab tutorial. Great job!