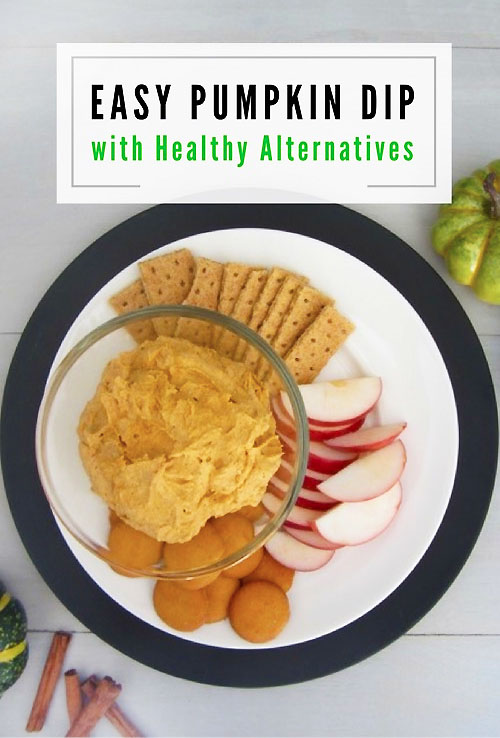
When the weather turns cooler in the fall, I can’t help but want to spend more time cooking inside (with pumpkin of course.) There are so many things you can make with it including this easy pumpkin dip to serve for the next few months.
Easy Pumpkin Dip is great for a kids’ snack, a dessert, or a side dish while entertaining. You can switch out a few ingredients to make a healthier version too.
Here’s how to make pumpkin dip with just 4 ingredients:
(Affiliate links are included for your convenience. I earn a small percentage from a purchase using these links. There is no additional cost to you. You can read more about affiliate links here.)
Materials: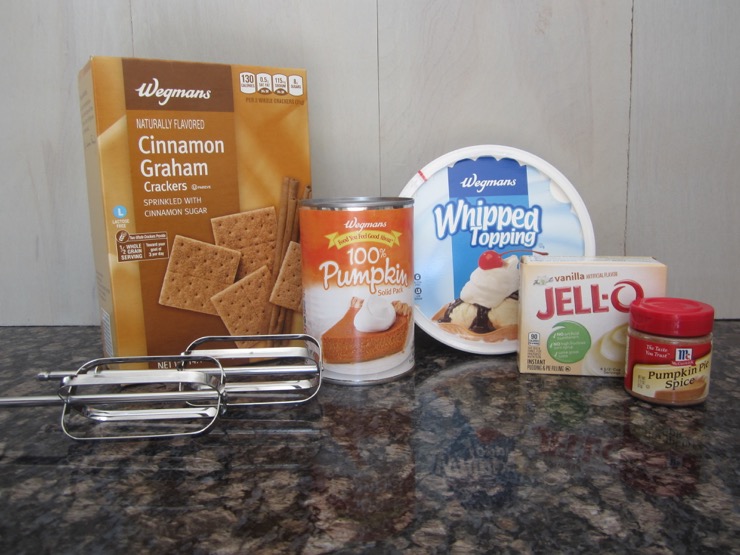
- 15 oz can of pumpkin puree
- 1 3.4 oz box of vanilla instant pudding
- 1 8 oz container of whipped topping, thawed
- 1/2 tablespoon of pumpkin pie spice
- Serving Bowl
- Hand mixer
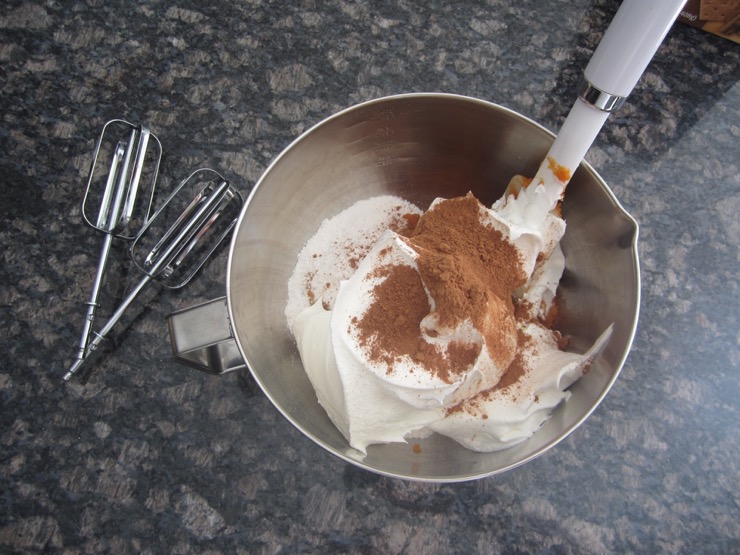
Instructions:
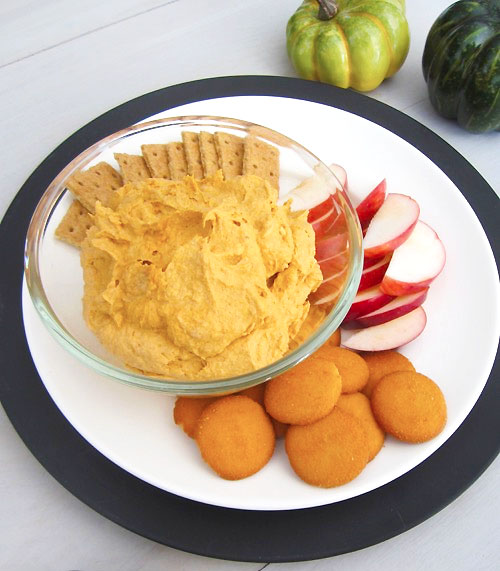
In a large bowl, mix together all of the ingredients with a hand mixer until the mix has a smooth consistency. Refrigerate the dip for about an hour. Serve with apples, graham crackers or cookies of your choice. That’s it!
The great thing about this dip is that it takes only 5 minutes to prepare and it’s not too sweet. It’s perfect for those who want a little treat at the end of a meal but don’t want too much sugar.
There are a lot of other ingredients you can add to this recipe to create different flavors: brown sugar, cream cheese, marshmallow fluff, powdered sugar, and cinnamon.
If you are watching your calories, here are some healthy alternatives to try instead:
- Substitute vanilla or plain greek yogurt for the whipped topping
- Substitute coconut milk and coconut sugar for the instant pudding and whipped topping
- Serve with apples instead of cookies or crackers
- Use a lite version of the whipped topping
- Use low calorie cream cheese instead of the whipped topping
If you like this recipe, you’ll probably also like Peanut Butter Pumpkin Dip:

For more fall entertaining ideas, you’ll probably enjoy 24 Fabulously Creative Fall Wreaths:

See you at Decor Adventures soon.
 ~
~