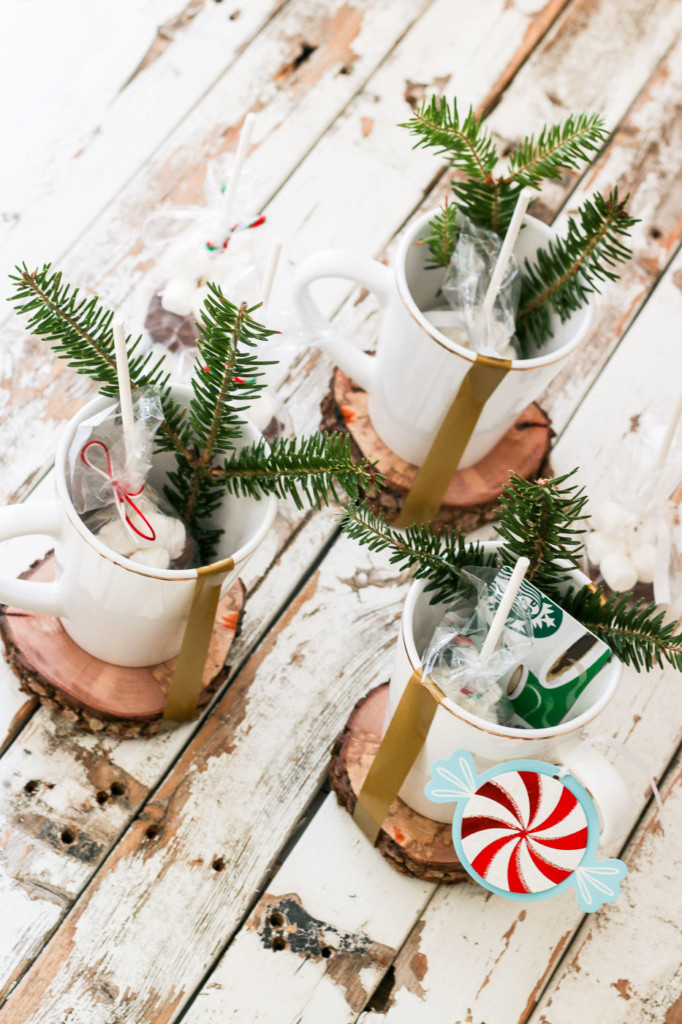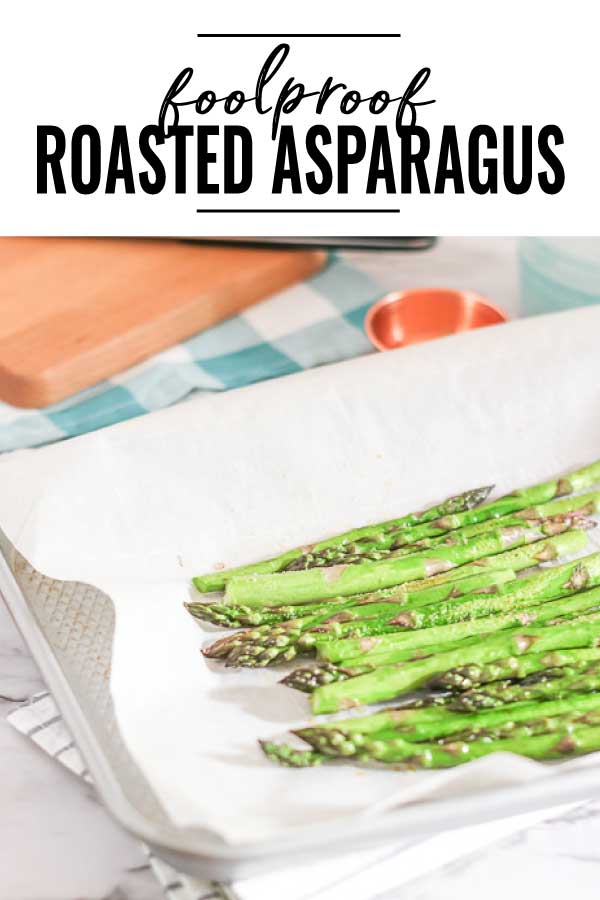
Easy Oven Roasted Asparagus Recipe
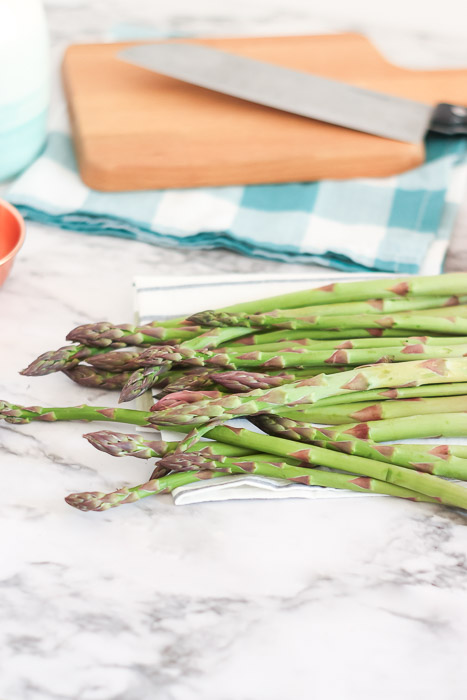
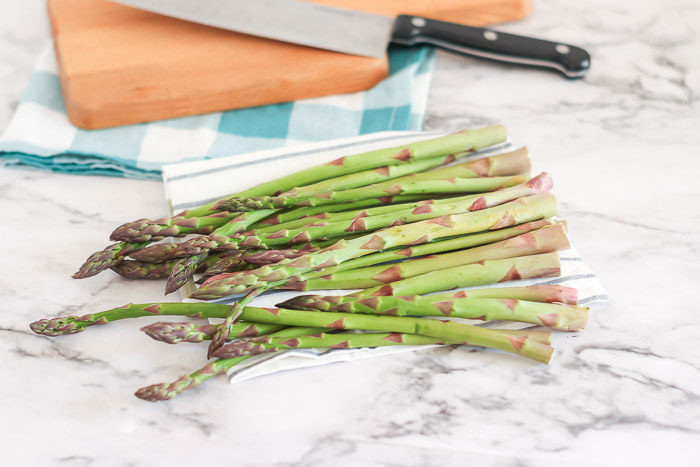
It’s Amanda from Domestically Creative and this month I am back with a new and EASY recipe! It’s full-on asparagus season here, and I recently purchased a few fresh bunches from our local farmer’s market. My favorite way to enjoy cooked asparagus is by roasting it in our oven. This recipe is incredibly simple and foolproof, so anyone can copy it. You can even cook this recipe on the grill with a grill pan to make some steaks or chicken. My favorite way to enjoy oven-roasted asparagus is paired with my favorite chili lime Salmon recipe.
Ingredients:
- 1 bunch of asparagus
- 2 tbsp olive oil (or melted butter)
- 1 tsp coarse sea salt
- 1 tsp fresh ground black pepper
- 1 tsp garlic powder
- 1 tsp smoked paprika
- 1/2 tsp chili powder
- Optional: grated parmesan cheese
Equipment:
(I’ve included affiliate links for your convenience. I earn a small percentage from a purchase using these links. There is no additional cost to you. You can read more about affiliate links here.)
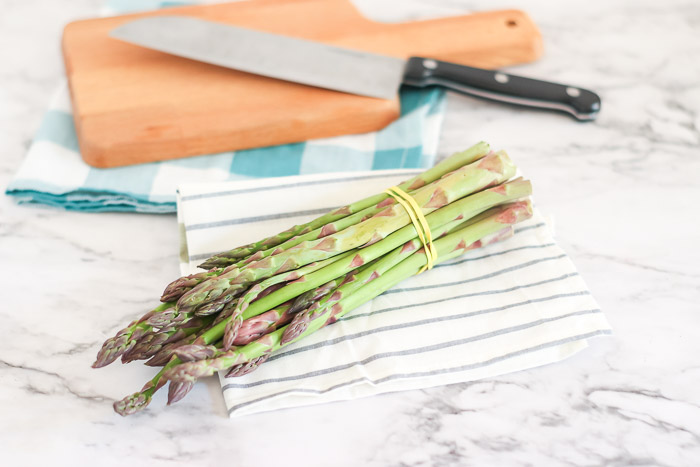
- Sharp knife
- Cutting board
- Parchment paper (or aluminum foil)
- Small baking sheet
- Marinade brush (optional)
Instructions:
- Wash the asparagus well and set aside on a paper towel to dry.
- Preheat the oven (or grill!) to 400 degrees, and line baking sheet with parchment paper.
- In a small prep bowl, mix the salt, pepper, garlic powder, paprika, and chili powder together.
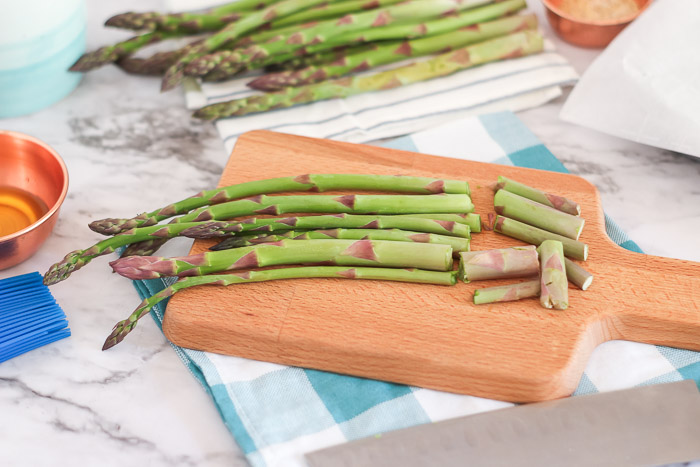
- With a sharp knife and cutting board, slice woody ends off of the asparagus.
- Place asparagus in a single layer on the prepared baking sheet.
- Brush olive oil or melted butter on top of the asparagus, coating evenly.
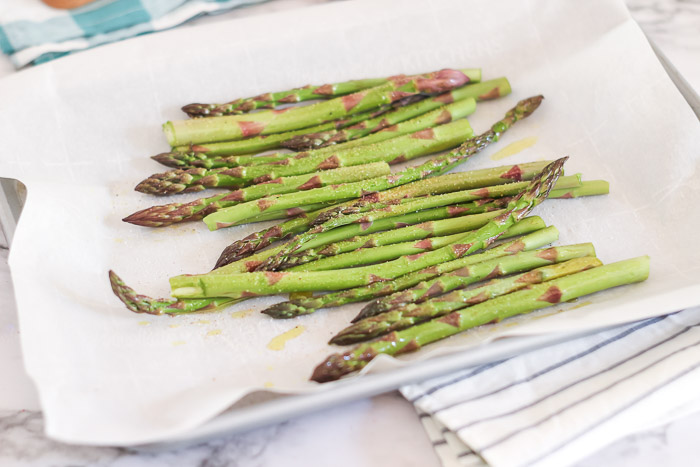
- Sprinkle spice mixture over the asparagus.
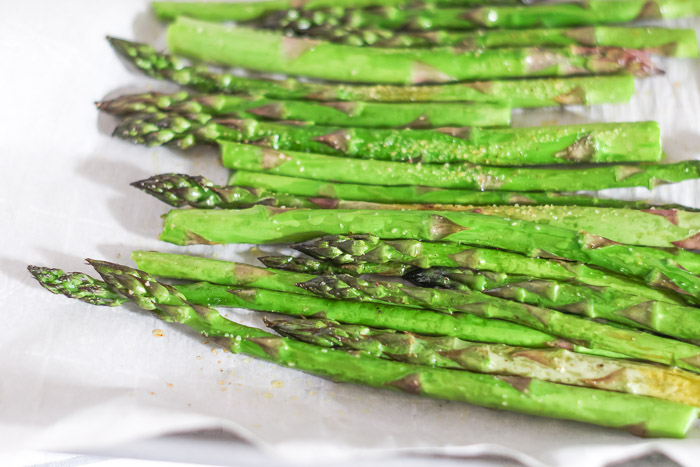
- Bake or place on the grill for 7-9 minutes or until the asparagus turns bright green and the tops get slightly wilted.
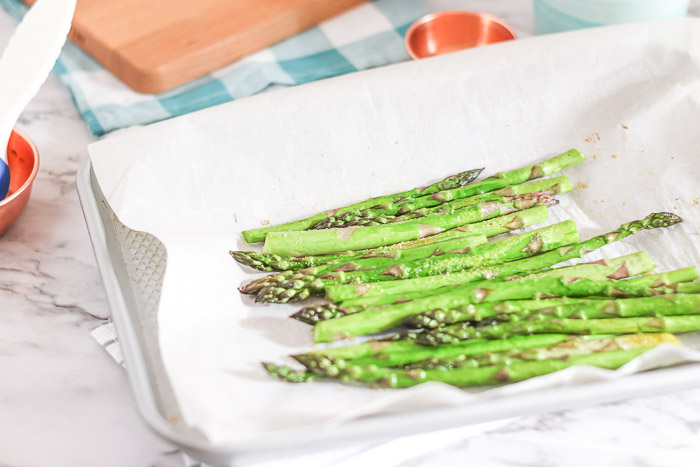
- Remove from oven and top with grated Parmesan cheese.
Tips for Oven-Roasted Asparagus
Try to pick a bunch of asparagus that is more even in diameter to ensure that it roasts evenly. Getting a mixture of skinny and fat asparagus will yield varying crispness after roasting.
For crispier roasted asparagus, bake, or grill for only 5-7 minutes, just until the asparagus turns bright green. Baking longer will create a chewier texture that is still delicious!
Avoid picking asparagus bunches that have a lot of “woody” stems. You can tell this by color. The asparagus should be all green, with just a slight turn of pink/yellow towards the bottom.
Give this easy roasted asparagus recipe a try. It just might become your new favorite veggie!
If you love this recipe make sure you pin it to save for later!
![]()

I’m Amanda, and I am the creator and voice behind the food and DIY blog, Domestically Creative. What started as a place to share updates with friends and family after we moved from Illinois to Tennessee and then to Texas, turned into a passion for finding creative and frugal ways to feed us and decorate our homes.
I have always had the “make it myself” attitude and I’m not afraid to bust out the power tools or get creative when it comes to decorating our home on a budget. You can usually find me scouring the local thrift stores, garage sales and estate sales looking for my next makeover (like this litter box cabinet), or dreaming up ways to make our new house feel more like home. My most recent project was giving my home office a much needed facelift. Some of the plans included creating a fun inspirational accent wall and adding pegboard to store my craft hoards.
I currently call Missouri home, where I live with my husband, dog, and 2 cats in a pretty dull, late 90’s split level. My husband and I both love to travel the U.S and recently purchased a small travel trailer to tag along in our journeys. In our free time together we can usually be found working together on a home project, exploring a new place, or just lounging with our pup, Delilah.
I’d love for you to connect with me on social media via Facebook, Instagram, Pinterest and Twitter!
See all of Amanda’s tutorials HERE.