I’ve been keeping a secret from y’all and I just can’t live with it anymore. I have a miracle stain remover recipe that has time and again proven to work on some of the most stubborn stains. Plus, find out why we don’t need dryer sheets anymore!
miracle stain remover

Miracle Stain Remover and a Healthier Alternative to Dryer Sheets

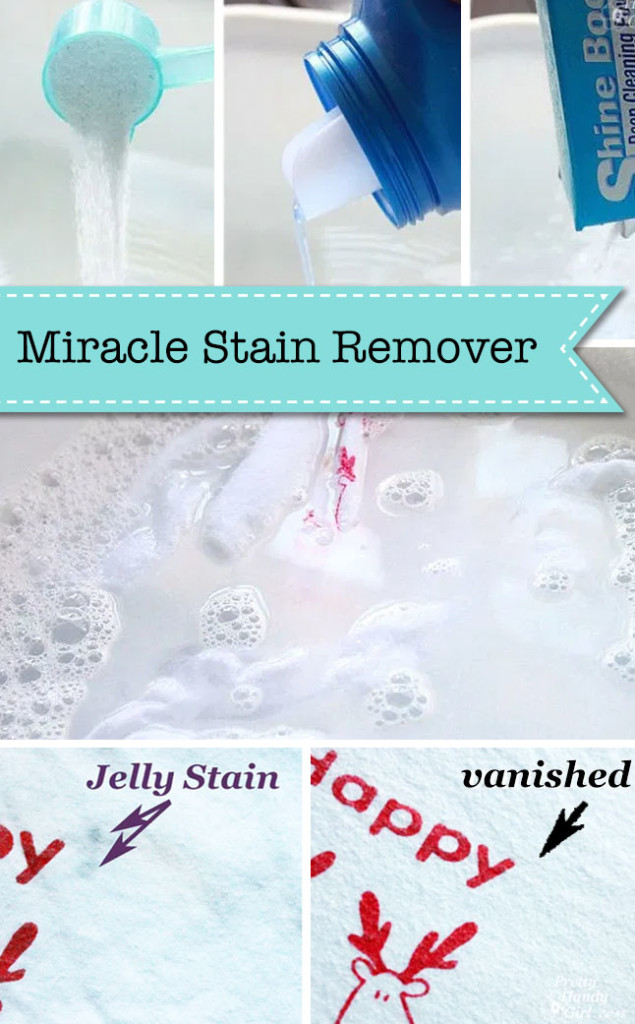
Recently, Pretty Handsome Guy came back from a business trip with a stained button-down shirt. It had wing sauce on it AND it had been allowed to settle for a few days AND he hadn’t pre-soaked it or used any stain remover. (Have I not taught him anything?! Sigh.) I thought for sure the shirt was a goner. But, I decided to put my miracle stain remover recipe to the test. Low and behold after 24 hours of soaking in the concoction, the stain was magically gone! No scrubbing, it was simply gone. Can I apply for a magic wand now?

I can’t lay claim to the recipe. I found it on our local “Mommy” message board back when I was a new mom. But, this recipe has worked on more stains than I can count.


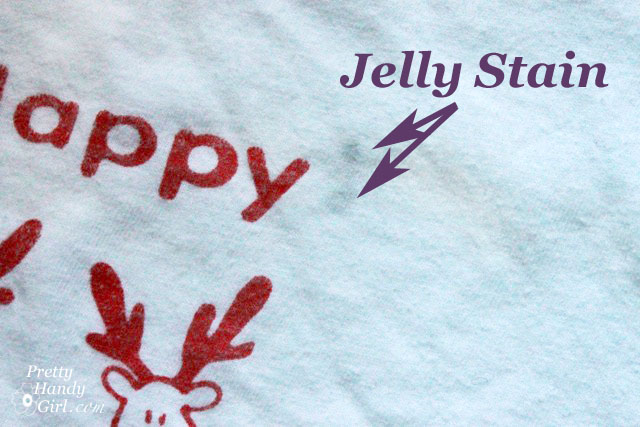
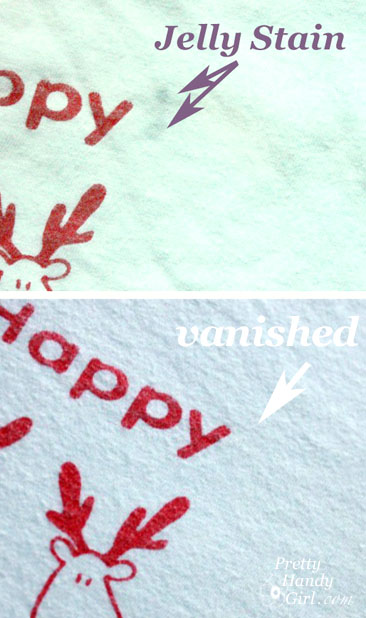
I mixed up a batch today to try on one of my son’s shirts that got blueberry jelly on it. My mom tried to wash it to get the stain out, but it was still there after laundering. Normally once a stain goes through the dryer it is set in. But, that didn’t deter the me from trying my Miracle Stain Remover. Sit back and learn young Jedis (we watched Star Wars last week, so it is on my brain.)

Miracle Stain Remover…

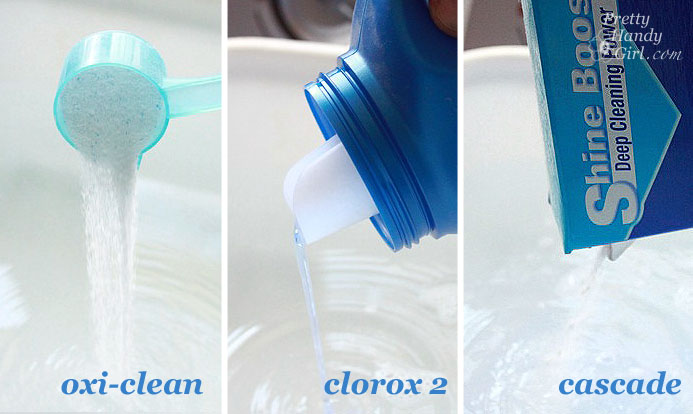
Ingredients:

(I’ve included affiliate links for your convenience. I earn a small percentage from a purchase using these links. There is no additional cost to you. You can read more about affiliate links here.)

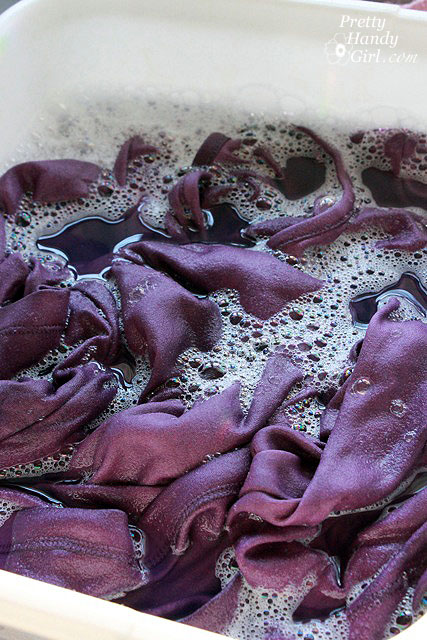
Fill your basin with warm water then add the Oxi-clean, Clorox 2, and powdered Dish Detergent. Give it a swirl and mix until the powders dissolve and bubbles form.

Place the stained garment into the mixture, being sure the stain is submerged. After two hours you can take a peek! My stain was gone.

For tougher stains, let it soak overnight. Remove the clothing to behold the miracle! Normally I will throw the garment into the wash, but you could simply rinse and dry it.

And, this formula is also safe for colors as well!

Laundry Detergent…

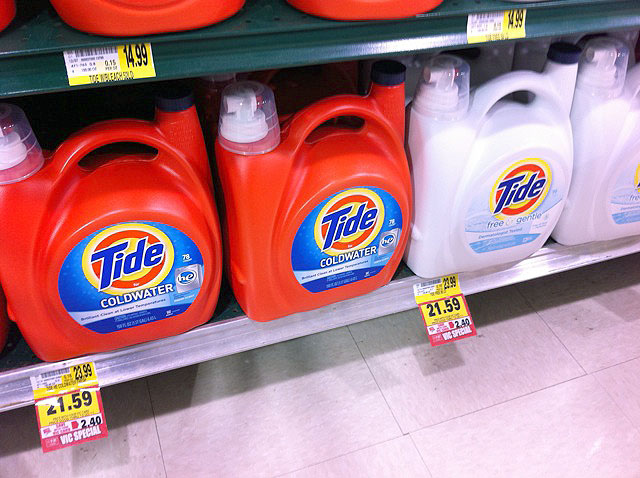
In the spirit of sharing, I also have this recipe for Making Your Own Laundry Detergent for only $1.25 per year! I mean, have you seen the price of laundry detergent lately?! 200 oz. for “gulp” $35! Whereas the recipe I made yielded 250 oz. for….are you ready for this…$0.61! This is a 97% saving on detergent by making your own.

And the best news is that it is safe for HE washers. You only need 1/4 cup per load. Click Here to Get the Recipe for Making Your Own Laundry Detergent for $1.25 per year!

Drying clothes…

And since I’m talking laundry today, this post wouldn’t be complete without mentioning my secret weapon for drying clothes.

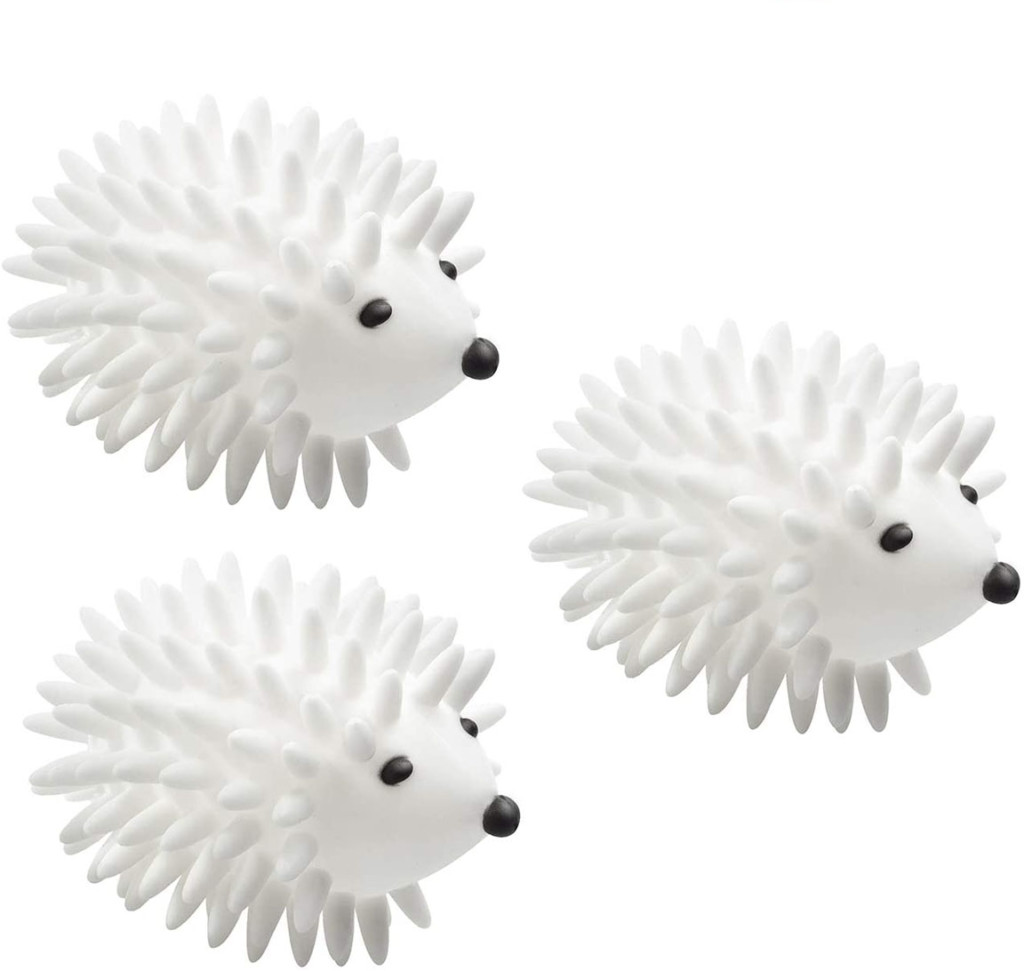
I use two of them! They may look like medieval torture devices or rabid animals, but these little hedgehog dryer balls have completely kicked our fabric softener sheets to the curb! I haven’t used dryer sheets in over 9 years now! At first I was concerned about static (the bane of my hair’s existence), but then a friend told me that you can eliminate static by not letting your clothes over dry. Simply shut off the dryer when your clothes are about 95% dry. Don’t let the dryer run and run and run until the clothes are piping hot and there isn’t a spot of dampness on them. Instead, let the moisture sensor (if you have one) do its job and it should shut off right before the clothes are dry. The waistbands in jeans or sweatpants may feel slightly damp, but everything else feels dry. And most importantly, pull out fleece, polyester, or synthetic clothes about halfway through the cycle.

The dryer balls (you should use two) work together to punch, separate, fluff, and dry your clothes. They also help keep wrinkles to a minimum, but I’m not afraid of a few wrinkles (see my no iron solution to wrinkles post.) The Dryer Balls cost less than $10, but the cost savings of not using dryer sheets is definitely worth it. Plus, you don’t have to stress about the chemicals that are in dryer sheets. These little wonder balls (I can’t believe I just typed that) last for a long time, but it’s good to have three in case one hedgehog loses a nose (it can happen.) I have been using mine for over nine years. They start to get darker on the nubs from dye in your clothing, but it doesn’t transfer and it doesn’t hurt their effectiveness.

I hope you found these laundry tips helpful. Please share with a friend!
miracle stain remover

Slipcover a Couch Beautifully

We definitely have paranormal activity in our home. Things move without explanation. Pillows that were strategically placed by me to look magazine pretty inevitably end up on the floor after I leave the room. Kid sized chairs levitate on their own and land on top of the couch.

Slipcover a Couch Beautifully

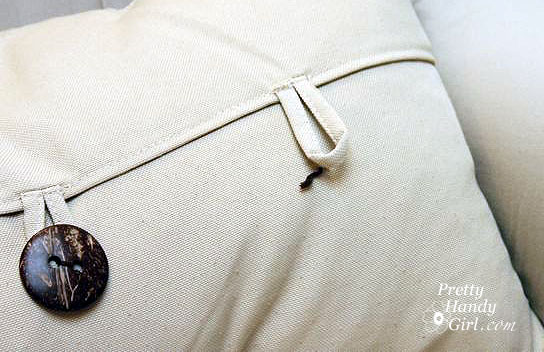
And don’t even mention this pillow that has systematically lost all its buttons one-at-a-time!

Slipcover a Couch Beautifully

When questioned, both boys emphatically shout “It wasn’t me!” Hmmph.

Well, if this continues I might have to call in an exorcist, because it is getting VERY annoying.

But, I know you don’t want to hear about my boring ghost stories. Instead I thought I’d share with you a great source for brand name (to remain un-named) slipcovers at a fraction of the cost! May I introduce to you UglySofa.com.
Slipcover a Couch Beautifully

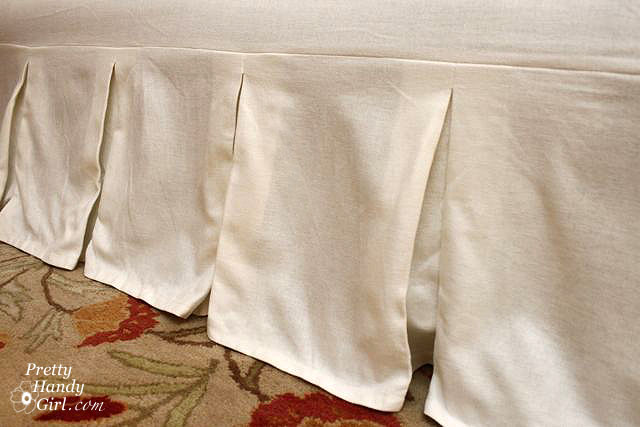
And let me tell you, the name is a misnomer, because this family-owned company is actually on a mission to give you a beautiful sofa! When UglySofa.com emailed me and said they wanted to send me a “brand name” slipcover to try out, I was skeptical. I mean – come on – how can you sell slipcovers from the famous PB&J (minus the J) at a fraction of the cost? I really doubted their authenticity. But, low and behold, a few days later my boxpleat slipcover arrived and when I opened it up, it truly was the brand they said it was and the quality was just as good as the slipcover I bought years ago from the store “that shall not be named.”

Slipcover a Couch Beautifully

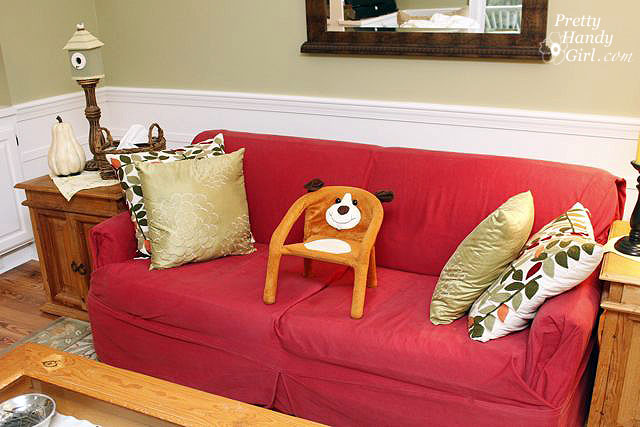
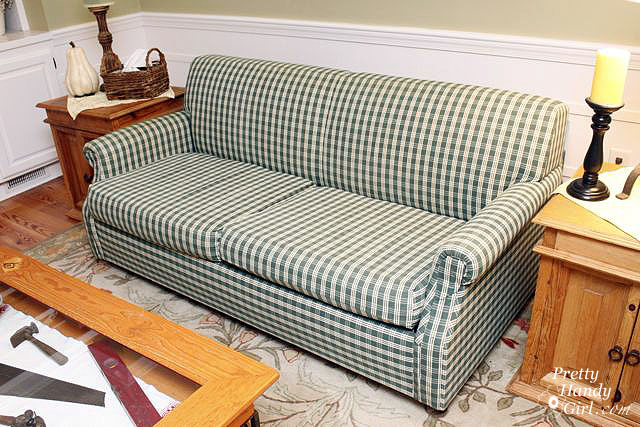
I immediately ran over to pull back the worn red slipcover I’ve been using for as long as my oldest has been alive. WARNING: What you are about to see is a flashback to the 90’s. I admit, I did recover this sofa way back in my college years when hunter green was popular color. (I’m sad just wondering when blue-gray will be the “dated color”.) But, if you saw the granny fabric that lay beneath you’d be even more horrified.

Slipcover a Couch Beautifully

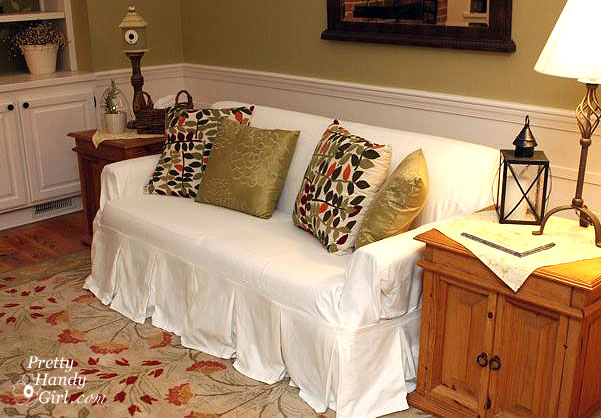
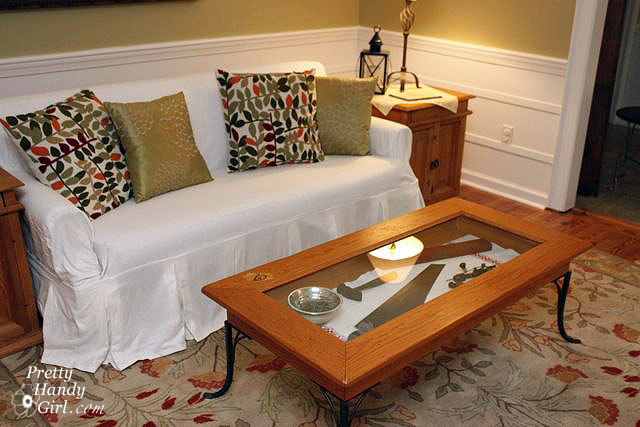
Now don’t even ask me why we still have a sofa that is well over 20 years old. Someday we’ll get around to replacing it…until then I have my new slipcovered sofa! Isn’t she pretty?!

Slipcover a Couch Beautifully

Have you ever purchased a slipcover because it looked beautiful in the catalog only to get it in the mail and you can’t for the life of you figure out how they got the slipcover to look so good?

Slipcover a Couch Beautifully

That used to happen to me too, until I worked as a photo stylist for Plow & Hearth (one of my responsibilities as a graphic designer for their catalog). I learned how to install slipcovers so they look beautiful.

Here are a few easy tricks for installing a slipcover so it look less like a rumpled college frat house slipcover. Please excuse my “butt shots”. I’m still new to this little thing called vlogging!

Start out by getting the ginormous cover on.

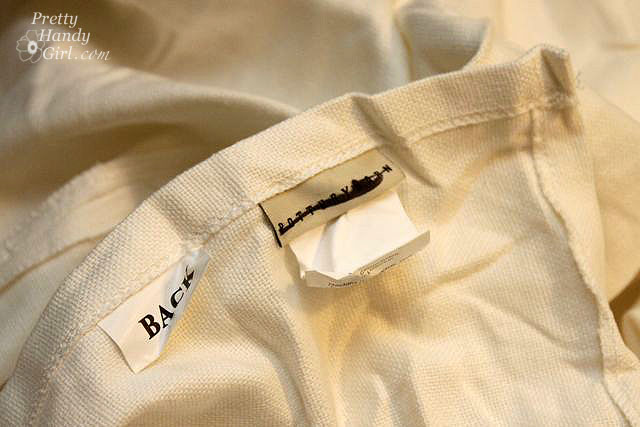
Find the “Back” tag on your slipcover. (And don’t look at the famous PB & J (minus the J) tag. Ha, I made you look ;-).

Slipcover a Couch Beautifully

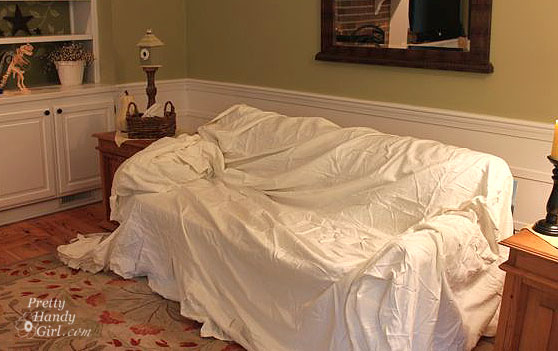
Throw the “back” of the slipcover over the back of your sofa.

Locate the center of your slipcover and center it between the two arm rests.

Then line up the front skirt of your slipcover. I like to let the skirt puddle on the floor a little instead of kissing it.

Slipcover a Couch Beautifully

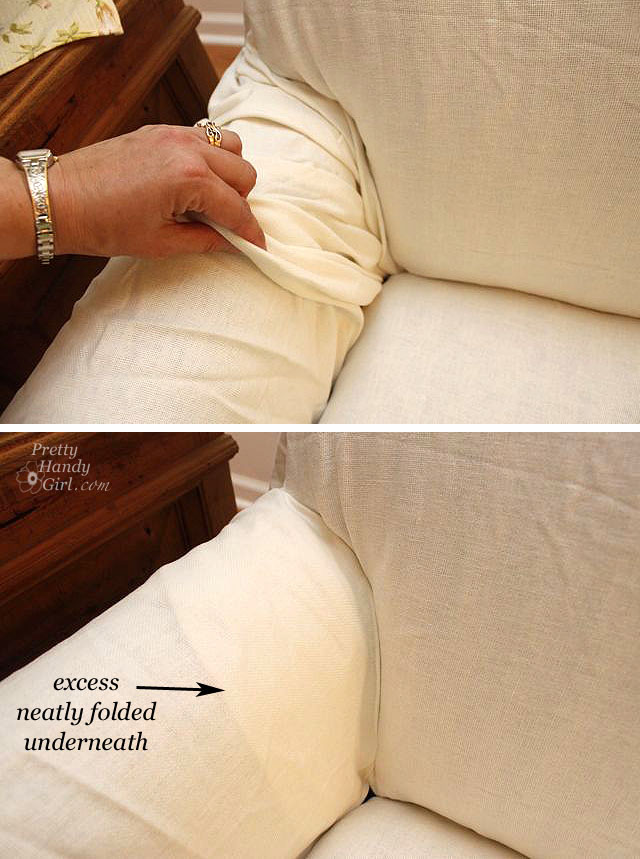
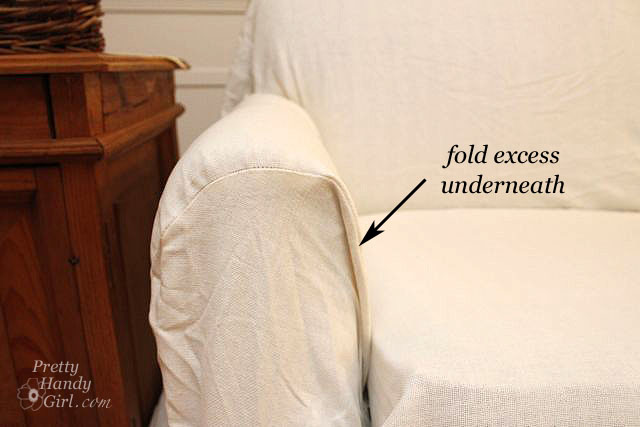
Smooth out the fabric with your hands, and neatly tuck and fold under any excess fabric.

Slipcover a Couch Beautifully

This is especially crucial on the arm rest, you want to disguise any excess fabric so the slipcover looks like it was custom made for your sofa.

Slipcover a Couch Beautifully

Wrap the side panels around the side.

Slipcover a Couch Beautifully

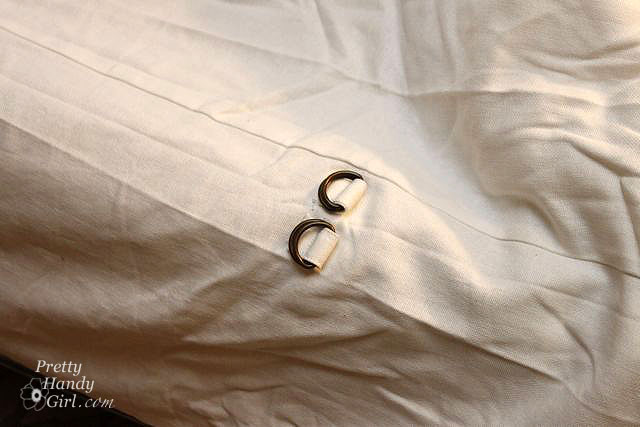
Locate the D- rings on the back of the slipcover.

Slipcover a Couch Beautifully

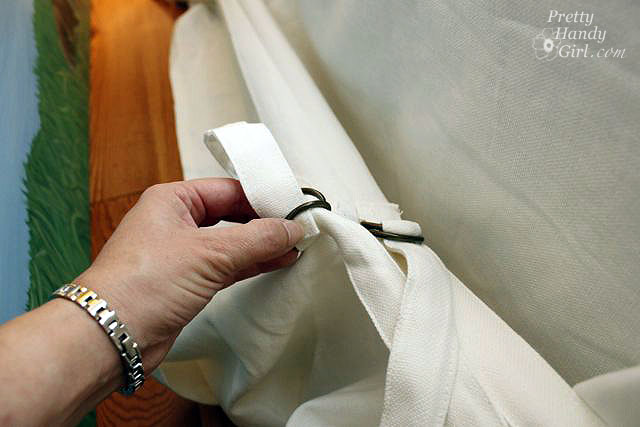
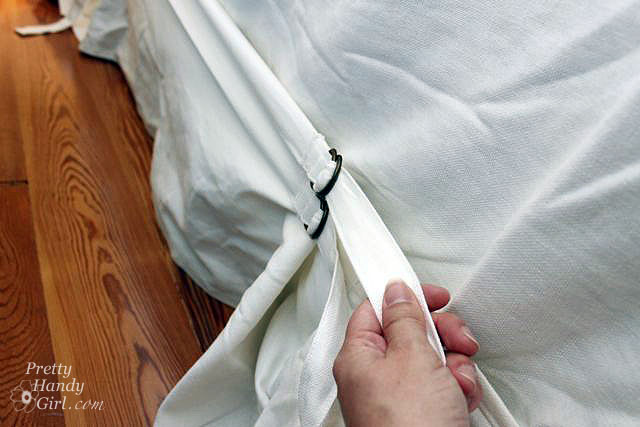
Feed the straps from the side panels through the D-rings in the back of the slipcover, and loop back between the two rings.

Slipcover a Couch Beautifully

Pull the straps until the slipcover is tight. Be sure to leave enough slack to be able to tighten the other side.

Slipcover a Couch Beautifully

Tuck any excess fabric into the folds behind the side panels and the d-rings.

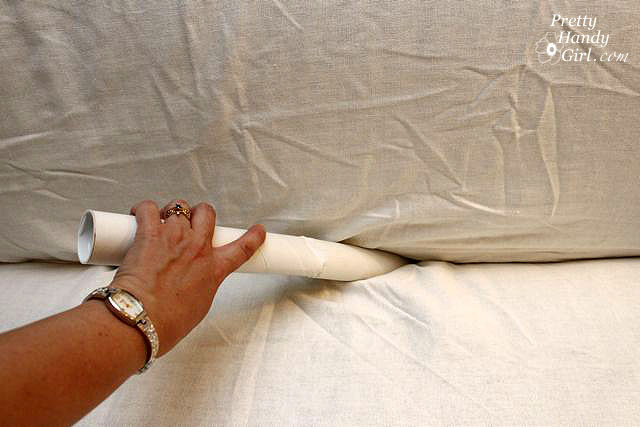
Once you have the slipcover positioned, folded and tucked the way you like, then insert several cardboard light-sabers shipping tubes into the crevices between your cushions.

Slipcover a Couch Beautifully

These will secure and hold your slipcover in place.

And now, another little video on eliminating the wrinkles in your slipcover. I just used my hands and a squirt bottle filled with water. Be prepared as I almost cross the line. I admit it, sometimes I have the mind of a 7th grade boy.

I hope those videos were helpful for you! Do you like my new UglySofa.com slipcover?

Slipcover a Couch Beautifully

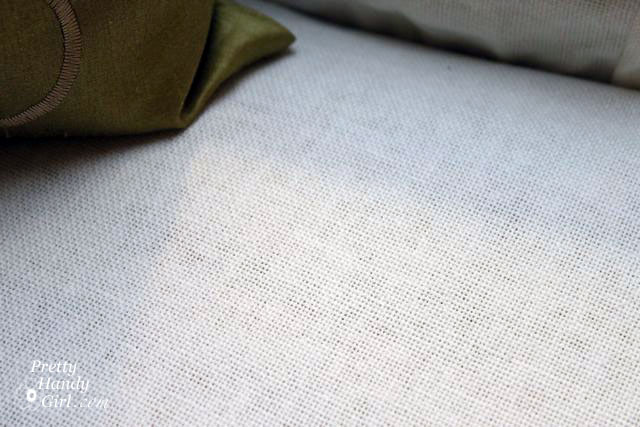
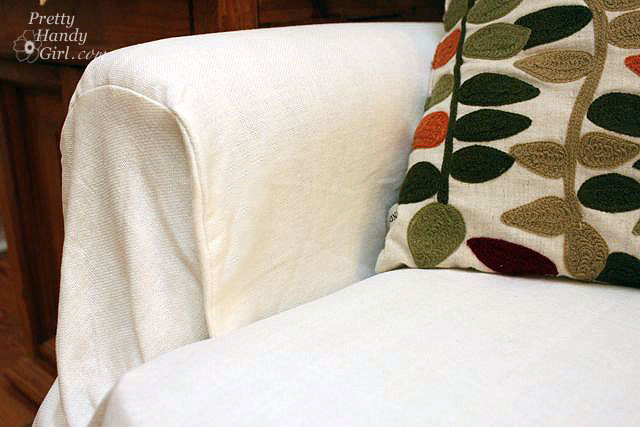
The boxpleat slipcover has a nice relaxed weave, very similar to a grain cloth.

Slipcover a Couch Beautifully

And the sides drape nicely over my sofa’s arm. The color I chose was ivory linen.

Slipcover a Couch Beautifully


Slipcover a Couch Beautifully


Hanging Curtains

Glad you came back to see how I hung the curtains in our bedroom. If you are just joining us, I hung some blinds the other day in a mini-makeover for our master bedroom.

Hanging Curtains

Hanging Curtains

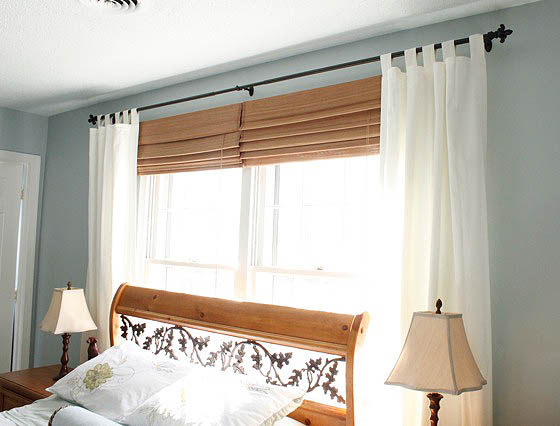
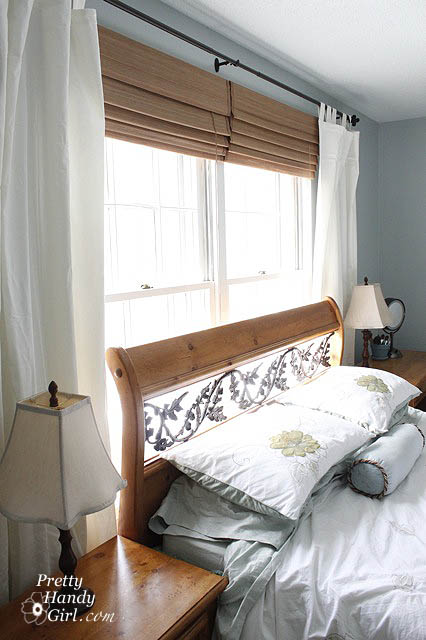
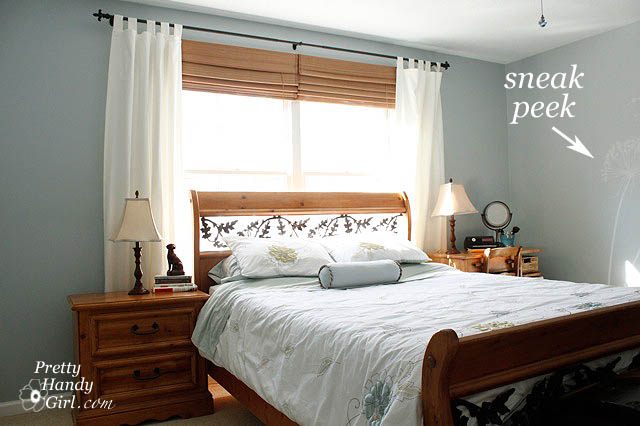
Then I hung a curtain rod and flanked both windows with some billowy white cotton curtains. I still can’t believe what a difference this made in the room.

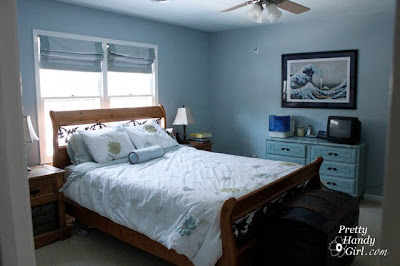
Here is the dark and drab before:

Hanging Curtains

So, you want to hang your own curtains? I’m here to help you along with that.

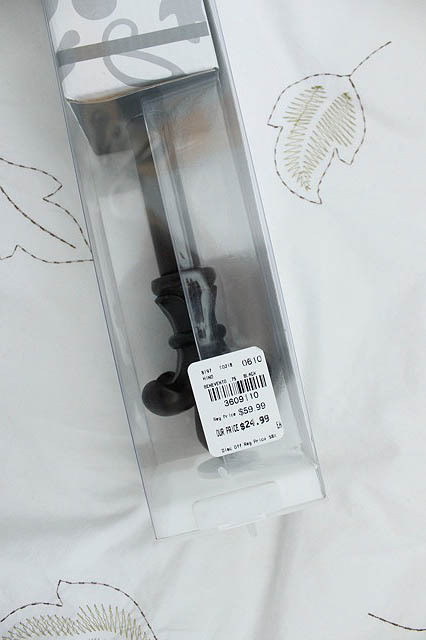
By the way, if you have a Tuesday Morning near you, check out their curtain rods! This extra wide one for spanning two windows was only $24.99!

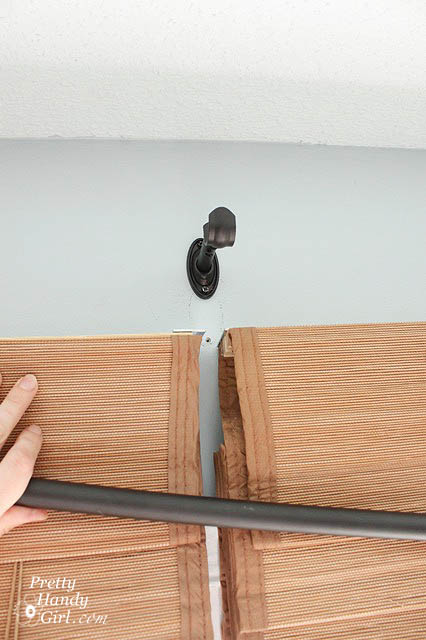
Start out by holding up your curtain rod (preferably with a friend holding and you looking.) And mark the height of your rod on the wall.

Hanging Curtains

Take the time to check and see if there is a stud behind where your bracket will hang. If there is, check out my post HERE for hanging the bracket into a stud. All my brackets landed in locations without a stud behind them.

Hanging Curtains

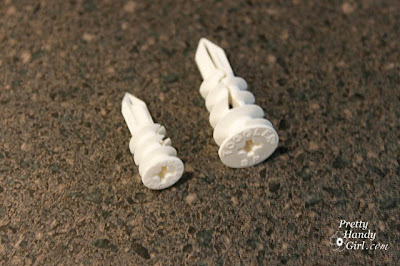
So, I grabbed some Toggler anchors and used them instead of the screws that came with the curtain rod.

Hanging Curtains

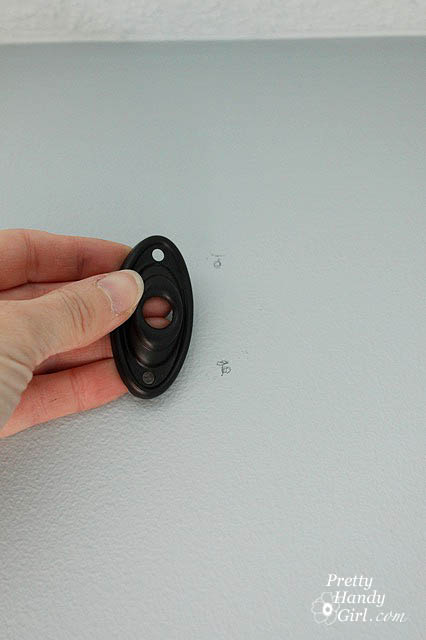
Start by tracing the screw holes in your bracket.

Hanging Curtains

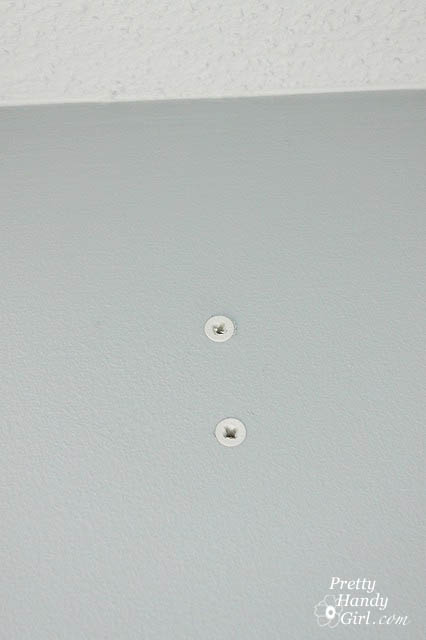
Next screw the two screws that come with the Toggler anchors partially into the wall. This creates starter holes for the anchors.

Hanging Curtains

Remove the screws.

Hanging Curtains

Use a philips head screwdriver and screw the anchors into the wall until they are flush with the wall. Be careful not to over-tighten.

Hanging Curtains

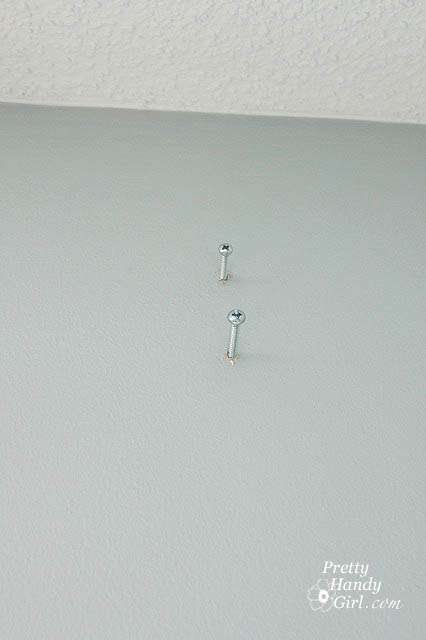
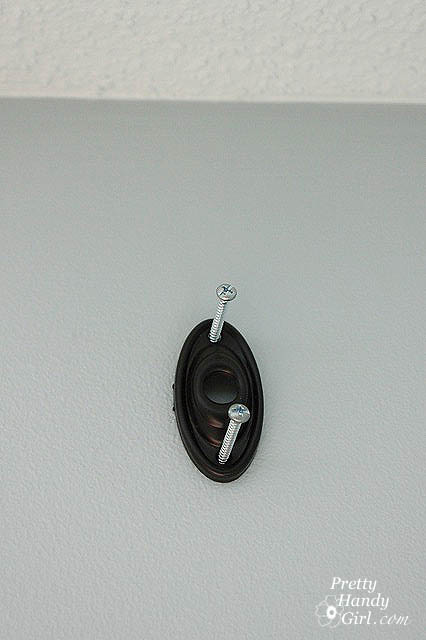
Line up your bracket on top of the anchors, and then insert the screws that come with the anchors into the wall.

Hanging Curtains

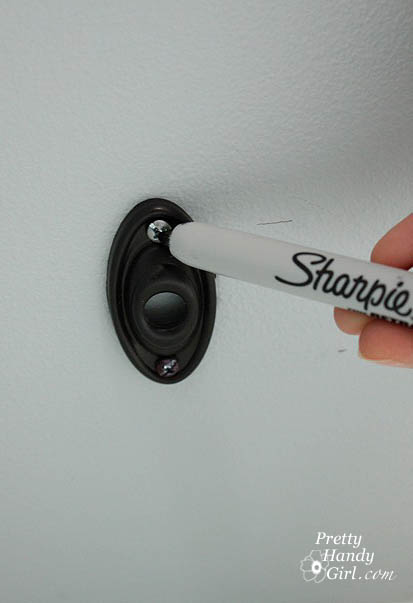
As you can see, the toggler screws are silver, but not for long! Grab a permanent black marker and color them black.

Hanging Curtains

Or if you are using white or brown brackets, you can simply paint them with acrylic craft paint, stain or primer. Your choice.

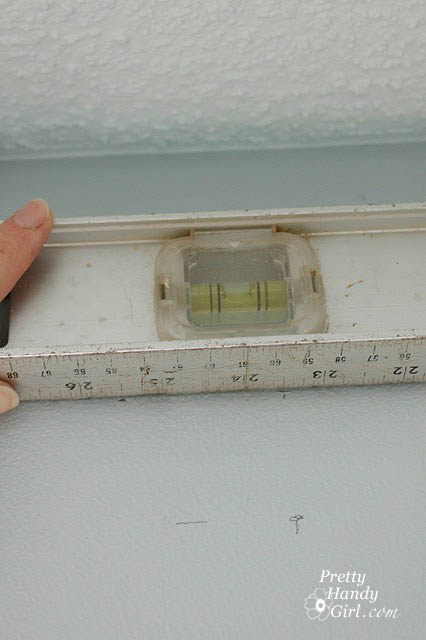
Next, using your level, rest it on top of the first bracket and make a mark on the wall where your next bracket will be mounted. This will insure that it is level with the first.

Hanging Curtains

Repeat the steps to install the second and third bracket (if you have a wide span of windows like I do.)

Hanging Curtains

Assemble the brackets per the instructions that came with them. And hang your curtains!

Hanging Curtains

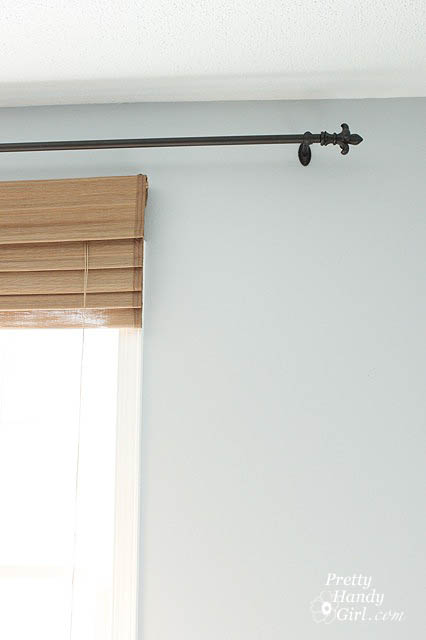
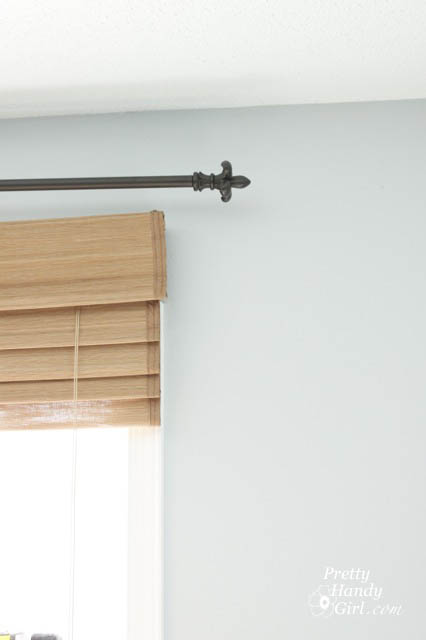
You may have noticed how far the rod extends beyond the window. This is a design trick to make the windows appear bigger, plus it allows for the maximum amount of natural light to enter the room.
 Hanging Curtains

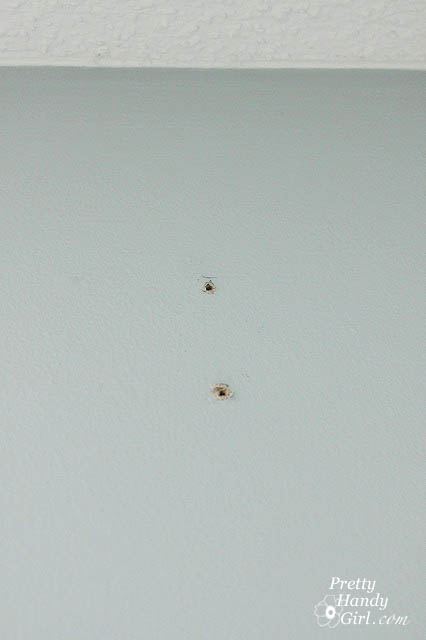
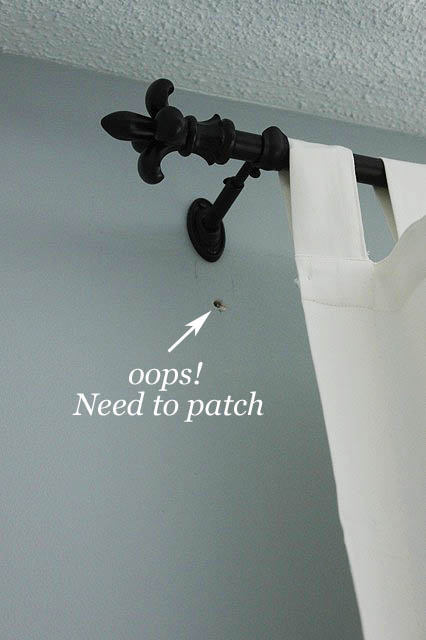
Okay, less you think that everything I do is perfect – remember how I said to have a friend hold the rod when you first decided how high to hang the rod. Well, I didn’t! I was too impatient. So, I ended up having to re-do the first bracket and was left with this.

Hanging Curtains

No biggie. I just patched the hole and applied some touch up paint. Good as new!

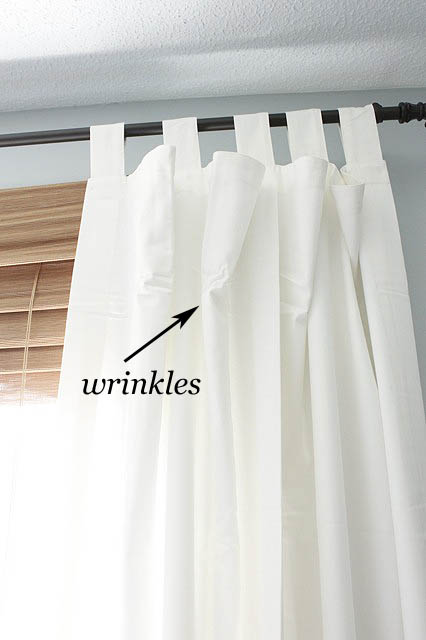
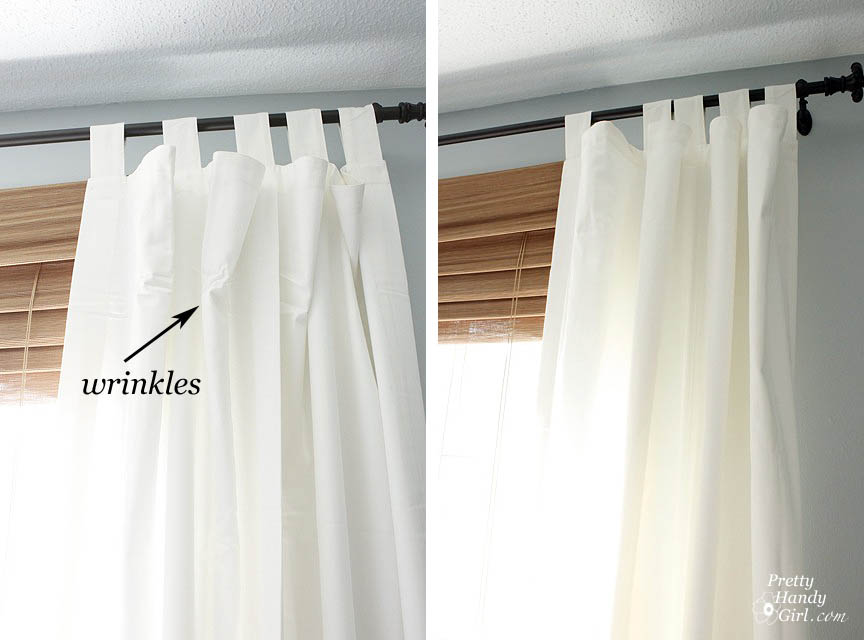
Except, I was too lazy to iron the curtains before I hung them. (Yup, I’m an instant gratification kind of gal, couldn’t you tell?!)

Hanging Curtains

So, I have for you a two-fer post. Two posts in one! Wow, your lucky day right?!

A No Iron Technique for Removing Wrinkles!

This is my favorite technique for removing wrinkles. I use it on everything! Slipcovers, curtains, sheets, and clothing I am already wearing.

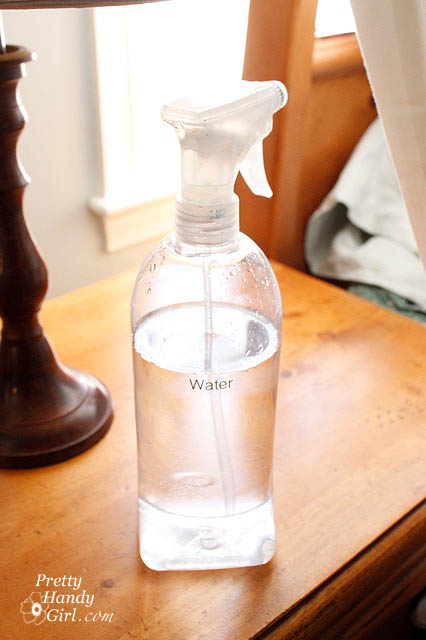
You will need one of these:

Hanging Curtains

Just a squirt bottle with plain old H2O in it. Nothing fancy. Set the nozzle to mist.

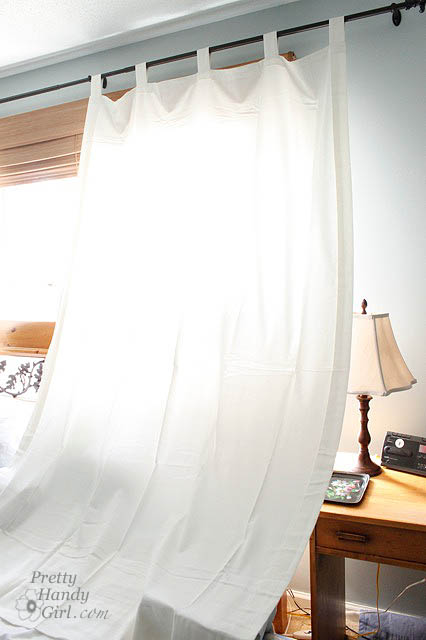
Spread out your curtains.

Hanging Curtains

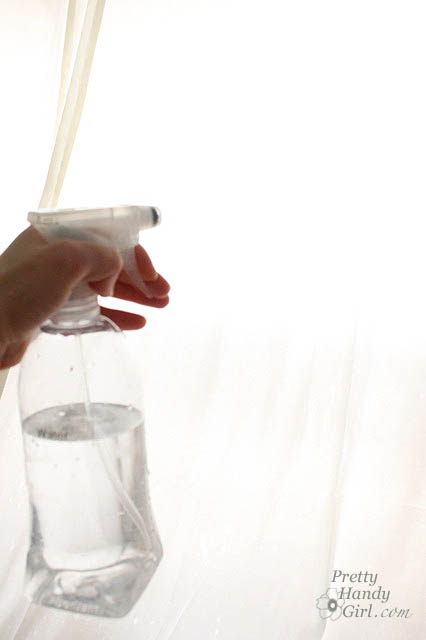
Then go to town spraying your wrinkled areas. When it dries the wrinkles are magically gone.

Hanging Curtains

Sometimes they might need another spray and some smoothing with your hands, but ultimately they usually come out.

Hanging Curtains

Only the stubborn wrinkles get to meet my iron.

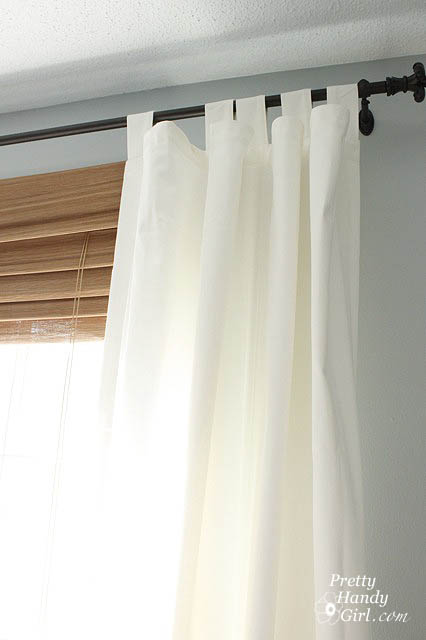
As you can see below, most of the wrinkles came out, but we had party guests arriving in 15 minutes, so I left them as is and will iron them another day. Maybe.

Hanging Curtains

And one more look at my new curtains and blinds.

Hanging Curtains

Hey! Are you peeking at my new wall graphic I painted? You cheater, you’ll have to read my post where I will show you how to paint a wall graphic. In the meantime, I posted a picture of me working on it on my Facebook fan page.