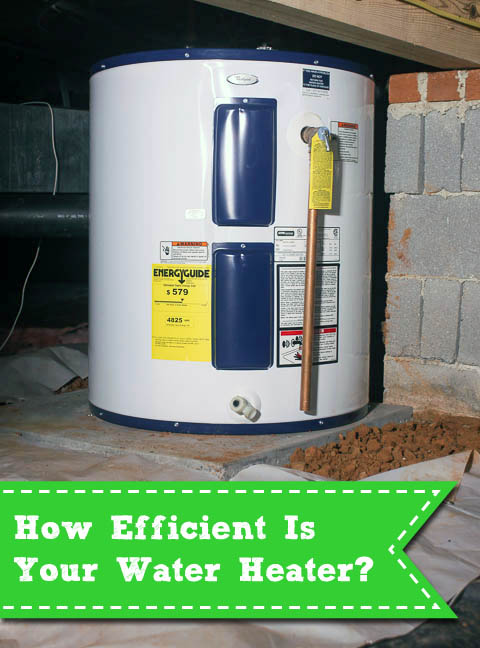

At the beginning of 2016 government standards dictated that new tank style water heaters must be more energy efficient. In response, manufacturers added internal insulation to new heaters. Unfortunately for those of us with tiny crawlspace water heaters, it meant we had to give up 10 gallons in storage to accommodate the added insulation. For a family of four, that is a big deal when our tank only holds 50 gallons to begin with.
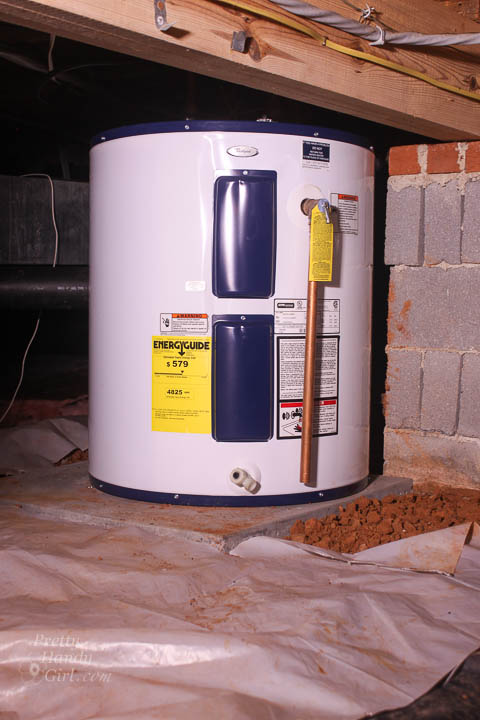
In anticipation of the new rules, I purchased one of the last “less energy efficient” models to replace our 15 year old unit.
Although it’s true that an older water heater has less insulation, you can help your tank be more energy efficient. How? Simply add a water heater insulation blanket. It’s an easy DIY home improvement you can accomplish in thirty minutes or less. Want to learn How to Make a Tank Style Water Heater Energy Efficient? Great, let’s get cozy.
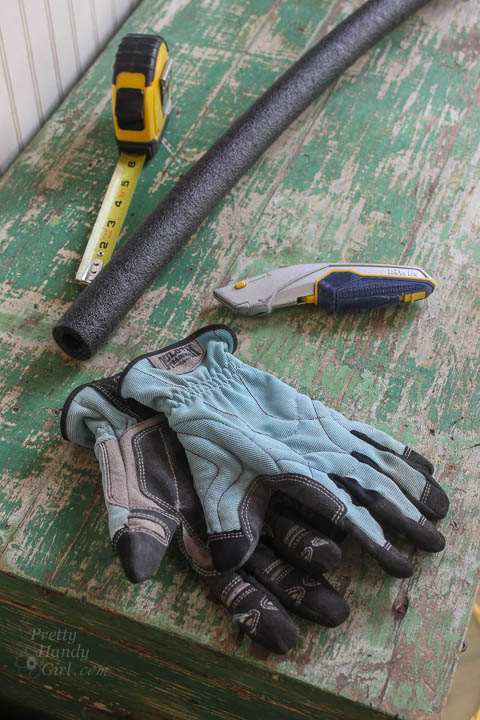
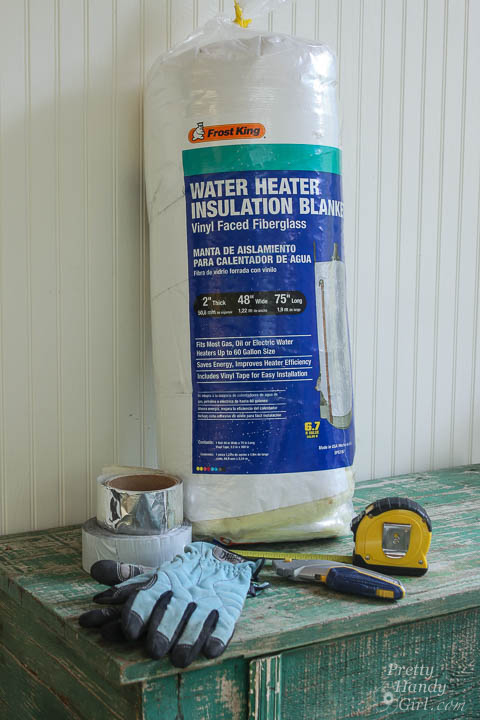
Materials:
(I’ve included affiliate links for your convenience. I earn a small percentage from a purchase using these links. There is no additional cost to you. You can read more about affiliate links here.)
Preparation:
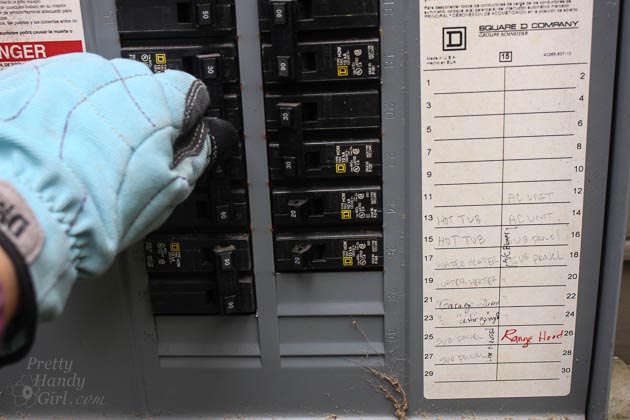
For your personal safety, turn off the power supply to your water heater.
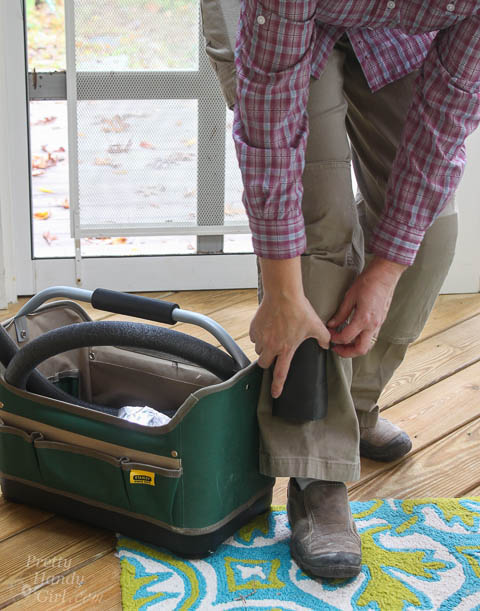
Suit up if you have to go into a crawlspace. I always wear work pants and knee pads because even the most pristine crawl space might have an occasional rock or dropped nail or screw that you don’t want to kneel on.

Instructions:
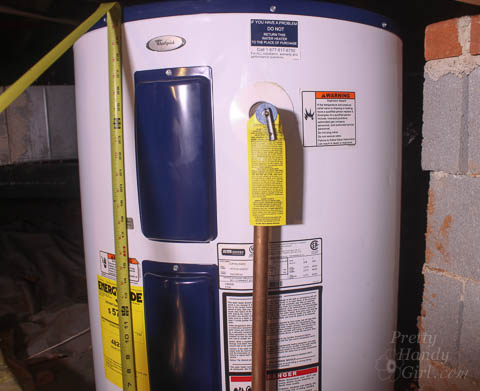
Measure the height and circumference of your water heater.
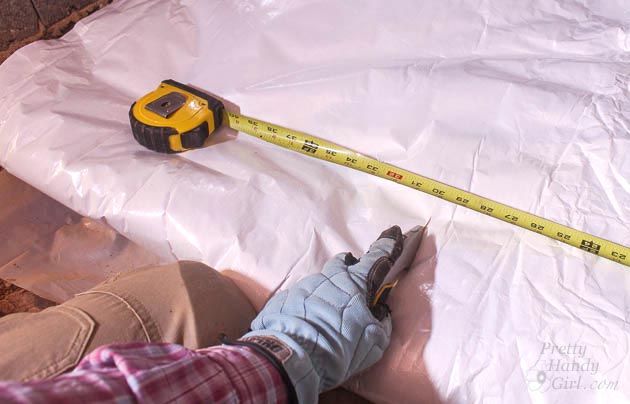
Transfer the measurements onto your insulation blanket and cut to size*. (The low boy water heaters that fit in crawlspaces are usually wider than their taller cousins, so you may have to rotate the blanket or piece it together to make it fit.)
*As a side note, I didn’t have enough to go all the way around with the Frost King water heater insulation blanket I used. After reading reviews, I realize I wasn’t the only one. Therefore, I linked to another insulation blanket with better reviews in the materials list.
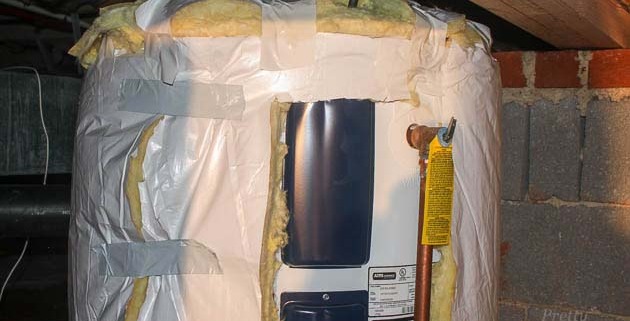
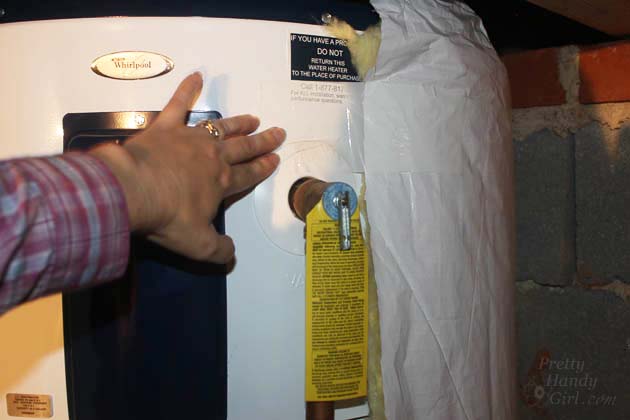
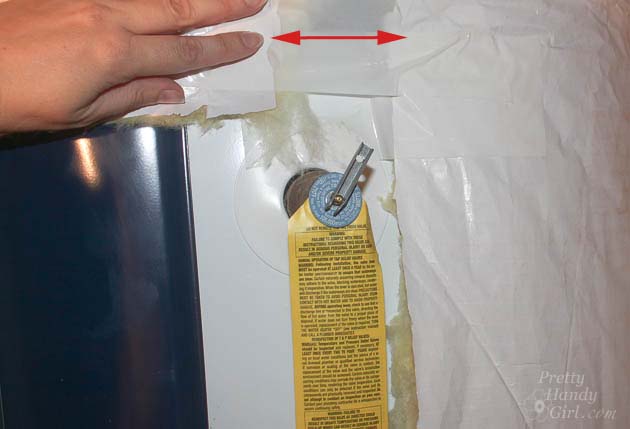
Add some tape to the tank to secure the insulation blanket (the fiberglass insulation side facing in.) Then wrap it around the tank.
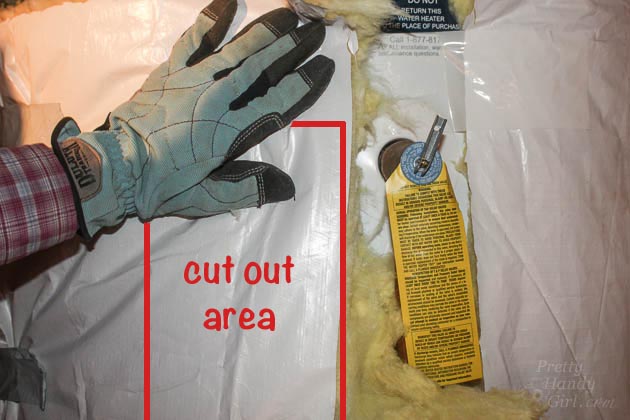
You must keep the access panel and pressure release valve uncovered. Cut those sections out of your blanket.
Add duct tape to secure the blanket around the water heater.
If you have additional insulation blanket material, cut a piece and attach it to the top of your heater (only for electric water heaters.)
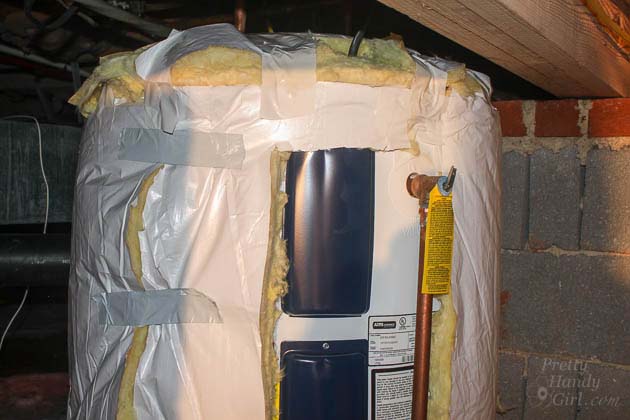
Doesn’t your water heater look cozy and warm? It may not be the prettiest makeover, but it will save a pretty penny! 😉
![]()
Don’t forget to turn the power back on and enjoy hot water on demand.
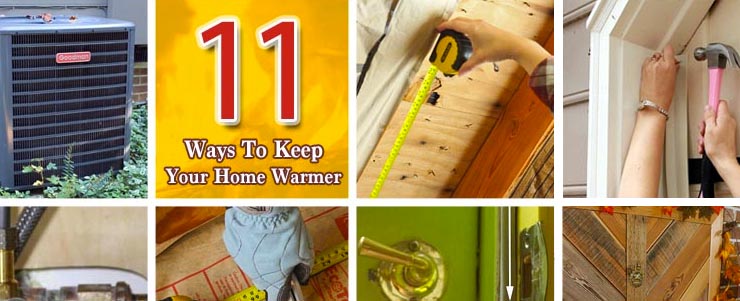
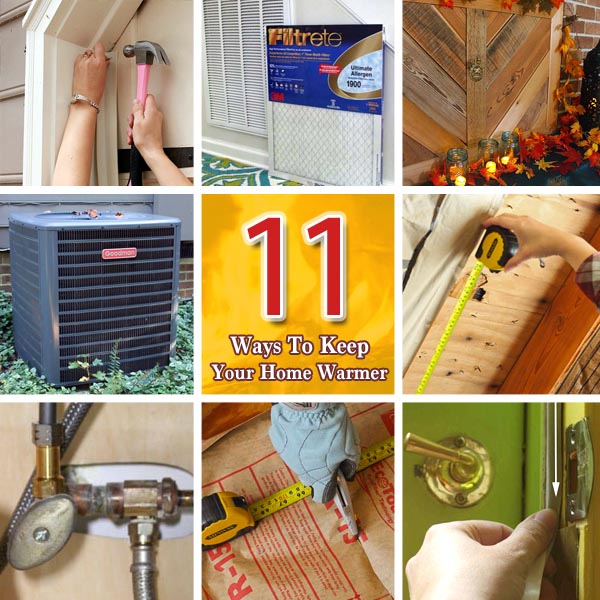
Hope you have a great weekend and check out some of these home maintenance repairs you can do yourself!
![]()