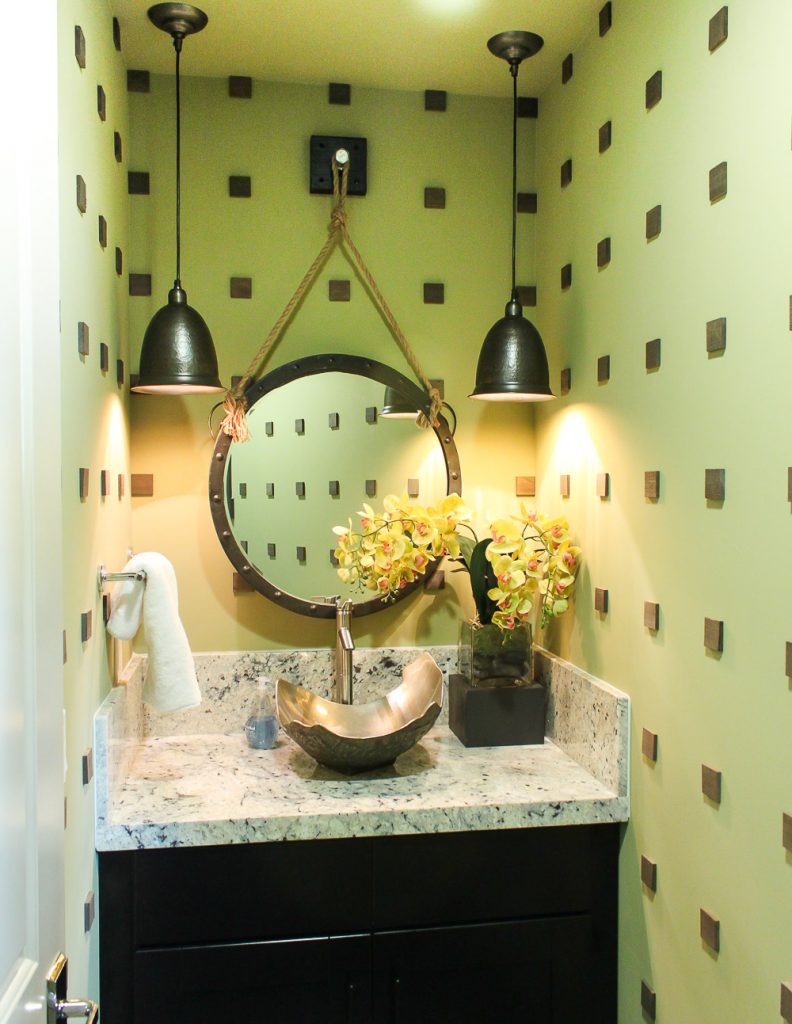
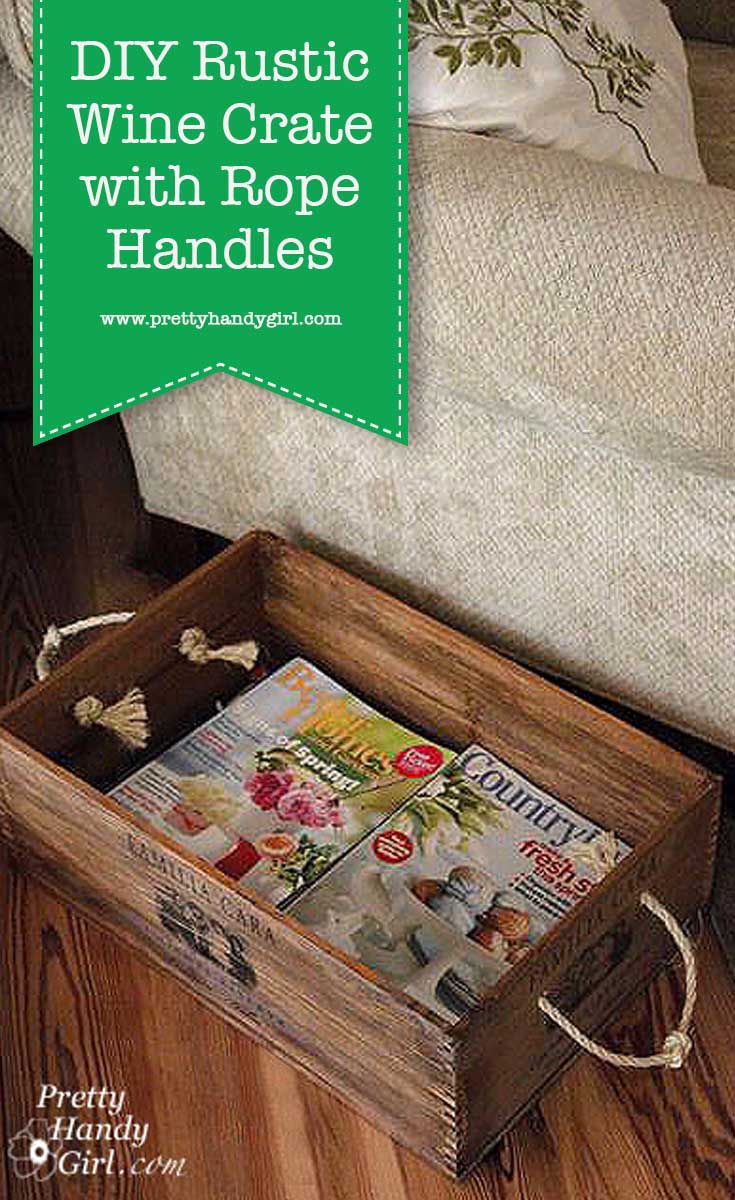
Rustic Wine Crate with Rope Handles
Have you ever stumbled across a wine crate and wondered what you could do with it? I have just the idea for you and it will take less than an hour to create. Today I’ll show you how to make a Rustic Wine Crate with Rope Handles. This is a great decor item that doubles as storage. And you can also use this as a gift basket if you fill it with goodies.
Materials:
(I’ve included affiliate links for your convenience. I earn a small percentage from a purchase using these links. There is no additional cost to you. You can read more about affiliate links here.)

- Wine crate or wooden box
- Dark brown stain (Minwax Early American is the stain I used.)
- Paint Brush
- Paper towels
- Damp rag
- Rubber gloves
- Medium Grit (120 grit) sandpaper
- Sisal Rope
- Scissors
- Drill
- Drill bits
Instructions:
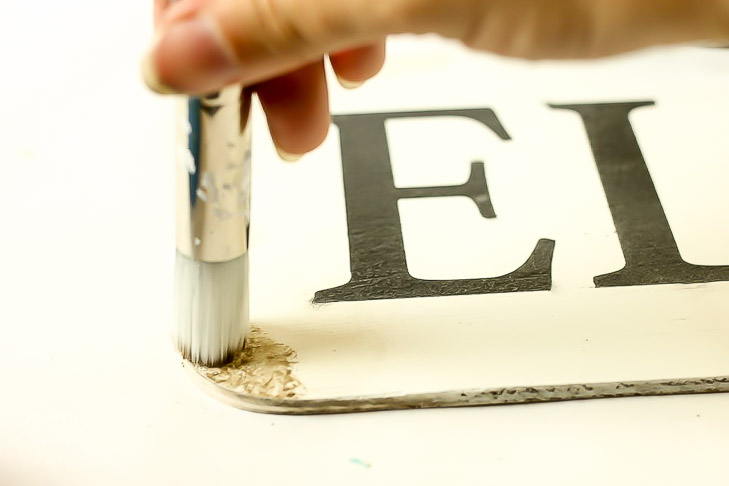
1. Clean your crate with a damp rag. Then brush the stain on and let it sit for a minute.

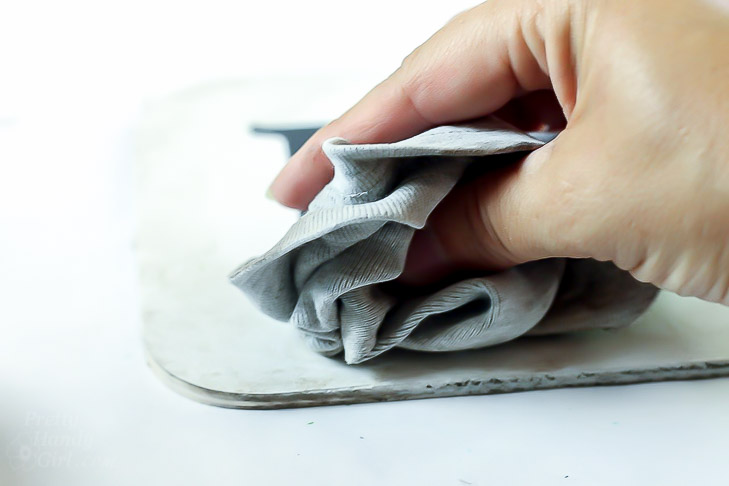
2. Wipe any excess stain off with paper towels.

Add a second coat if you like a darker colored crate. Allow it to dry thoroughly. (This might take several hours or overnight depending on your humidity. Hand raised…hot and humid North Carolina dweller here.)

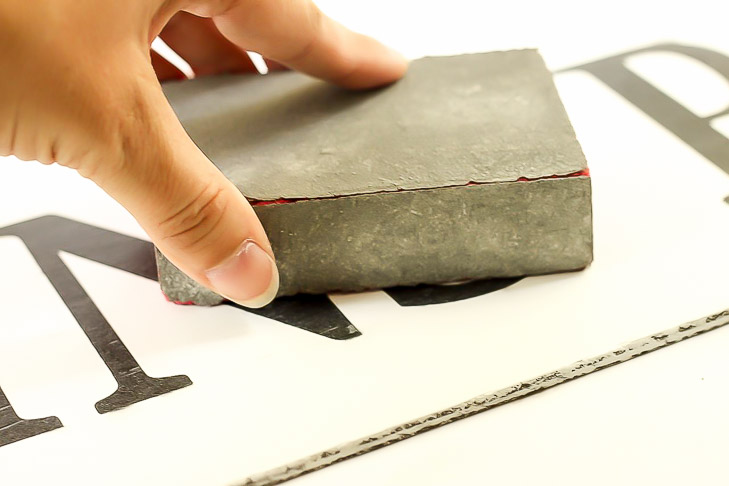
3. Sand any words and printing on the crate until you start to see some of the wood coming through. Be careful not to sand too deep and expose the bare wood. Wipe off the crate.

4. Mark the location for the rope handle on the sides of the crate. Be sure to measure the same distances from the top and edges on both sides.

5. Choose a drill bit slightly larger than your rope. Drill holes at the marks.

6. Insert one side of the rope through the hole.

7. Tie a double knot inside the crate to keep the rope from slipping back through.

8. Determine how long a handle you desire and tie a single knot in the middle of the handle.

9. Feed the other end of your rope through the other hole and tie another double knot on the inside of the crate.

10. Fray the edges of your rope by untwisting them.

Fill your crate with magazines, blankets, or décor goodies and display it proudly!

Better yet, fill it with several gifts to create a unique gift basket. Keep with the wine theme by adding some wine, crackers, cheese, and nuts.

Easy tutorial right? How many of you are running to your local wine shop and begging for wine crates now? P.s. I’ve seen them at Costco, too.

Pin for later!


 Pull the stencil up…