How to Make an Air Conditioner Screen from Pallets

How to Make an Air Conditioner Screen from Pallets

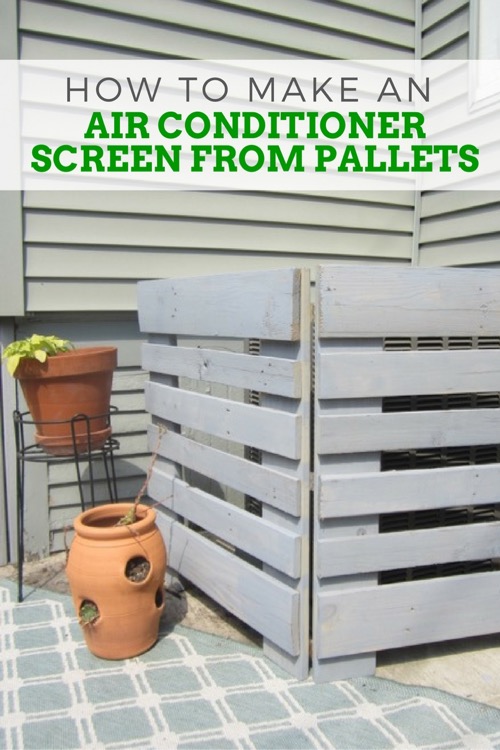
Hi friends. It’s Jessica from Decor Adventures and I’m here to show you an easy project that will improve the look of your yard.  If you are like me and are lucky enough to have central air conditioning in our home, but unlucky enough to have a large air conditioning unit taking up some of our backyard patio space, this project is perfect for you. We decided to create an air conditioning screen that would conceal the unit and help make our back patio into a better looking space for relaxation.

Making a screen to hide your air conditioner unit is easy. We elected to do this with pallet wood which (although it’s not the best quality wood) is free and easy to work with. Here’s how to make an air conditioner screen from pallets.

Materials:

  • Pallets
  • Reciprocating saw
  • Eye protection
  • Work gloves
  • Pry bar
  • Braid nails
  • Nail gun
  • Level
  • Measuring tape
  • Miter saw
  • Hinges and screws
  • Drill and drill bits
  • Exterior paint/primer
  • Paint brush
  • Water
  • Plastic drop cloth

How to Make an Air Conditioner Screen from Pallets

Instructions:

First find pallets to use for this project. We looked on Craigslist and found some listed for free. If you don’t see any, you can ask at places like automotive repair stores, home improvement stores, manufacturing warehouses, etc. Make sure to ask if you can take some and how many.

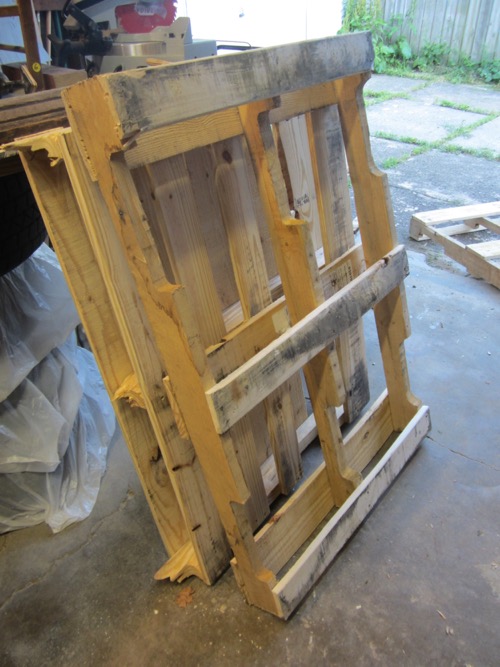
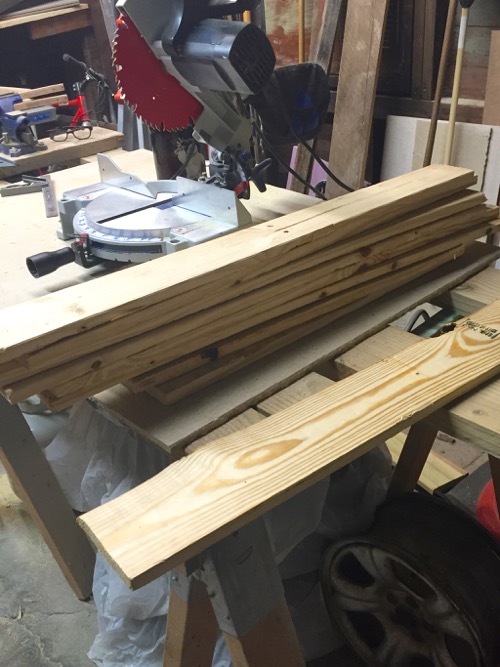
For this project we used about 2 pallets. Pallets aren’t the best quality wood, prying them apart can break the wood. We opted to cut them apart with a reciprocating saw. Cut apart each pallet until you get flat pieces of wood like this. We didn’t use the inside “frames” of the pallets for this, just the flat parts.
How to Make an Air Conditioner Screen from Pallets

Measure your air conditioner to determine the height and width of your screen. Add a few inches to the height and width. This screen has 2 sides hinged together but you could easily make a third or even fourth side if needed.
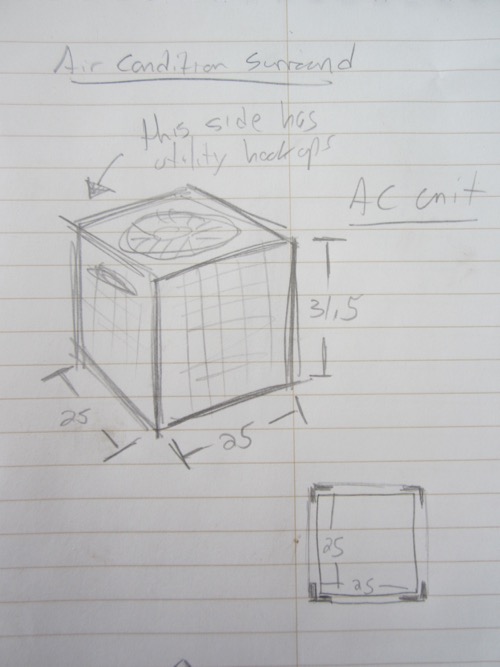
How to Make an Air Conditioner Screen from Pallets

Next, use a miter saw to cut four pieces of wood to size for each side of the screen, two for the vertical sides and two for the horizontal rows for each side. This will form the frame for each side. The bottom board is a few inches off the ground to give the screen feet to stand on.
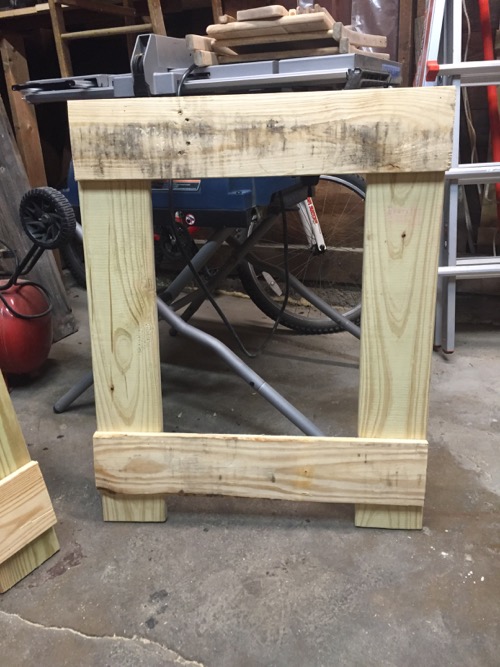
How to Make an Air Conditioner Screen from Pallets

Measure and cut more pallet boards to create the slats of your screen. Nail the pallet slats onto the frame, making sure the boards are level. Repeat the process to make a second side.
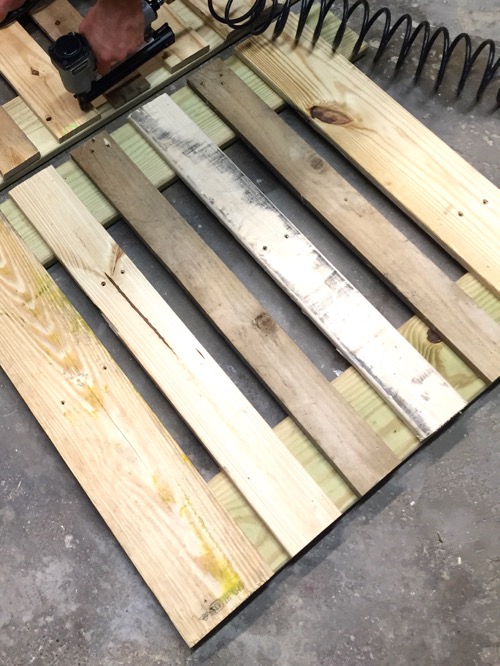
How to Make an Air Conditioner Screen from Pallets


Take the two sides and lay them on a flat surface next to each other, with the back sides facing up. Locate two hinges. (I used small hinges we already had on hand, but there are a variety of sizes available at the home improvement stores.)

Mark where the hinges will go with a pencil and pre-drill holes for the screws. With your drill or screwdriver, attach all four screws for each hinge. (I used three hinges for this screen.)
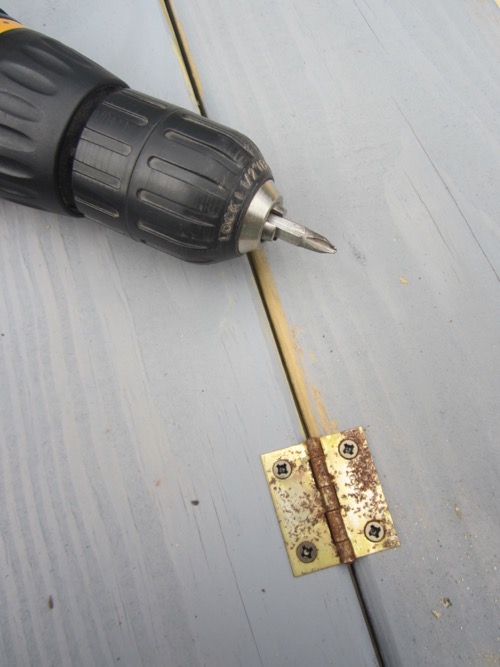
How to Make an Air Conditioner Screen from Pallets

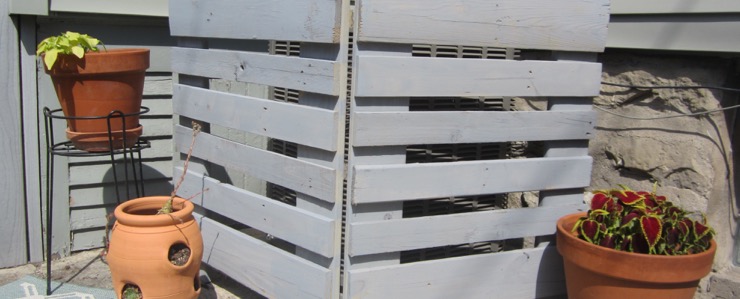
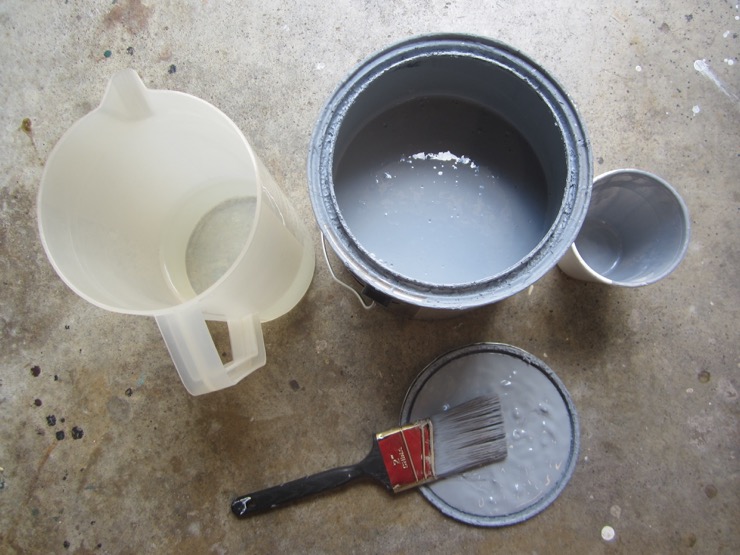
To conceal the air conditioning unit more, I elected to paint the wood gray to help it blend in more. Mix 1 part exterior primer/paint to 2 parts water and brush it on the screen. Blending the paint with water gives it a more washed look and lets some of the wood show through.
How to Make an Air Conditioner Screen from Pallets

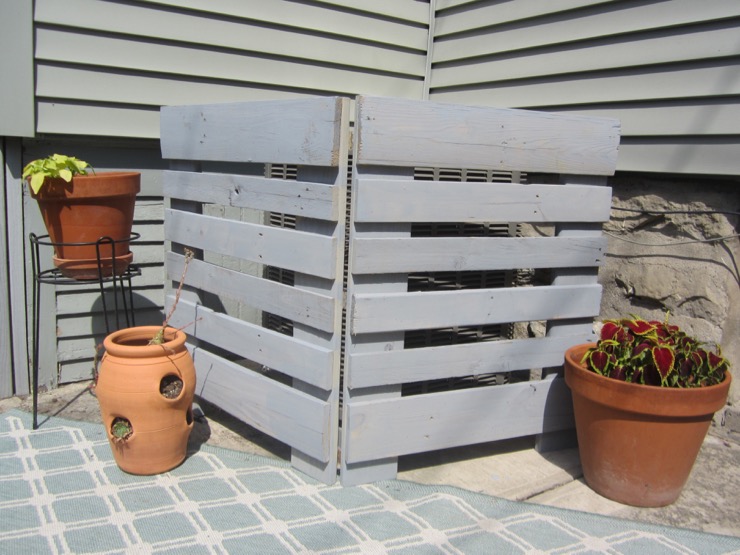
Let the paint dry and then prop it up around your air conditioner.  This makes a nice looking piece of furniture instead of a utility that takes up part of your yard or patio. You can even get creative and hang plants from it.
How to Make an Air Conditioner Screen from Pallets

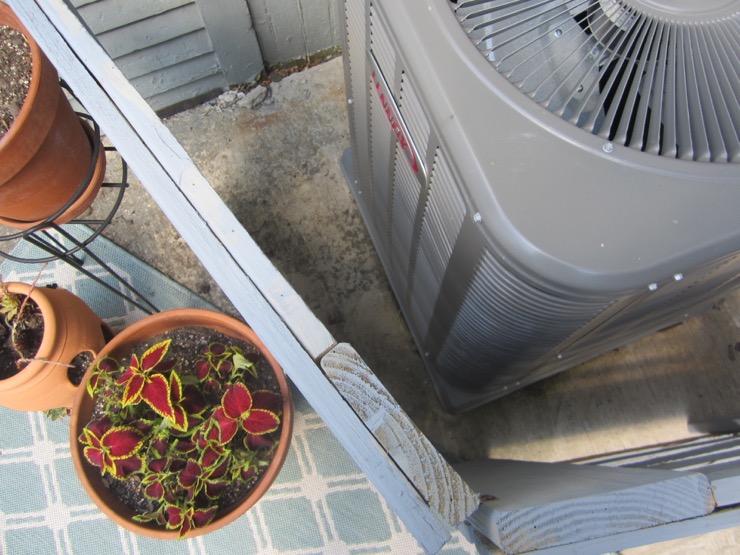
When you set up the screen around your air conditioning unit, make sure to allow at least 8-10 inches from the unit for the best air flow and efficiency of your unit.
How to Make an Air Conditioner Screen from Pallets

Learn more about maintaining your air conditioner here.

See you at Decor Adventures soon and happy building!

Decor Adventures Blog

~ Read more of Jessica’s tutorials ~


Pin for later!
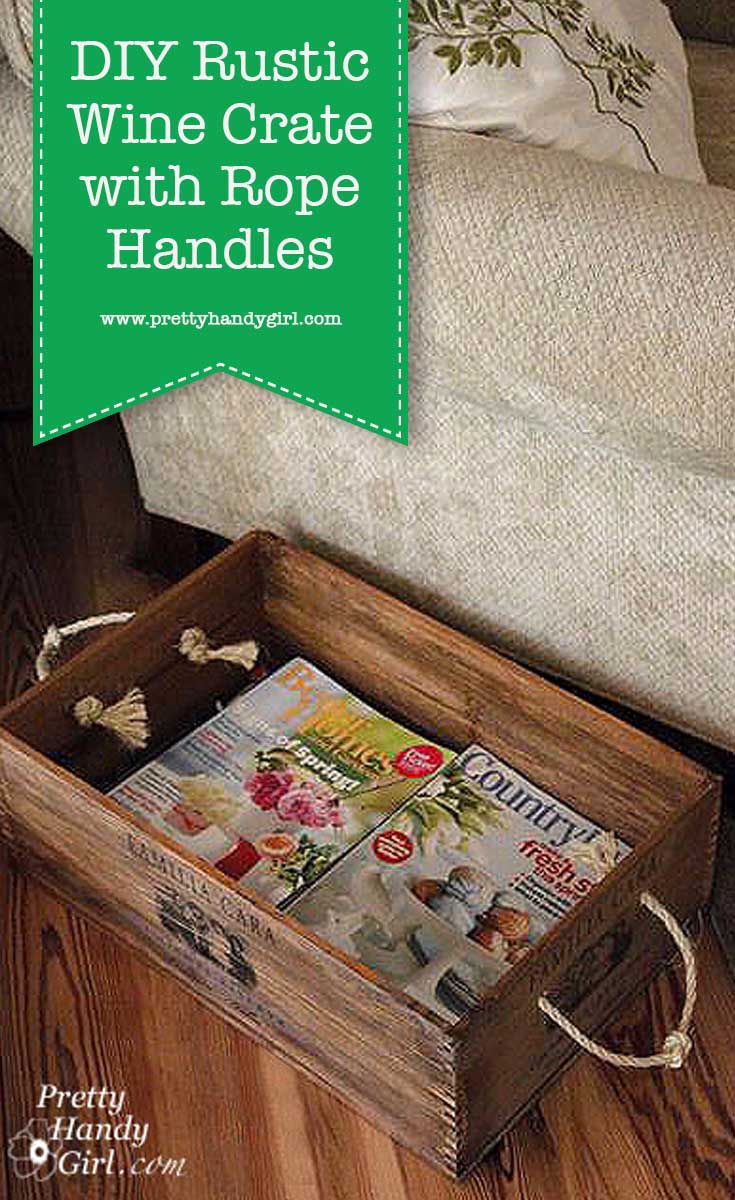
Rustic Wine Crate with Rope Handles

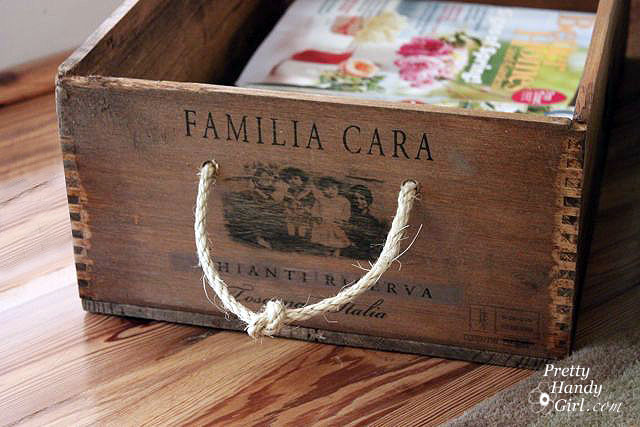
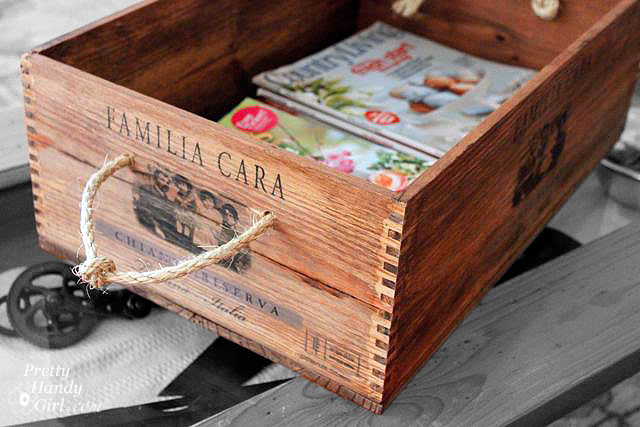
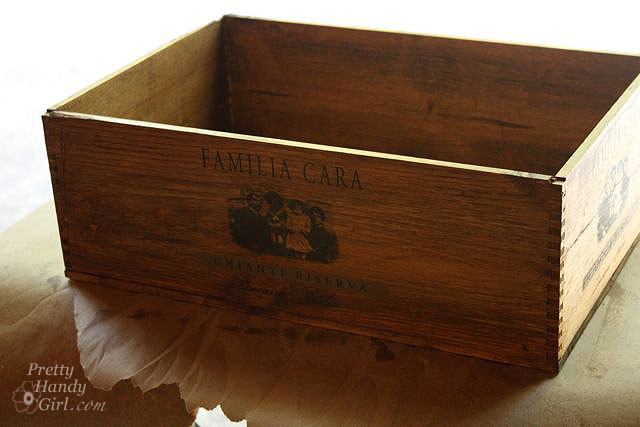
Have you ever stumbled across a wine crate and wondered what you could do with it? I have just the idea for you and it will take less than an hour to create. Today I’ll show you how to make a Rustic Wine Crate with Rope Handles. This is a great decor item that doubles as storage. And you can also use this as a gift basket if you fill it with goodies.

Materials:

(I’ve included affiliate links for your convenience. I earn a small percentage from a purchase using these links. There is no additional cost to you. You can read more about affiliate links here.)

Instructions:

1. Clean your crate with a damp rag. Then brush the stain on and let it sit for a minute.

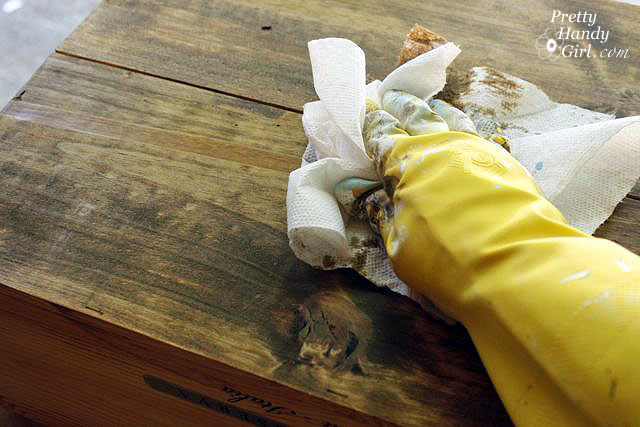
2. Wipe any excess stain off with paper towels.

Add a second coat if you like a darker colored crate. Allow it to dry thoroughly. (This might take several hours or overnight depending on your humidity. Hand raised…hot and humid North Carolina dweller here.)

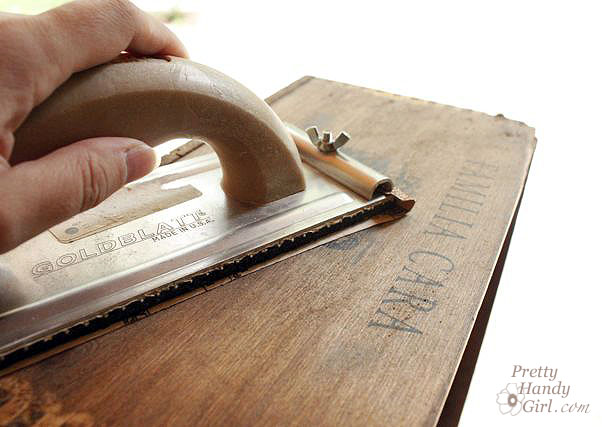
3. Sand any words and printing on the crate until you start to see some of the wood coming through. Be careful not to sand too deep and expose the bare wood. Wipe off the crate.

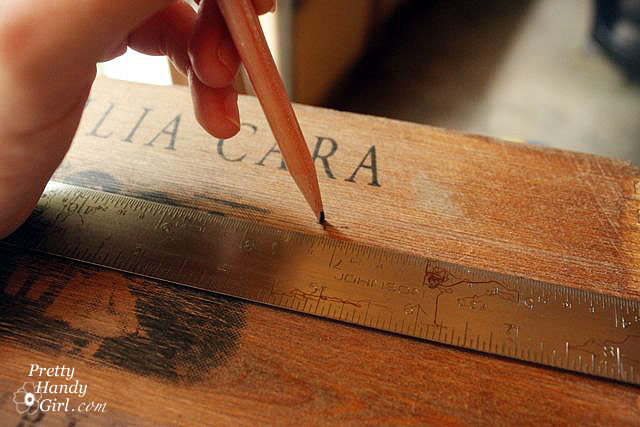
4. Mark the location for the rope handle on the sides of the crate. Be sure to measure the same distances from the top and edges on both sides.

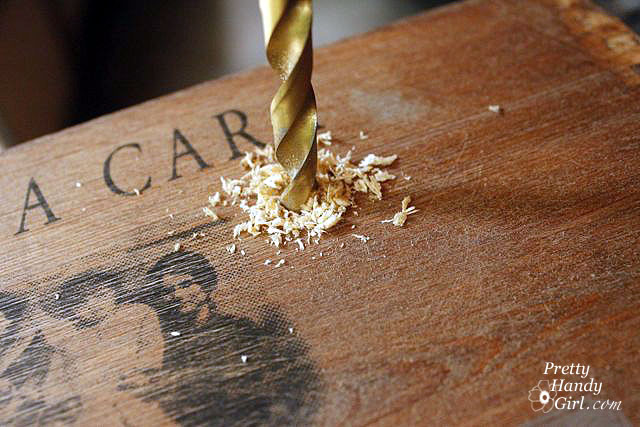
5. Choose a drill bit slightly larger than your rope. Drill holes at the marks.

6. Insert one side of the rope through the hole.

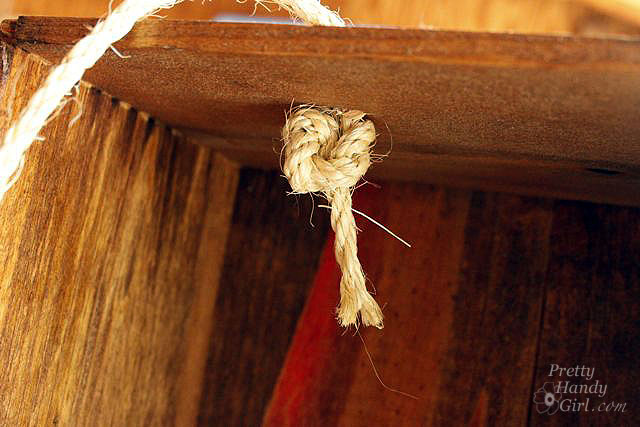
7. Tie a double knot inside the crate to keep the rope from slipping back through.

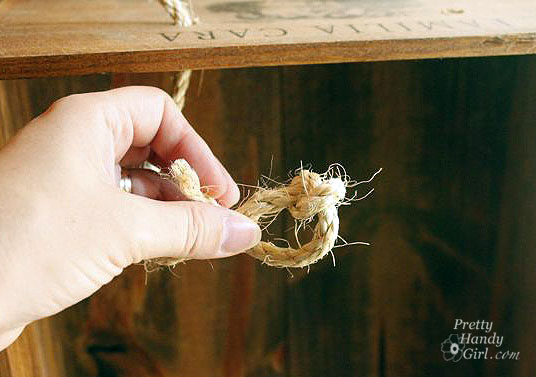
8. Determine how long a handle you desire and tie a single knot in the middle of the handle.

9. Feed the other end of your rope through the other hole and tie another double knot on the inside of the crate.

10. Fray the edges of your rope by untwisting them.

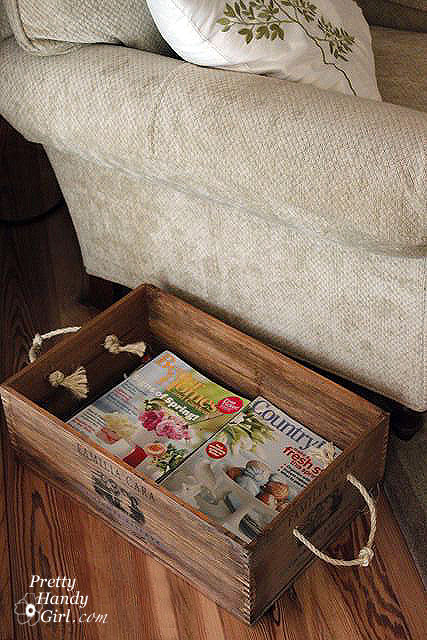
Fill your crate with magazines, blankets, or décor goodies and display it proudly!

Better yet, fill it with several gifts to create a unique gift basket. Keep with the wine theme by adding some wine, crackers, cheese, and nuts.

Easy tutorial right? How many of you are running to your local wine shop and begging for wine crates now? P.s. I’ve seen them at Costco, too.


Pin for later!
Make Your Own Street Sign | Pretty Handy Girl

Make Your Own Street Sign | Pretty Handy Girl

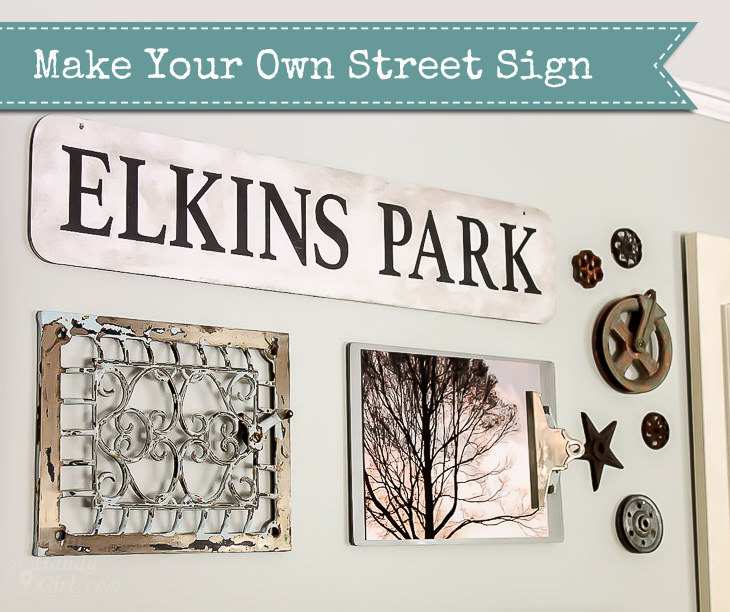
Do you have a favorite street or a town that brings you fond memories? Don’t you wish you could have a vintage sign from that place? But, what are the chances of stumbling across one in an antique shop? Probably slim to none. You could steal a sign, but you’d probably get thrown in jail. Instead let me show you how you can Make Your Own Street Sign!

Materials:

Instructions:

Use the round object to trace curves on the corners of your board. Cut out the shape you want using a jigsaw (for wood) or metal shears (for metal sign.)

Make Your Own Street Sign | Pretty Handy Girl

Paint your sign background the color you like.

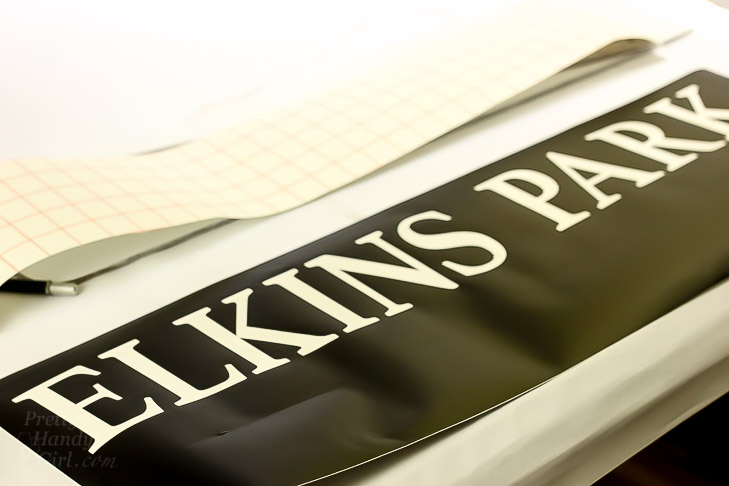
Create a stencil using vinyl and a vinyl cutter, or make your own stencil with freezer paper.

Make Your Own Street Sign | Pretty Handy Girl

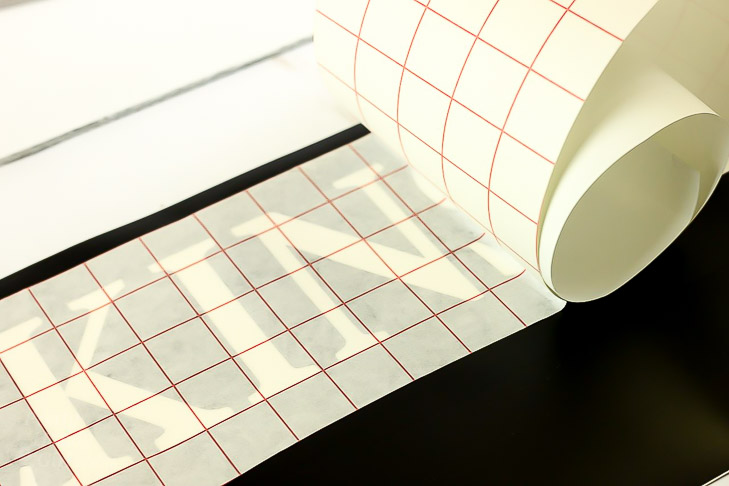
Lay transfer tape on top of the vinyl stencil.

Make Your Own Street Sign | Pretty Handy Girl

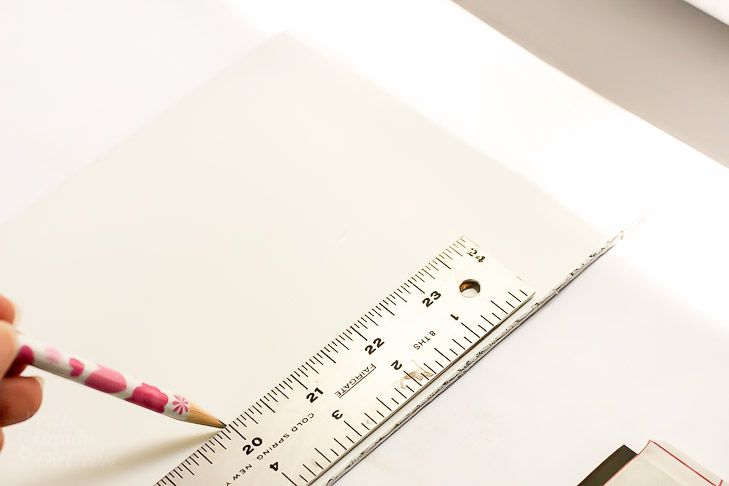
Mark a light pencil line on the sign where you want the bottom of the letters to line up.

Make Your Own Street Sign | Pretty Handy Girl

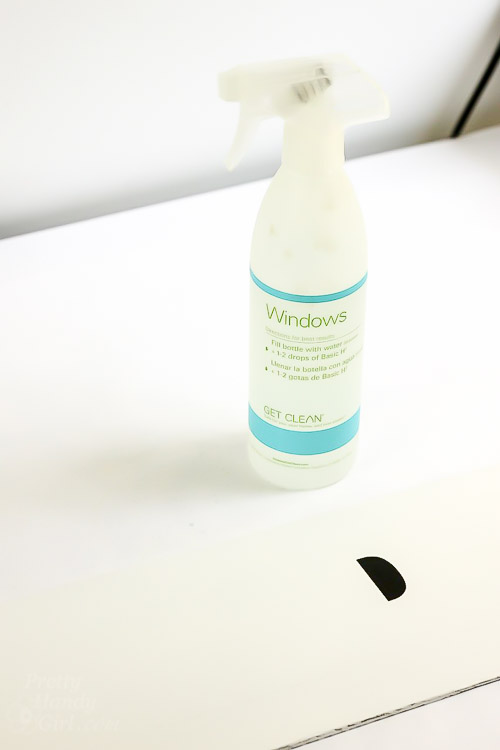
Lightly mist the front of your sign with windex or water with a little soap in it. This will help you  position your stencil without it sticking right away.

Make Your Own Street Sign | Pretty Handy GirlPull the stencil up…Make Your Own Street Sign | Pretty Handy Girl

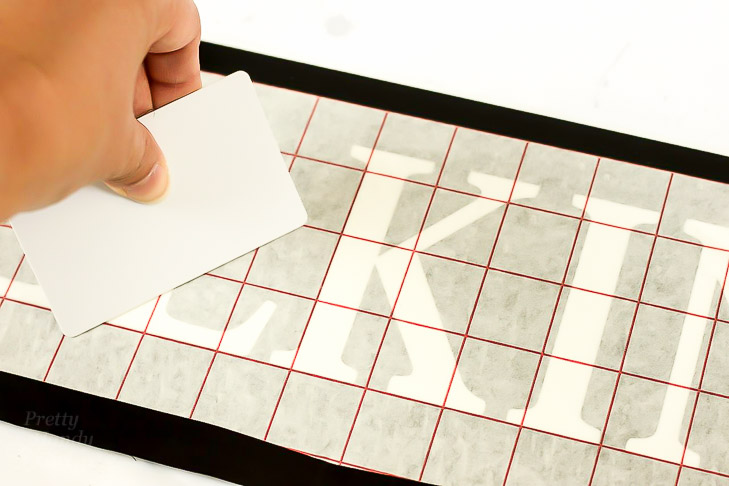
…and position it on to the sign. When you are happy with the placement, use a credit card or burnishing tool to press the vinyl stencil onto the sign.

Make Your Own Street Sign | Pretty Handy Girl

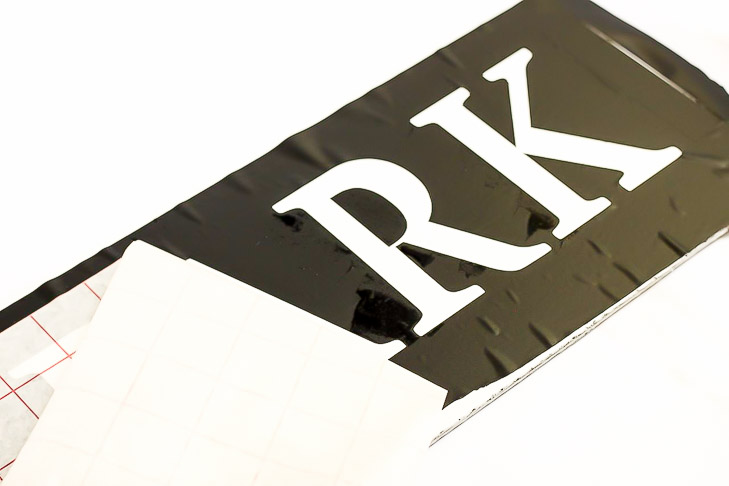
Pull the transfer paper off. Push any remaining air bubbles out of the stencil.

Make Your Own Street Sign | Pretty Handy Girl

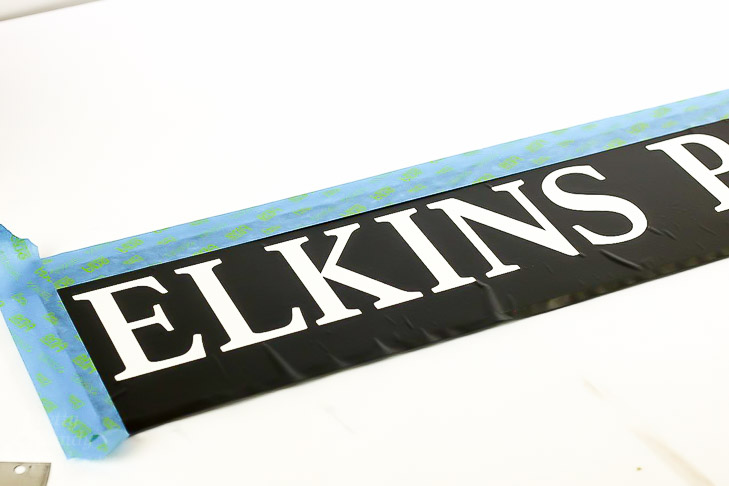
Cover any exposed portions of your sign with painter’s tape.

Make Your Own Street Sign | Pretty Handy Girl

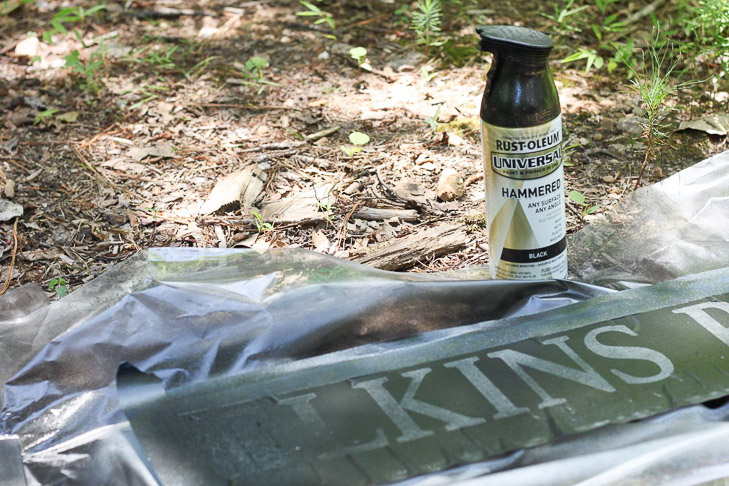
Lightly spray one coat of spray paint onto the sign. Let it dry and lightly add a second coat to get full coverage.

Make Your Own Street Sign | Pretty Handy Girl

Once completely dry, remove your stencil.

Make Your Own Street Sign | Pretty Handy Girl

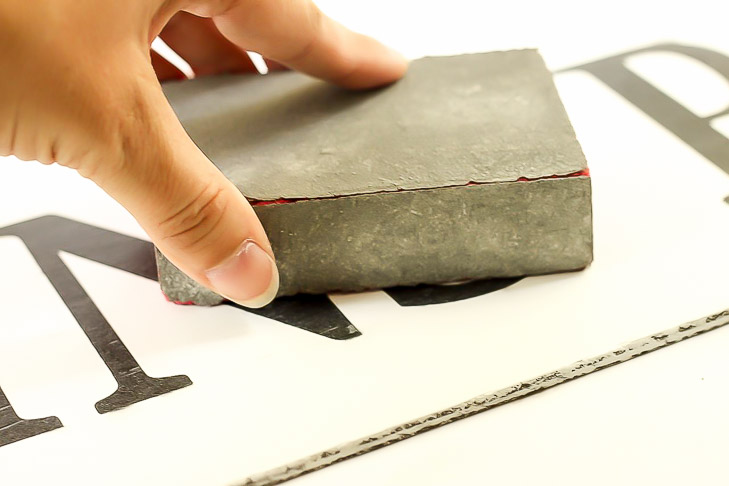
Lightly sand the letters to gently distress the sign. (After all, you want to make your sign look old and authentic.)

Make Your Own Street Sign | Pretty Handy Girl

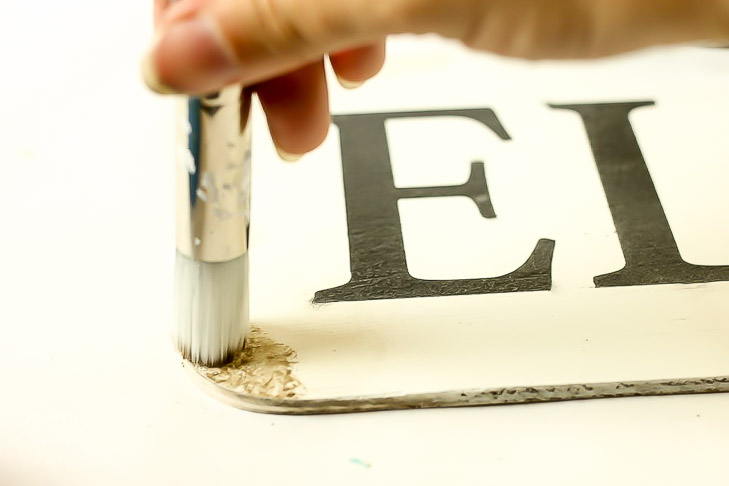
Dab some glaze onto the corners of the sign.

Make Your Own Street Sign | Pretty Handy Girl

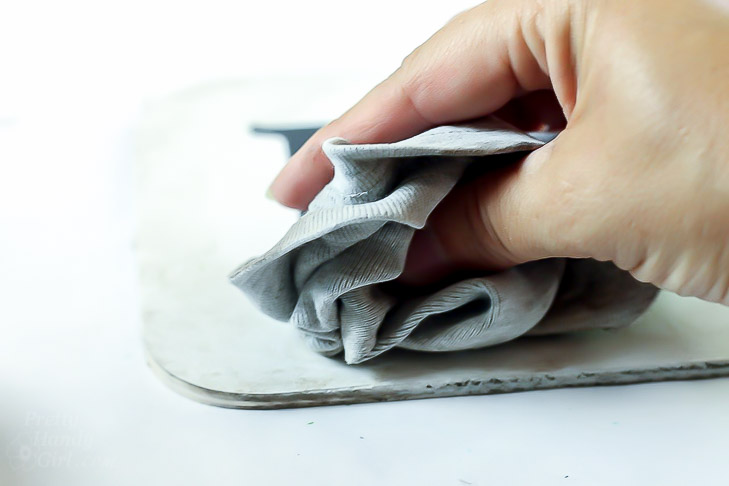
Lightly dab the glaze until you get a slightly dirty and aged look.Make Your Own Street Sign | Pretty Handy Girl

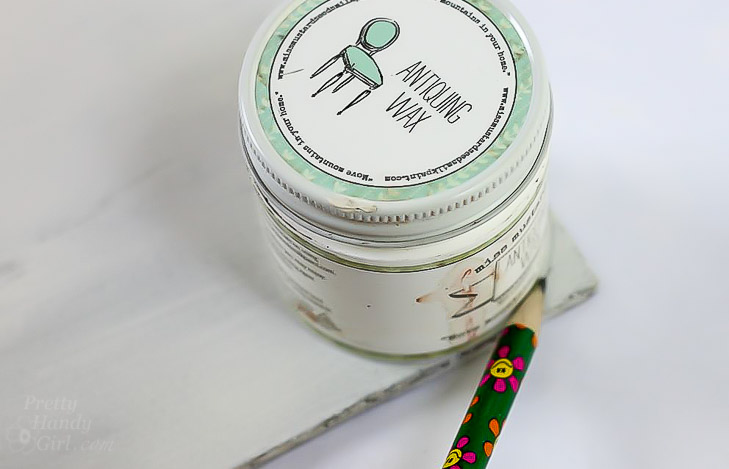
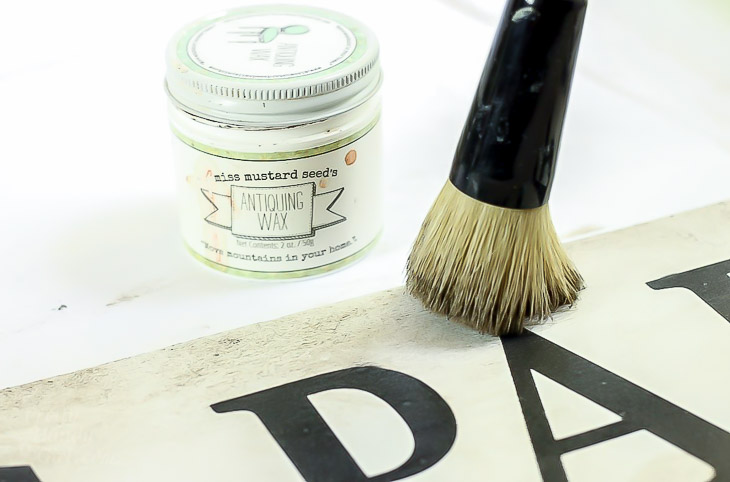
Add antiquing wax on the edges of the sign for a more aged and authentic appearance.

Make Your Own Street Sign | Pretty Handy Girl

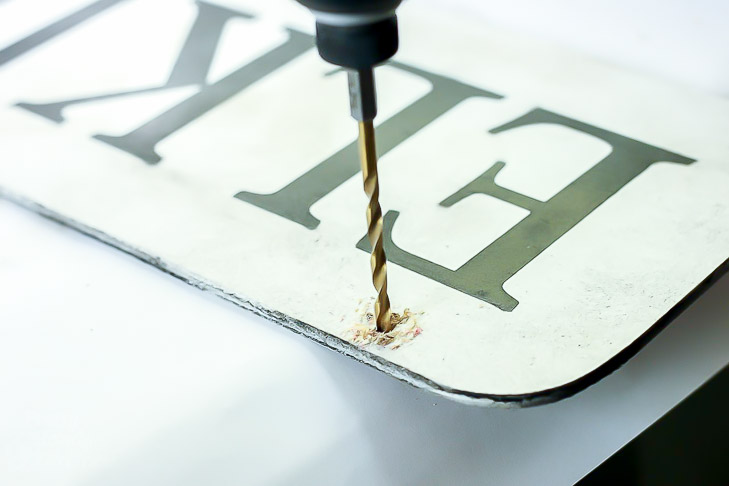
Drill two holes in the upper right corners.

Make Your Own Street Sign | Pretty Handy Girl

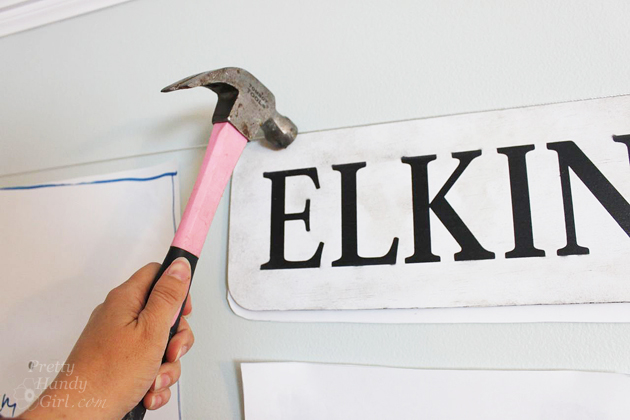
You can hang your street sign with two small brad nails.

Make Your Own Street Sign | Pretty Handy Girl

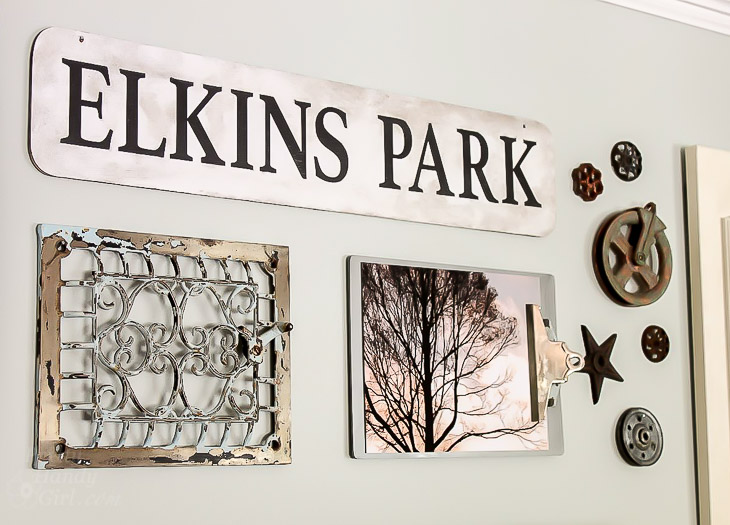
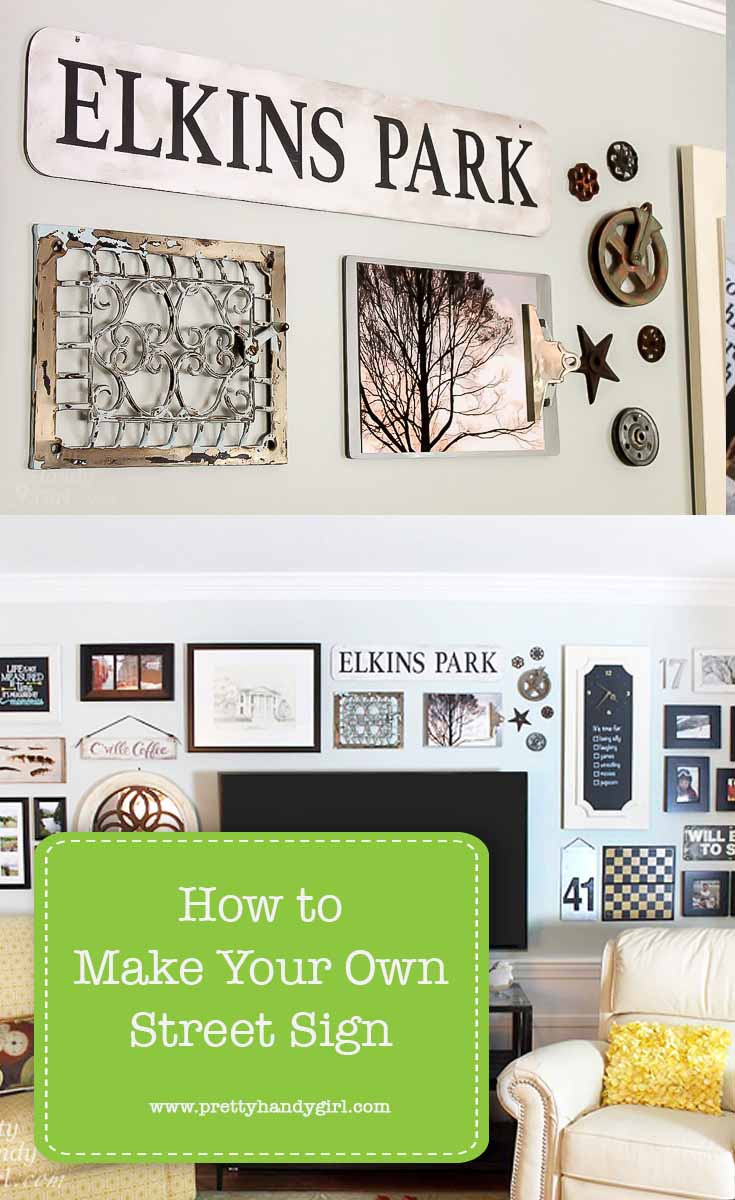
And now you have an authentic looking aged street sign.

Make Your Own Street Sign | Pretty Handy Girl

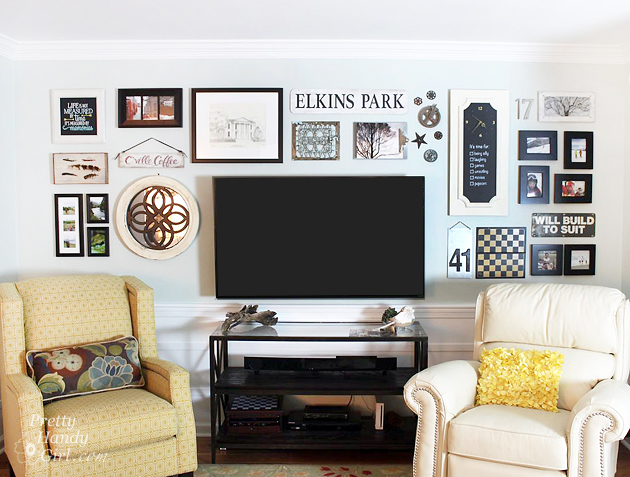
Our street sign adds to the memories on our gallery wall in the living room.

Tips for Creating a Gallery Wall | Pretty Handy Girl

Want to learn how to install your own gallery wall? Here are 12 Tips to Create the Perfect Gallery Wall.

Have a great time Making Your Own Street Sign and stay out of jail. 😉

PHGFancySign


Pin for Later!

How you can Make Your Own Street Sign! | DIY street sign | Pretty Handy Girl #prettyhandygirl #DIY #crafttutorial #streetsign

DIY Mini Planters I Pretty Handy Girl

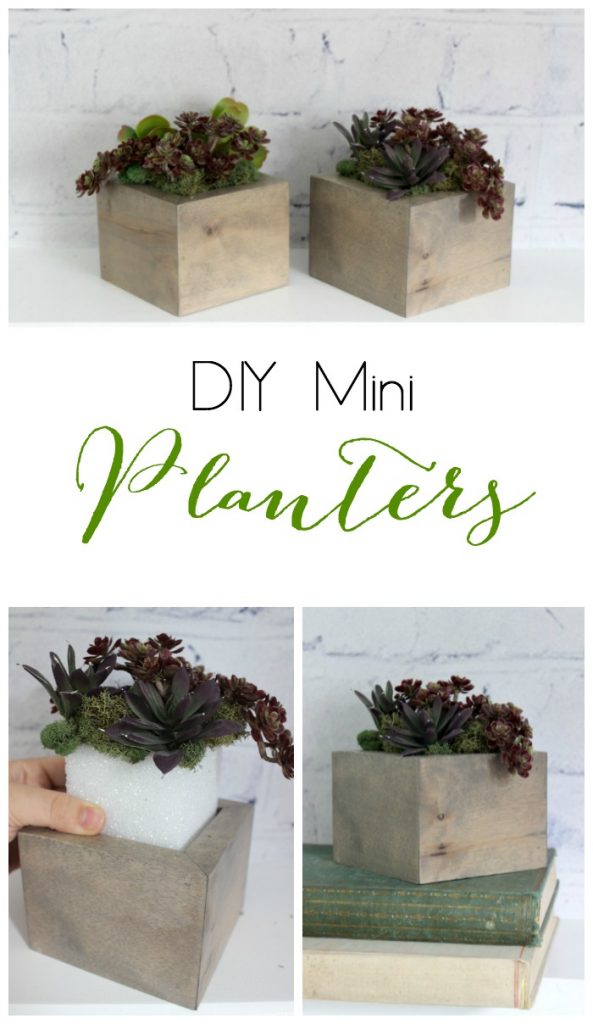
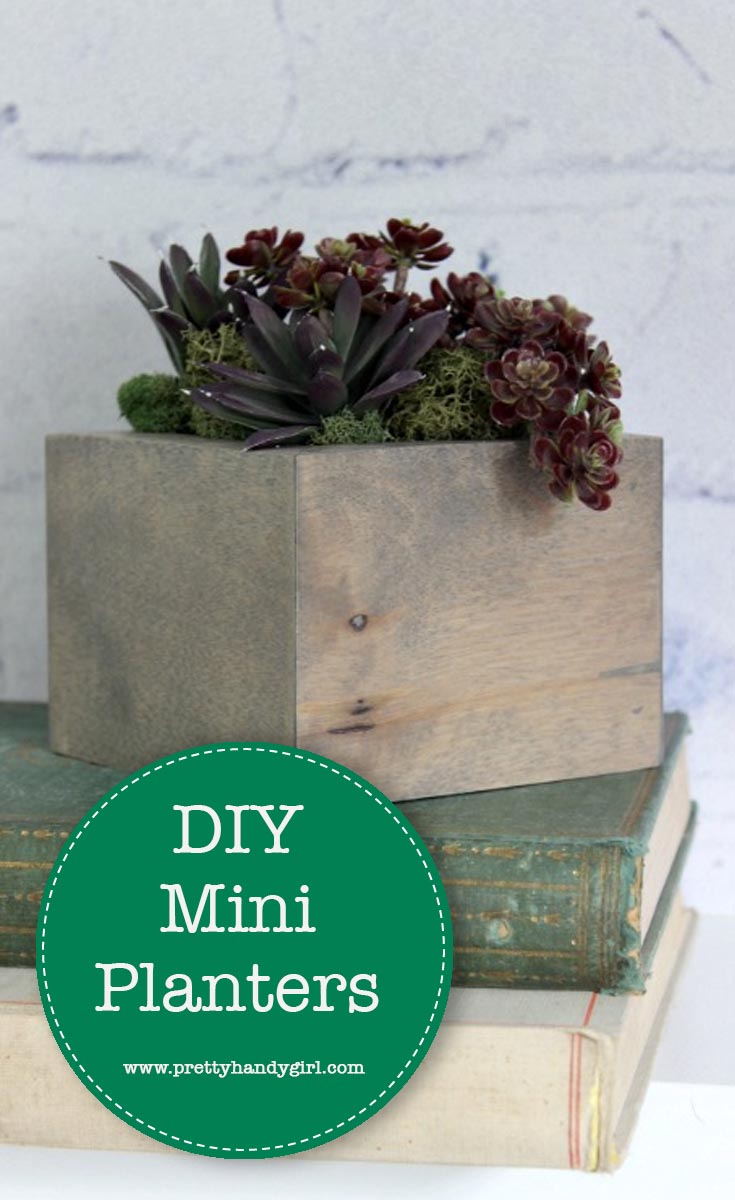
Hi everyone! This is Lindi, visiting again from Love Create Celebrate. I’m really excited to show you how to make your own mini planters. Tis the season for filling up our homes with garden plants (or faux plants if you lack a green thumb!) With only a few tools and a couple hours you can make your own simple DIY Mini Planters.

DIY Mini Planters I Pretty Handy Girl

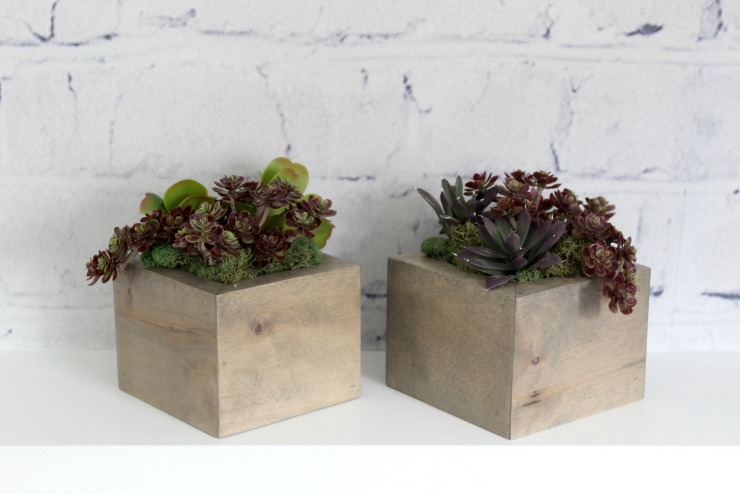
I LOVE these planters! They are the perfect mix of chic and rustic. I actually made them from maple, although any wood will work. The wood from this project came from an old pallet! Most pallets in Canada are made with cheap pine, but we lucked out. Lesson learned: always check your pallets! Now let’s get busy and make a few DIY Mini Planters.

Materials:

  • 1″ x 6″ x 4′ board
  • 4″ x 4″ ¼” plywood piece (per planter)
  • Wood glue
  • Wood stain of your choice
  • Styrofoam square (optional)
  • Faux florals (optional)

Tools: 

  • Speed square
  • Measuring tape
  • Miter saw
  • Table saw or router table
  • Nail gun
  • Sander
  • Clamps

Instructions: 

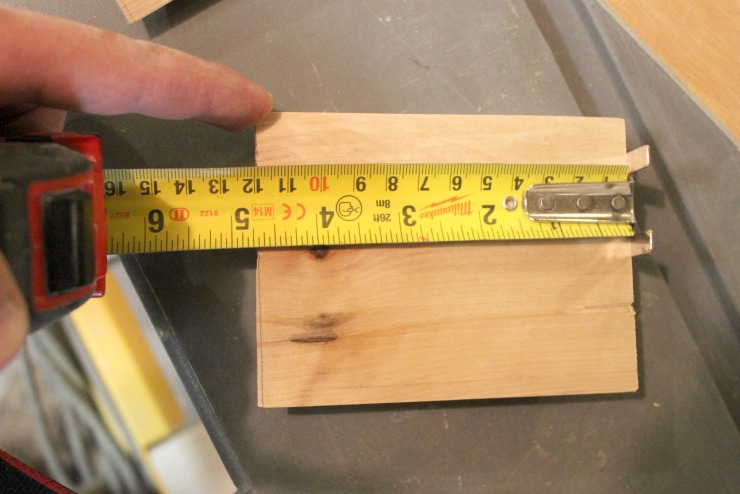
Use your miter saw to cut your 1″ x 6″ board into four 54 3/4″ long pieces. Then use the table saw to cut all four of those pieces to 3.5″ wide (these will be your sides.) Cut your plywood into a 4″ by 4″ square.

DIY Mini Planters I Pretty Handy Girl

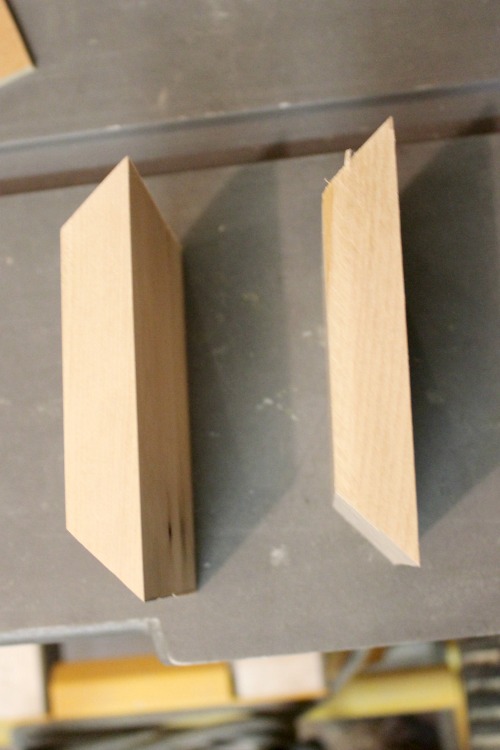
Use your speed square to mark a 45º angle on both edges of your 4 side boards. Cut along those marks with your miter saw. You will have four boards measuring 4 3/4″ x 3.5″ on the outside edge, with 45º cuts on both sides.

DIY Mini Planters I Pretty Handy Girl

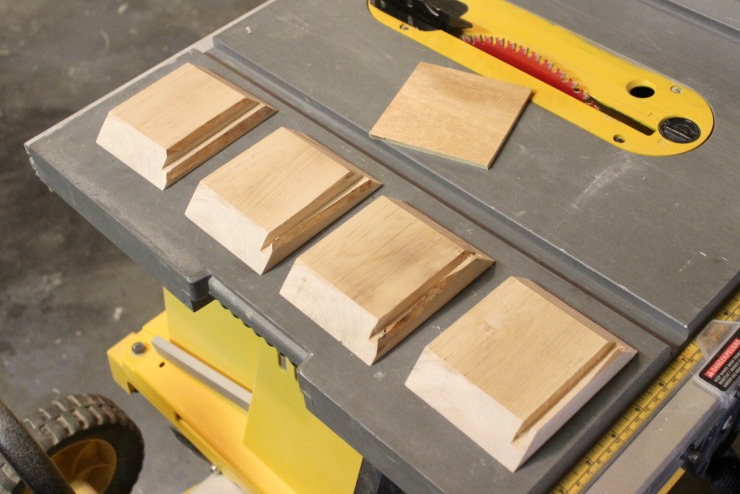
Next use your table saw or router table to make a 1/4″ groove about 1/4″ inch above the bottom of your 4 3/4″ x 3.5″ boards.

DIY Mini Planters I Pretty Handy Girl

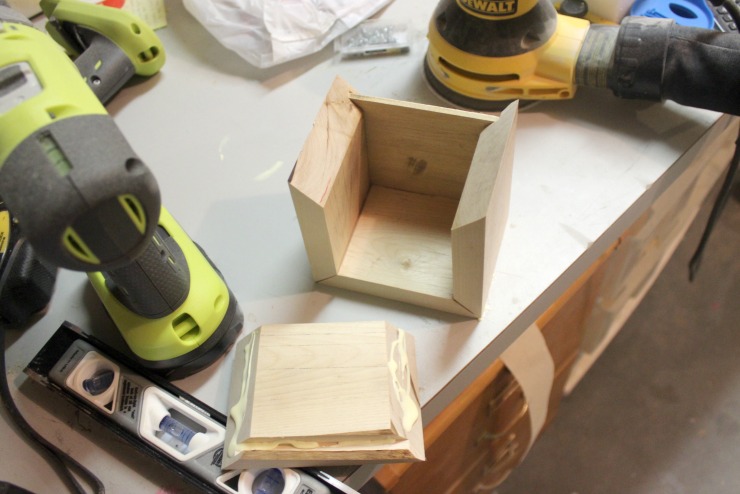
When all of your pieces are cut and grooved, it’s time to assemble them.

DIY Mini Planters I Pretty Handy Girl

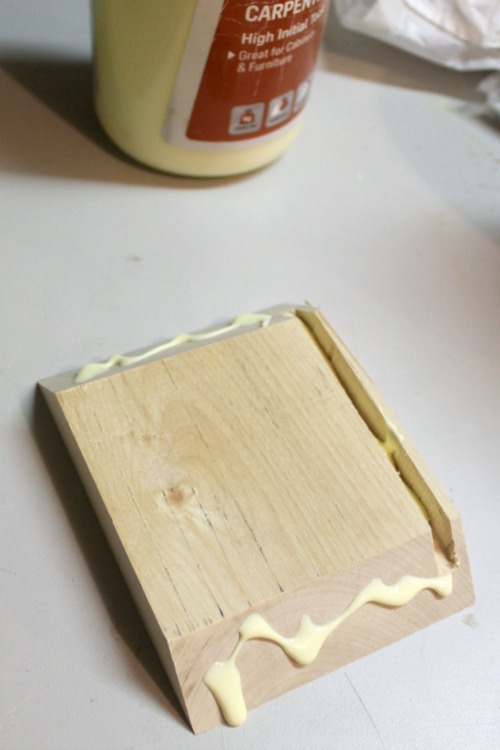
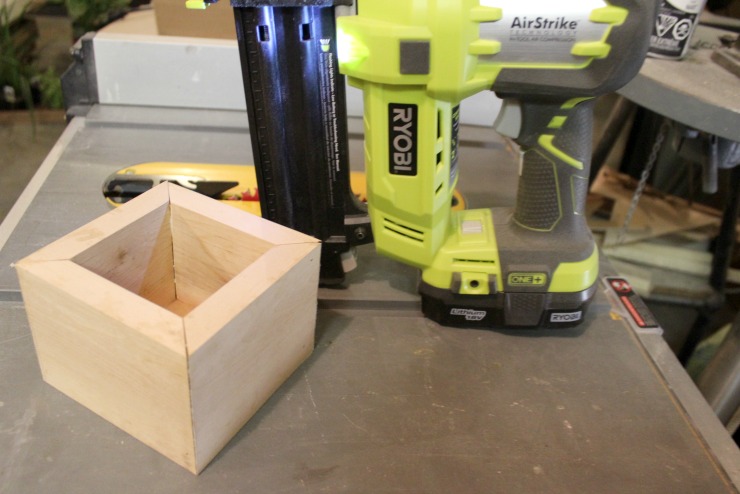
Put wood glue on the edges of the first piece, fit the two edges of either side of it and use your nail gun to attach these three sides.

DIY Mini Planters I Pretty Handy Girl

When three sides are attached, slide your plywood into the groove you created. Add more wood glue and nail the last piece in place.

DIY Mini Planters I Pretty Handy Girl DIY Mini Planters I Pretty Handy Girl

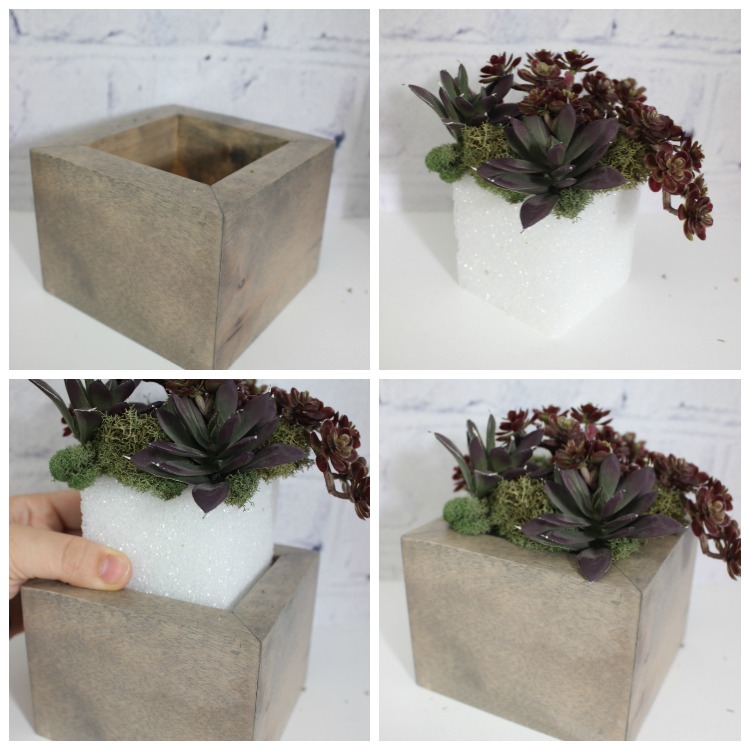
Once the glue is dry, give the planter a quick sand and stain it whatever color you would choose.  Add a styrofoam block with some faux florals! If you want to add real plants, line the planter with plastic and add soil and plants.

DIY Mini Planters I Pretty Handy Girl

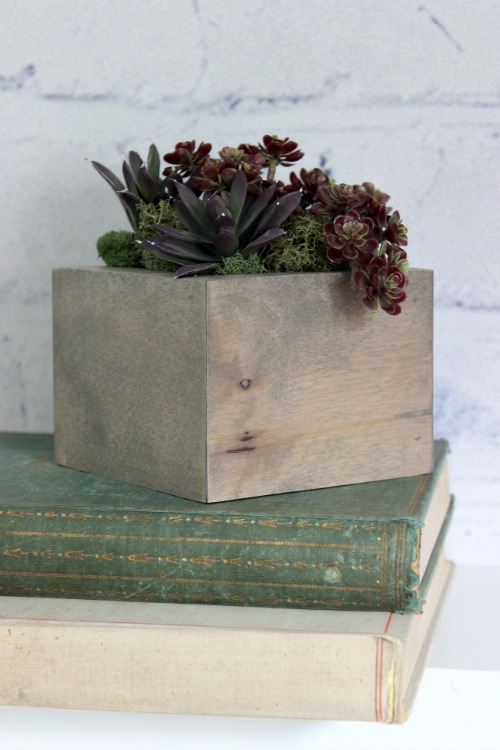
I LOVE these planters!

DIY Mini Planters I Pretty Handy Girl

I made them in no time at all and they look amazing in my living room!

DIY Mini Planters I Pretty Handy Girl

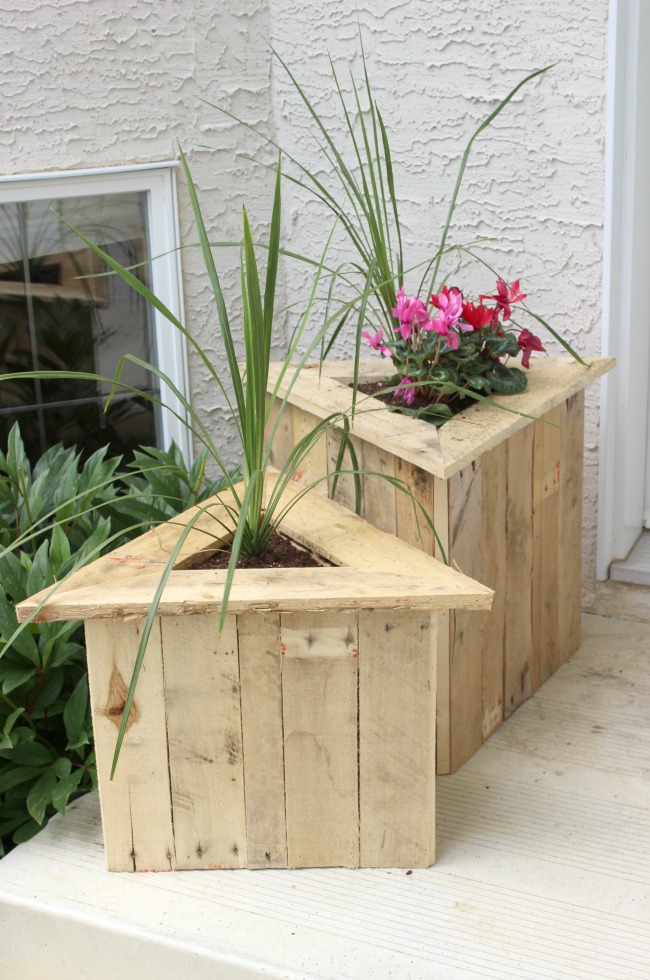
If you like planters, you’re in luck! I’m sharing these Triangle Planters from Pallets over at Love Create Celebrate!

planters build plans

For more DIY decor inspiration visit Love Create Celebrate.

Lindi Signature


Pin for later!
With only a few tools and a couple hours you can make your own simple DIY Mini Planters | Pretty Handy Girl #prettyhandygirl #DIY #planter

Chipotle Ranch Chicken Salad - Easy, Healthy and Delicious! | Pretty Handy Girl

Chipotle Ranch Chicken Salad - Easy, Healthy and Delicious! | Pretty Handy Girl

I have a new favorite salad and it is DELICIOUS!!! A few weeks ago we went to the beach for our vacation. At the end of the week I wanted to use up as much food in the fridge as I could. You understand the struggle, right? Who wants to waste food?

In the fridge we had leftover rotisserie chicken, corn, and salad ingredients. I also had some Drew’s Chipotle Ranch salad dressing (affiliate link), I could put that sh*t on everything! I was not paid to say this, Drew’s doesn’t know who I am, this is just my newest favorite salad dressing and I HAD to share it with you.

Chipotle Ranch Chicken Salad - Easy, Healthy and Delicious! | Pretty Handy Girl

I wracked my brain and blindly dove into creating this Chipotle Ranch Chicken Salad. I added a dash of this and a heap of that. And when I was done….it was AMAZING! Watch out Chopped, I’m your next top chef!

Here is my recipe for Chipotle Ranch Chicken Salad. I know you’ll be hooked too.

Ingredients:

3-4 Skinless Boneless Chicken Breasts
Head of Red Romaine Lettuce
1 Avocado
1 Ripe Tomato
1 Red Onion
1 Ear of Corn
1 Lime
1/2 cup Plain Greek Yogurt
1/4 cup Drew’s Chipotle Ranch Dressing
Sea Salt
Pepper
1 Tbsp. of Butter
2 tbsp. chopped Cilantro
Optional: Frank’s Red Hot Sauce

Feel free to add your own favorite Southwestern vegetables, some cheddar cheese or black beans.

Instructions:

1. Put a pat of butter into a fry pan and heat until melted. Sprinkle salt & pepper onto the chicken breasts. Squeeze lime juice over breasts. Add a dash of Frank’s Red Hot Sauce if you like your chicken spicier. Heat chicken until browned on both sides (8-10 minutes) and no longer pink in the middle. If your chicken breasts are super thick, butterfly them.

2. While the chicken is cooking, chop the salad vegetables (lettuce, tomato, red onion, and cilantro.) To cook the corn, microwave for 3 minutes INSIDE the husk. Let the corn cool slightly, then cut off the bottom of the corn cob (cut through the corn husk and ear.) Grab the corn silks and husk at the top and shake until the ear falls out. Magically all the silks will be stripped off! Cut off kernels from the the ear.

3. When the chicken is fully cooked turn off the heat but leave the pan on the burner. Mix yogurt and ranch dressing together in a bowl. Pour over chicken and flip chicken to coat in the yogurt dressing mixture.

4. Put salad vegetables in bowl. Top with sliced chicken, sliced avocado, and cilantro. Drizzle with more Drew’s Chipotle Ranch Dressing. Squeeze some more lime juice on top and enjoy your salad!

Chipotle Ranch Chicken Salad - Easy, Healthy and Delicious! | Pretty Handy Girl

Hope you love this salad as much as I do! It’s the perfect salad for lunch or dinner. And it’s a great way to get your veggies in. Enjoy.

PHGFancySign