12 Ways to Decorate a Bathroom | Pretty Handy Girl

12 Inexpensive Ways to Decorate Your Bathroom

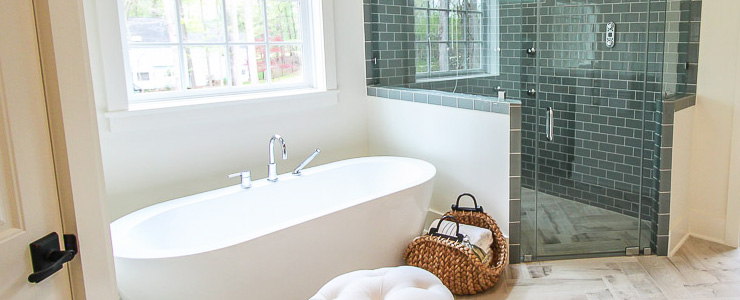
Making your bathroom beautiful doesn’t have to be expensive or require a designer. Here are 12 Inexpensive Ways to Decorate Your Bathroom. There are many ways to amp up your bathroom’s style and in some cases add organization and storage.

(I’ve included affiliate links for your convenience. I earn a small percentage from a purchase using these links. There is no additional cost to you. You can read more about affiliate links here.)

Did your grandmother have a fuzzy seat cover? Or a doll that hid toilet paper under her skirt? I promise these are not some of the decorating ideas I have. But, I do have some unconventional ways to decorate your bathroom. Today, I’m sharing these 12 Inexpensive Ways to Decorate a Bathroom that will make your bathroom look amazing for a fraction of the cost of a renovation!

DIY Ways to Decorate Your Bathroom for Function and Beauty

Making your bathroom beautiful doesn’t have to be expensive or require a designer. There are many ways to amp up your bathroom’s style and in some cases add organization and storage. Here are 12 inexpensive DIY projects that will make your bathroom look amazing.

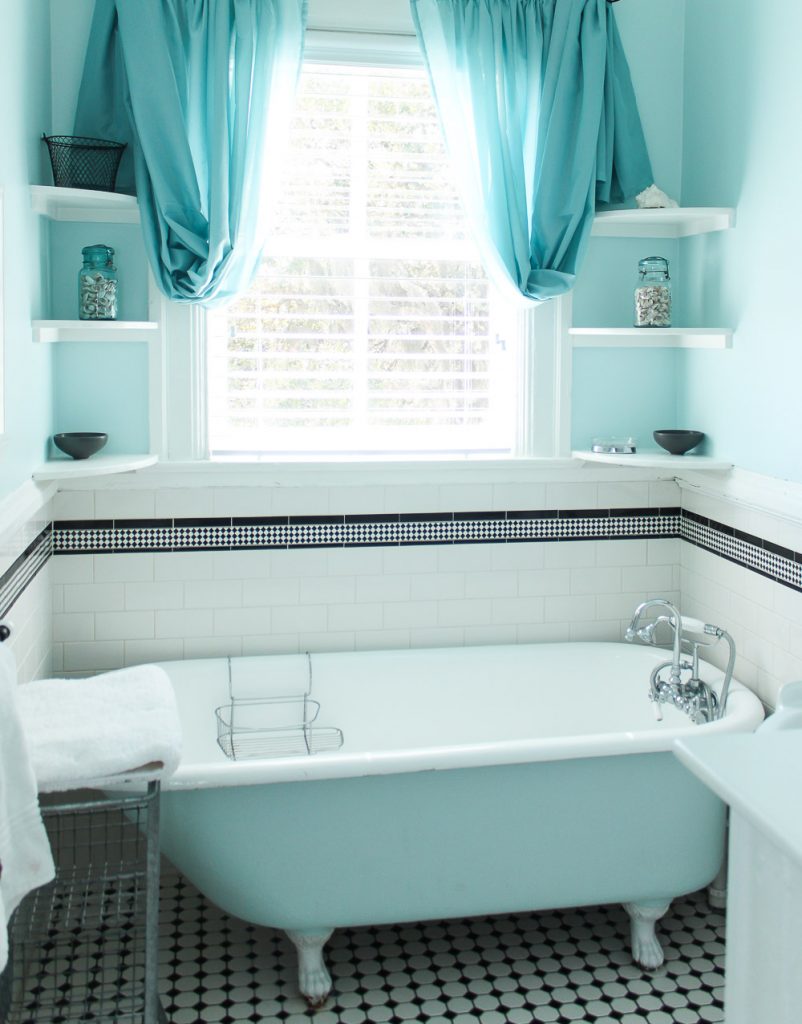
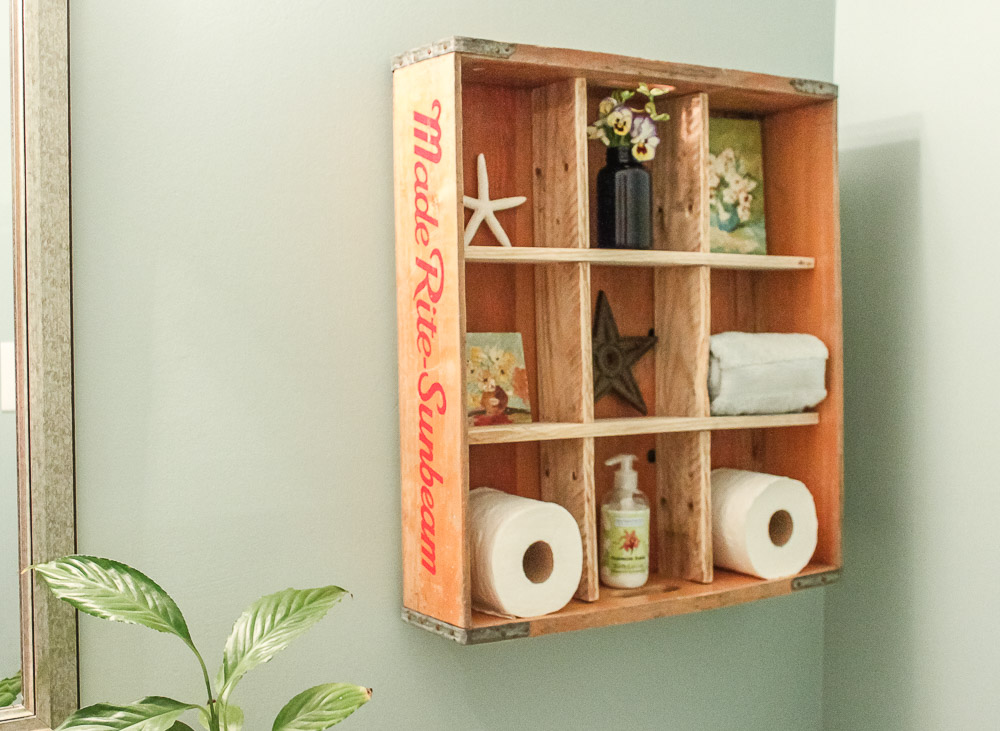
  1. Add shelving in your bathroom to add more storage and provide a spot to display your treasures.

DIY Ways to Decorate Your Bathroom for Function and Beauty

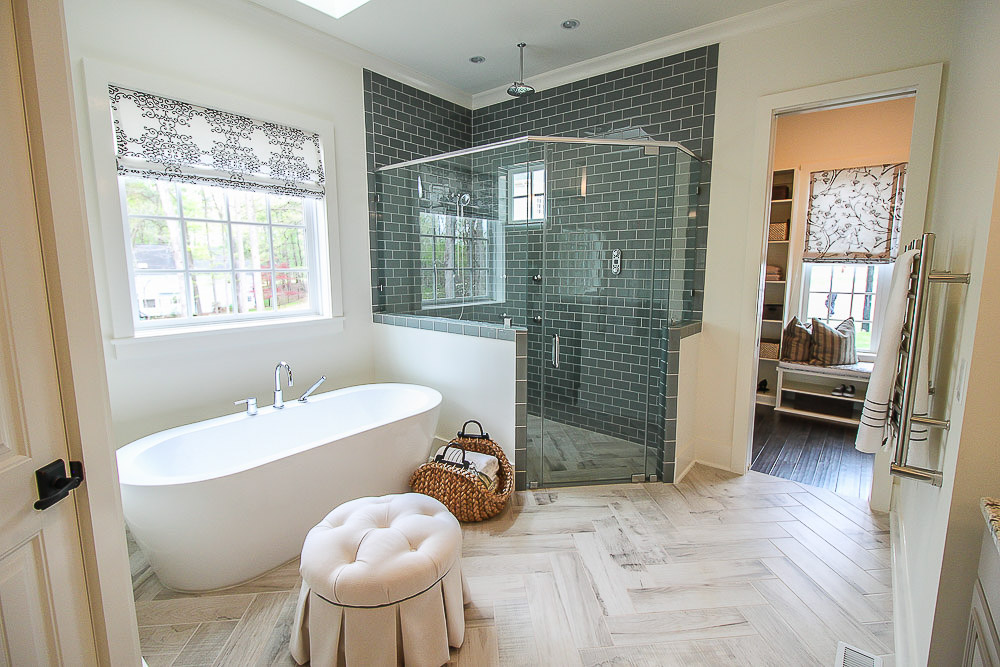
2. If your bathroom is large enough, add a bench or some seating to give it a comfortable spa feeling. Add a small basket to hold towels neatly and close at hand.

DIY Ways to Decorate Your Bathroom for Function and Beauty

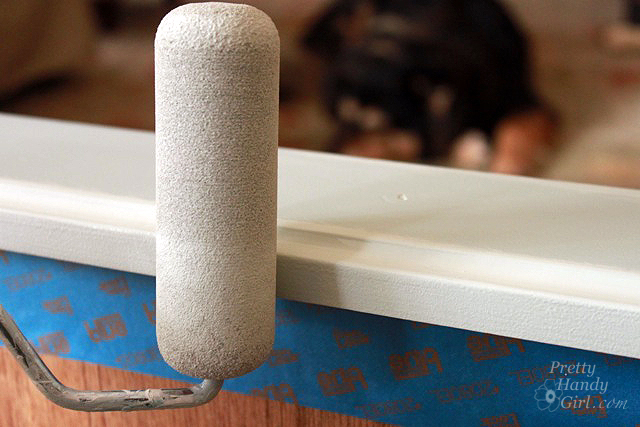
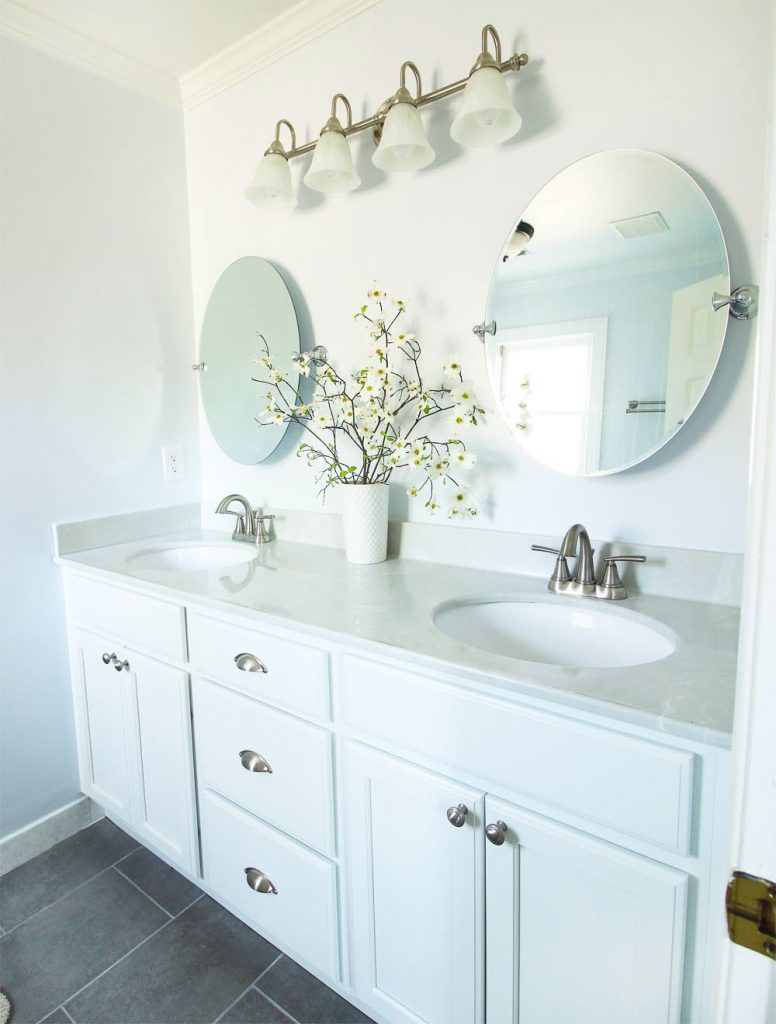
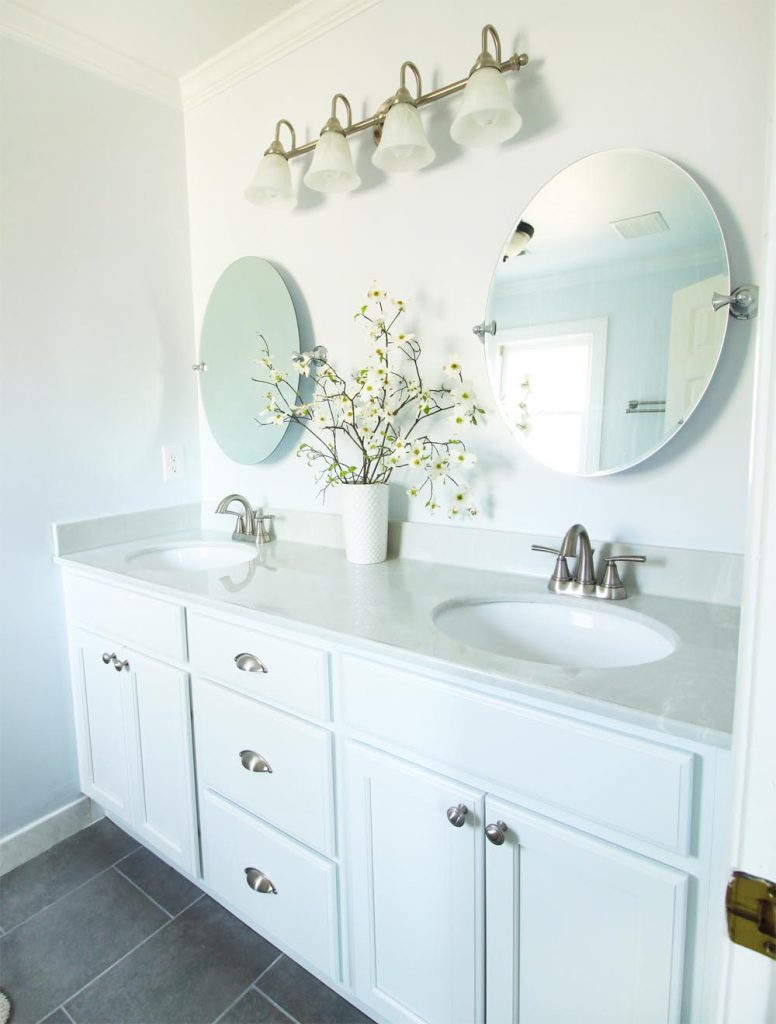
3. Swap out your builder grade mirror with something more stylish. Oftentimes you can purchase an elegant mirror at your local home improvement or home décor store. You can also update a dated mirror with a custom frame you build yourself.

DIY Ways to Decorate Your Bathroom for Function and Beauty

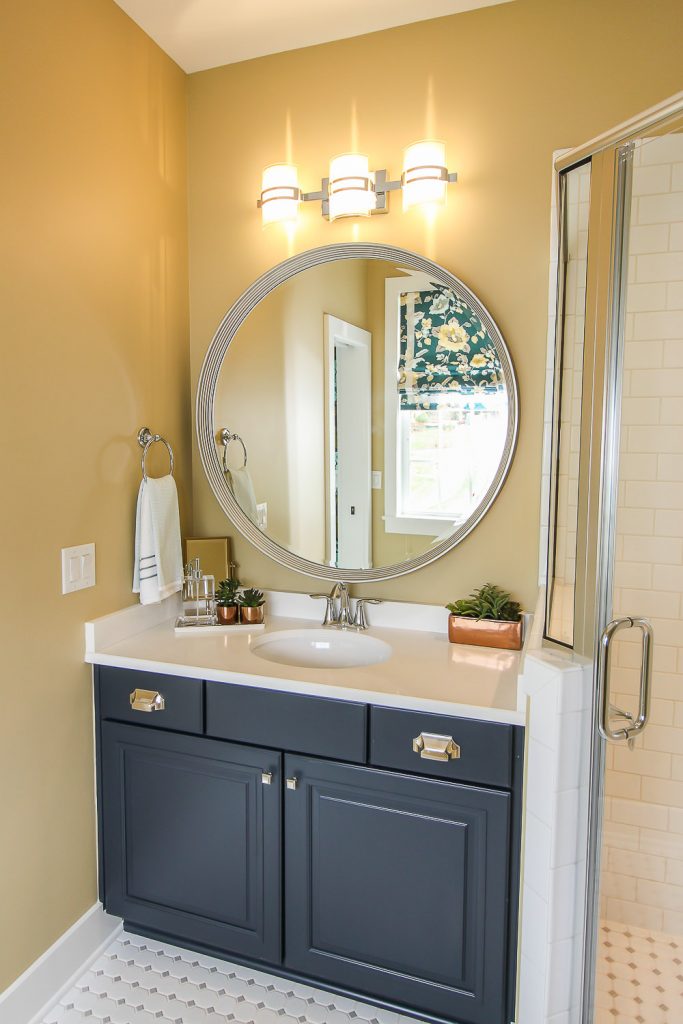
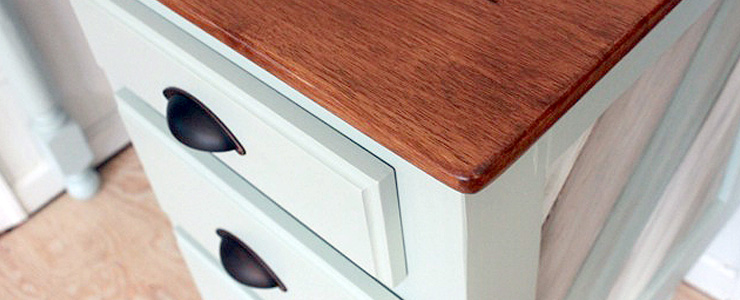
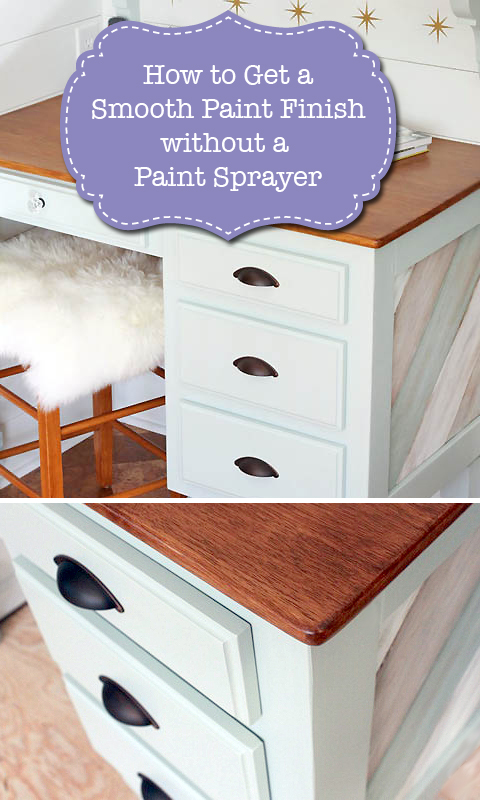
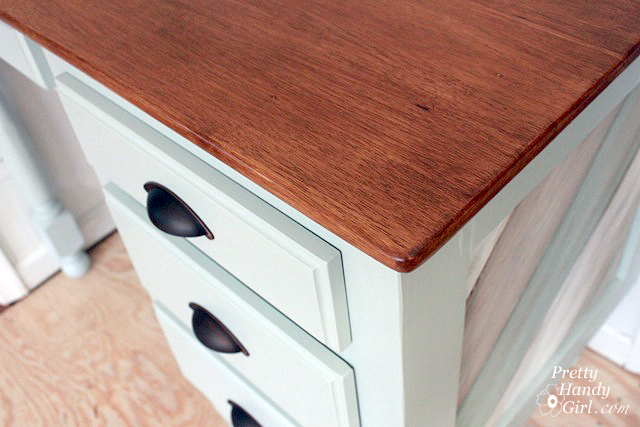
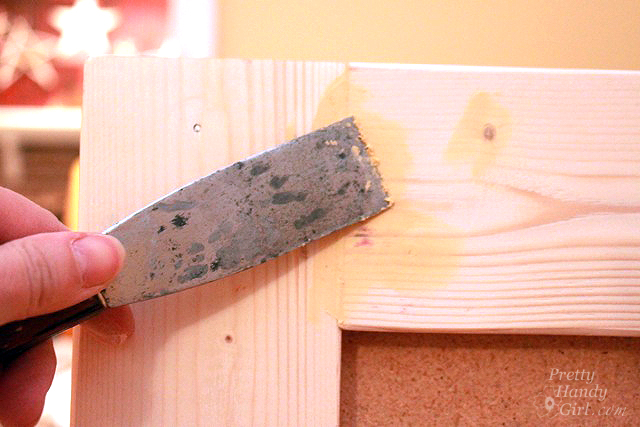
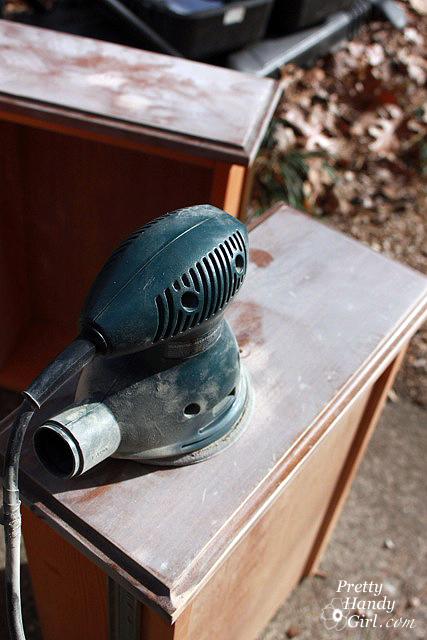
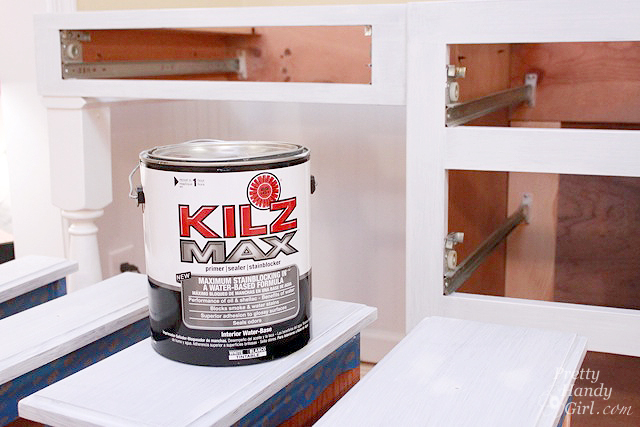
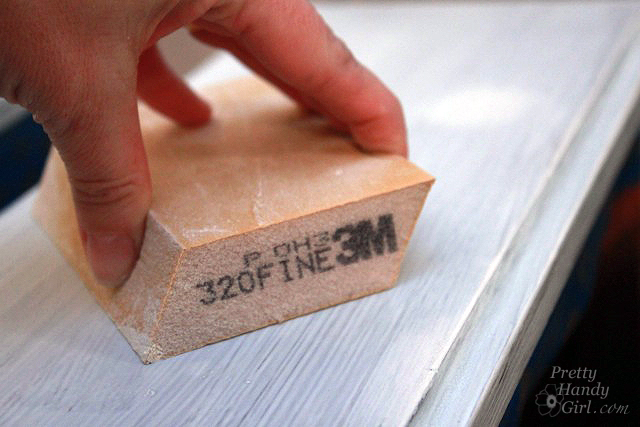
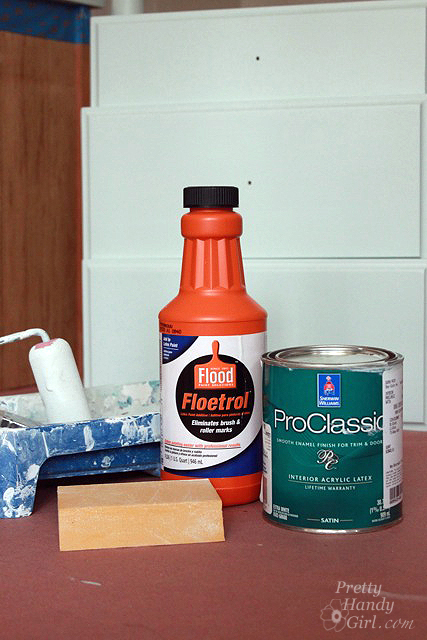
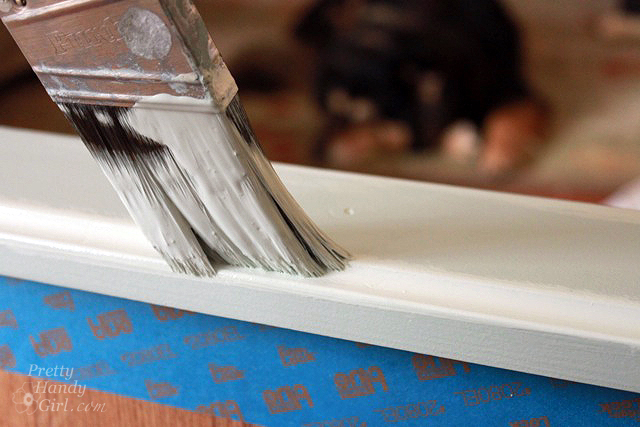
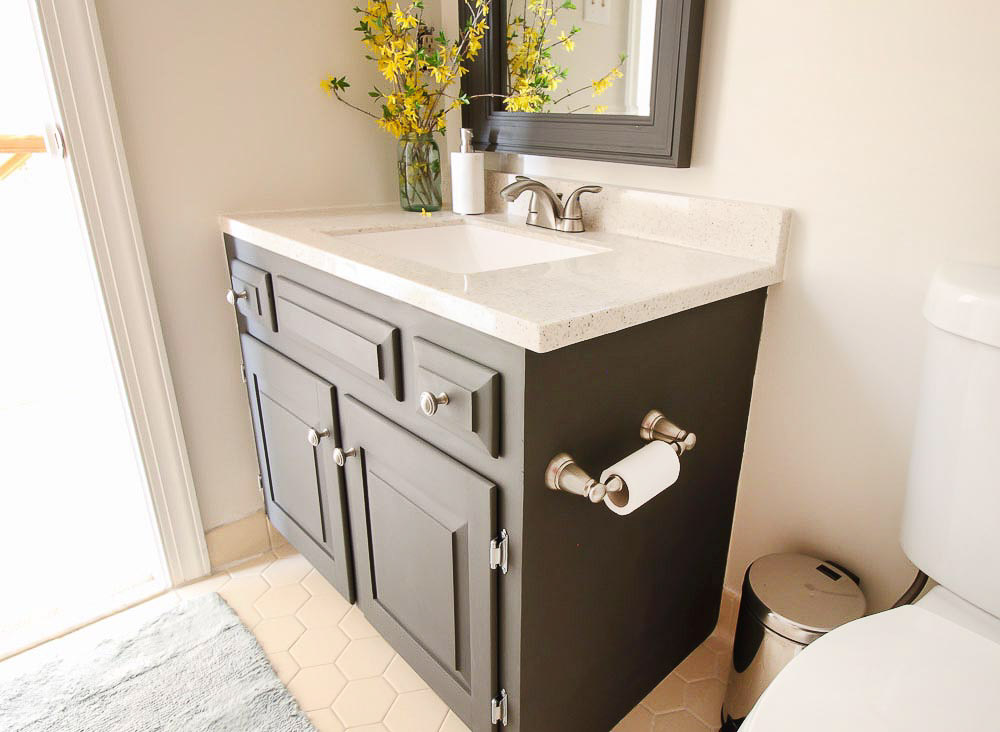
4. Dated vanities can be updated in an afternoon with a coat of paint and new hardware.

DIY Ways to Decorate Your Bathroom for Function and Beauty

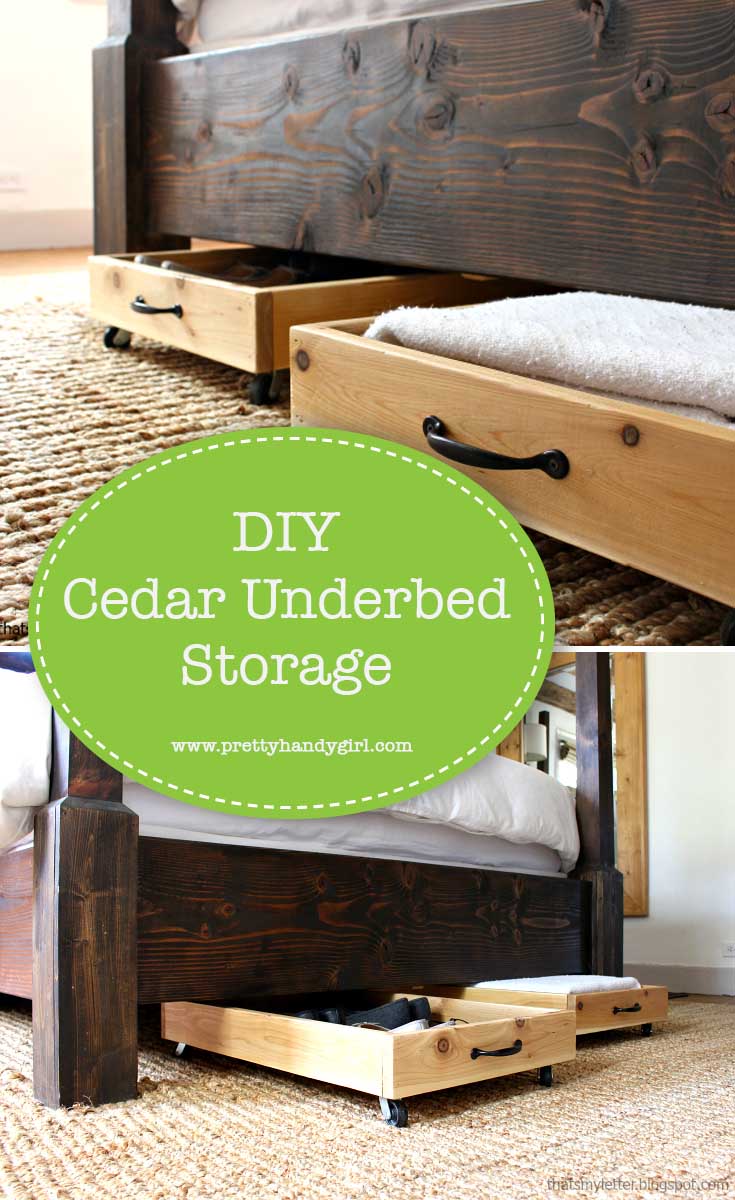
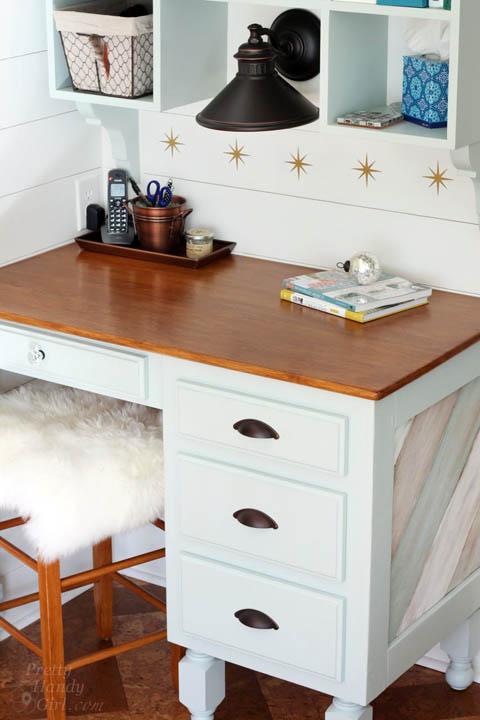
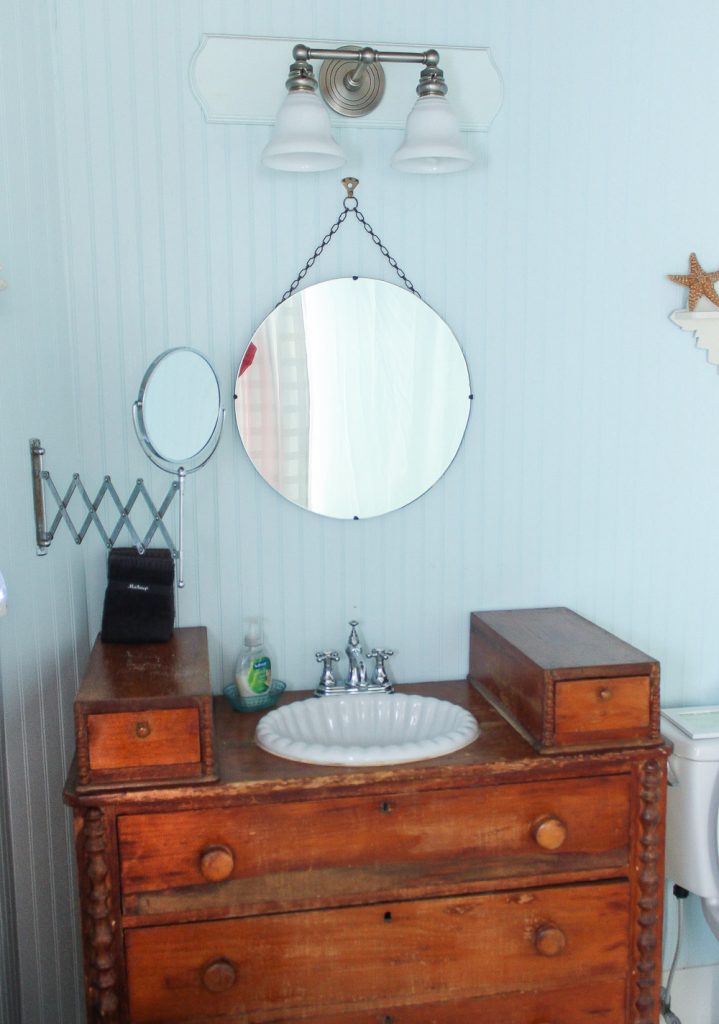
5. If your vanity is beyond saving, consider replacing it with an antique dresser. Not only does this look beautiful, but it can add more storage drawers.

DIY Ways to Decorate Your Bathroom for Function and Beauty

6. To increase visual interest, add decorative moulding to your bathroom walls using simple 1″ x 4″ pine boards and detailed trim.

DIY Ways to Decorate Your Bathroom for Function and Beauty

7. To make your small bathtub feel larger, install a curved shower curtain rod. Swap out the old shower curtain with a pretty new one.

DIY Ways to Decorate Your Bathroom for Function and Beauty

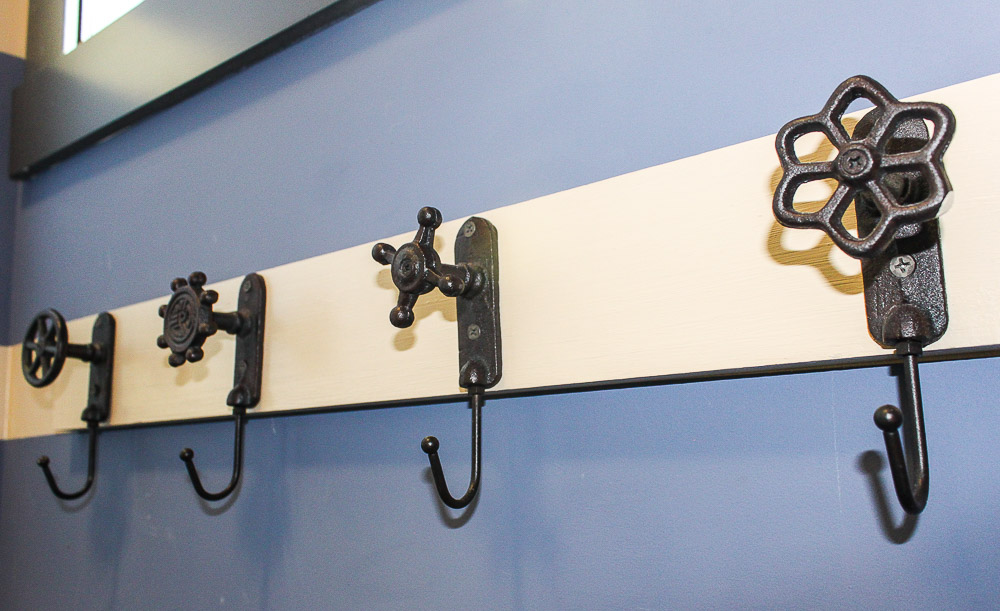
8. Large family? Add more towel hooks by attaching decorative storage hooks to a 1″ x 6″ board and secure the board to wall studs.

DIY Ways to Decorate Your Bathroom for Function and Beauty

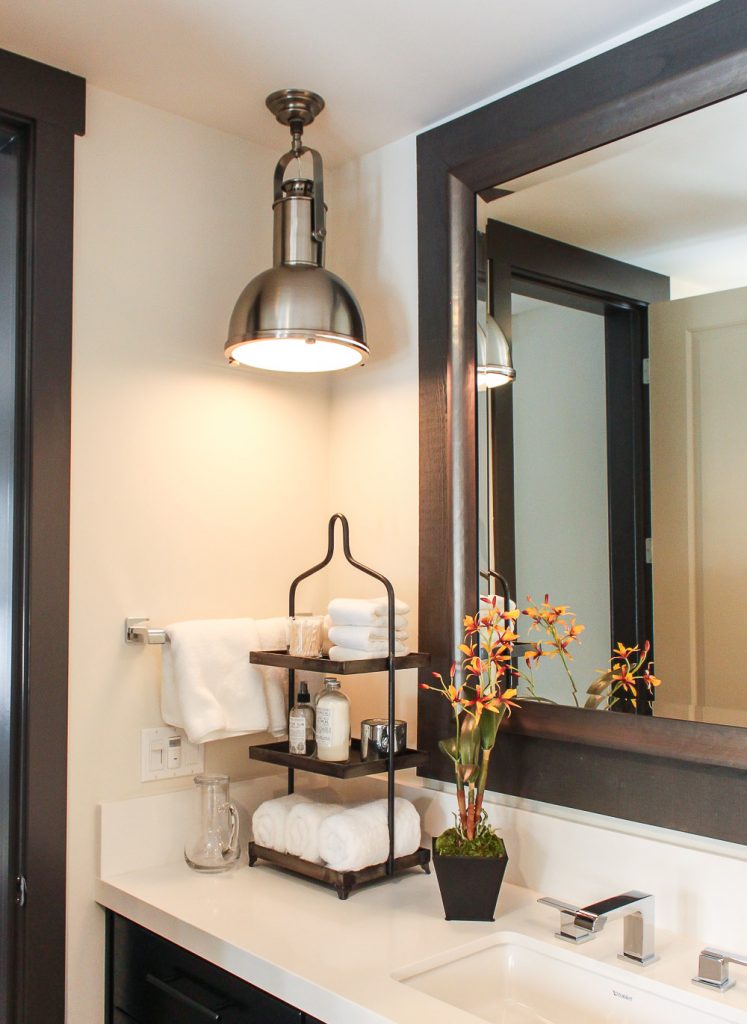
9. Still need more storage? Use storage baskets or bins to hide your toiletries. You can make a storage unit like the one below using one 1″ x 8″ x 8′ board.

DIY Ways to Decorate Your Bathroom for Function and Beauty

You can also gain storage by hanging a wooden crate on the wall.

DIY Ways to Decorate Your Bathroom for Function and Beauty

10. Swap out a dated light fixture for a more modern light. If you have some electrical experience you can do this yourself, or look for a qualified electrician on Angie’s List.

DIY Ways to Decorate Your Bathroom for Function and Beauty

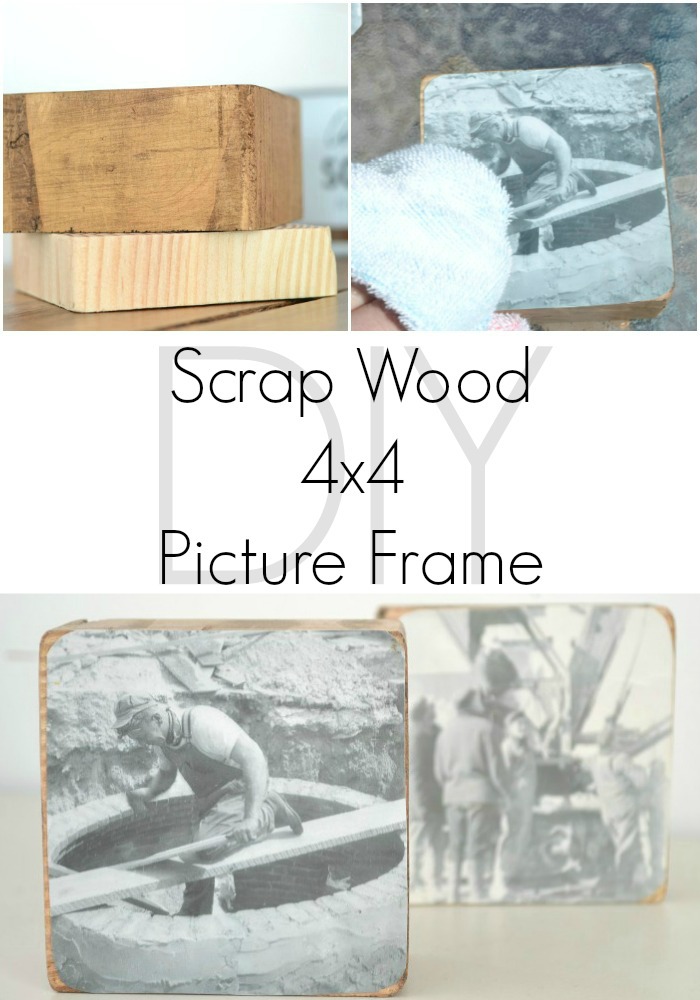
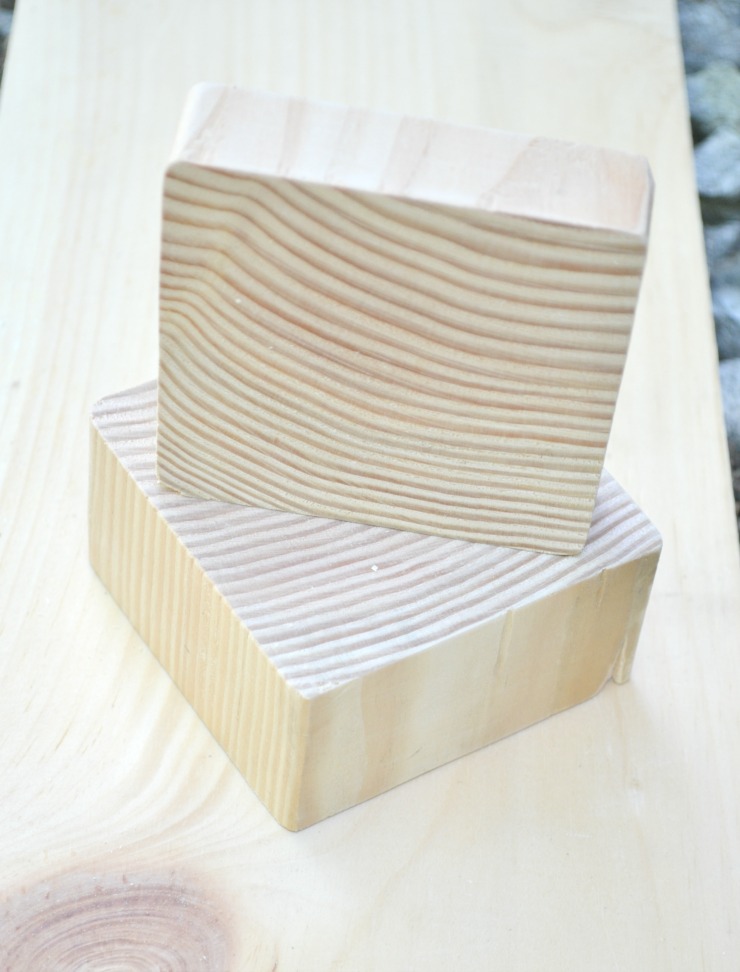
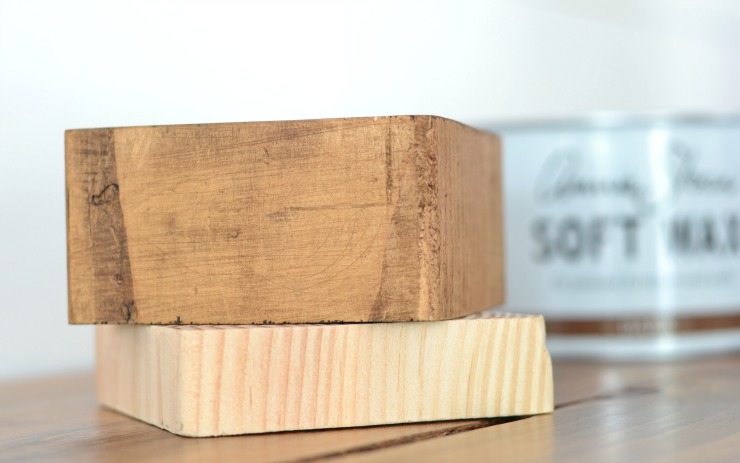
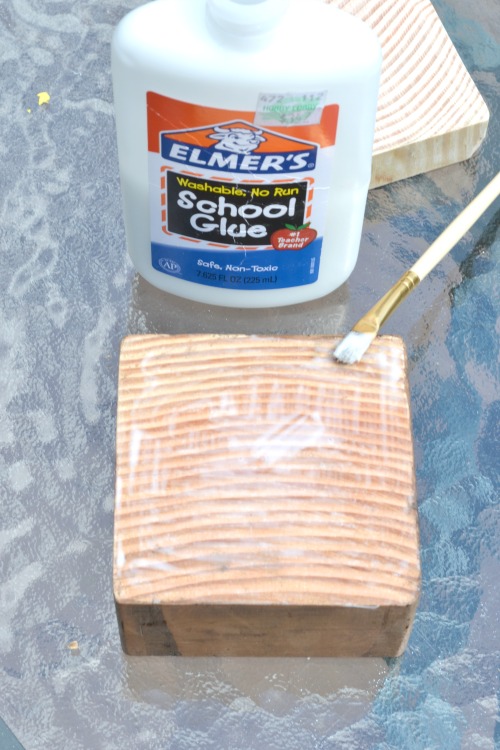
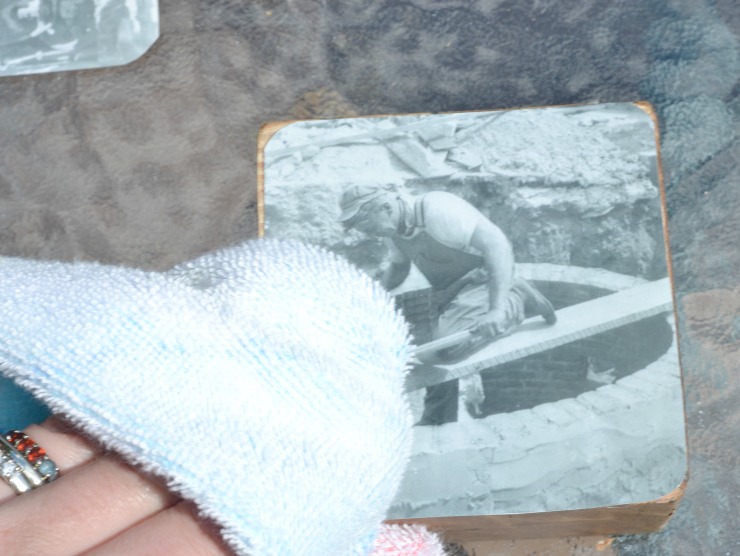
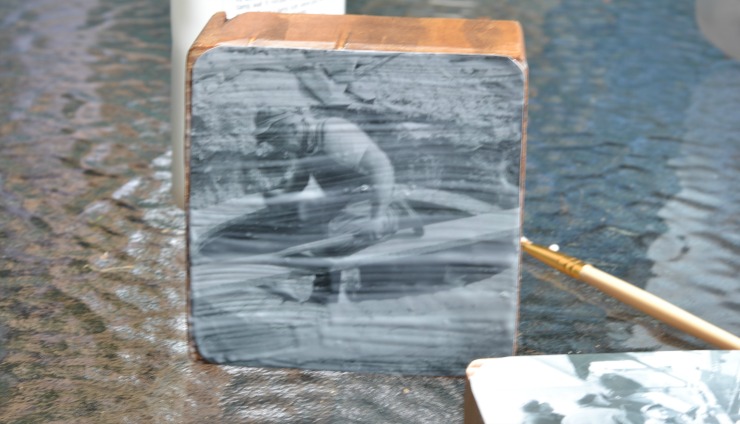
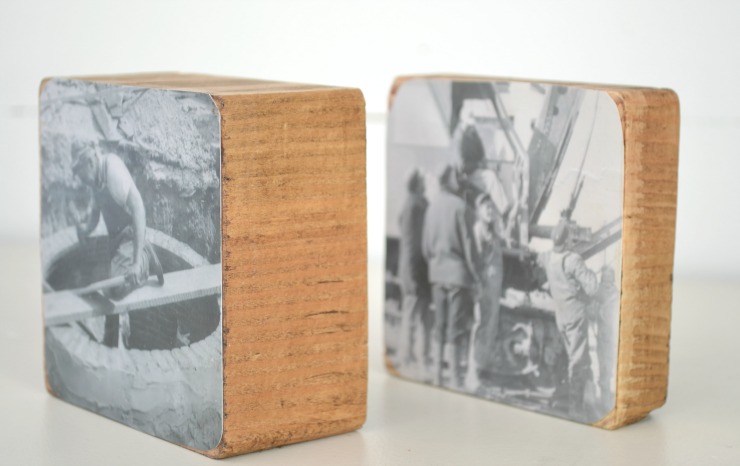
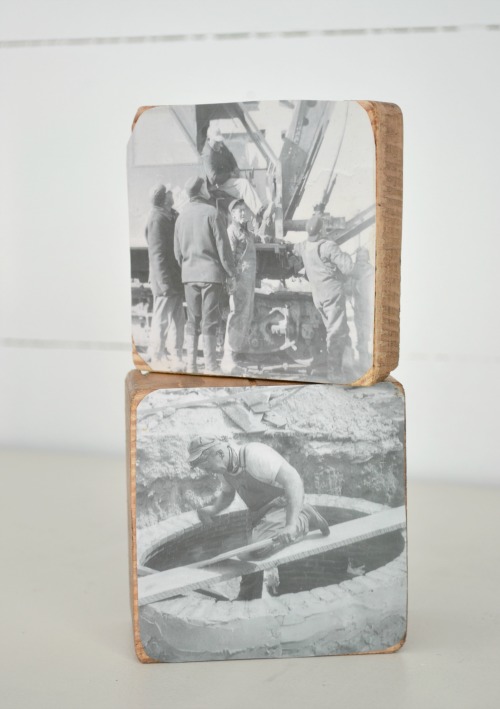
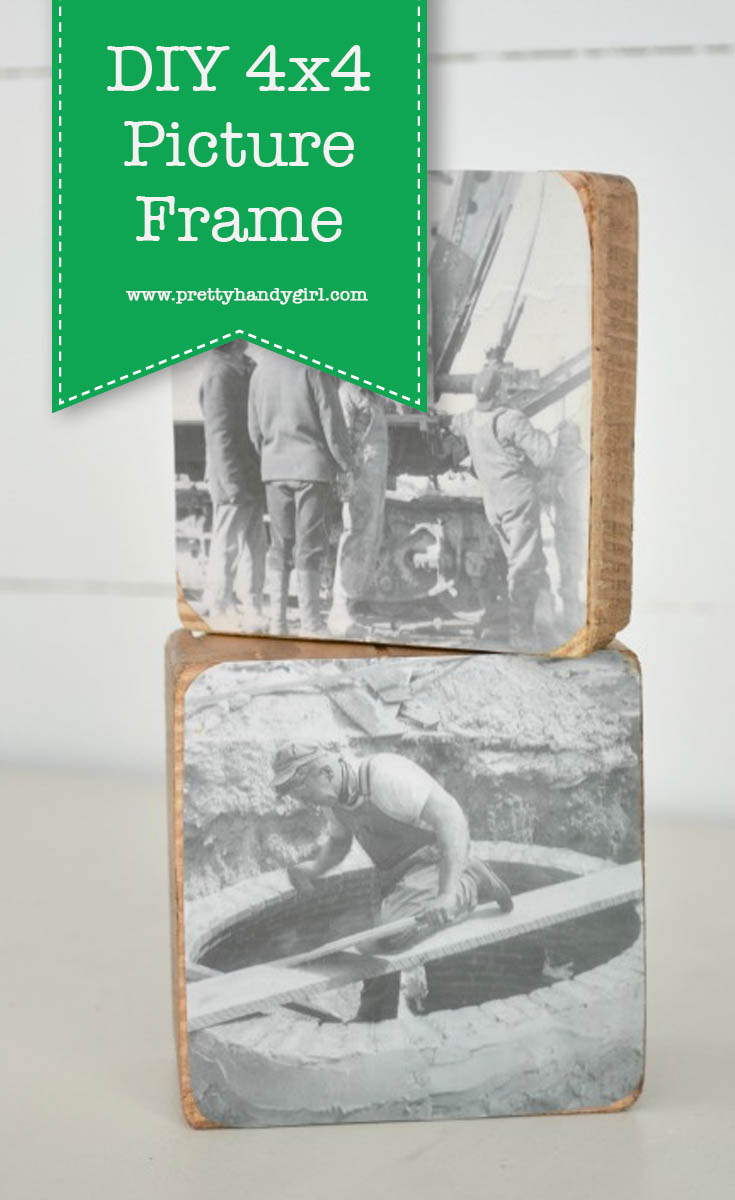
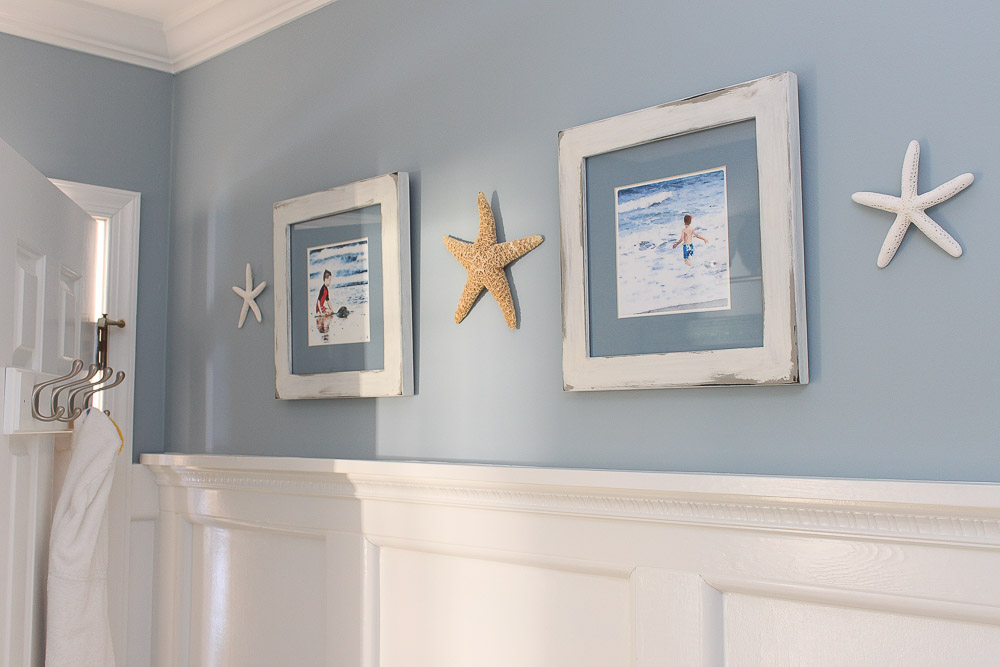
11. Need inexpensive wall art? Create visual interest by applying wood scrap squares to the walls.

DIY Ways to Decorate Your Bathroom for Function and Beauty

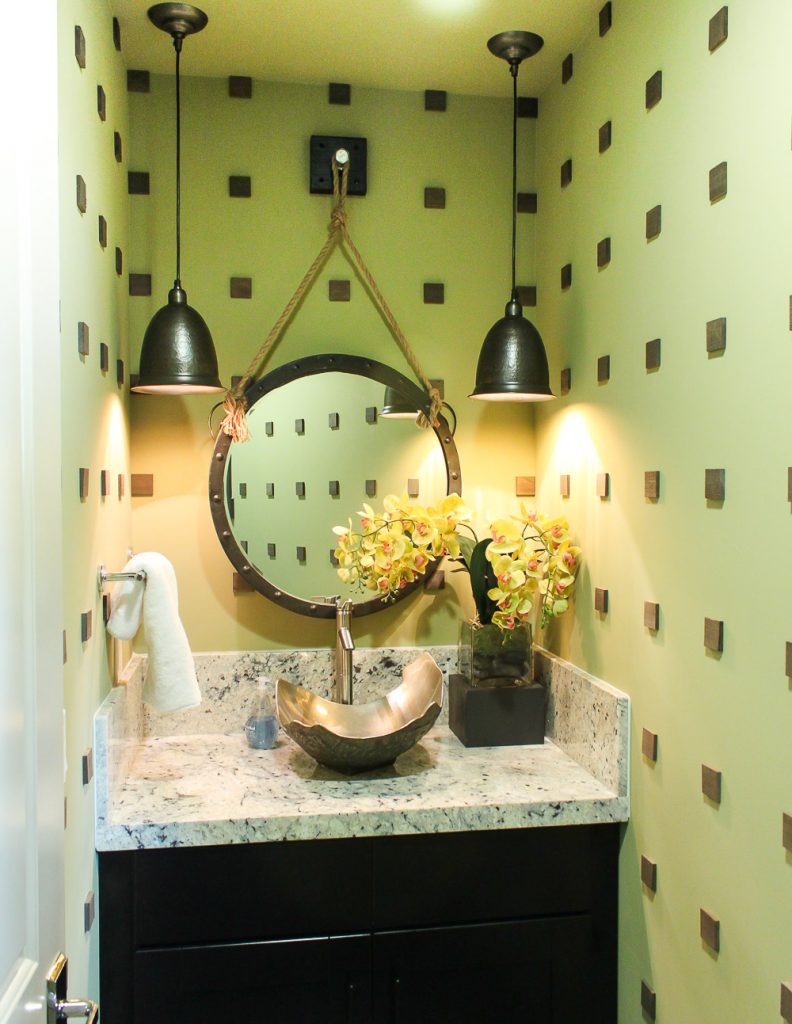
12. Finally, the simplest and cheapest way to decorate your bathroom is with a vase filled with fresh flowers.

DIY Ways to Decorate Your Bathroom for Function and Beauty

Hope these gave you some great ideas for decorating  your bathroom on a budget.

Hope you get some great ideas for decorating  your bathroom on a budget. Want to start DIYing your bathroom this weekend? Here are an entire host of bathroom renovation tutorials to help you earn more skills in no time!

PHGFancySign

cedar underbed storage

Hi Pretty Handy Readers, Jaime here from That’s My Letter to share a beautiful and simple storage idea using cedar boards.  Let’s build some DIY cedar under bed storage bins and make use of that hidden space!

Cedar boards are readily available in most home improvement stores and typically come in 1×4, 1×6 and 1×8 widths.  I used mostly 1×4 boards, which are actually 3 1/2″ wide, for this project because I only have 6″ of clearance under the bed. That’s still plenty of space to store items so let’s not waste it!

cedar underbed storage 2

You’ll want to measure your space and make the under bed storage fit best for your needs. At 17 ½” w x 29 ½” l, these bins work great for this space.  Cedar is naturally resistant to insects, smells great, and looks pretty too!

cedar underbed storage 3

I added a simple pull handle to one end to make it easier to pull.  A simple finger hole would work fine if you don’t want to use hardware.

cedar underbed storage 1

Below are the step-by-step instructions to build the cedar under bed storage.  (Please follow all safety precautions when operating power tools.)

Materials (for one bin):

  • 2 – 1x4x8 cedar boards
  • 1 – 1x6x8 cedar board
  • 1 ¼” pocket hole screws
  • wood glue
  • saw, drill & drill bits
  • nailer & 1¼” finish nails
  • sander
  • clear polyurethane (if desired)
  • 4 – 1 ½” – 2″ casters
  • 3/4″ wood screws
  • handle pull (if desired)

cedar underbed storage dimensions

Cut List (for one bin):

  • 5 – 1×4 @ 28″ l (3 base, 2 long sides)
  • 1 – 1×6 @ 28″ l (base)
  • 2 – 1×4 @ 17 ½” l (short sides)

Instructions:

Step 1: Make the base by attaching boards using wood glue and 1 ¼” pocket hole screws.  Be sure to pre-drill pocket holes around perimeter for later attaching sides.

cedar underbed storage step 1

Cedar typically has a rough and a smooth side. When making the base keep the rough side to the underside.

cedar underbed storage base

Step 2: Attach the long sides to the base using wood glue and 1 ¼” pocket hole screws.

cedar underbed storage step 2

Step 3: Attach the short sides to the base using wood glue and 1 ¼” pocket hole screws.  Then attach the short sides to the long sides with 1 ¼” finish nails.


cedar underbed storage step 3


Sand smooth and apply clear polyurethane if desired.  Attach casters to four corners and the pull handle to the center of the drawer front.

cedar underbed storage 4

Fill up your new cedar under bed storage bins and push underneath for out of site storage.  So beautiful, so functional, and great for off season storage or every day use.  I hope you enjoy this project and have a spot in your home for cedar under bed storage bins.  Enjoy!

Jaime signature~ Read More of Jaime’s Tutorials ~


Pin for later!

Let's build some DIY cedar under bed storage bins and make use of that hidden space! | Pretty Handy Girl #prettyhandygirl #storage #DIY #organization

Mini Makeover for a Book Display Shelf | Pretty Handy Girl

Mini Makeover for a Book Display Shelf | Pretty Handy Girl

I love my son’s elementary school library (media center). But, you already knew that after I gave part of the library a room makeover transforming it into a magical forest. Anything I can do to help kids get excited about reading makes my heart happy. I recently received an email from the librarian asking if I could help fix some drywall rips and holes in the computer room. Since it’s summer, she’s been working on changing the room around and wants to paint it before school starts up. I told her I’d love to help. This week we worked together with the principal and his Dad to patch the drywall. While I was there, I walked past this little book display shelf and realized I never shared the mini makeover with you.

It was okay as it was, but the problem was the bottom two shelves weren’t tall enough for most of the picture books.

Mini Makeover for a Book Display Shelf | Pretty Handy Girl

See what I mean?

Mini Makeover for a Book Display Shelf | Pretty Handy Girl

To make the book display shelf work better for the library, I decided to give it a mini makeover. I cut off the middle shelf by sawing through the two screws holding it on.

Dremel-multi-max-cut-screws

I tapped the remaining piece of the screws through the back of the display shelves.

hammer-nails-through

To save time, I used Patch plus Primer to fill the holes and gouges.

Mini Makeover for a Book Display Shelf | Pretty Handy Girl

After the Patch plus Primer dried, I sanded it smooth and used painter’s tape to mask off the sides of the shelves.

Mini Makeover for a Book Display Shelf | Pretty Handy Girl

Next, I applied two coats of black chalkboard paint with a foam roller and used a brush around the edges.

Mini Makeover for a Book Display Shelf | Pretty Handy Girl

For a smooth surface, I sanded lightly between the two coats of paint.

Mini Makeover for a Book Display Shelf | Pretty Handy Girl

After the chalkboard paint dried, I removed the painter’s tape and seasoned the chalkboard by rubbing a piece of chalk on its side over the entire surface.

The students like to populate the display shelf with their favorite books and leave a little review.

Mini Makeover for a Book Display Shelf | Pretty Handy Girl

I love seeing what the students are reading and their notes to other students.

Mini Makeover for a Book Display Shelf | Pretty Handy Girl

Best of all, it’s helping more children fall in love with reading.

Mini Makeover for a Book Display Shelf | Pretty Handy Girl

Cheers to helping kids find their love of reading at an early age!

PHGFancySign


Pin for later!

This bookshelf didn't need a complete overhaul - check out this mini makeover from Pretty Handy Girl! #prettyhandygirl #DIY #bookshelf

How to Get a Smooth Paint Finish without a Paint Sprayer | Pretty Handy Girl

A smooth factory finish is the ideal paint finish for cabinetry. A professional cabinet finisher would normally use a paint sprayer, but today I’m going to show you

How to Get a Smooth Paint Finish without a Paint Sprayer.

top_stained_desk_top_view

The first step in getting a factory smooth finish is to prep your cabinets by filling any imperfections with wood putty.

wood_putty_all_dents_seams_holes

When the putty is completely dry, sand the cabinet face to perfection. Start with a medium grit sand paper and finish with a fine grit paper.

sand_up_to_300_grit

Use a high quality primer with a hard finish to seal the cabinet and prepare it to accept paint.

kilz_primer

After the primer dries, sand it perfectly smooth again. This will remove any imperfections.

sand_between_coats

A big factor in getting that factory smooth finish is using good quality paint made for doors and trim like Benjamin Moore Advance or Sherwin Williams ProClassic. Add a small amount of Floetrol (affiliate link) to help the paint level better.

foam_roller_floetrol_sherwin_williams_paint

Brush paint onto the cabinets.

brush_only_areas_roller_cant_reach

Spread the paint and smooth your brush strokes with a foam roller.

use_foam_roller

And that my friends is How to Get a Smooth Paint Finish without a Paint Sprayer

Pretty Handy Girl's Holiday Home Tour 2014

Get more painting tips and techniques from my painting tutorial gallery.

PHGFancySign

DIY 4x4 Scrap Wood Picture Frame

Sometimes the amount of scrap wood I accumulate can seem a bit excessive. I have a hard time letting go of all those little pieces because I know they have potential to become something more. I have big plans for some scraps, but little projects can be fun too.  A 4×4 picture frame is a great way to use up some left over 4x4s.

This is such a quick and easy craft. Don’t blink or you may miss it.

Materials:

  • 4×4 Scraps at least 1″ thick
  • Glue for a matte finish or Glossy Mod Podge for a shiny finish
  • Small Paint Brush
  • Picture – make a duplicate at your local photo counter to keep the original intact
  • Dark Furniture Wax or Stain

Instructions:

Pick your scraps. They should be big enough to stand on their own (at least an inch thick.)

DIY 4x4 Scrap Wood Picture Frame

Stain or wax your wood (leave the face unstained where you will display the picture.)  For small projects, dark wax can be easier than stain because you can wipe it on with a rag. Throw it away when you are done and there is no cleanup.

DIY 4x4 Scrap Wood Picture Frame

Next, cut your picture to match the 4×4 and cover the face of the 4×4 with glue.

DIY 4x4 Scrap Wood Picture Frame

Place the photo and smooth with a towel.

DIY 4x4 Scrap Wood Picture Frame

Cover the photo with glue and let dry.

DIY 4x4 Scrap Wood Picture Frame

Find the perfect place to display your new 4×4 picture frame.

DIY 4x4 Scrap Wood Picture Frame

These would be fun to put up in a workshop. If I ever get mine neat enough for a decoration, these are definitely going to find their way in there.

A 4x4 picture frame is a great way to use up some left over 4x4s. | Scrap wood project | Pretty Handy Girl #prettyhandygirl #DIY #scrapwood #pcitureframe

Jillian's Signature

~Read more of Jillian’s tutorials here.~


Pin for later!

A 4x4 picture frame is a great way to use up some left over 4x4s. | Scrap wood project | Pretty Handy Girl #prettyhandygirl #DIY #scrapwood #pcitureframe