DIY Beadboard Picture Frames
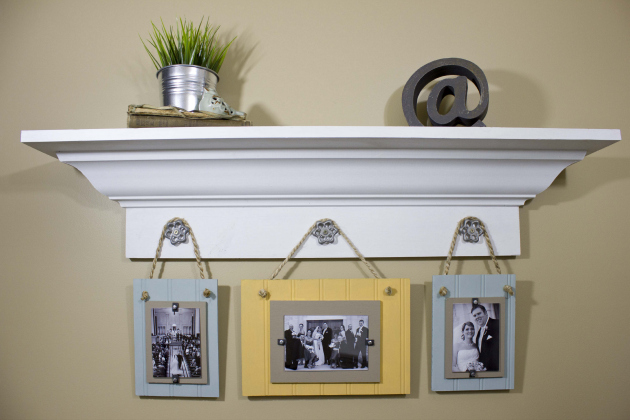
Last month Matt showed you all how to build a decorative shelf with crown molding for our half bath. The shelf is perfect for the space and I love it. Unfortunately something felt like it was missing from the shelf. After some thought I decided that our shelf needed picture frames! Beadboard picture frames to be exact.
Today I am going to show you how to DIY your own beadboard picture frames!
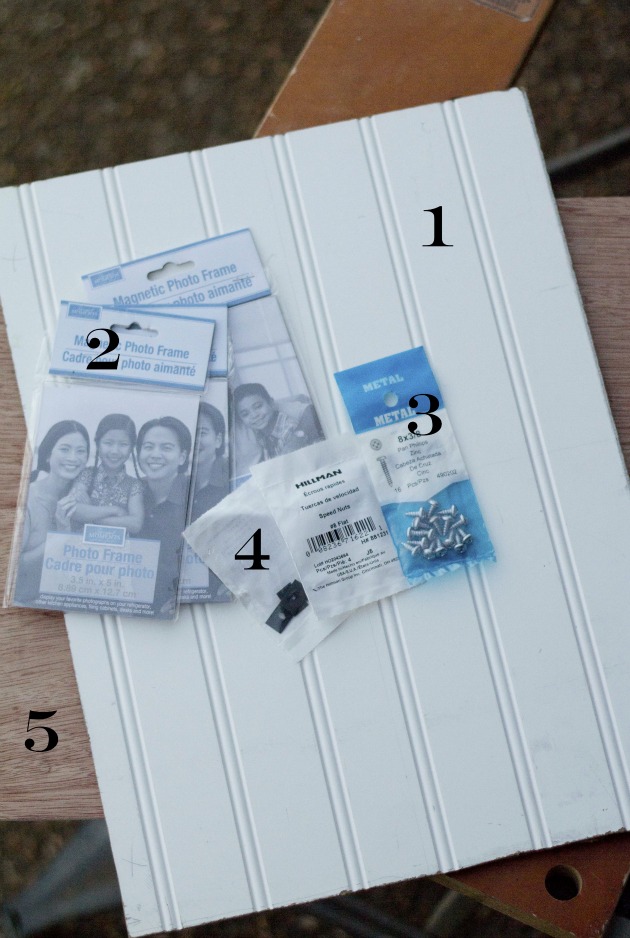
1. Beadboard
2. Plastic Photo Frames (these are from the dollar store)
3. Metal Screws with rounded heads (2 for each frame)
4. Speed Nuts (#8 Flat – 2 for each frame)
5. Luan
Not shown:
6. Paint
7. Rope
8. Liquid Nails
9. Circular Saw
Instructions:
Decide the overall size of your picture frame.
My sizes are as follows:
For a 3.5 x 5″ photo: Beadboard – 6.5 x 9″, Luan – 4.5 x 6″
For a 4 x 6″ photo: Beadboard – 8.5 x 12″, Luan – 6 x 8″
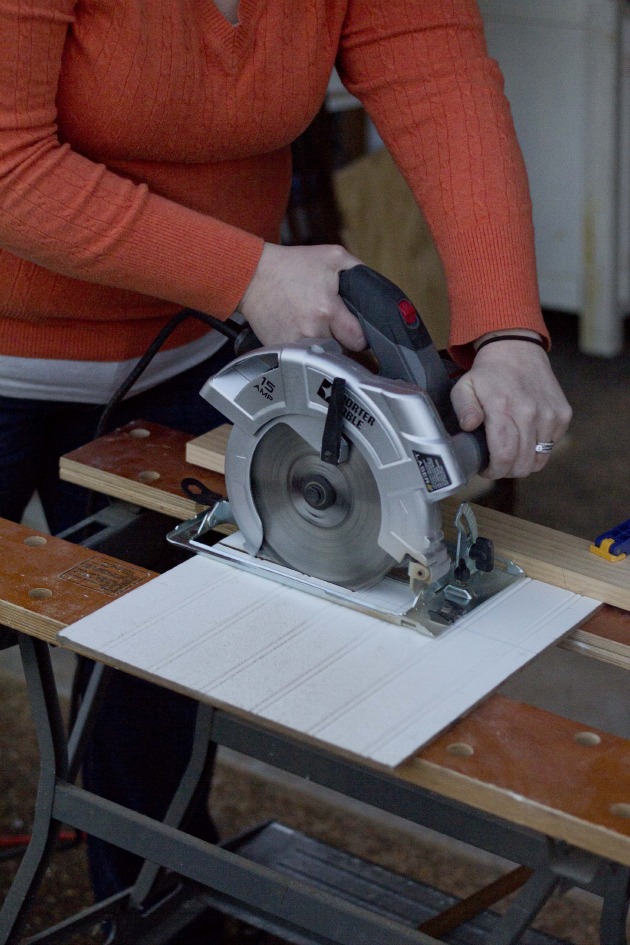
Transfer the dimensions to your beadboard/luan and cut your pieces with the circular saw or jig saw (learn how to use these power tools and more in the Tool Tutorial section.)
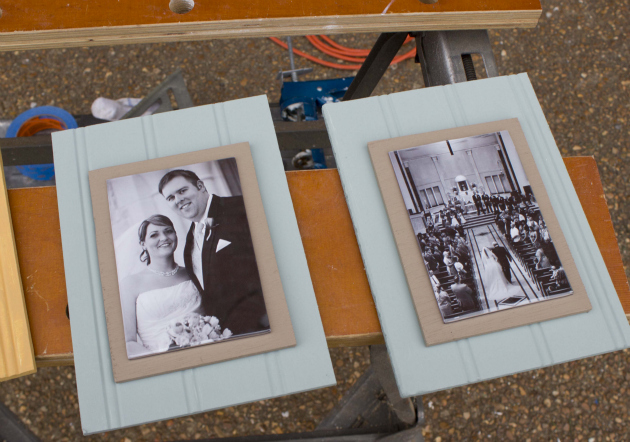
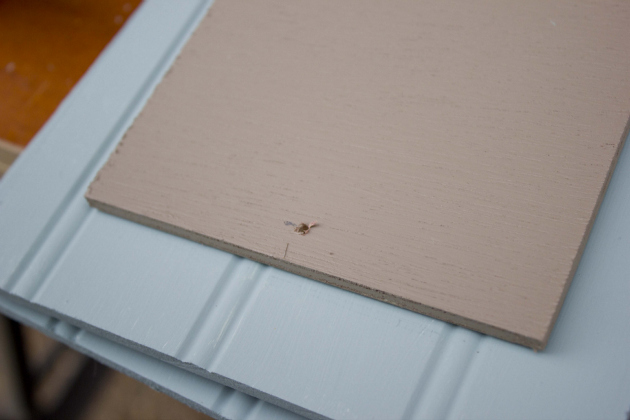
Paint your luan and beadboard. (I chose a brown for the luan and a complimentary color for the beadboard: AnnieSloanChalkPaint – Duck Egg & Arles.)
When the paint is dry, dry fit the pieces and glue the luan to the beadboard using liquid nails or other type of heavy duty adhesive. (Do not glue the plastic picture frames to the luan.)
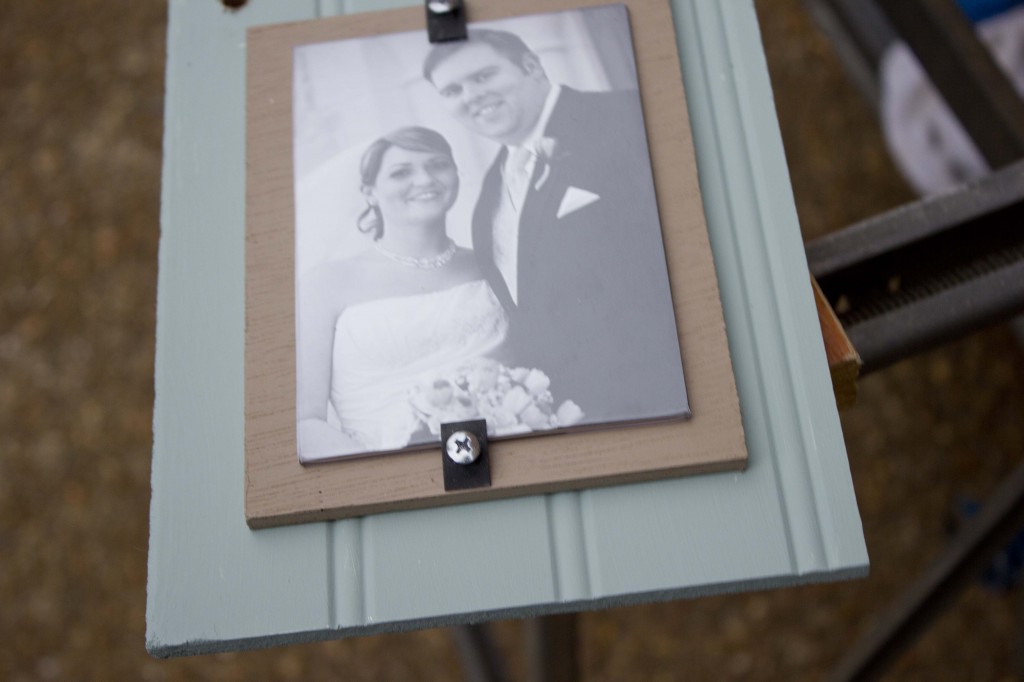
Give the adhesive ample time to dry and then lay the plastic picture frames onto the luan. Take one of the speed nuts, center it on the frame, and mark the speed nut location with pencil.
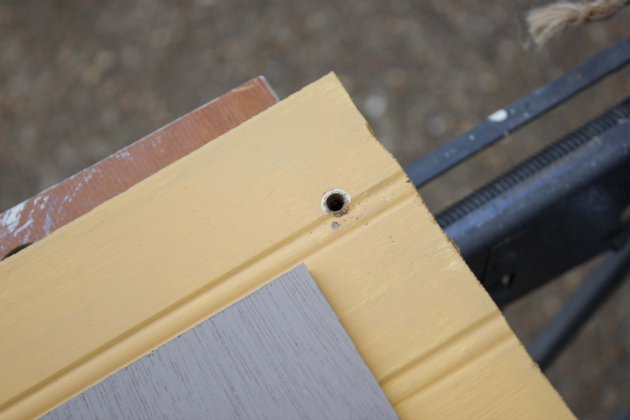
Pre-drill a hole for the screws at the pencil mark. (Use a drill bit slightly smaller than the screws.)
Use a larger drill bit and drill two holes at the top of each board for the rope hanger.
Center the picture frame onto the luan. Take a screw and begin to thread it through the hole in the center of the speed nut. Line the screw tip up with the pre-drilled hole and tighten it down using a screwdriver.
Once all of the speed nuts have been added to the picture frames, the rope can be added. The length of the rope is up to your discretion. Slip the rope through the holes and knot each end. (If you are having trouble getting the rope through the hole try adding scotch tape to the ends and remove the tape once the rope has been pulled through). With the rope securely attached to the picture frames they are ready to be hung up!
Not only are the beadboard picture frames perfect for Matt’s shelf, but I think they would be a wonderful gift for someone (think Mother’s Day or a Wedding.) I have to admit, I have been pining over frames like this for a few years now. I’m glad I took the plunge to learn how to make them. But, I’m also slightly kicking myself for not doing this sooner because these were much easier to make than I could have ever imagined! Now if I can just convince Matt to let me turn our woodland dresser into a vanity for the half bath we will be in business! Baby steps right?





Love your frames! All the plastic picture frames I have found needs to be cut in order to lay flat. Did you have to cut yours in order for them to lay flat? If so, what did you use to cut the plastic?
Thank you,
Janice Wilder
Cool loving the picture frames and how easy they are to make, just thinking now where I could hang them…..mmm.
Thanks for sharing.
These are really cute. I love the rope knotted through it to hang and how smart to put the knots to the front. Great look and makes them hang correctly. I would have been trying to do it the other way! One question, besides aesthetics, was there a reason you didn’t just glue the clear frame to the board? Perhaps I’m thinking of a different style frame. The ones I have seen and like a acrylic front and back and you just slip a photo between the two layers-then the pic could be changed quickly when new ones come along. Just thinking if it was that type and could be glued, no speed nuts or screws to mess with??? Maybe there is a reason you can’t glue the acrylic to the board? Hopefully you can share your experience and knowledge with me!
Thanks so much.
Great job Jacque! Thanks to you I know what to do with my left over beadboard.
So very cool! Thanks for the how to!
Love those frames! Super cute Jacque!
I love these. I will definitely look into making my own.
Great tute! These are beautiful! You guys look so happy and adorable in your wedding photos too – handsome couple!!
What a great idea, thanks for the tutorial!!
How fun to see your wedding photos (in cute DIY frames). You guys are so stinking adorable!
So pretty! Love the frames!! Thanks for the tutorial!!
Your frames turned out so pretty!!
xo, Tanya
Awesome! I love this project Jacque. Great color choices too with the Black and White pics!~
These are so cute! I love the look of them, but every time I see the price tag on one at a vendor booth I think “I could totally DIY that for less!” Now I have a plan! 🙂
Look at you with that power tool! I love these picture frames. Adorable 🙂
Amanda, I was just thinking how natural Jacque looks with that circular saw! Like it is her right hand man. I guess that makes Matt her left hand man ;-D.