Industrial Hat Rack
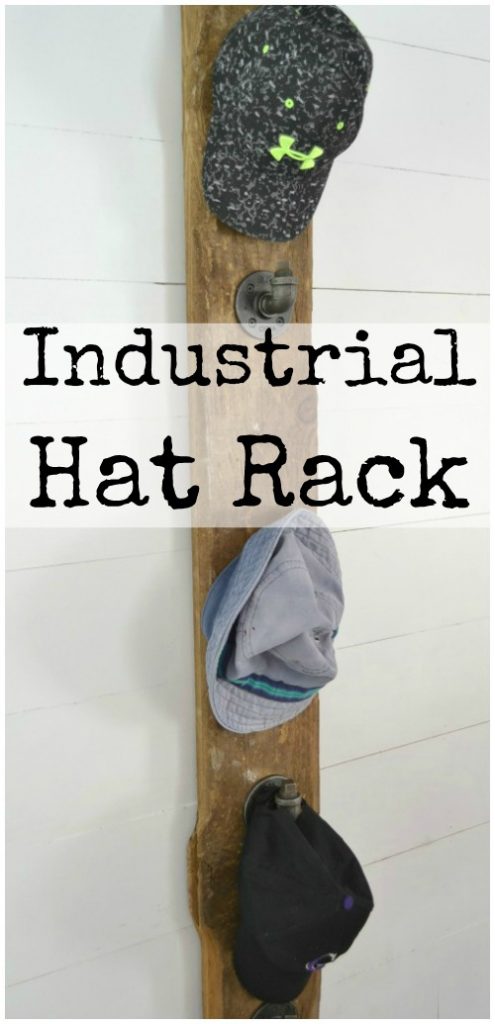
Hi Pretty Handy readers, it’s Jillian from I Am a Homemaker. I’m here to show you how I finally wrangled all the baseball hats my son has collected, with an industrial hat rack.
I absolutely love to add some unexpected touches to my projects and the plumbing aisle is a fantastic place to get those unique ideas.
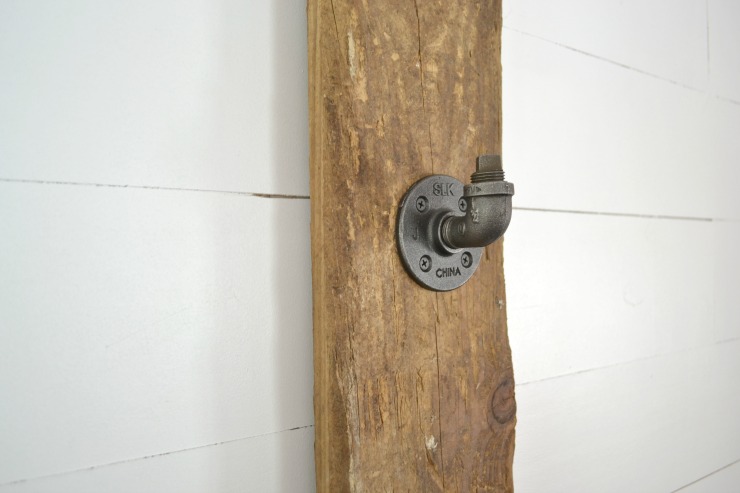
My latest idea was hatched while trying to figure out what to do with my son’s ever growing baseball hat collection. Iron pipes are used for everything from shelf brackets to table legs, and now we can add hooks to that list of usefulness.
My son’s room already has some industrial decor, so using the pipes for this hat rack works perfectly.
Here’s how to DIY your own industrial hat rack.
Materials:
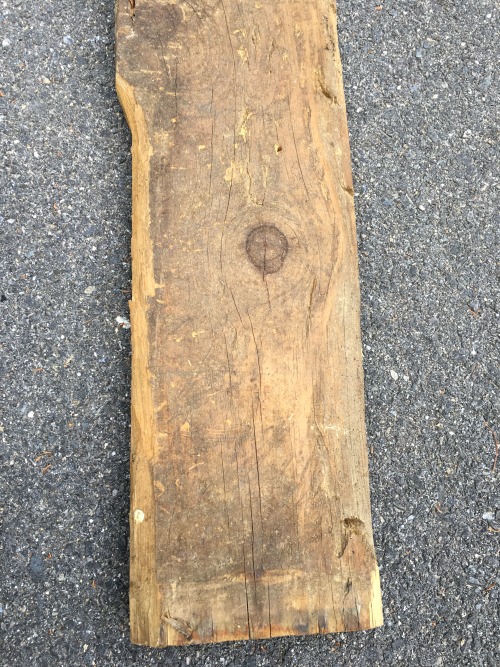
- 1 1″ x 6″ board at 5′ long (The length can be altered to suit your needs but will also alter the number and placement of the flanges so adjust accordingly.)
- 2 D-rings for hanging
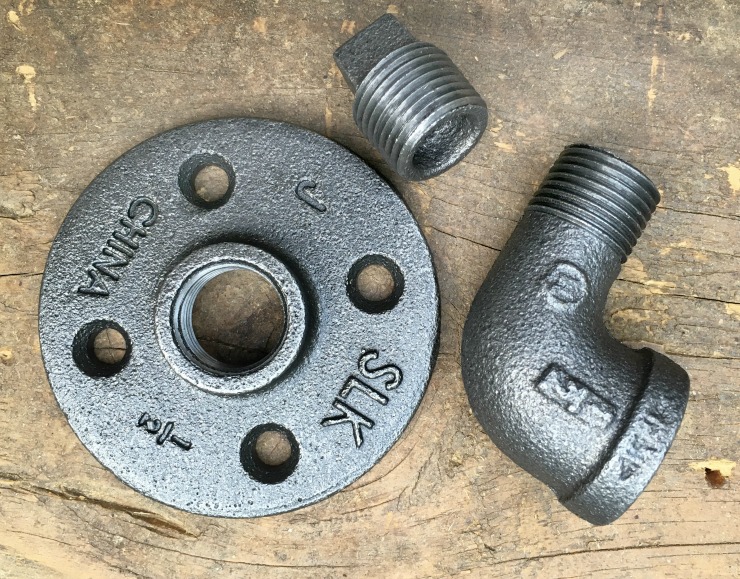
- 5 1/2″ iron floor flanges
- 5 1/2″ iron 90 degree street elbows
- 5 1/2″ iron plugs
- 20 1/2″ screws (choose a finish that matches your flanges or spray paint them to match)
Instructions:
Step 1:
Cut the 1″ x 6″ board to the desired length. Sand the edges and finish to your style.
Step 2:
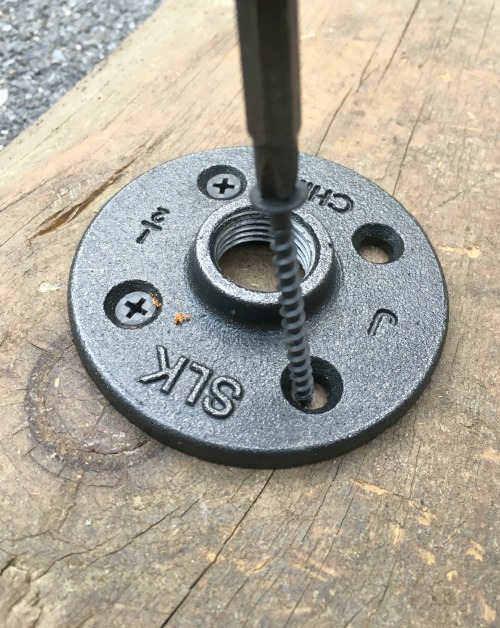
Place the top flange 1″ below the top of the board. Attach to the board with screws. Attach the remaining flanges to the board 8½” apart.
Step 3:
Add the street elbows to the flanges. (I chose to make this rack to hang vertically to make the best use of a narrow wall space.)
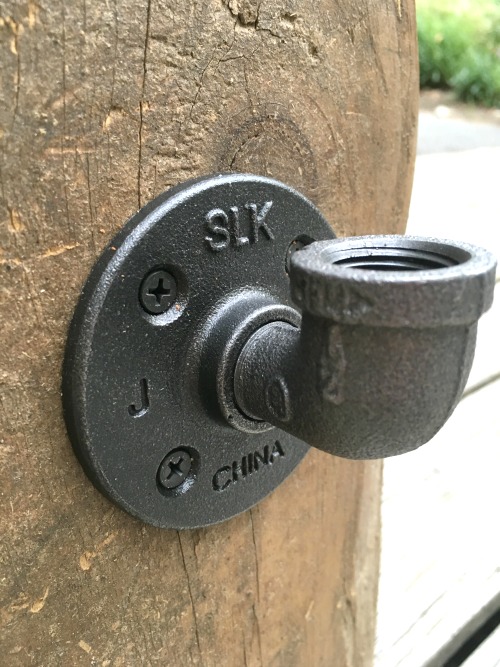
Step 4:
Add the plug into the top of the elbow and screw it in tightly.
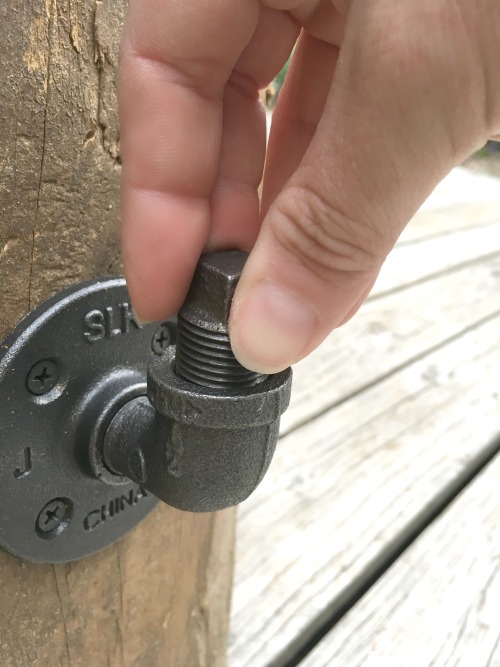
Step 5:
Attach the D-rings to the back for hanging.
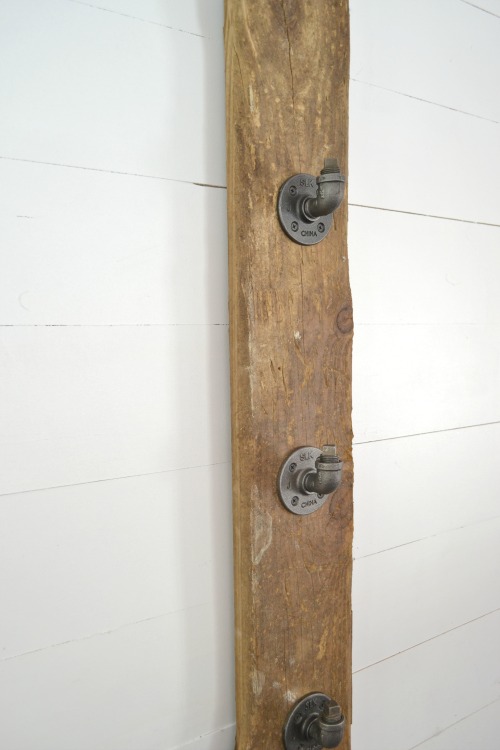
Another display option is to skip the D-ring and just lean it against the wall. I like it this way, but I don’t think free standing is the safest option for a child’s room. A furniture tether could be used to prevent tipping while still allowing it to stand on the floor.
All that’s left to do is gather up all your hats and have fun hanging them on their new, industrial hooks.
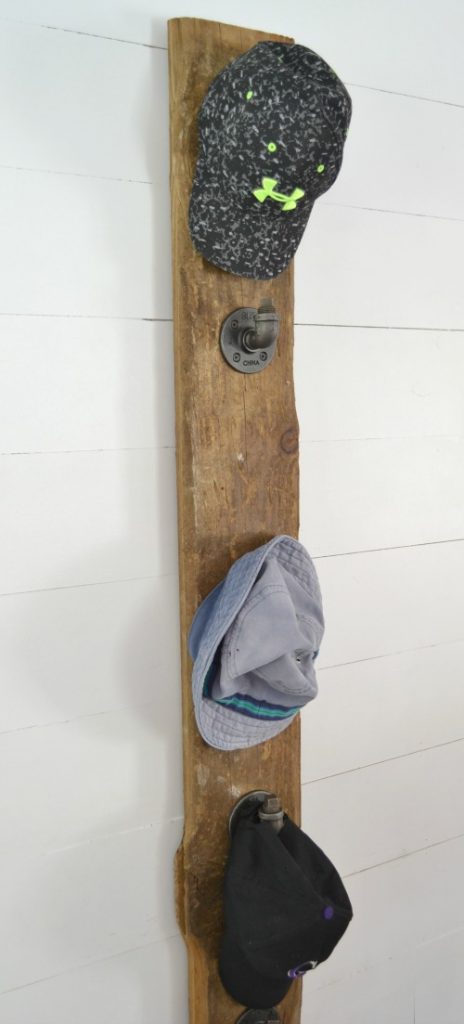
With different D-ring placement and a little turn of the 90 degree elbow, you can easily hang this rack horizontally. You can also hang almost anything on this rack. How about towels? Flowers? Jewelry or purses? Use your imagination and get organized.
I hope you enjoy this idea. Hopefully it pushes you to use your imagination and explore the hardware store.

-Read more of Jillian’s Tutorials-
Pin for later!
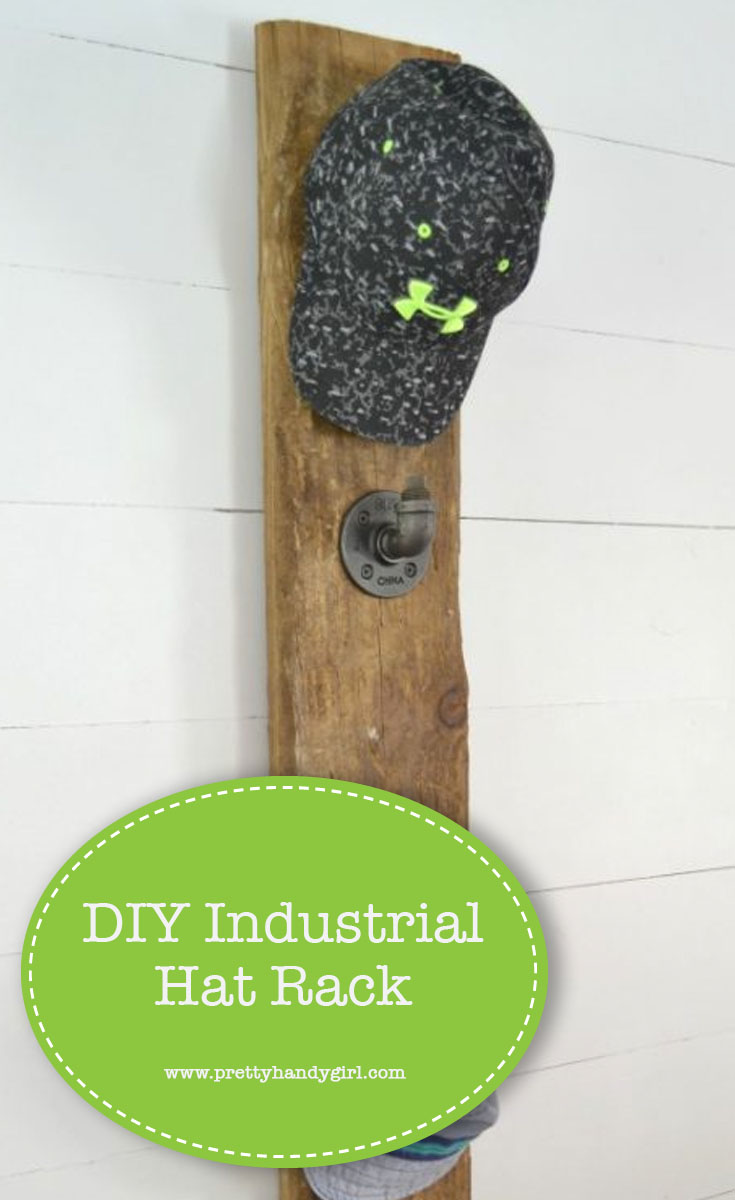
How to build an industrial hat rack to keep all your hats organized. | Industrial DIY project | DIY hat rack | Pretty Handy Girl #prettyhandygirl #DIY #industrialdecor #homeorganization







This is a great idea. I think this would work great in my bathroom to hang my towels!
That would be a great use for it!
perfect! i can stand to see this hat rack for sure – many thanks for the idea! weekend project is set!
My pleasure! Have fun making it 🙂
Hi,
This is so creative, I am going to make a vinyl rack for my adhesive vinyl rolls. All I needed is a hint and I can make it happen. Great idea
Awesome! So glad you found a use for the idea.
Love this DIY! Horizontal can be a standard rack hanger! Nice!
Thanks Lorna!!
Love this idea, beautiful results. One question, what did you put on the back so it can hang on the wall?
Hi Ivory! Thank you for your kind words! I used D rings like the ones found here. Happy building!
Jillian,thank you so much for answering my question right away. I picked up some today.
My pleasure! I’m glad you found them.
LOVE Love this idea!!! 🙂 My husbands has hat everywhere I going to get him finely. Thanks for the Idea…
My pleasure! I’m so happy you found it useful!