You’ve decided it’s time to replace your windows (or you are building a house and need to order new windows.) Deciding which windows to purchase can be an overwhelming process. I’m here to help.
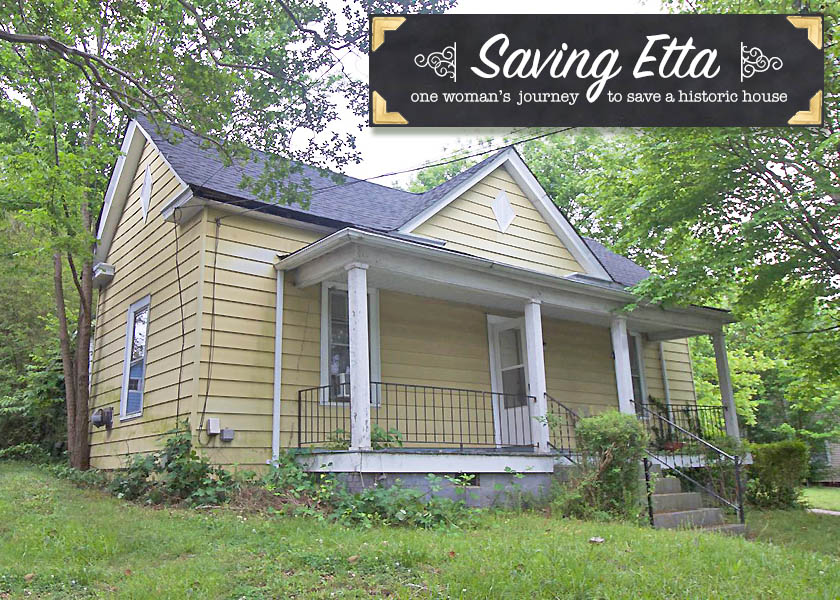
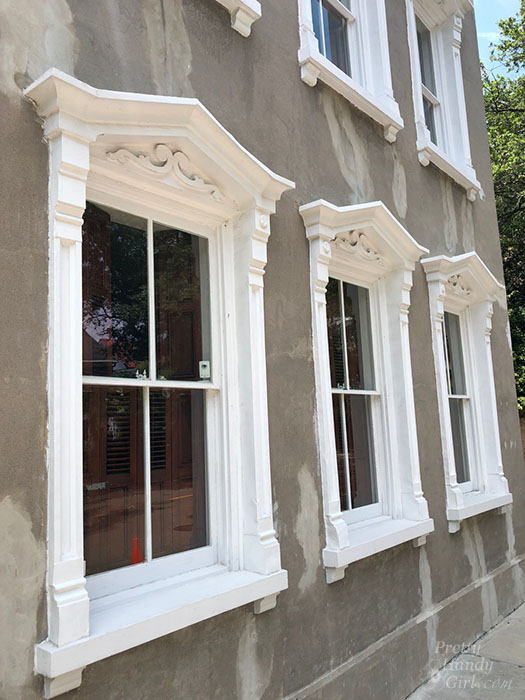
 Recently, I found myself on the path to purchase new windows for the Saving Etta Project and found the options to be numerous and confusing. There are many things to consider when purchasing new windows. Today, I want to discuss them all with you. Before we begin, I have to warn you, I’m a bit of a window snob. To me, nothing is more beautiful than original true divided light window. (Of course, beautiful window trim and pediments help too.)
 But, in today’s quest to be more energy efficient and save money on the electric bill, I completely understand the need for new windows. Many of my neighbors have replaced their windows with retrofit vinyl windows for energy efficiency and for ease of use. I used to think I could spot an inexpensive replacement window a mile away (okay, maybe not that far, but definitely from across the street.) But, my eyes have been opened to the options for replacement windows that look beautiful and stylish.
Personally, I have installed Ply Gem windows in my own home, and have been very happy with how they look and operate. Therefore, when Ply Gem reached out to me about being a sponsor for the Saving Etta project, I was familiar with their windows and knew they produce quality windows with attention to detail.
The icing on the cake with Ply Gem is their larger philanthropic campaign, the Home for Good project started in 2016 to help raise awareness of the critical need for affordable houseing. In addition to building new homes across the country, the project also helps homeowners stay in their existing homes by providing much needed repairs and renovations to houses in disrepair. Locally, Ply Gem worked with the Habitat for Humanity’s Neighborhood Revitalization program to identify local homeowners who were in need of exterior renovations and repairs. Not only does Ply Gem manufacture top quality windows and many other exterior products, but they give back to communities in need. (You can read more about the Home for Good Project I volunteered with here.) Which is why I agreed to bring Ply Gem on as a Saving Etta sponsor.
Regardless of the brand you choose for your new windows, it’s helpful to know some of the terminology and what to consider when it’s time to buy.
But, in today’s quest to be more energy efficient and save money on the electric bill, I completely understand the need for new windows. Many of my neighbors have replaced their windows with retrofit vinyl windows for energy efficiency and for ease of use. I used to think I could spot an inexpensive replacement window a mile away (okay, maybe not that far, but definitely from across the street.) But, my eyes have been opened to the options for replacement windows that look beautiful and stylish.
Personally, I have installed Ply Gem windows in my own home, and have been very happy with how they look and operate. Therefore, when Ply Gem reached out to me about being a sponsor for the Saving Etta project, I was familiar with their windows and knew they produce quality windows with attention to detail.
The icing on the cake with Ply Gem is their larger philanthropic campaign, the Home for Good project started in 2016 to help raise awareness of the critical need for affordable houseing. In addition to building new homes across the country, the project also helps homeowners stay in their existing homes by providing much needed repairs and renovations to houses in disrepair. Locally, Ply Gem worked with the Habitat for Humanity’s Neighborhood Revitalization program to identify local homeowners who were in need of exterior renovations and repairs. Not only does Ply Gem manufacture top quality windows and many other exterior products, but they give back to communities in need. (You can read more about the Home for Good Project I volunteered with here.) Which is why I agreed to bring Ply Gem on as a Saving Etta sponsor.
Regardless of the brand you choose for your new windows, it’s helpful to know some of the terminology and what to consider when it’s time to buy.
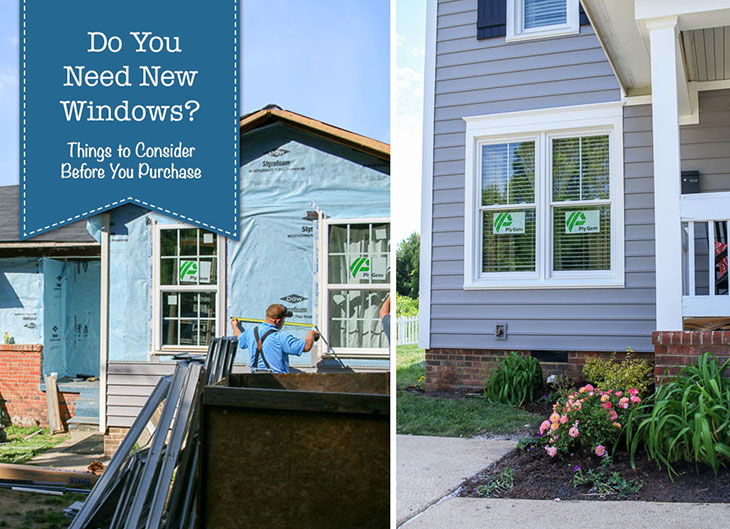
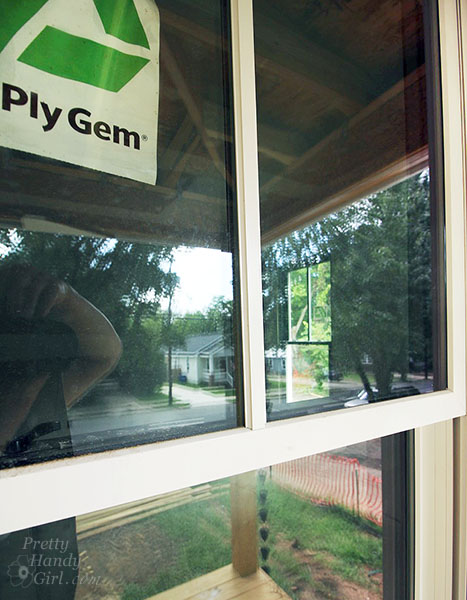
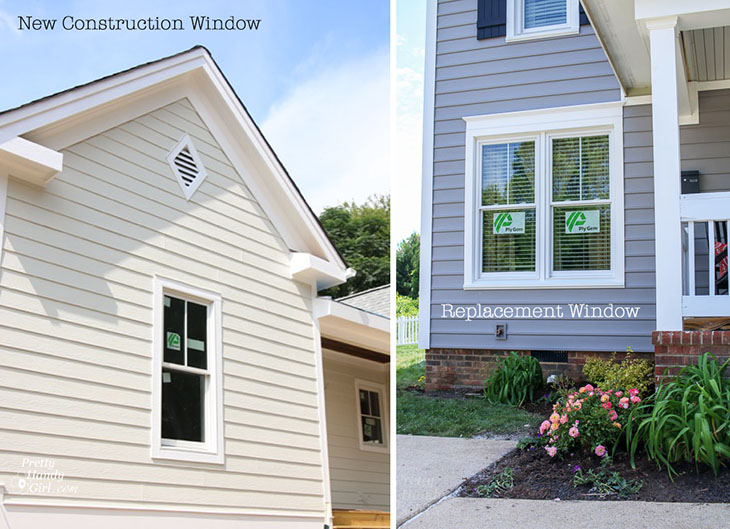 As you can see from the photos above, if you purchase quality windows, you may not be able to tell the difference between new construction or replacement windows. (I’ll show you how to choose better looking replacement windows in a few.)
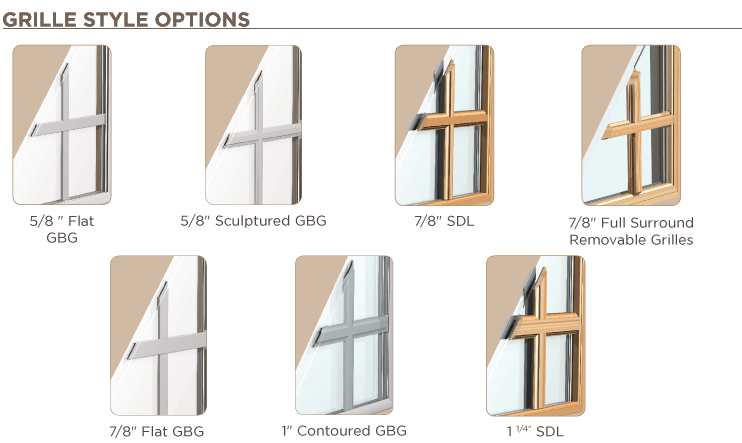 This is a close up view of the Mira Window grille with the 7/8″ Simulated Divided Light grilles.
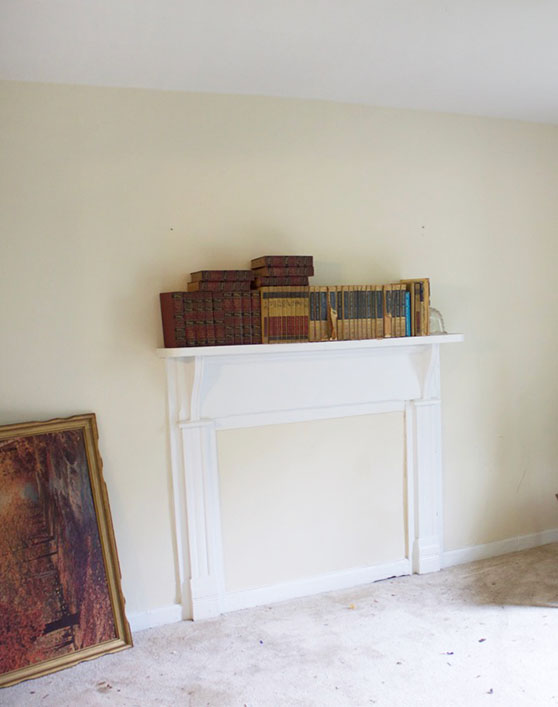
 Before you ask why I couldn’t keep them, there were many factors pointing to replacing the original windows:
 Disclosure: This post is a sponsored post for Ply Gem. It was written as part of their sponsorship of the Saving Etta project. I was not told what to write. All words and opinions are my own. I am very particular about the brands I work with, and only partner with companies that provide quality materials and/or services.
If you liked this post, you’ll definitely appreciate this article on How to Choose a New Roof:
Disclosure: This post is a sponsored post for Ply Gem. It was written as part of their sponsorship of the Saving Etta project. I was not told what to write. All words and opinions are my own. I am very particular about the brands I work with, and only partner with companies that provide quality materials and/or services.
If you liked this post, you’ll definitely appreciate this article on How to Choose a New Roof:
Do You Need New Windows? Things to Consider Before You Buy
Recently, I found myself on the path to purchase new windows for the Saving Etta Project and found the options to be numerous and confusing. There are many things to consider when purchasing new windows. Today, I want to discuss them all with you. Before we begin, I have to warn you, I’m a bit of a window snob. To me, nothing is more beautiful than original true divided light window. (Of course, beautiful window trim and pediments help too.)
But, in today’s quest to be more energy efficient and save money on the electric bill, I completely understand the need for new windows. Many of my neighbors have replaced their windows with retrofit vinyl windows for energy efficiency and for ease of use. I used to think I could spot an inexpensive replacement window a mile away (okay, maybe not that far, but definitely from across the street.) But, my eyes have been opened to the options for replacement windows that look beautiful and stylish.
Personally, I have installed Ply Gem windows in my own home, and have been very happy with how they look and operate. Therefore, when Ply Gem reached out to me about being a sponsor for the Saving Etta project, I was familiar with their windows and knew they produce quality windows with attention to detail.
The icing on the cake with Ply Gem is their larger philanthropic campaign, the Home for Good project started in 2016 to help raise awareness of the critical need for affordable houseing. In addition to building new homes across the country, the project also helps homeowners stay in their existing homes by providing much needed repairs and renovations to houses in disrepair. Locally, Ply Gem worked with the Habitat for Humanity’s Neighborhood Revitalization program to identify local homeowners who were in need of exterior renovations and repairs. Not only does Ply Gem manufacture top quality windows and many other exterior products, but they give back to communities in need. (You can read more about the Home for Good Project I volunteered with here.) Which is why I agreed to bring Ply Gem on as a Saving Etta sponsor.
Regardless of the brand you choose for your new windows, it’s helpful to know some of the terminology and what to consider when it’s time to buy.
Replacement (retrofit windows) vs. New Construction Windows (full frame windows)
For simplicity, replacement windows are typically installed inside existing window frames. The trim, siding, and window frame are not disturbed during installation (making it a quicker and cheaper way to replace an existing window.) On the flip side, new construction windows are installed directly into a rough opening and secured to the exterior of the house walls. New construction windows have a nail fin frame for securing the window to the outside of the window opening. After installation, the window trim and siding is installed over the nail fin. If you have old windows, you can purchase either retrofit replacement windows or new construction windows. (However, the amount of work needed to install new construction may cost you more money in labor because the house trim, interior window casing, and frame has to be removed first.)
As you can see from the photos above, if you purchase quality windows, you may not be able to tell the difference between new construction or replacement windows. (I’ll show you how to choose better looking replacement windows in a few.)
Cheap vs. Quality Windows:
You’ve heard the saying, “you get what you pay for”, right? If you purchase cheap windows, you may have to replace them in the near future. Quality starts by choosing a window manufacturer that has been making windows for decades. For example, Ply Gem has been making windows for over 70 years!What I dislike about cheap replacement windows:
- Wider window stiles (the vertical frames of the window sashes.) – A wider stile means you may have less glass area translating to less natural light in your house.
- Flat grilles inbetween the glass. – Okay, I know they are easy to clean, but they lose the beautiful dimension of true divided light grilles.
- Cheap construction. – Some cheap windows have sloppy construction (for example: thick caulked seams on the corners.) Poor quality construction can result in a leak of the gas between the panes as they age. A leak shows up when you experience a permanently fogged window. Other signs of a cheap window, are ones that fail to operate after a few years of use.
Is there an alternative to cheap replacement windows?
YES! You can purchase more attractive and better constructed replacement windows. You also have additional options:- Keep your old windows and install storm windows to improve energy efficiency.
- Purchase quality replacement windows like Ply Gem’s 2000 Double Hung, Premium, and Pro Replacement Windows with a wider variety of grilles to choose from.
- Purchase a quality new construction window, and consider installing it yourself to offset the cost of higher quality windows and the additional labor.
This is a close up view of the Mira Window grille with the 7/8″ Simulated Divided Light grilles.
Things to consider when adding a new window:
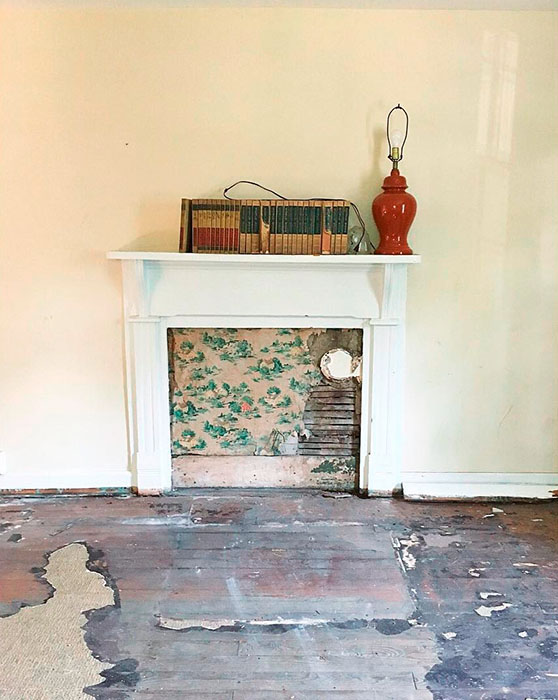
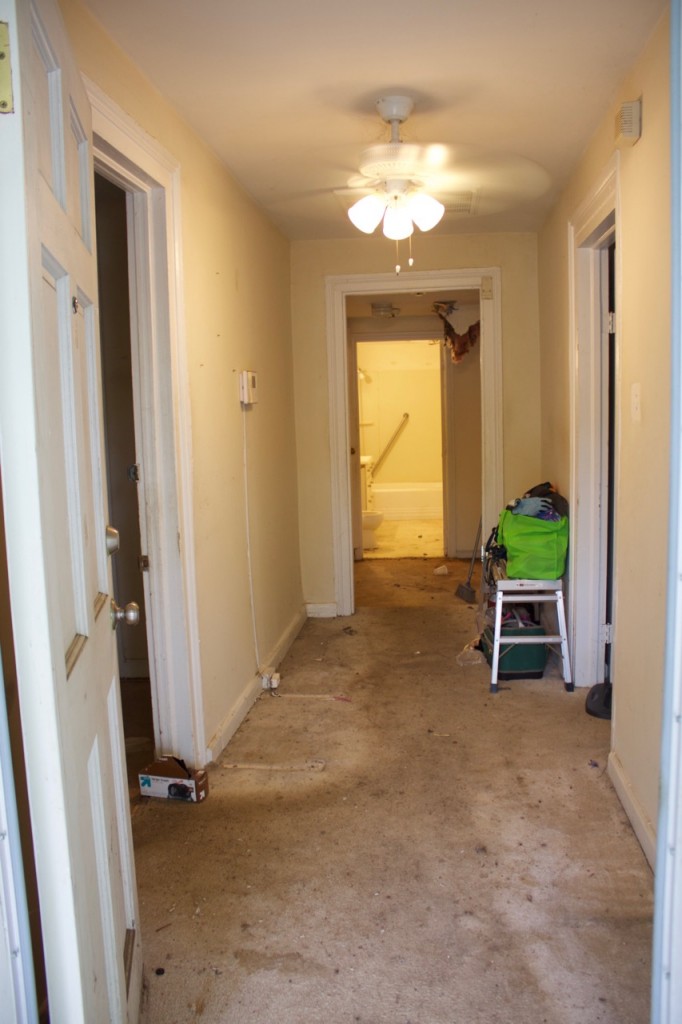
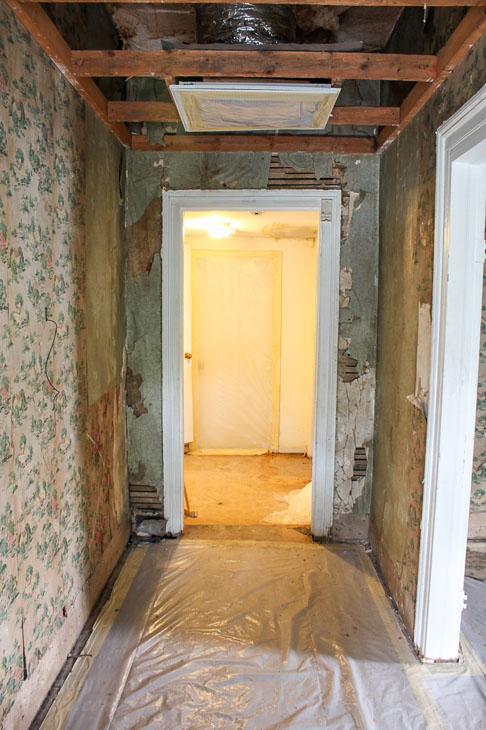
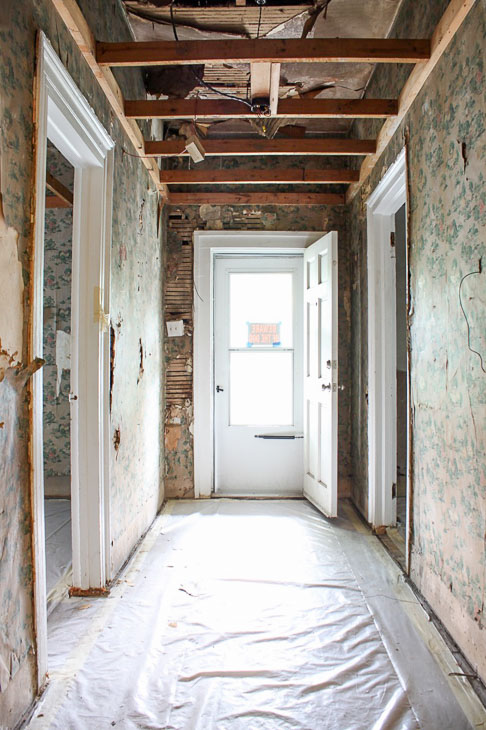
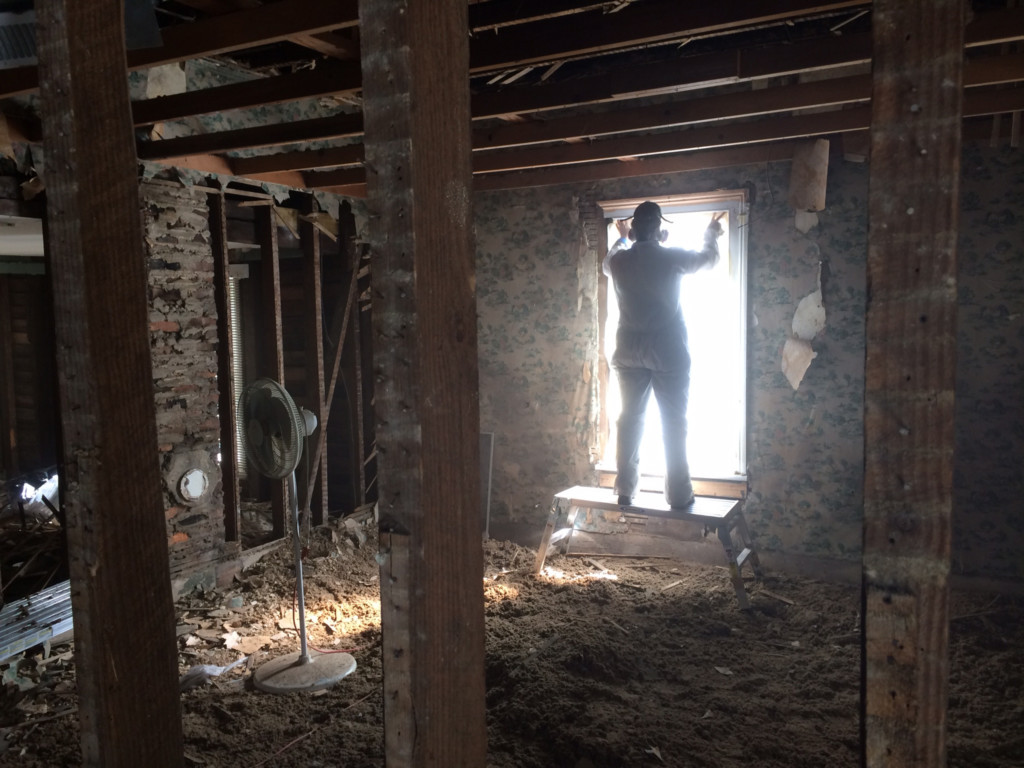
With all these things to consider, you may find the decision making overwhelming. Trust me, I know the feeling! The day I realized I couldn’t save Etta’s old windows, my head was swimming with options.
Before you ask why I couldn’t keep them, there were many factors pointing to replacing the original windows:
- They were in rough shape and some of the panes had been replaced with plexiglass.
- They had lead paint and there were many layers of paint to strip before I could repaint.
- They did not have window weights. (They were never built with any. Which meant if you opened the window you had to put a stick underneath to hold it open.)
- The last factor was related to the noise level. Etta is on a busy street with a bus route. Traffic noise during rush hour and an occasional rumbling bus going by are everyday occurrences.
Things you need to consider when ordering new windows:
- Are there any building codes to address?
- Does the window meet egress standards for a bedroom?
- Is the window in a location that requires tempered glass?
- How far is the window from the ground? (Does it need to have a safety stop?)
- Do you need a permit to replace your windows?
- How will the window open?
- Double hung
- Single hung
- Non-opening
- Casement opening
- Do you need a privacy window?
- Frosted
- Textured
- Integrated blinds
- Do you want screens for your window?
- Will the style match the rest of your windows or style of the house?
More Window Resources:
How to Install a New Construction Window
How to Add Privacy Film to Any Window
How to Install Traditional Window Trim or How to Install Decorative Window Casing
How to Clean Your Windows Like a Pro
Things to Consider When Choosing New Windows
Stop! Don’t Replace Your Windows Before Reading This