Tag Archive for: scrap wood

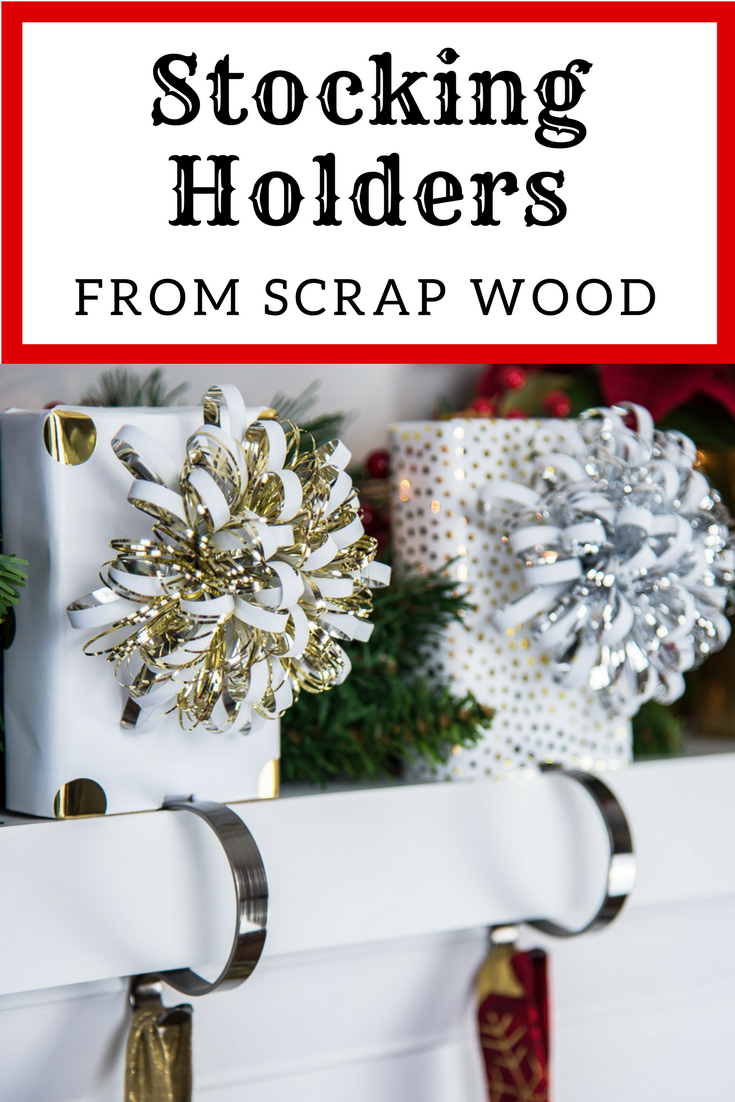
Decorate your mantel for Christmas with these DIY stocking holders made of scrap wood!

Use up those scrap 2 x 4 pieces to create these gorgeous stocking holders!
Hi there, Pretty Handy Girl readers! I’m Vineta from The Handyman’s Daughter, back with another tutorial for you! I have a mountain of wood scraps in my workshop, and the hardest pieces to use up are those pesky 2 x 4 end cuts. Lucky for you, I figured out an adorable way to use them! Feast your eyes on those gorgeous gift-wrapped stocking holders for your mantel!

Love how festive these DIY stocking holders look on the mantel!

Materials:

(I’ve included affiliate links for your convenience. I earn a small percentage from a purchase using these links. There is no additional cost to you. You can read more about affiliate links here.)


Instructions:

Gather up your scrap 2 x 4 pieces, especially those really ugly ones! Mine had paint splatters, stain samples and random pocket holes. Cut all to the same size.
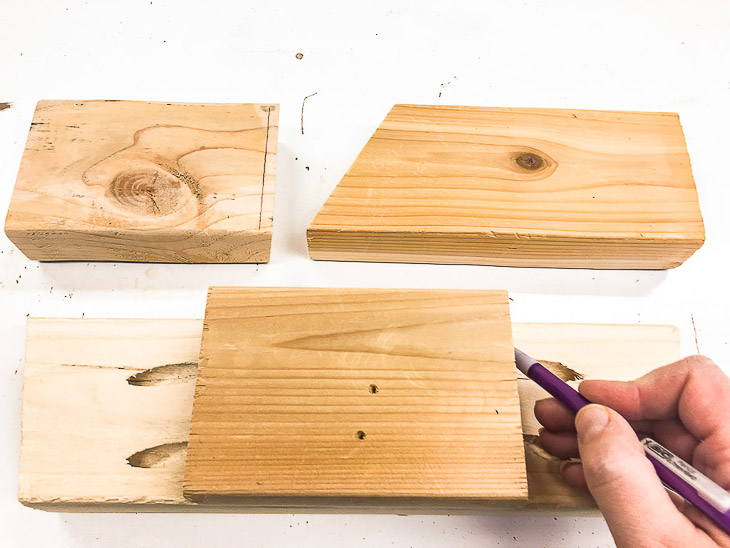
Cut all your scrap wood pieces the same size to make these stocking holders.

Center the mantel hooks and mark the width on the bottom of the scrap wood.
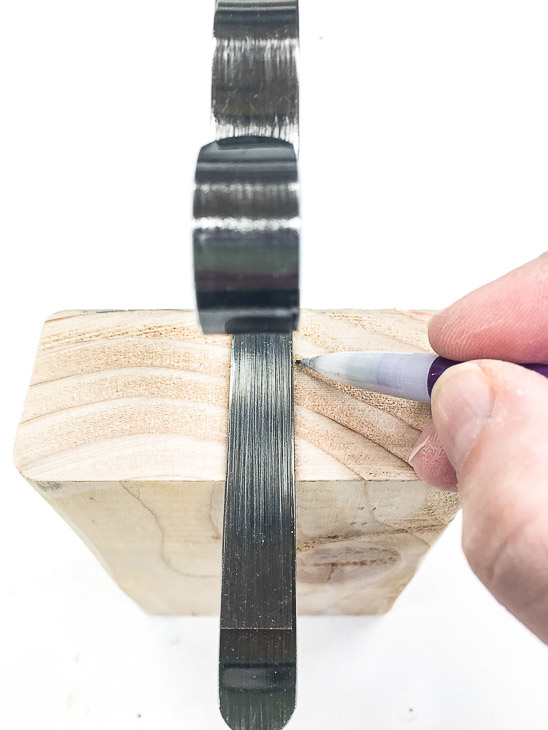
Mark the placement for your mantel hooks.

Cut a channel deep enough for the mantel hook to sit in. (I used a router for this, but you could chip it out with a chisel, use a Dremel, or use a table saw.
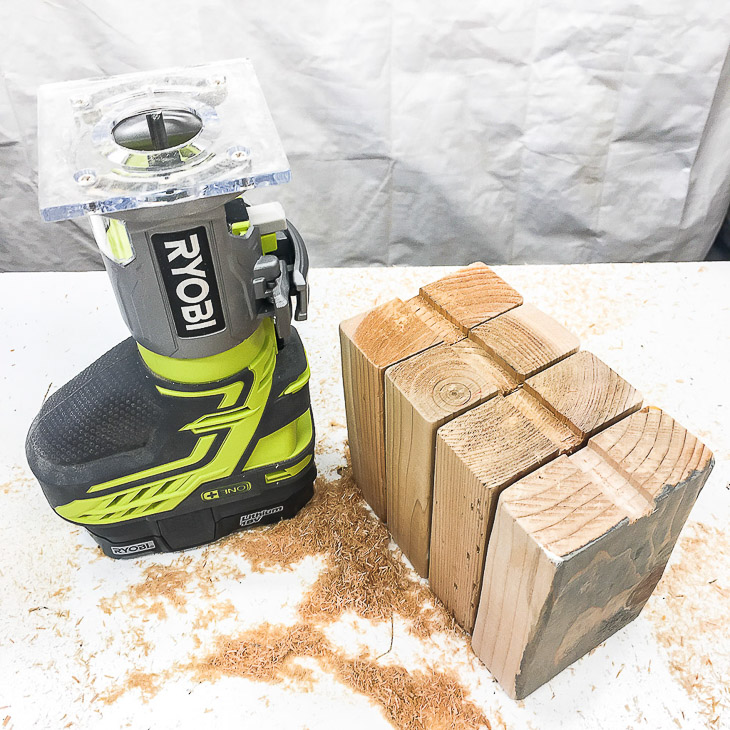
Cut out a channel in the bottom of the scrap wood for the mantel hooks.

Cut a piece of wrapping paper big enough to cover the entire wood block. Fold the bottom edge then line up the cut channel end with the edge of the fold.
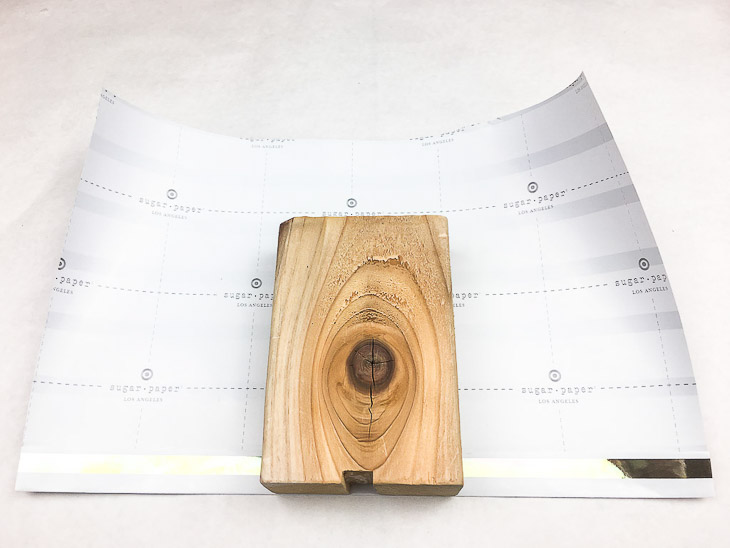
Fold up the bottom edge of the wrapping paper and place the block on top.

Wrap the wrapping paper around the sides of the block and tape it in the back.
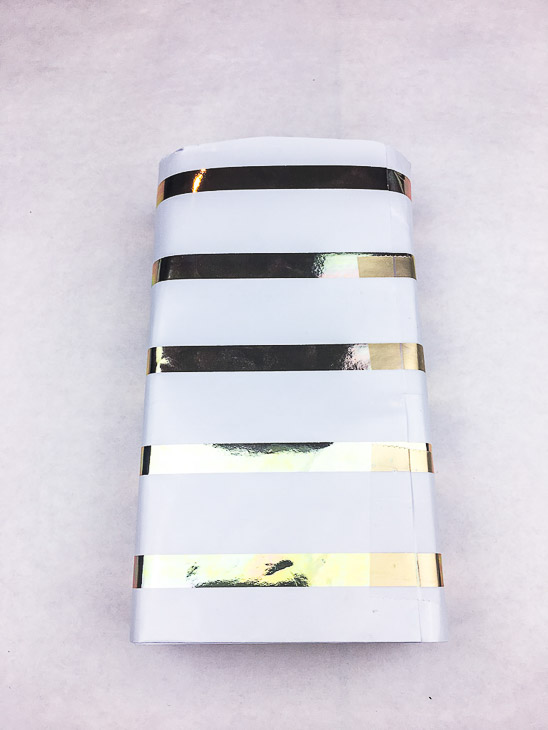
Wrap the wrapping paper around the block and tape in the back.

Fold the top of the wrapping paper like a present, with the tape on the back side.
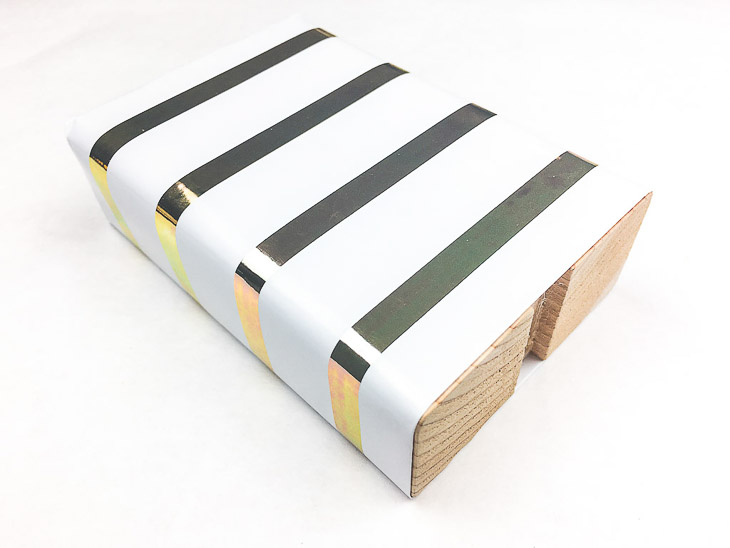
Finish wrapping your stocking holder block.

Add a festive bow to the front. Cut a notch in the wrapping paper at the front and back of the cut groove and fold it inward.
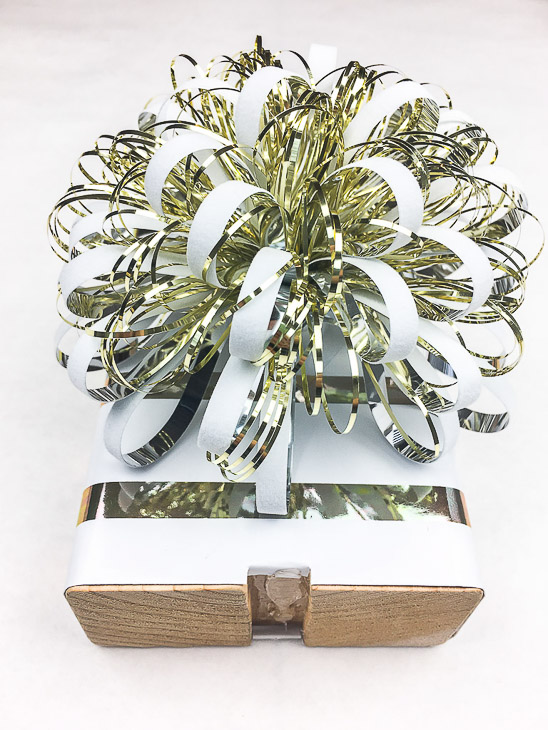
Decorate your stocking holders with a festive bow!

Apply hot glue to the groove and attach the mantel hook. (I cut my grooves a little too deep, so I filled in the extra space with more hot glue until the metal was flush with the surface of the wood.)
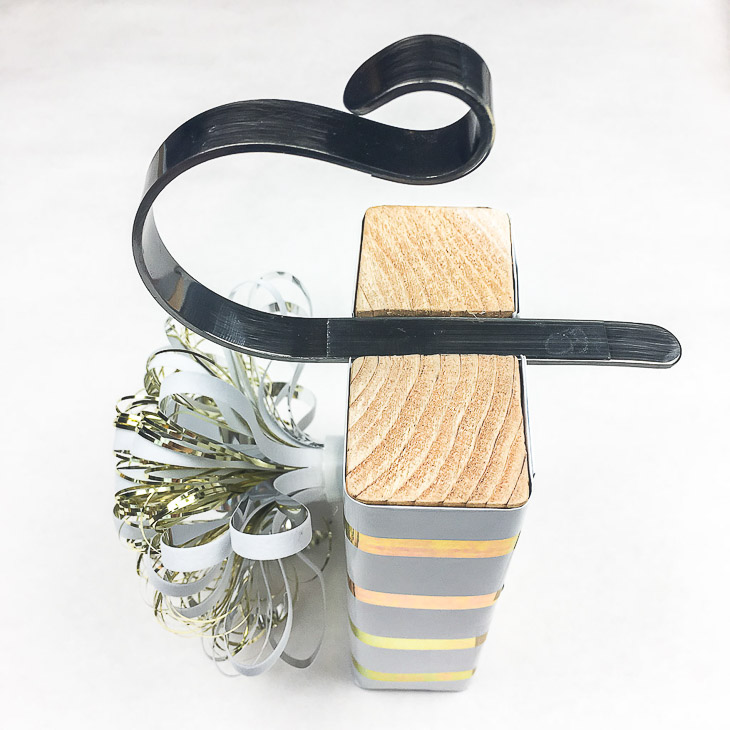
Glue the mantel hook to the bottom of the stocking holder.

These hooks stretch over the mantel and clamp around the edge securely with its grippy surface. Now you don’t have to worry about little ones or pets pulling heavy stockings down on their heads! Santa can load up them with goodies and they won’t budge!
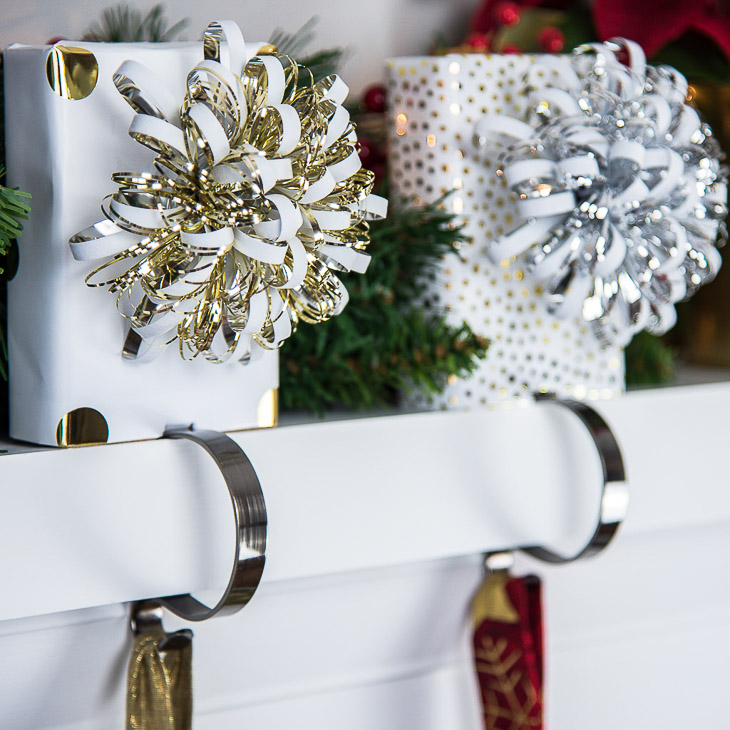
Decorate your mantel for Christmas with these DIY stocking holders made of scrap wood!

I love how all these stocking holders look lined up on the mantel. It was totally worth suffering through our fireplace remodel last year for this!

Love how festive these DIY stocking holders look on the mantel!

These stockings are all ready for Santa!
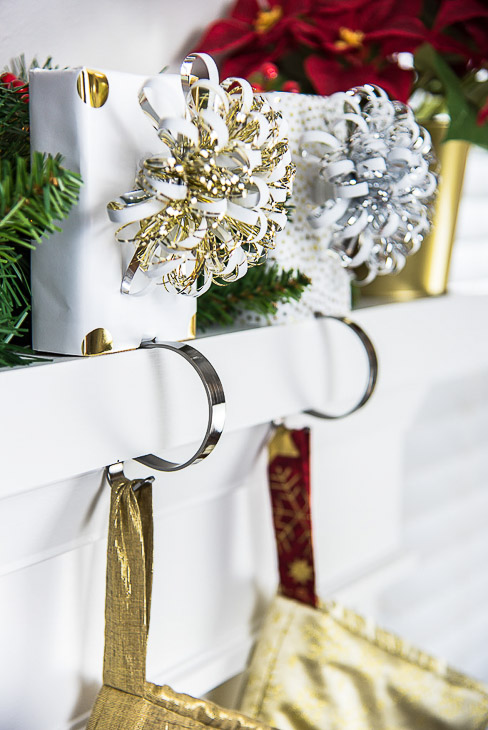
These stocking holders keep stockings secure and safe for children and pets.

Want more ideas for hanging your stocking? I’ve rounded up 14 more stocking holders to buy or DIY, even if you don’t have a fireplace!

14 Stocking Holders to Buy or DIY

Have a wonderful holiday, and I’ll be back with another tutorial in the New Year!

~ view more of Vineta’s projects ~

How to build an easy scrap wood multiuse caddy

How to build an easy scrap wood multiuse caddy

Hey everyone!! It’s Shara here again from Woodshop Diaries to bring you a simple, versatile, and really fun project. It’s a scrap wood caddy!

I hesitate to put a label on what type of caddy it could be because you can carry whatever you want inside. Cleaning supplies, tools, craft knick knacks, gardening accessories — the possibilities are endless!

The size is easy to customize and you only need a few tools and some scrap plywood. If you don’t have any scraps, pick up a quarter sheet of 3/4” or 1/2” plywood at the lumber yard or big box store to make this.

If you’re ready to get building, here’s the plan:

Materials:

(I’ve included affiliate links for your convenience. I earn a small percentage from a purchase using these links. There is no additional cost to you. You can read more about affiliate links here.)

Cut List:

(Keep in mind: you can customize for different size scraps or for a larger or smaller caddy)

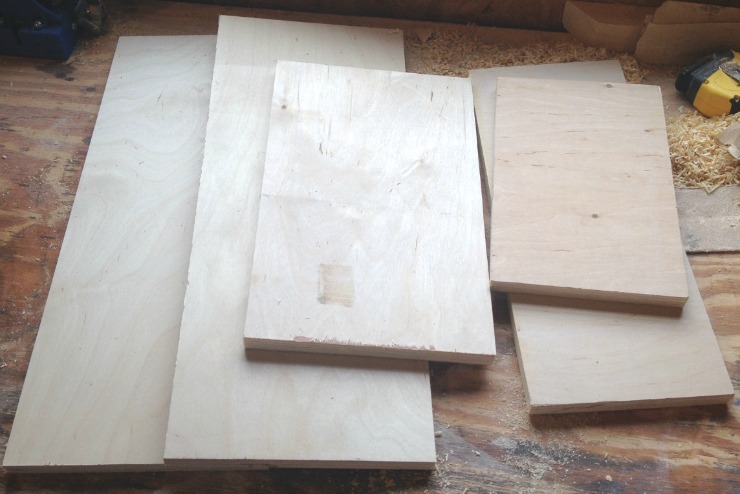
  • (2) pieces 3/4” x 8” x 19” (front and back)
  • (1) piece 3/4” x 8” x 17 ½” (bottom)
  • (2) pieces 3/4” x 8” x 8” (sides)
  • (1) piece 3/4” x 8” x 12” (middle divider w/ handle cutout)
  • (2) pieces 3/4” x 8” x 6 ½” (middle dividers)

Instructions:

Step 1: Cut out middle divider with handle

Cut your scraps to 8” wide to make the build easier. (If you don’t like 8”, you could make it another size, but the cut list will change slightly.)

Scrap wood DIY Cleaning Caddy

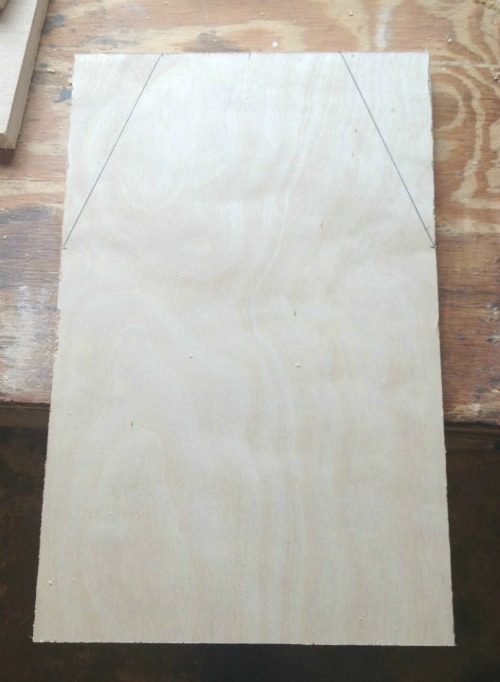
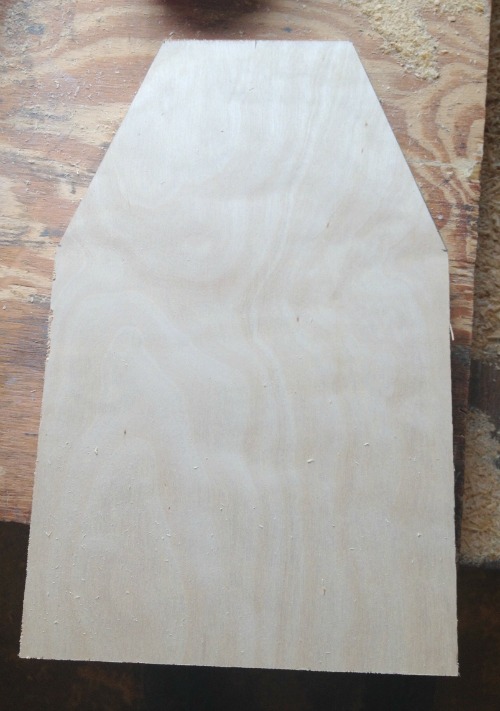
Take a piece of 8” wide x 12” tall and mark the center. Measure and mark 2” to each side of the center and 5” down. Draw diagonal lines to connect the marks as shown:

How to make a multiuse caddy

Use a miter saw to cut the diagonal corners off.

How to make a multiuse caddy

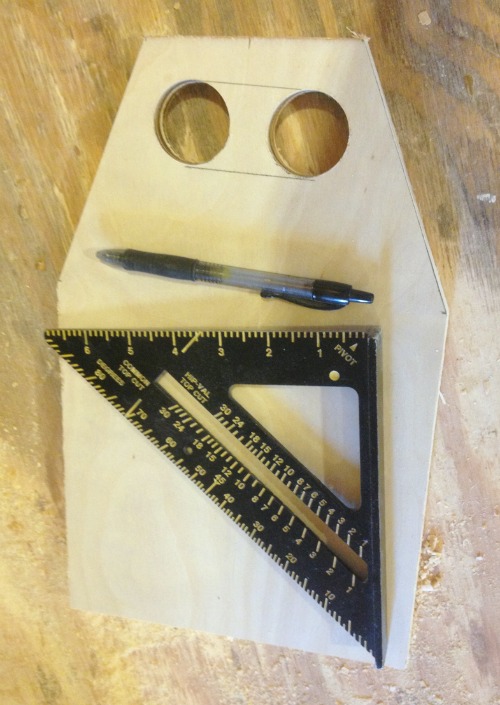
Draw a handle hole. To make this an easy task, drill two holes first (using a drill bit or hole saw) to get the blade in.

How to make a multiuse caddy

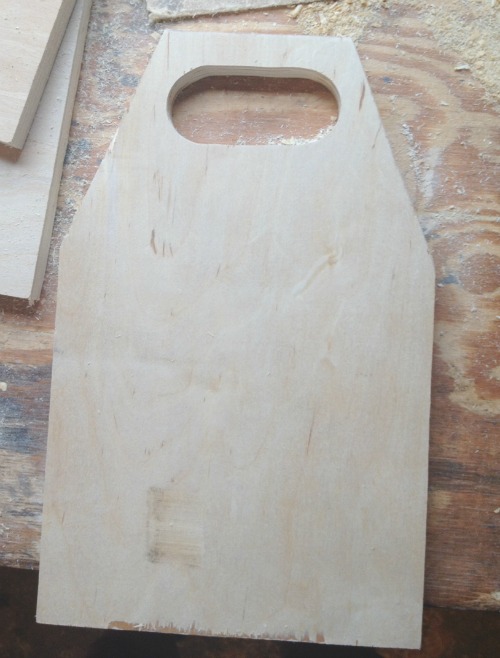
Then cut along your line.

How to make a multiuse caddy

Sand your edges smooth.

Step 2: Cut out the front and back sides

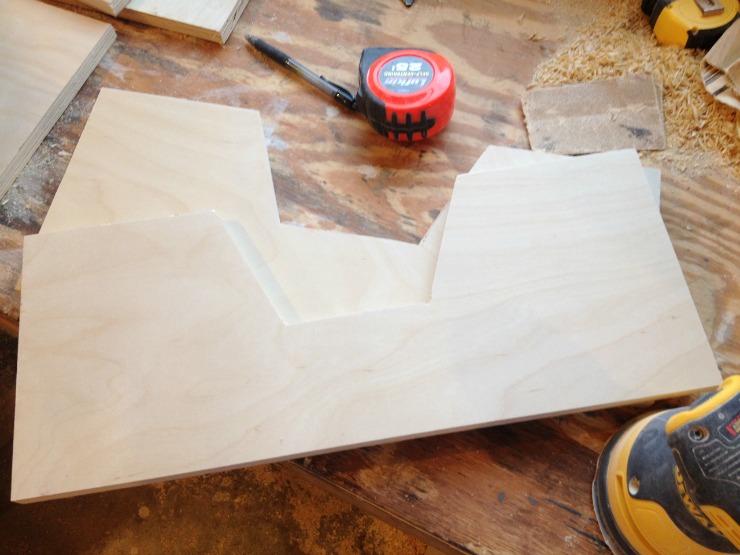
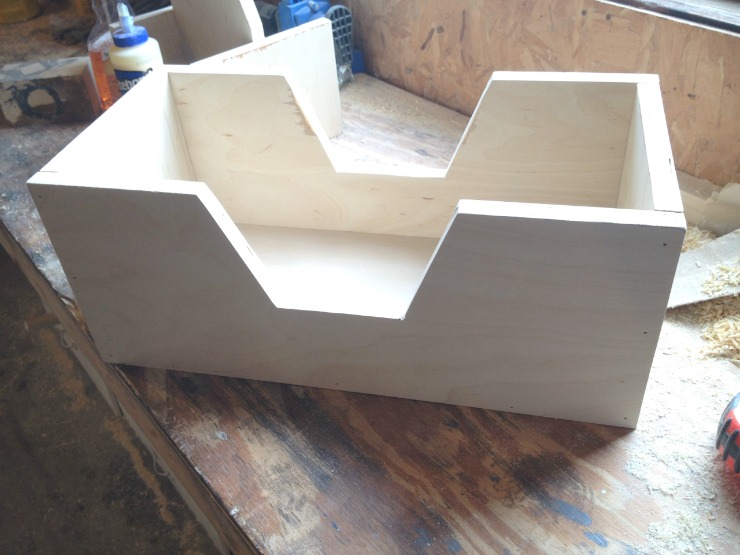
Cut two pieces of your plywood to 8” x 19”. Find the center of one of the pieces lengthwise. Flip the middle divider from step 1 upside down and center it on the 8″ x 19″ plywood. The top of the divider should line up 3” from the bottom of the plywood. Trace the diagonal cut out onto the plywood and cut out using a jig saw. Trace the same shape onto the second 8″ x 19″ plywood piece and cut out to match.

How to make a multiuse caddy

Step 3: Assemble the bottom

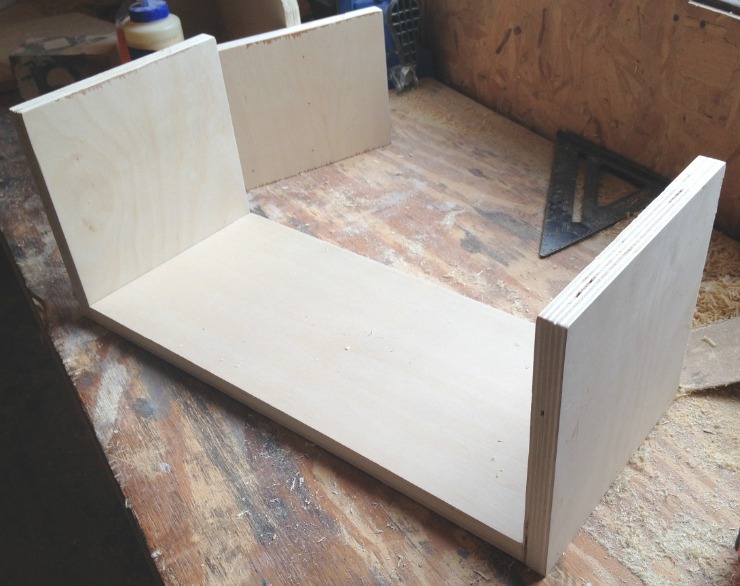
Cut the bottom piece* (8” x 17 ½”) and 2 side pieces (8” x 8”).

*If you are using 1/2” scrap plywood instead, be sure to add an extra 1/2” to the length of your bottom piece.

Glue and nail the pieces together as shown below. You can use hammer and nails, but a nail gun would be ideal to save time and prevent pieces from moving while you assemble.

How to make a multiuse caddy

Step 4: Attach sides

Glue and nail the front and back pieces from step 2 to the sides and bottom from step 3.

How to make a multiuse caddy

Step 5: Assemble the middle dividers

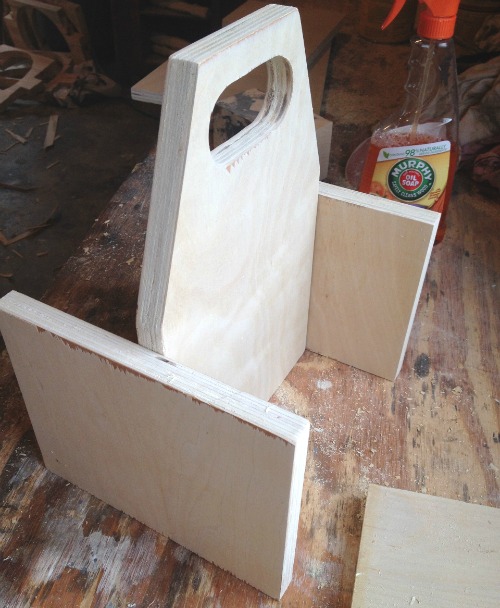
Cut the 2 middle dividers from the cut list (8” x 12”). Measure and mark the vertical centers of the divider pieces. Make sure that the piece with the handle is centered on the middle dividers. This will make your inside “compartments” the same size.

How to make a multiuse caddy

Glue and nail these pieces to the handle cut out piece from step 1.

How to make a multiuse caddy

Step 6: Add dividers

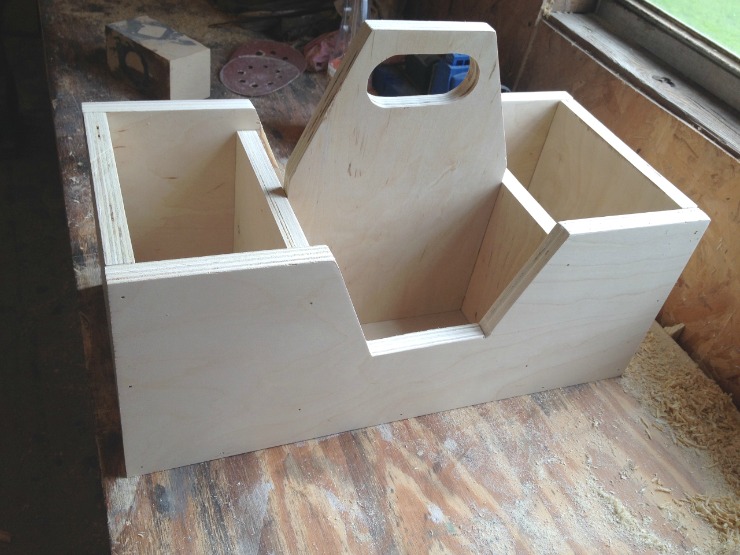
Slide the dividers into the box you made in step 4 and make sure to center it. Nail the dividers in place through the front and back of the caddy. You can add a couple nails in the bottom as well, just be careful that you don’t miss and have stray nails coming up through the bottom of your caddy.

How to make a multiuse caddy

Give your caddy a good sanding and it’s good to go. You can add paint or stain, but I left mine natural.

How to build an easy scrap wood multiuse caddy

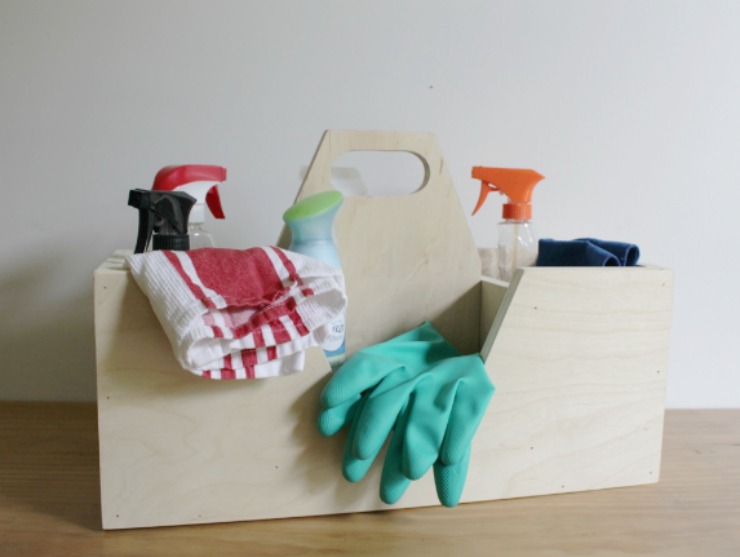
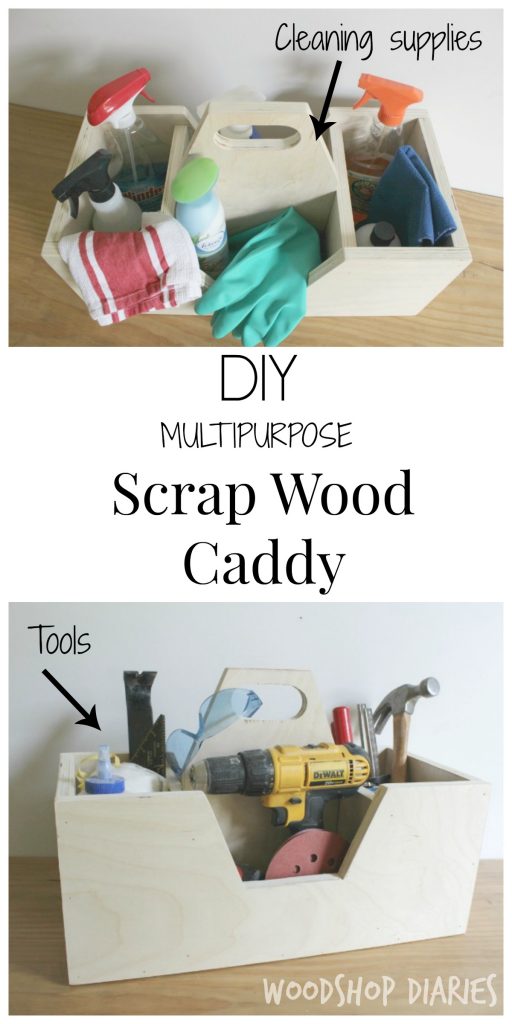
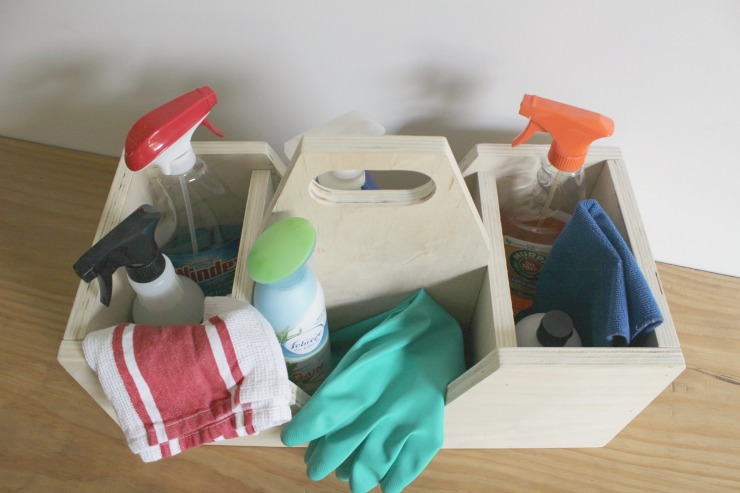
This caddy could be used for cleaning supplies. . .

How to build an easy scrap wood multiuse caddy

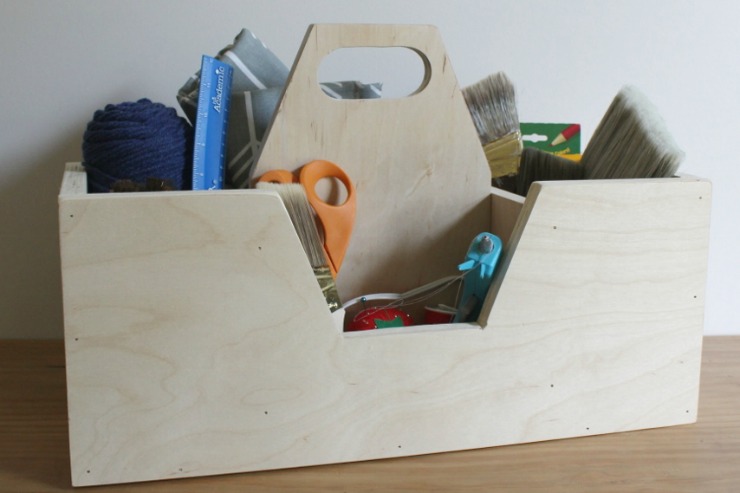
. . . craft supplies. . .

How to build an easy scrap wood multiuse caddy

. . . tools or any small things you want to organize.

How to build an easy scrap wood multiuse caddy

Don’t you love a good scrap wood project? Me too! For more fun scrap wood projects, check out this DIY personalized lazy Susan made from 2x scrap boards, or this floating mirror shelf made from a scrap 2×4.

You may also like these simple scrap wood caddies:

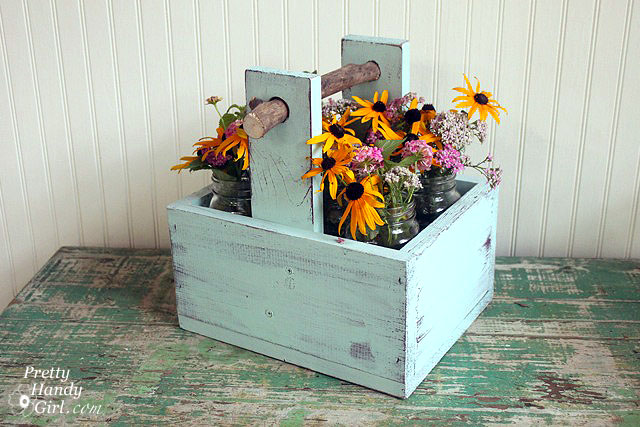
Rustic Branch Handled Caddy

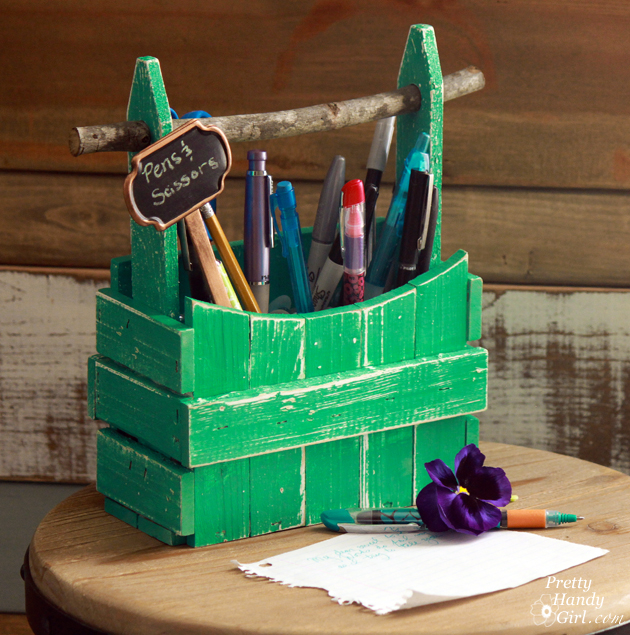
Mini Picket Fence Caddy

Until next time, happy building!

Shara's Signature

~ Read more of Shara’s tutorials ~

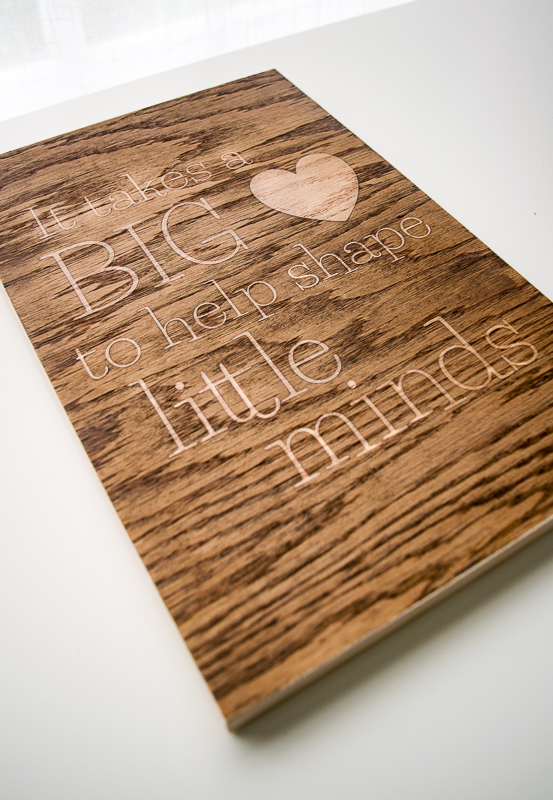
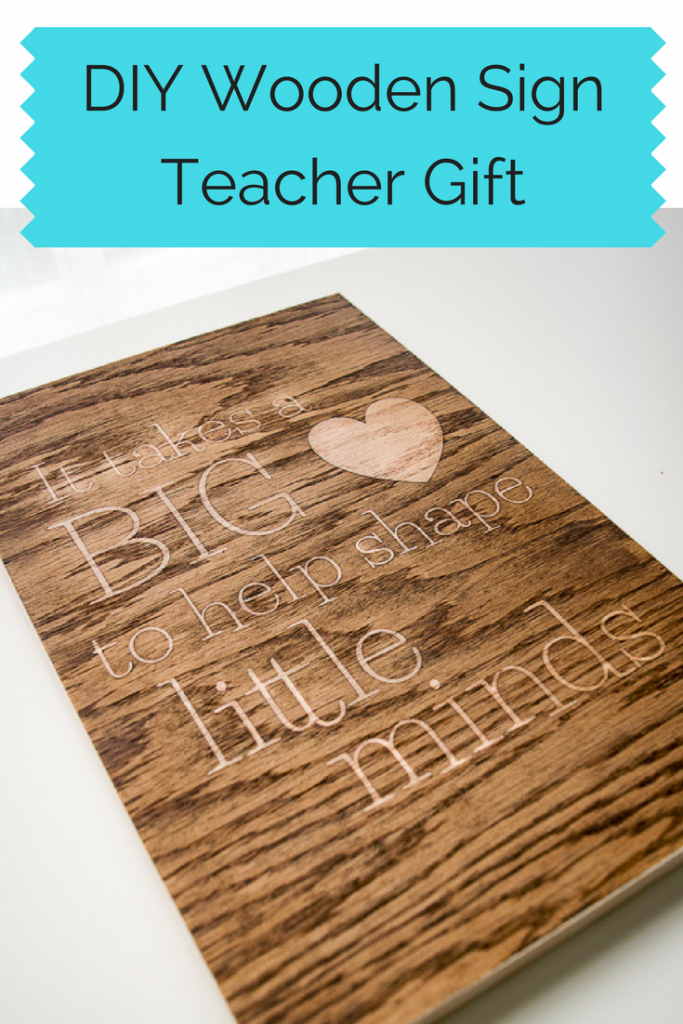
This teacher sign is the perfect end-of-year gift!

This wooden sign would make the perfect end-of-school-year gift for your child's teacher!
Hi everyone! It’s Vineta from The Handyman’s Daughter back with another fun project to share with you! It’s almost the end of the school year, and I’ve been racking my brain to come up with a nice gift for my son’s second grade teacher. Hopefully this little wooden sign will make its way into her classroom next year and reminds her of how much she means to her students.
I used one of my favorite stencil techniques, on this family birthdate sign I created for Mother’s Day. The reverse stencil effect appears almost like magic when stain is applied!

This family birthdate sign uses the same staining technique as the teacher sign!

We’re going to use the same technique for this DIY Teacher Sign. Here’s how it works!

Materials:

(I’ve included affiliate links for your convenience. I earn a small percentage from a purchase using these links. There is no additional cost to you. You can read more about affiliate links here.)

Instructions:

I started by digging through my wood pile for some scrap plywood and unearthed a 9″ x 12″ piece that would work perfectly. Remove any dust from the surface with a tack cloth.

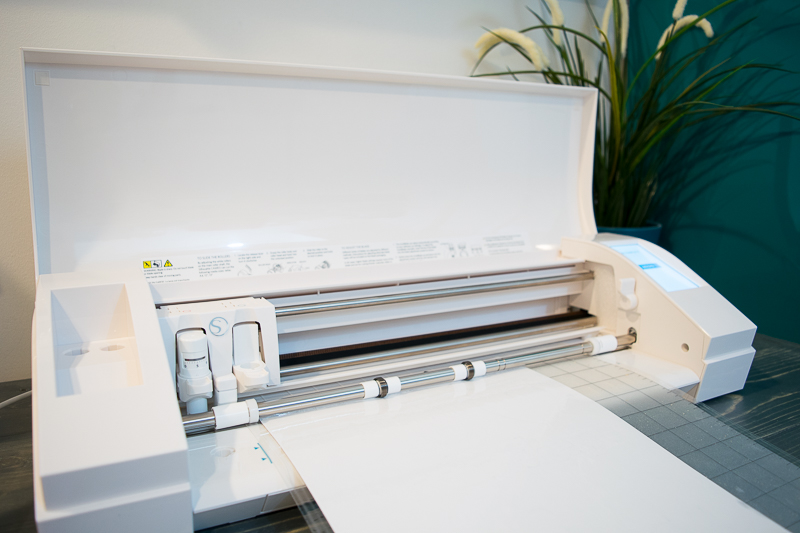
You can choose from one of the many designs in the Silhouette Store (I used this one), or design your own. Apply the white stencil vinyl to the cutting mat and let the machine do the cutting.

I used a Silhouette machine to cut the stencil for my teacher sign.

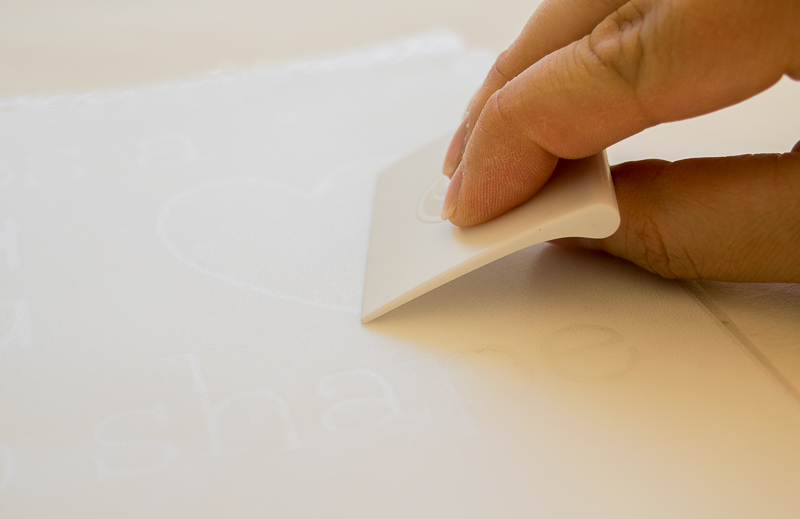
Weed out the letters and shapes, then lay the transfer tape on top of the design. Use the smoothing tool to push out any air bubbles and ensure that the stencil is on securely.

Apply transfer tape to the stencil to keep all the elements in place.

Peel up the stencil and transfer tape together. Apply it to the plywood. Smooth out any air bubbles, then remove the transfer tape. The stencil should remain. Give the stencil one last rub, concentrating on the edges of the letters and shapes.

Apply the stencil to the plywood for your teacher sign.

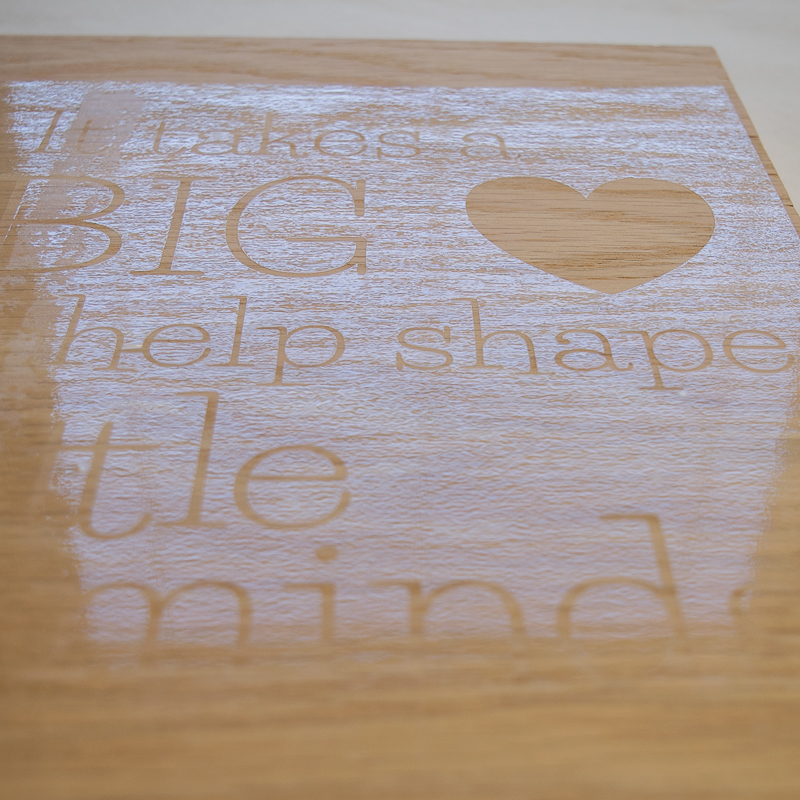
Here’s the trick to this stenciling technique: wood glue! Have you ever discovered a big blob of wood glue preventing stain from soaking into your project? We’re going to take advantage of that instead of fighting it!

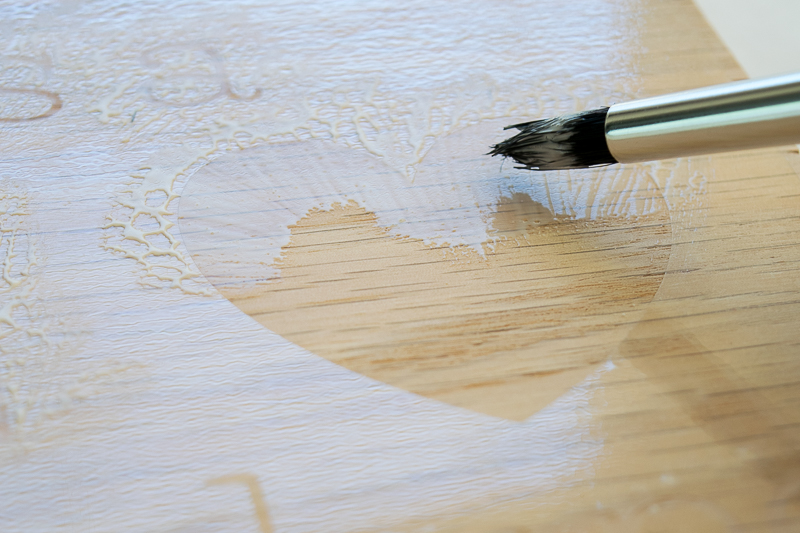
Dip your craft brush into the wood glue and carefully paint a thin layer inside the stencil. Move from the outside in, and try not to get any glue under the stencil vinyl. Allow it to dry for at least half an hour and the wood glue has turned clear.

Apply wood glue to the voids in the stencil, ensuring even coverage on all the letters of the teacher sign.

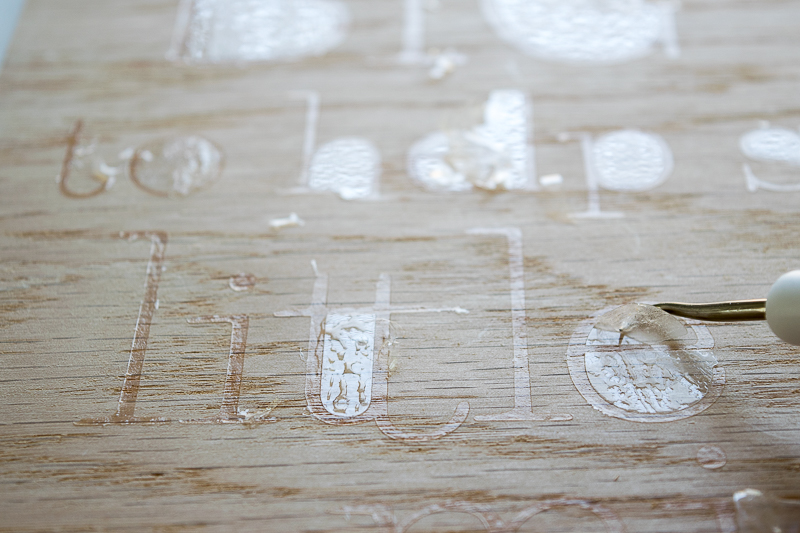
Carefully remove the stencil from the plywood. Some of the wood glue may flake off or stick to the letters. Use the fine grit sanding sponge to remove any excess. Anything with glue on it won’t take the stain, so make sure the edges are as sharp and clean as possible.

Remove any excess glue flakes from the stencil of the teacher sign.

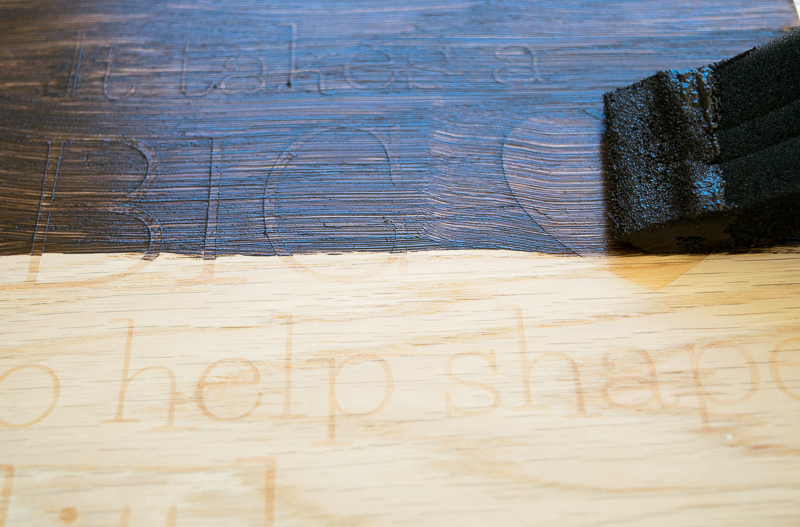
Using a foam brush, stain the surface of the sign. Gel stain works best for this technique.

Use gel stain over the glue stencil of the teacher sign.

After a few minutes, rub off the excess. I prefer to stick my gloved hand in an old sock to wipe off the surface. Like magic the letters pop against the dark stain!

Using an old sock, I removed the excess stain from the stencil.

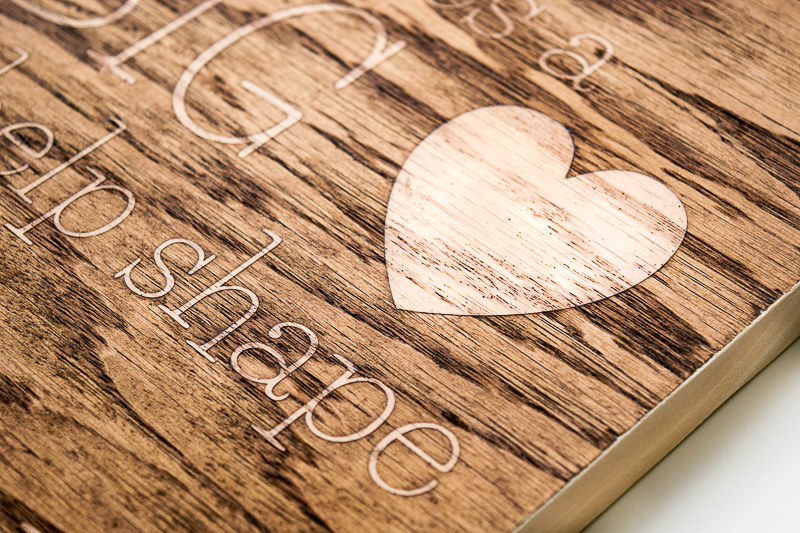
If you prefer more contrast, apply a second coat of stain. I found that thicker fonts and dark stain show up best. Apply a coat of poly over the surface to protect the surface and give it a glossy finish.

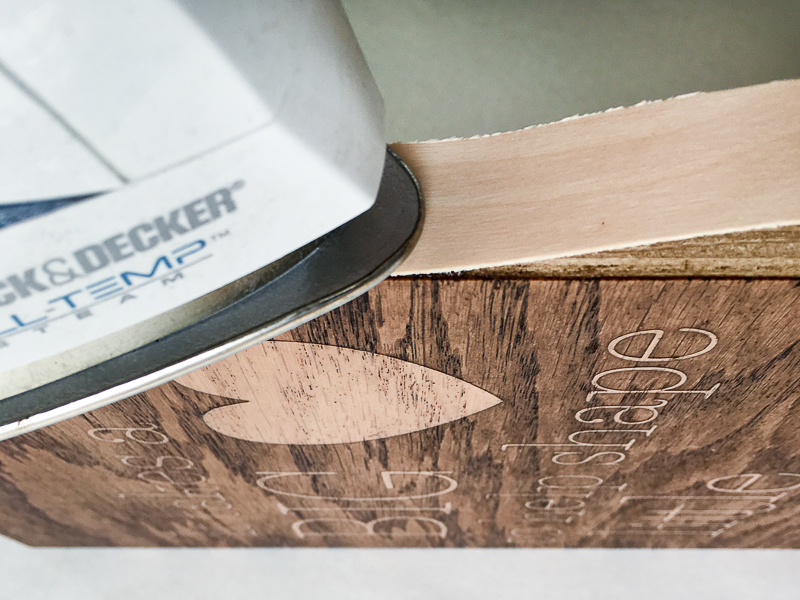
Use iron-on wood veneer edge banding to cover up the plywood edges and cut off the excess with a utility knife. Brittany has a great tutorial on how to apply edge banding. You could also create a simple frame using trim.

Iron on the edge banding to cover up the raw plywood edges of the teacher sign.

Your teacher sign is ready for the last day of school (although I’m not!)

This teacher sign is the perfect end-of-year gift!

This stenciling technique really makes the lettering pop against the wood stain of this teacher sign!

Hope you enjoyed this tutorial! Don’t forget to check out all my other woodworking projects over at The Handyman’s Daughter!

Until next time!

 ~ view more of Vineta’s projects ~

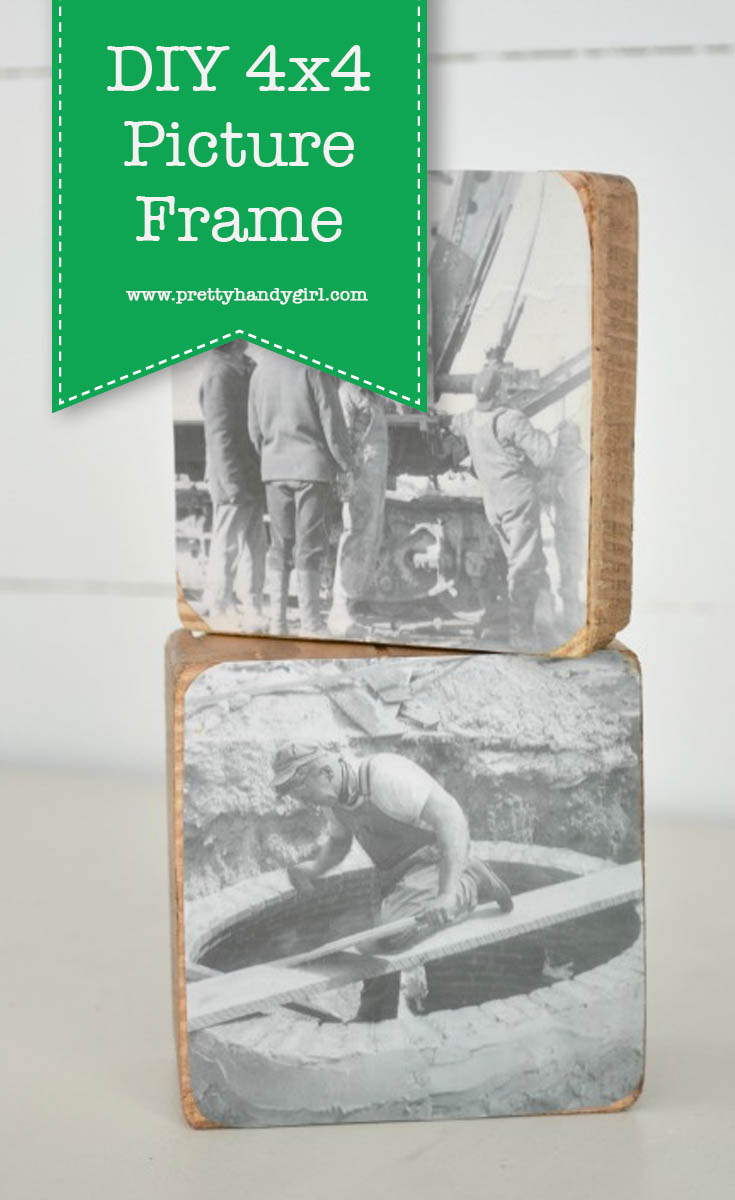
DIY 4x4 Scrap Wood Picture Frame

Sometimes the amount of scrap wood I accumulate can seem a bit excessive. I have a hard time letting go of all those little pieces because I know they have potential to become something more. I have big plans for some scraps, but little projects can be fun too.  A 4×4 picture frame is a great way to use up some left over 4x4s.

This is such a quick and easy craft. Don’t blink or you may miss it.

Materials:

  • 4×4 Scraps at least 1″ thick
  • Glue for a matte finish or Glossy Mod Podge for a shiny finish
  • Small Paint Brush
  • Picture – make a duplicate at your local photo counter to keep the original intact
  • Dark Furniture Wax or Stain

Instructions:

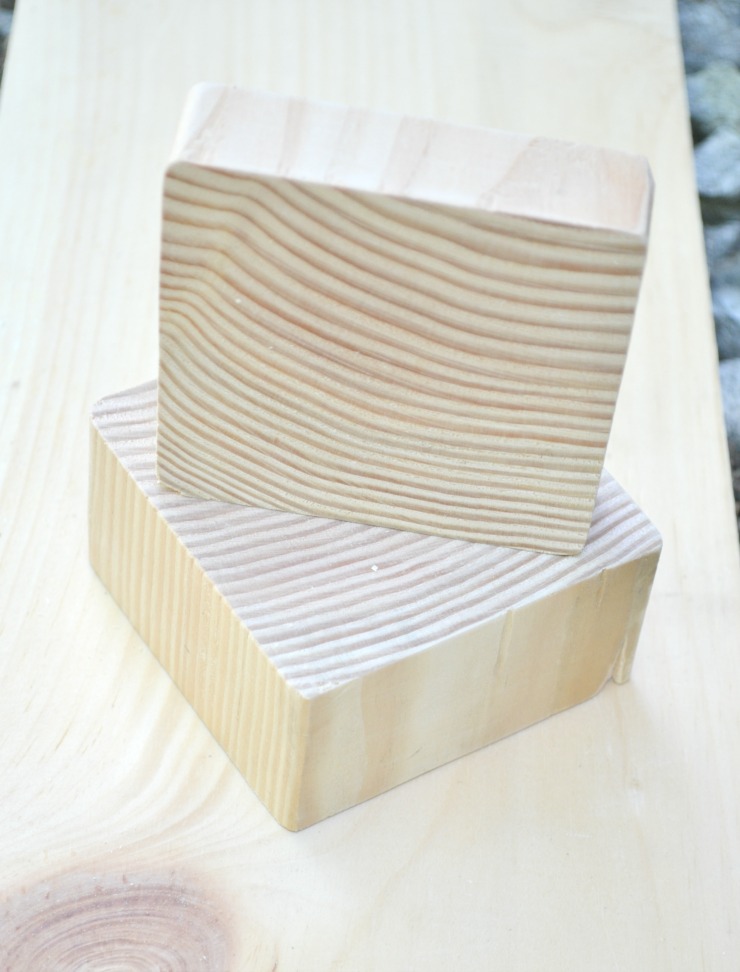
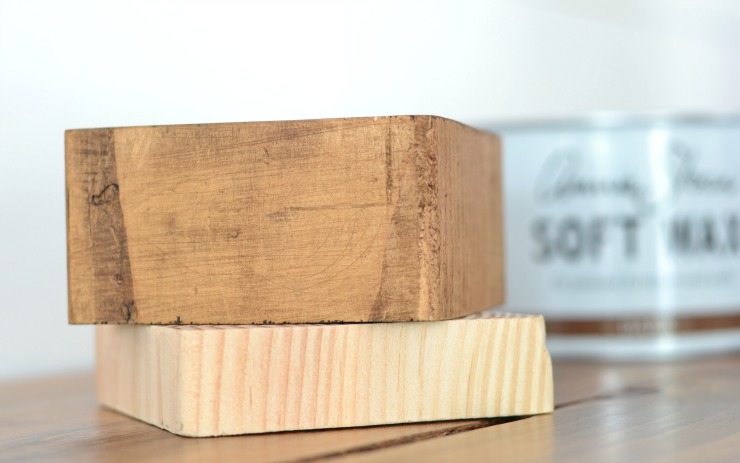
Pick your scraps. They should be big enough to stand on their own (at least an inch thick.)

DIY 4x4 Scrap Wood Picture Frame

Stain or wax your wood (leave the face unstained where you will display the picture.)  For small projects, dark wax can be easier than stain because you can wipe it on with a rag. Throw it away when you are done and there is no cleanup.

DIY 4x4 Scrap Wood Picture Frame

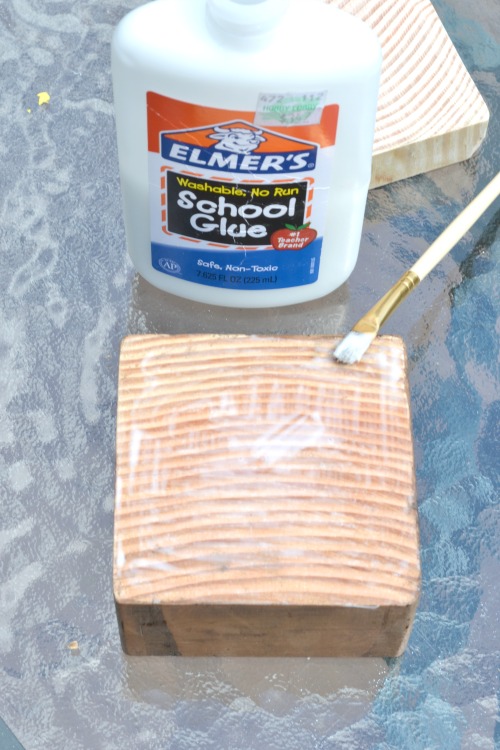
Next, cut your picture to match the 4×4 and cover the face of the 4×4 with glue.

DIY 4x4 Scrap Wood Picture Frame

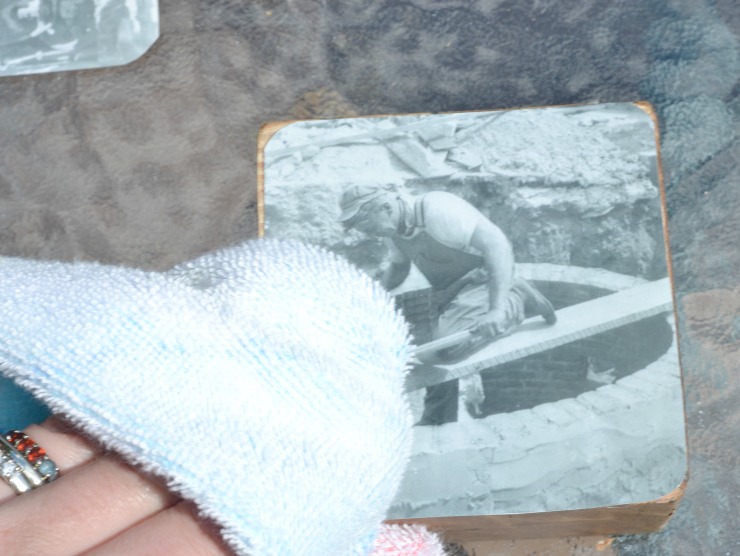
Place the photo and smooth with a towel.

DIY 4x4 Scrap Wood Picture Frame

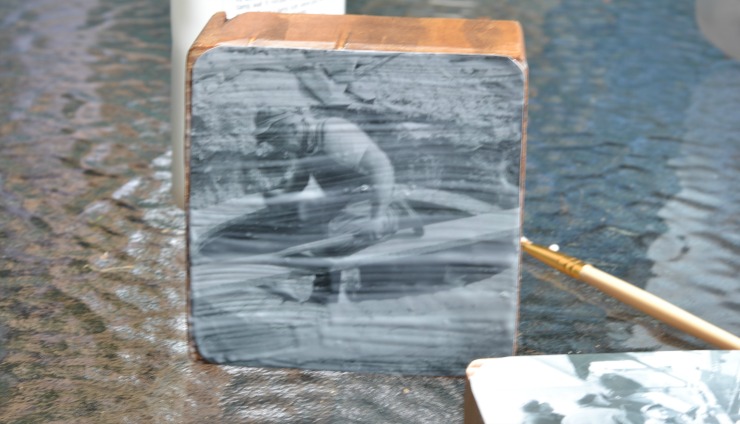
Cover the photo with glue and let dry.

DIY 4x4 Scrap Wood Picture Frame

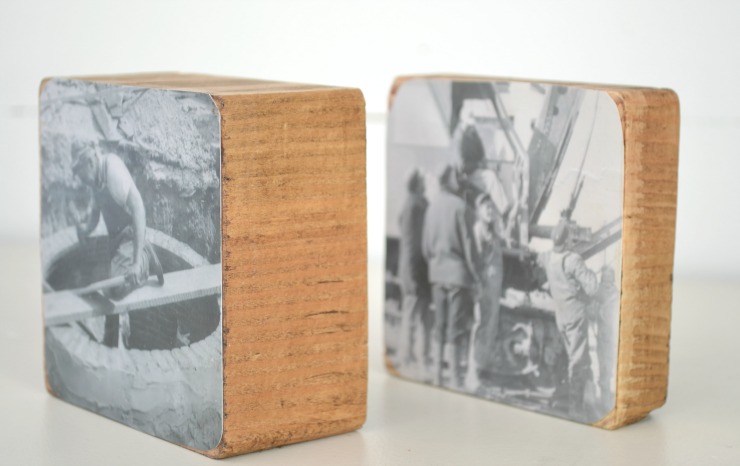
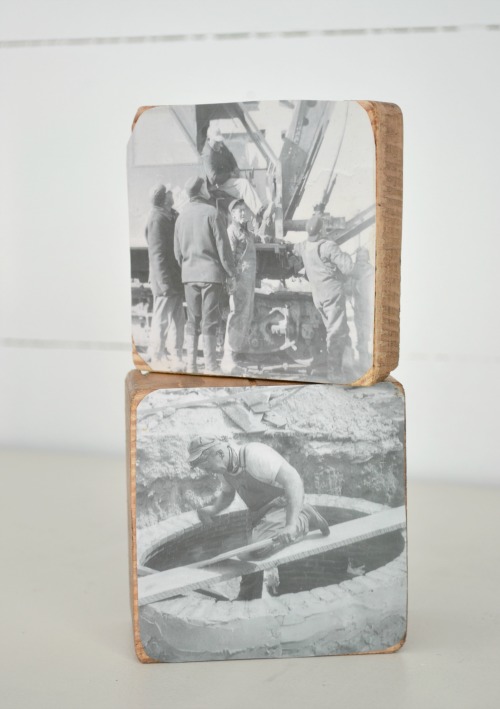
Find the perfect place to display your new 4×4 picture frame.

DIY 4x4 Scrap Wood Picture Frame

These would be fun to put up in a workshop. If I ever get mine neat enough for a decoration, these are definitely going to find their way in there.

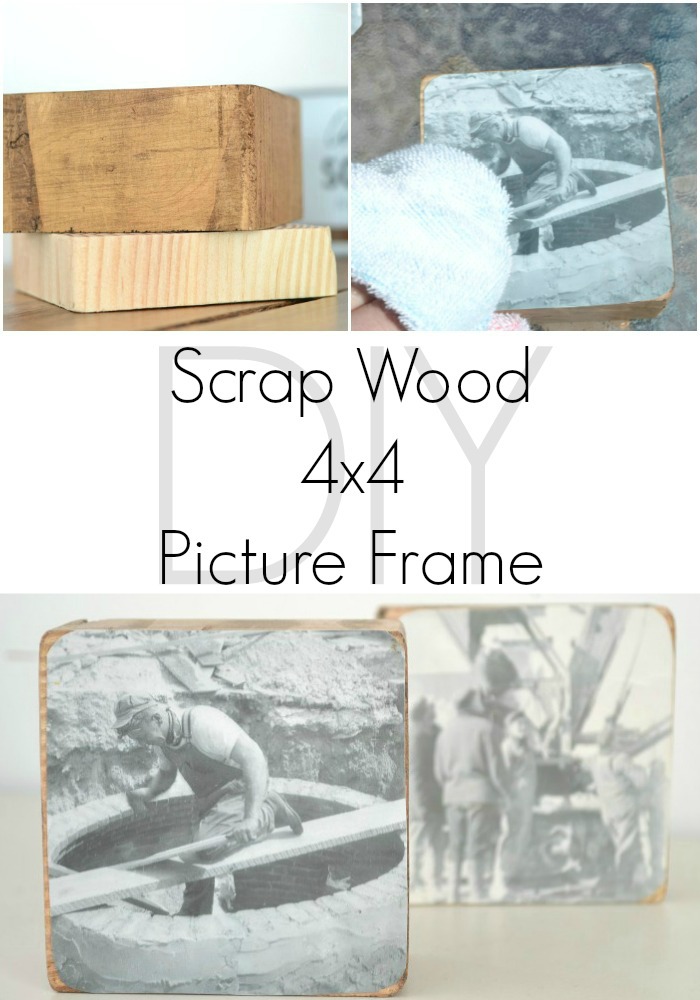
A 4x4 picture frame is a great way to use up some left over 4x4s. | Scrap wood project | Pretty Handy Girl #prettyhandygirl #DIY #scrapwood #pcitureframe

Jillian's Signature

~Read more of Jillian’s tutorials here.~


Pin for later!

A 4x4 picture frame is a great way to use up some left over 4x4s. | Scrap wood project | Pretty Handy Girl #prettyhandygirl #DIY #scrapwood #pcitureframe