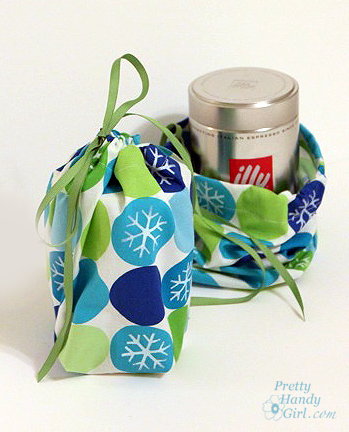
Gift pouches are super easy to make. You can use fabric, cloth napkins, or even a pair of pajama pants or boxers* (see bottom of this post)!
I made pouches using fabric that I stenciled with Martha Stewart stencils and the roller top paint roller. As promised, here is how to sew a box bottom gift pouch:
Materials:
- Fabric
- Thread
- Scissors
- Safety pin
- Ribbon or cord
- Pins
- Sewing Machine
- Iron (and ironing board)
- Ruler
1. Start by cutting fabric into two 8″ x 12″ rectangles.
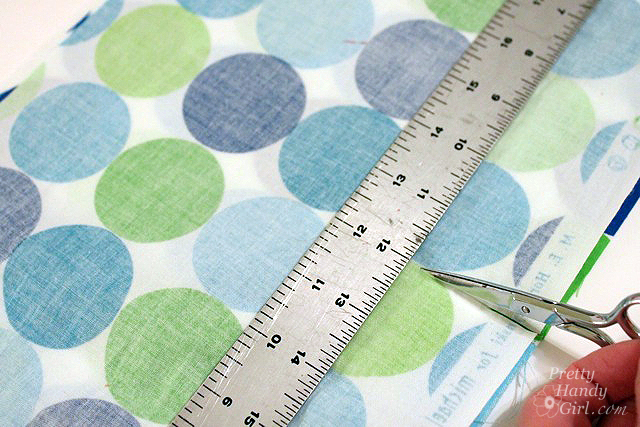
2. Pin right sides together and stitch along one length of the fabric (12″ side). Then press the seam open.
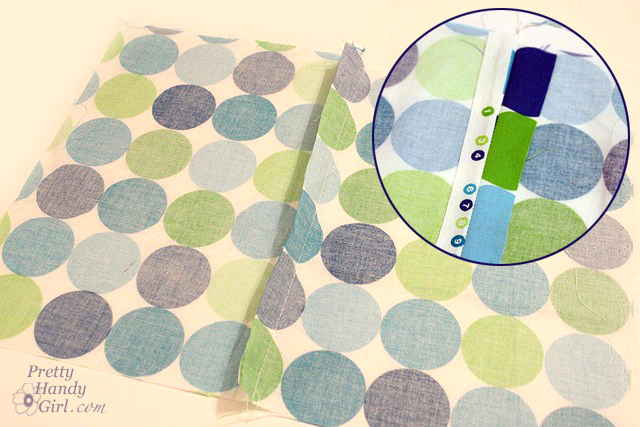
3. Fold over the top edge of the fabric 1/4″ then again about 1/2″. Press the folds with an iron. This will be the sleeve for the drawstring.
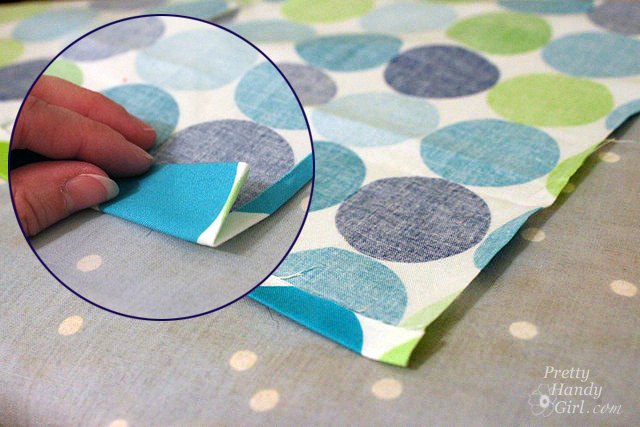
4. Fold in the sides about 1/4″ over. The fold should extend from the drawstring sleeve to about 3″ down the side to finish off the raw edge of the fabric.
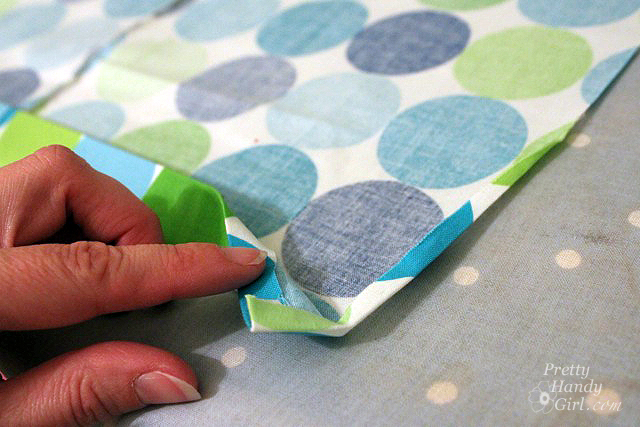
5. Stitch this fold at the very top ( inside the drawstring sleeve) to hold it in place.
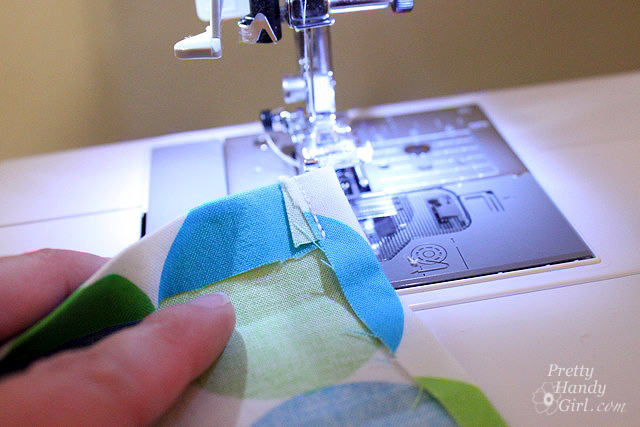
6. Sew the bottom folded edge of the drawstring sleeve. Stitch as close to the edge as possible.

Your pouch should look like this:
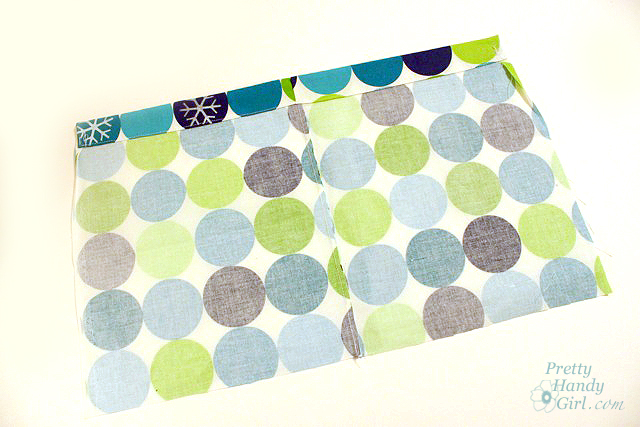
7. Fold the fabric in half lengthwise (right sides together). Start your stitches just below the drawstring sleeve. Sew along the open side of the pouch and across the bottom.

Your pouch should look like this:

8. Grab the center of both sides of the pouch and pull them away from each other. The seams should be in the middle now and the base of the pouch makes a triangle.
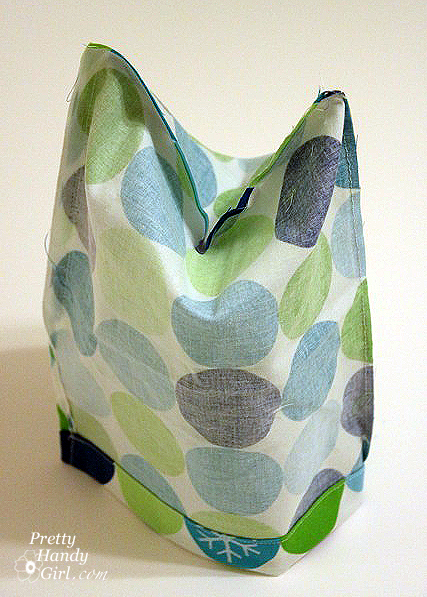
9. Pin about 2 inches up from the point of the triangle.
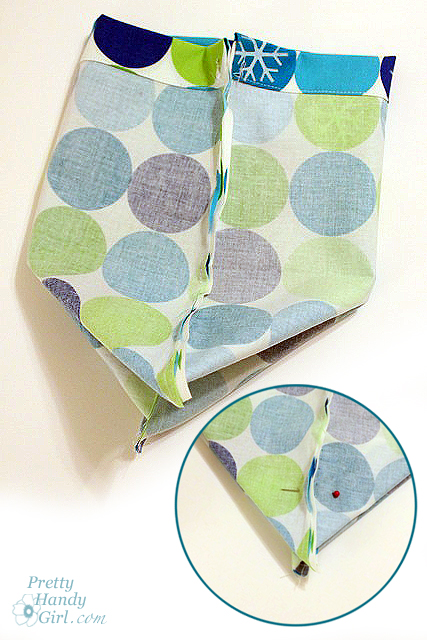
Repeat on the opposite side. (The further up you pin the bigger the box at the bottom of your bag will be.)

10. Stitch along the width of the pouch where you pinned.

Repeat for the opposite side.
11. Turn the pouch right sides out.
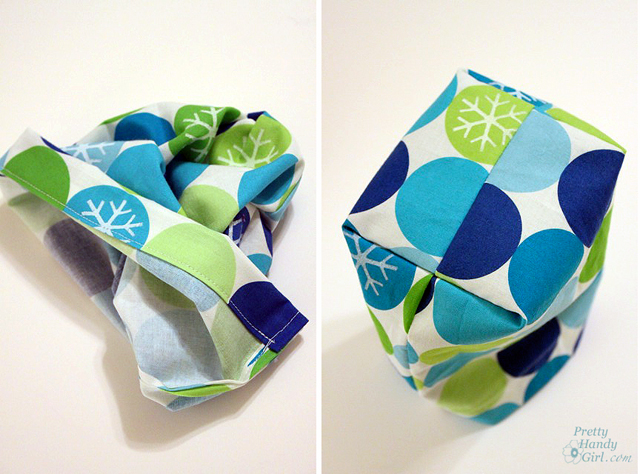
12. Cut a piece of ribbon long enough to feed through the pouch top and to tie a bow. Attach a safety pin to the end of the ribbon and feed the safety pin through the sleeve at the top of the pouch. When the safety pin exits the other side, pull the ribbon until the ends are even. Remove the safety pin and snip the ends of the ribbon if needed.

That’s it! Now you know how to make a super easy box bottom gift pouch!

Put your gift inside and tie the ribbon. You now have instant gift wrap and a pouch that the receiver will love to keep!
*If you find a cute pair of boxers or pajama pants at Goodwill, buy them! You can use them to make gift pouches as well. After washing the pants (of course), cut the two legs apart by cutting up the front and back center seam.
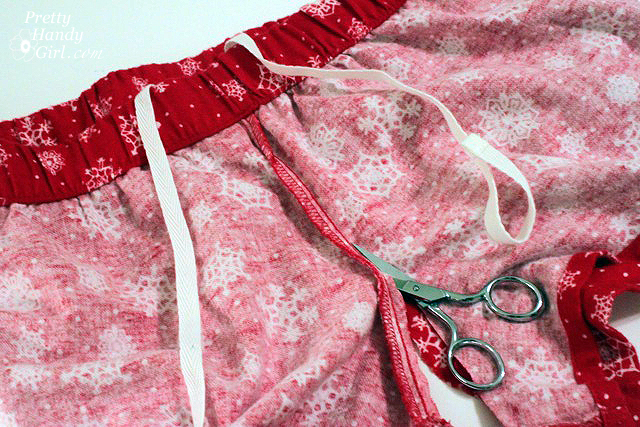
Separate the pants into two pieces. If your pants have a drawstring, you can use it for your gift pouch string (but you may have to cut the stitching around the tag if it has been sewn in.)
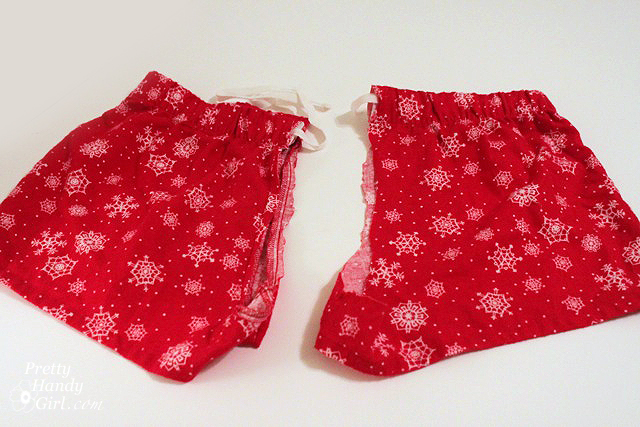
Square off the bottom of the legs by cutting across at a 90 degree angle. Follow the directions above to make two more box bottom gift pouches! What do you think? Easy right?! Would you know that those were pajama shorts in a past life? Don’t lie, you only know because I showed you ;-).

