Today, I have Part 1 in a 3 Part Series on Toilet Repairs! Today we’ll learn How To Replace the Lever!

When visiting Scotland, we took a tour of Mary King’s Close we learned about life in Edinburgh before the toilet was invented. It was definitely not a pretty time in the city’s history. People literally dumped their pails of waste into the streets of Edinburgh and the sludge ran down the streets and into the loch (lake). They were only allowed to dump the pails early or late in the day after the street vendors were gone and the streets were less crowded. Then they opened their doors or window and threw out the sludge yelling, “gardyloo” loosely translated as “watch out for the water!” How thoughtful of them. But, people would still slip and fall in the muck coated walkways.

Back then the saying about Edinburgh was that you could smell it before you could see it.

Thank goodness the toilet was invented! Go now and hug your porcelain bowls. Okay, well you don’t have to, but be thankful for your loo.

Did you know that a leaky or malfunctioning toilet can waste as much as 200 gallons of water per day, that is over 70,000 gallons of water in a year! Yikes!

If you have a leaking toilet or one that doesn’t shut off I encourage you to fix it yourself! Yes, you can do this, no need to hire a plumber.

First, for anyone concerned about putting their hands in “crap water”, let me reassure you that all the repairs I am going to show you are in the tank and the tank holds clean water that is then used to flush the toilet. So, no need to worry about contaminated water. That isn’t to say that the tank won’t have mineral deposits or black residue in it. This is a result of the break down of the rubber gasket or hard water deposits, so you may want to don some rubber gloves.

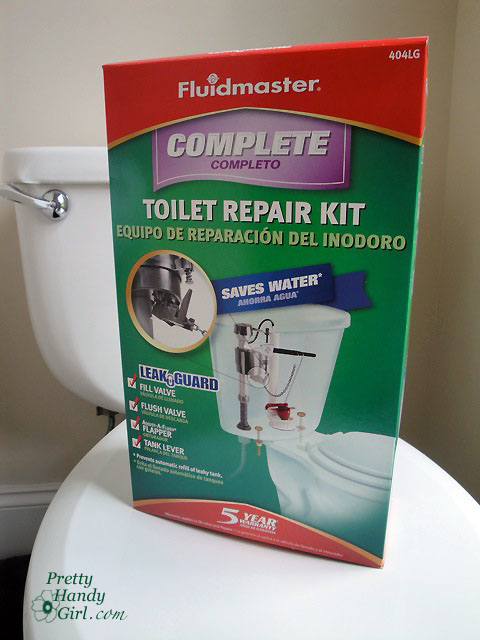
Over the next few days I will show you how to replace everything in your tank. I HIGHLY recommend purchasing an entire tank repair kit and replace all the parts at once. It will save you time and money, because if one part of your tank is going bad, the others are likely to follow close behind.

Complete Toilet Repair Kits cost about $20

Today we will get your feet wet (no pun intended) by replacing the handle also known as the flush lever. Then I will show you how to replace the fill valve and finally how to replace the overflow tube and flapper assembly.

But, before we begin, you will need a few tools (tools shown are for a full repair job.)

  • Plumber’s Wrench (must have a wide mouth opening)
  • Adjustable Crescent Wrench
  • Handsaw (drywall, coping or hack saw will work. Needs to cut through PVC)
  • Flat head screwdriver
  • Level
  • Scissors
  • Bucket or basin
  • Sponge
  • Rags or Towels
  • Rubber Gloves

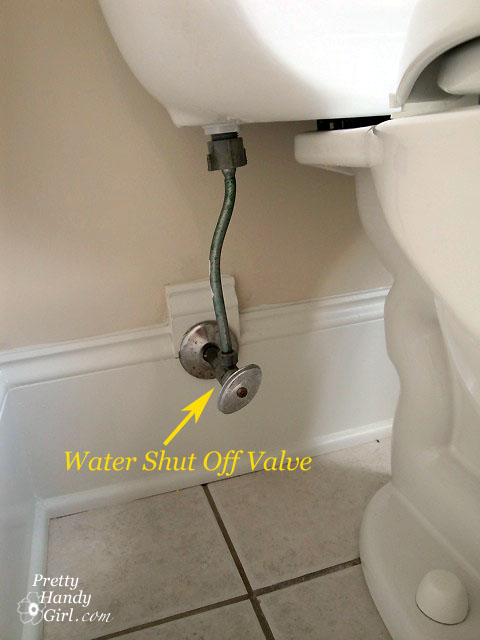
Ready? Well, let’s begin! Start by turning off the water. There should be a water shut off valve in the wall behind your toilet. Gently turn the knob clockwise to shut the valve.

Next, flush your toilet to drain the water from the tank. If your tank re-fills the water is not completely shut off.

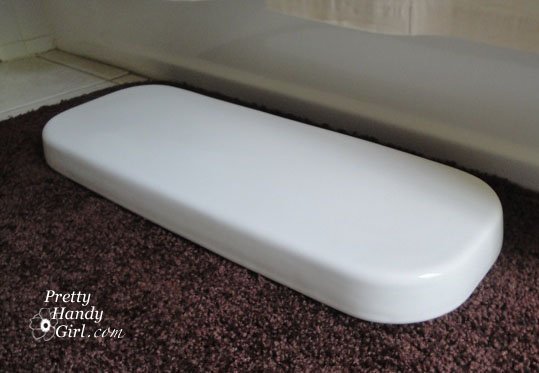
Remove the lid to your tank. Set the lid in a safe place where it can’t be dropped or broken.

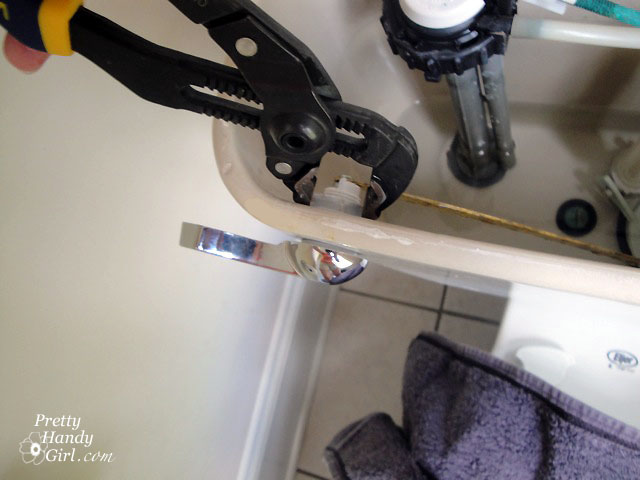
Inside the tank, opposite the lever, is a lock nut that holds the lever in place.


Using your pliers, gently loosen the nut and then remove the lock nut by hand. Just a little note: the nut may turn in the opposite direction than you would expect.

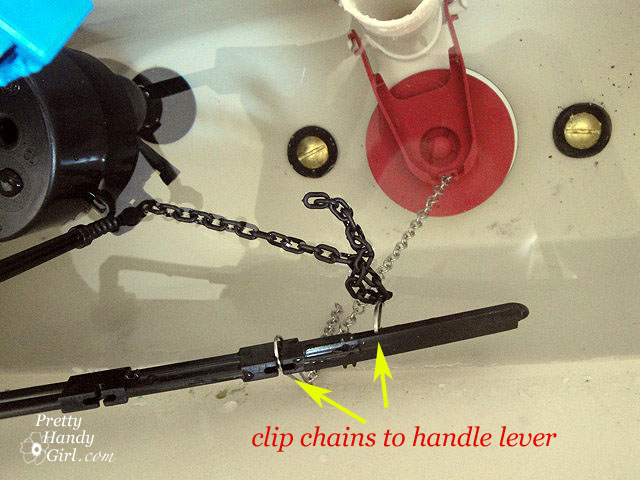
Remove the flapper chain from the end of the rod attached to the lever.
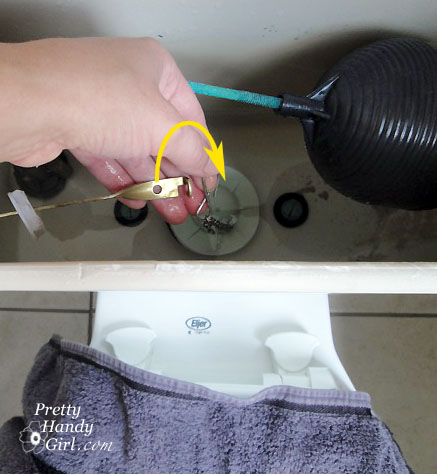

Remove the old flush lever and replace it with the new one.
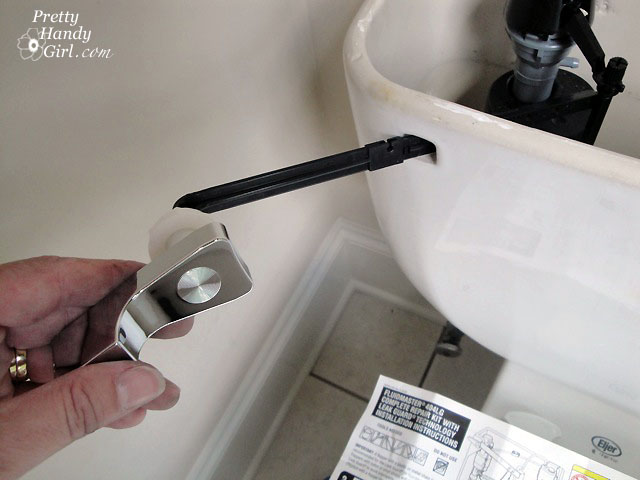
Thread the lock nut back onto the new lever. Gently tighten the lock nut, but not too much. Over tightening could result in a cracked tank.

Replace the flapper chain on the new lever rod (picture below shows two chains, but you may only have one.) Adjust the chain so there is a slight amount of slack in the chain. Remove any excess chain that could get caught in the flapper (but leave an inch or two on the chain for adjustments).

Turn the water back on and let the tank fill.

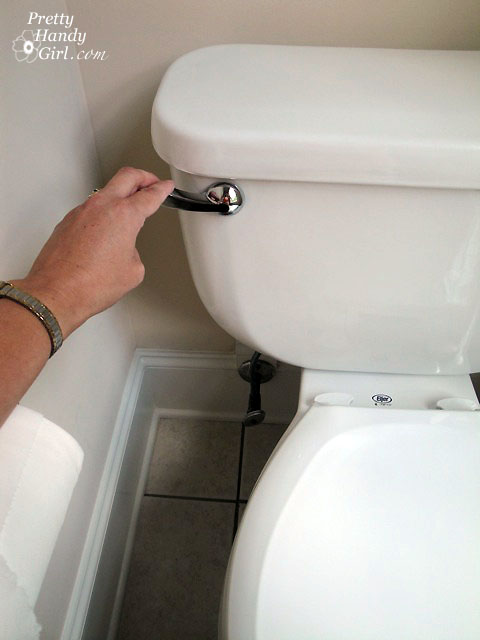
Test the lever by depressing it. Replace the tank lid and test it again making sure that the flush lever rod doesn’t hit the top of the tank lid before lifting the flapper. Once it flushes properly, you are done!
That wasn’t hard, was it? Stay tuned as I show you how to replace the fill valve and finally how to replace the overflow tube and flapper assembly!

PHGFancySign

How to Retrieve Items from the Drain

While I was working on my Goodwill sweater, I accidentally dropped one of the pins down the drain.

Now, I could have just left it there, but my “Ms. Fix-It” brain knew that I couldn’t do that. If I left it, I would be dealing with a clogged drain in a month since it would trap all kinds of hair and unmentionable gunk. So, I did the “right” thing and set about retrieving it myself. (And, blogging about it so you know what to do as well.)

Here’s How to Retrieve a Item Dropped Down the Drain

IMPORTANT! If you do happen to drop anything down the drain, turn off the water IMMEDIATELY! You don’t want the water to wash the item beyond the drain, because then it is gone forever (unless you want to explore your city sewer lines.)

Tools:
(contains affiliate links)

 Instructions:

1. Put on your rubber gloves (who knows what’s hiding in your drain!)

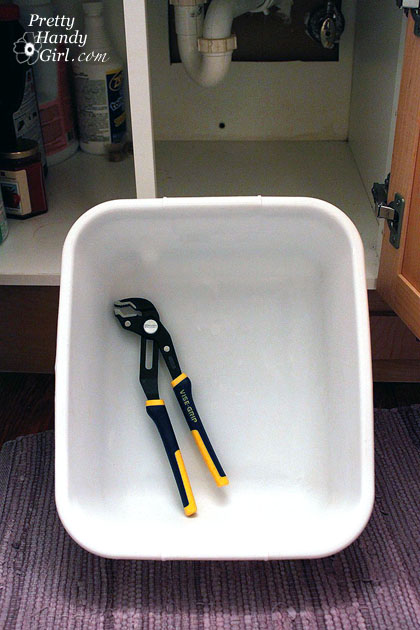
2. Set the basin under your sink’s P-trap.

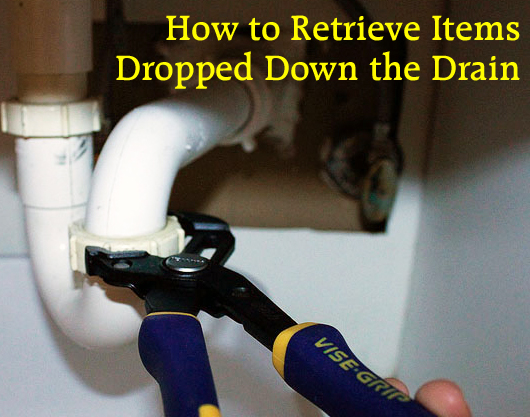
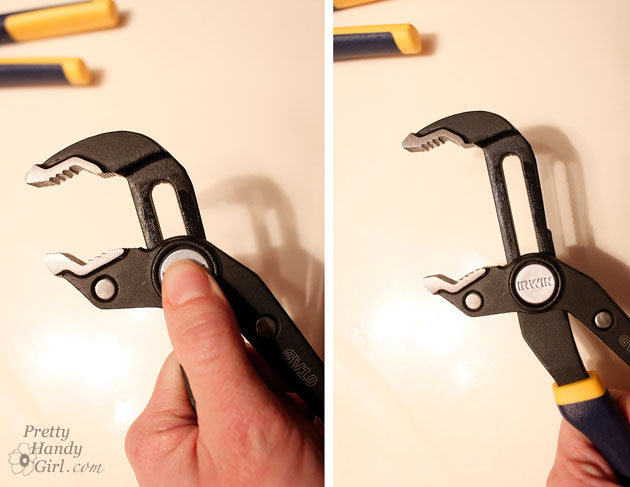
3. Then grab some channel lock type pliers. Irwin recently sent me this quick release Irwin GrooveLock Pliers
that are a snap to open and close the jaws. Just push the button, slide the handle up or down and release. Super quick and easy!

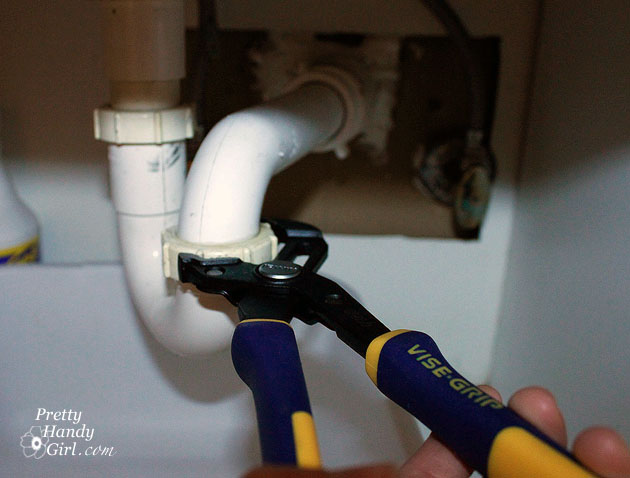
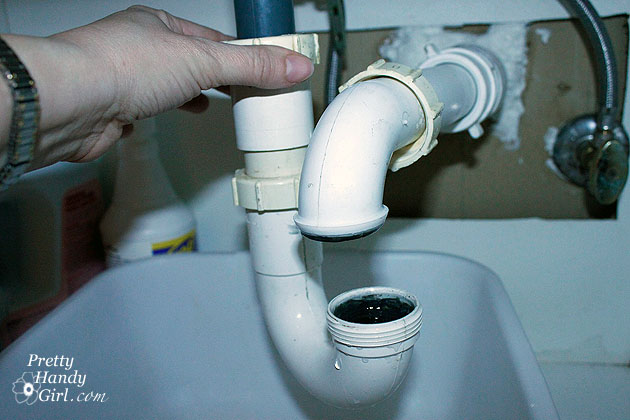
4. Loosen the lower slip nut ring.

Then slide it up to release one end of the P-trap.

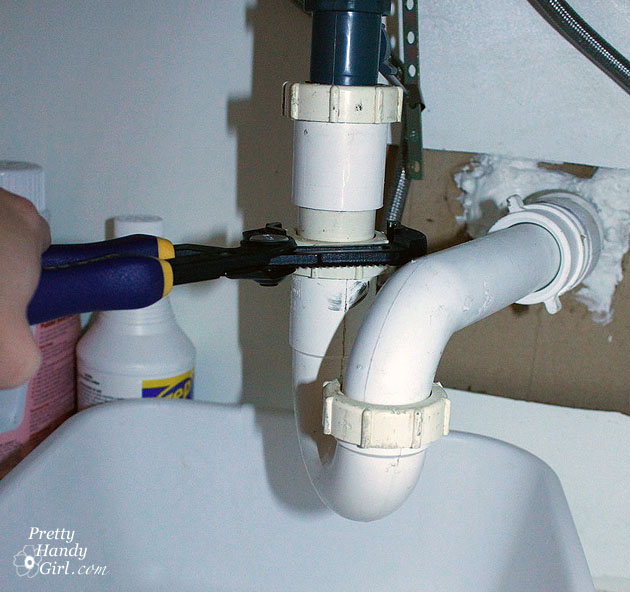
5. Loosen the upper /upper slip nut ring (pay no attention to the slip nut I’m loosening, I actually had to loosen the one above it to free my P-trap.)

6. Then pull down on the P-trap to remove it (you will see in this picture that I had loosened the slip nut higher up to release the drain assembly.) Ewww, gross, don’t look at that string of hair hanging from the drain.


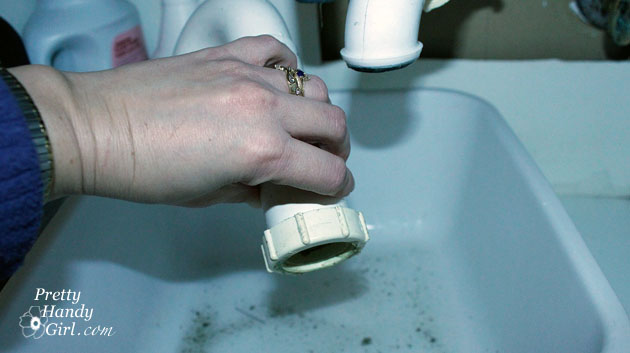
7. (Here comes the next disgusting part.) Turn your P-trap upside down to empty the contents into the basin. Oh and be sure you are wearing your rubber gloves (do as I say, not as I do!)

8. Remove your object. Luckily my pin fell out immediately. If your drain is really gunked up, you may need to run some water or use an old bottle brush to clean out the P-trap and release your object from the yuckiness. In fact, it’s probably a good idea to clean it out anyway while you have it off (if you can stomach it.)

9. Reverse the steps to re-assemble the P-trap. With plumbing I usually hand tighten the nuts and then use the pliers to give it an extra 1/4 turn (but I’m a weakling. If you battle me in arm wrestling YOU WILL WIN!)

10. When your spouse comes home, brag about how you retrieved something from the drain all by yourself!

PHGFancySign

Top Ten Reasons to Do-It-Yourself

Top Ten Reasons to Do-It-Yourself

Top 10 Reasons to Do-It-Yourself!

Over the course of the last ten years writing this blog, I’ve met numerous people who have lamented that they wished they had skills like mine. Or have professed that they just didn’t have it in their DNA to be handy. Consequently, I’ve spent a lot of time trying to persuade people that they are handy but just don’t know it yet. Granted, growing up in a family of DIYers helped me take the leap of faith from paying someone else to fix, build, or create something to doing it myself.

If you’re still on the fence about taking on a DIY project, let me give you the Top 10 Reasons to Do It Yourself:

    1. Save Money, Save Money, Save Money. (Do I need to emphasize this again?) When you do something yourself, you keep the money in your pocket that you would have paid otherwise. Why not create a jar and put money in there every time you save money doing it yourself versus buying or paying someone else? Did you know that taking on your own room renovation could save you as much as 50% of the cost to hire out?
    2. Try It. If you fail, Watch and Learn. You’re sink faucet is leaking or your toilet is running. You get ready to pick up the phone to call the plumber but then you remember the bill last time he was at your house. If you are trying to repair something, you will either fix the problem or need to call a repair person anyway. (That being said, recognize your limitations. Don’t take on a complicated electrical project if you don’t know what the black, white, or green wires are!) Go ahead and call that repair person, but stick around and watch how the repair is made. Ask questions. A lot of times you will realize that you could have done the repair yourself and next time you will!
    3. Help is All Around You. If you can read and able to follow directions, there is a 95% chance that you will succeed at your DIY project. There are so many resources to assist you. Here are just a few:
        • Instruction manuals that come with the fixture to install
        • Online resources, try googling “how-to” instructions for the project
        • Ask a professional or home improvement store employee for advice
        • Search for instructional videos on Youtube.com
        • Check out a DIY book at your library
        • Buy a DIY book at your local home improvement store
        • Ask a friend, family member, or neighbor who you know has the skills
    4. The Time is Now. You can complete your project now instead of waiting for someone else to do it.
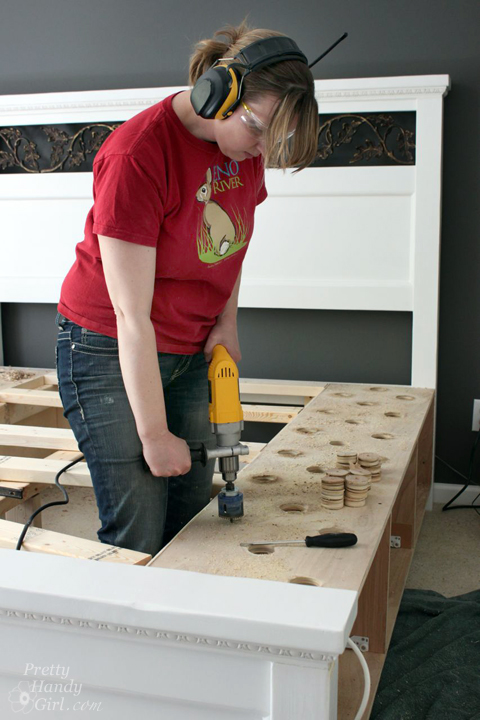
    5. Get into Your Zone. You may love the process of working with your hands. If you are a parent, you’ll appreciate the fact that unlike children, wood and building is predictable. The materials will bend to your will (or tools.) Personally I find DIY projects relaxing.Modified King Size Farmhouse Bed with Storage Drawers | Pretty Handy Girl
    6. Prevent Alzheimer’s Disease. Learn something new. Studies have shown, that challenging your mind improves your brain functioning and prevents Alzheimer’s.
    7. Lose weight. If you involve yourself in a DIY project, you will probably sweat a little! You will likely be climbing, moving, and generally using your body. Engaging in a DIY project will definitely get you off the computer and keep you moving until the project is done. Talk about finishing your move goals!
    8. Discover a New Skill. How do you know you can’t tile or paint or build? If you never try, you won’t know if you actually have a talent for DIY.
    9. Bragging rights. Simple, but if you DIY something, you must brag about it to the world.
    10. Sense of Accomplishment. Do you remember the last time you tackled something new or difficult? Wasn’t the sense of accomplishment you go when you succeeded HUGE?

Install a Post Mounted Birdhouse | Pretty Handy Girl

That’s the Top 10 Reasons to Do-It-Yourself! Did I forget any? If so, leave me a comment below.

Tomorrow you’ll get your third step in this Guide to Learn How to DIY Anything! Be sure to check your email inbox, it’s going to be a good one.

Ready to jump into your next DIY project now? You’ll find an entire gallery of projects to try here: