Remember when the only light bulbs that were energy efficient were the corkscrew shape CFL bulbs? Despite being an environmentalist, I was not a fan of the look or the light put out by CFL light bulbs. Luckily the energy efficient light bulb has evolved. LEDs are on the scene and they have changed the look and color options. As a light snob, I decided to share a few of my favorite light bulbs with you. I’m sure you can find one or more light bulbs that not only look stylish but will save you lots of money over the years!
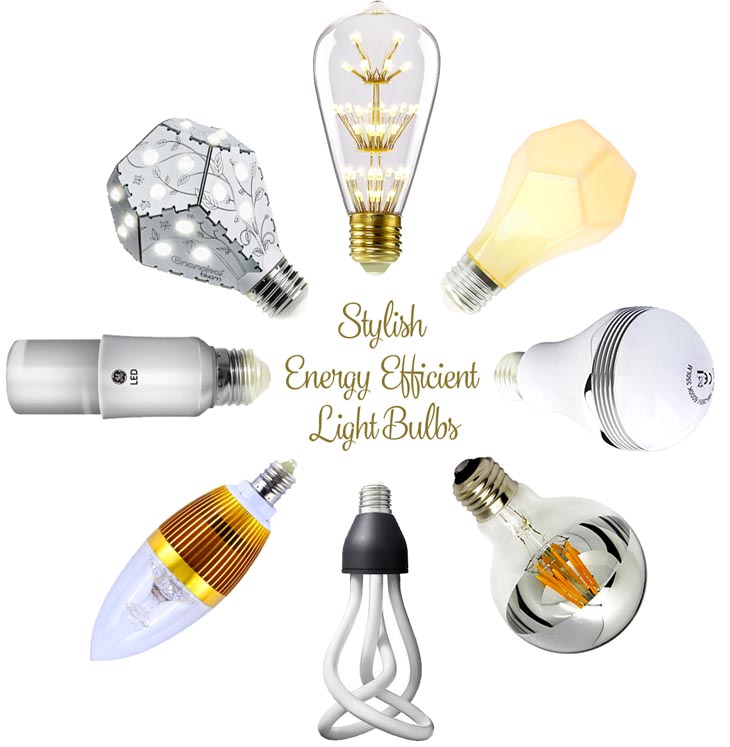
Here are 12 Stylish Energy Efficient Light Bulbs for you to drool over:
(This post contains affiliate links. To learn more read my disclosure page.)
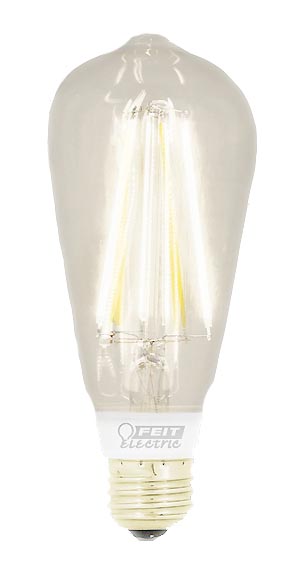
Rejoice! Edison Bulbs are finally available in LED format. These attractive bulbs give off a warm light and have the beautiful filament design to look at.
The GE LED Bright Stiks are small in size and fit in most table lamps. They put off a soft white light that is even and bright. Sold in a pack of three for big savings!
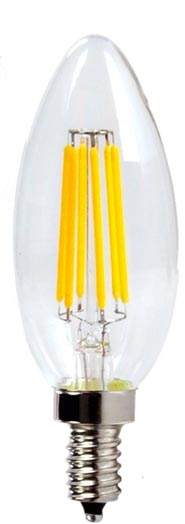
Clear LED Dimmable Edison Style Chandelier Bulbs will add the look of glamour to any chandelier. Unlike many white base chandelier bulbs, these bulbs have a chrome base for a more stylish appearance.
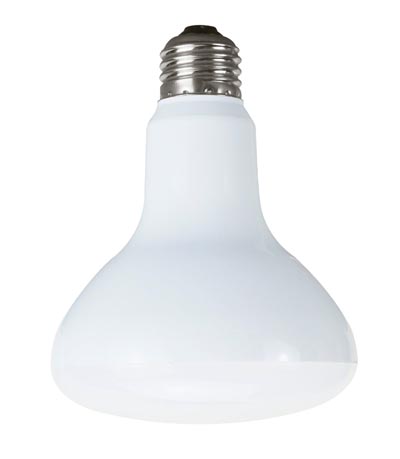
If you have can lights in your home, you know sometimes it’s hard to find an energy efficient flood light that doesn’t buzz or look like an energy efficient bulb. These LED flood lights are the perfect answer to those issues.
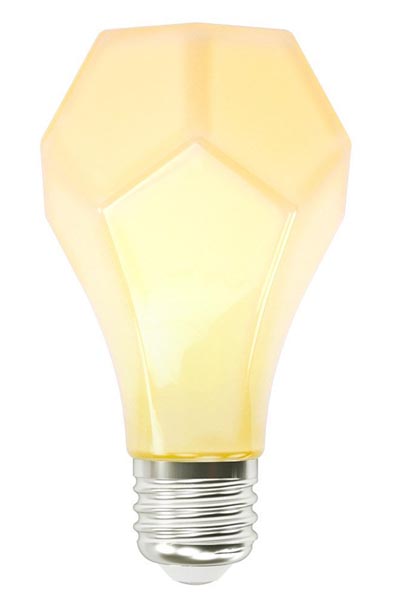
This Faceted LED Bulb is so beautiful you might want to take off the lamp shade or hang it in a bare bulb fixture! And what’s better than a bulb that will last for decades? A bulb that saves you oodles of money!
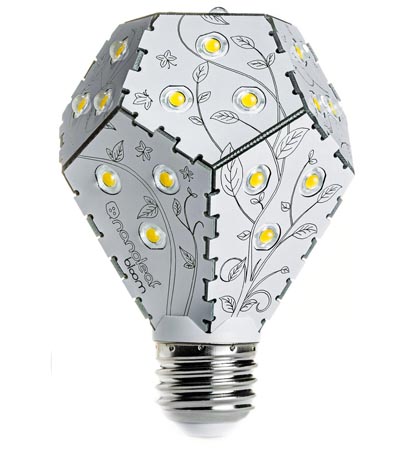
The Bloom dimmable LED bulb doubles as an artistic lamp. It can also be dimmed to use as a night light. Thomas Edison would surely ditch his original invention to have one of these in his home.
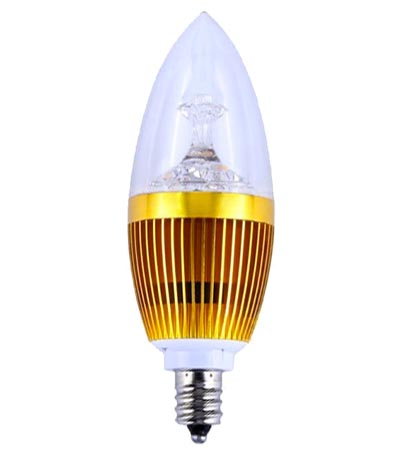
Gold base candelabra bulbs will elevate your light fixture by giving it luxury and style!
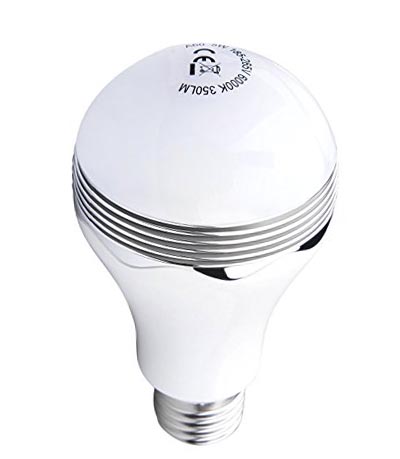
Want to turn any light socket into a speaker? Yes, please! This LED light bulb is actually a stylish bluetooth speaker and light source in one device.
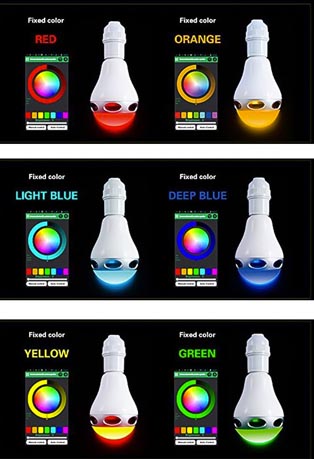
What could be better than an LED bulb that is also a speaker? A Color Changing LED Light Bulb Bluetooth Speaker, of course!
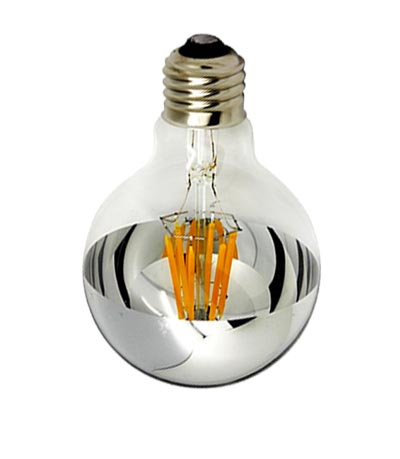
This stylish Half Chrome LED Light Bulb is perfect in a light fixture over a table or a space that you need to block light glare.
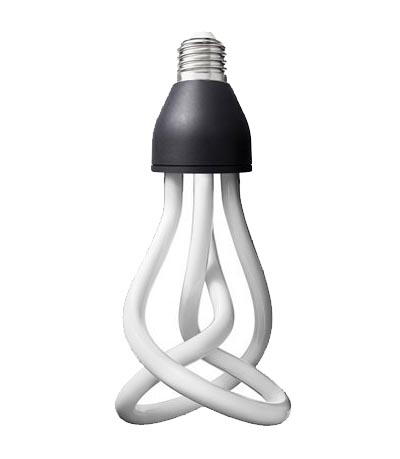
I know I told you I’m not a fan of CFL bulbs, but this Plumen designer CFL has me retracting that statement. The design changes depending on how you orient the bulb.
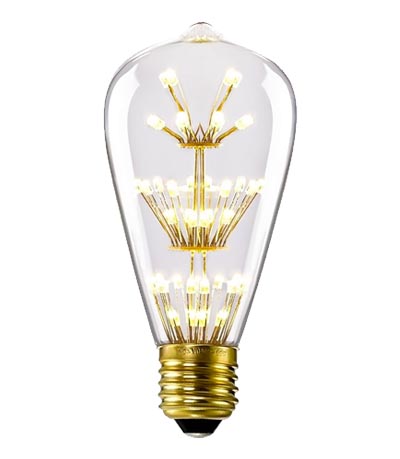
I saved my favorite for last. This Romantic Edison Tiered Bulb is a must have for your glass shade light fixture!
Those were 12 Stylish Energy Efficient Light Bulbs, which was your favorite?
![]()