How to Replace a Car Battery {Pretty Handsome Guy Style}
Hey Pretty Handy Girl readers, I’m stepping up to the podium today to prove to you that I can do more than just wrap presents around here.
I also have a handy side (don’t let Brittany fool you) that occasionally comes out.
There comes a time in every car owner’s life when you get stuck and your car is difficult to start. Usually this is in the cold winter months when it takes more charge to start a cold car. Brittany’s car battery had been showing signs of weakness, but it was hanging in there. When she took it to the dealer for a recall issue, the mechanic wanted to charge her $$$ to change the battery. Being the frugal Handy Guy around here, I told them to forget it because she could do it herself. Somehow she convinced me to do it (must have been my extensive auto parts store work experience from high school).
Normally changing the battery is a 10 minute affair, tops! But, when your wife is waving a camera in your face and telling you to stop and hold that pose, it can take considerably longer. (The things I put up with for my blogger wife.)
Materials:
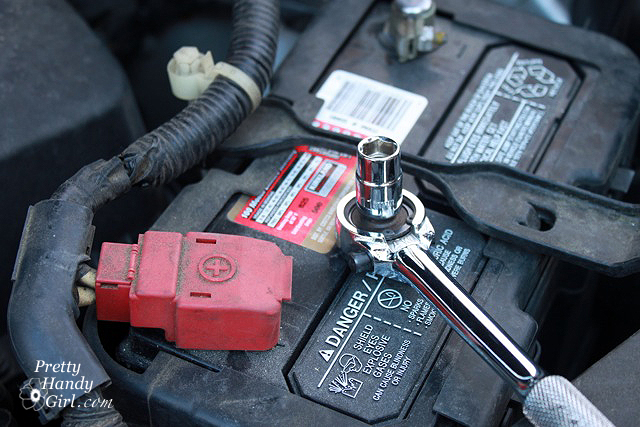
- Socket wrenches
- Adjustable wrench
- New Battery
- Gloves
- Small wire brush
- Corrosion protection spray (optional)
Instructions:
You can purchase a new car battery at your local auto parts store or discount stores like Costco. Usually there is a manual near the battery display for you to look up the battery needed for your specific year, make and model automobile. The other thing to look for is the battery rating – usually measured in months that it is under warranty.
Very Important: Turn off your car and remove the keys from the ignition to disengage the car’s electrical system.
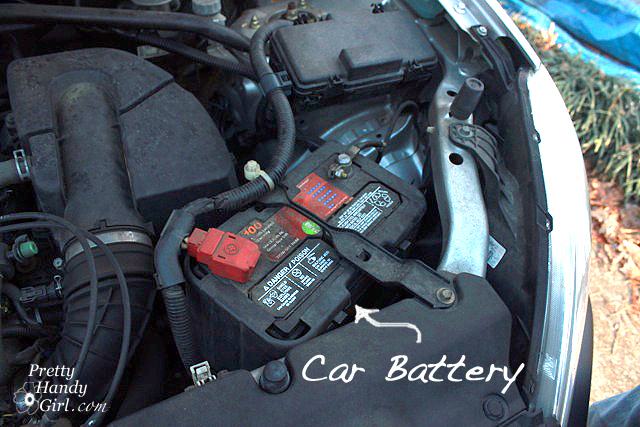
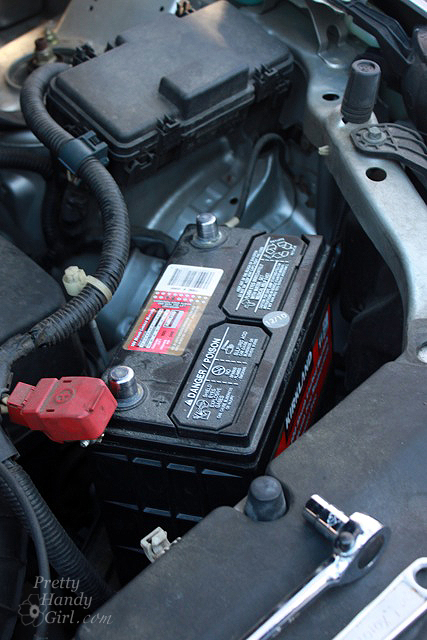
Ok, seriously she made me write that last part. Pop the hood of your car and prop it open. Locate your car’s battery – this one was easily accessible but depending on your car you may not be so lucky.
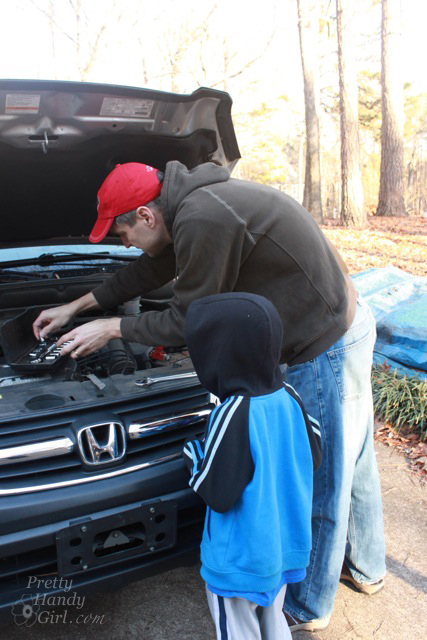
This was about the time that Pretty Handy Boy #2 showed up and reminded me, “Dad, don’t put your tools on top of the engine, they might fall inside.” Smart boy, he takes after his momma 🙂
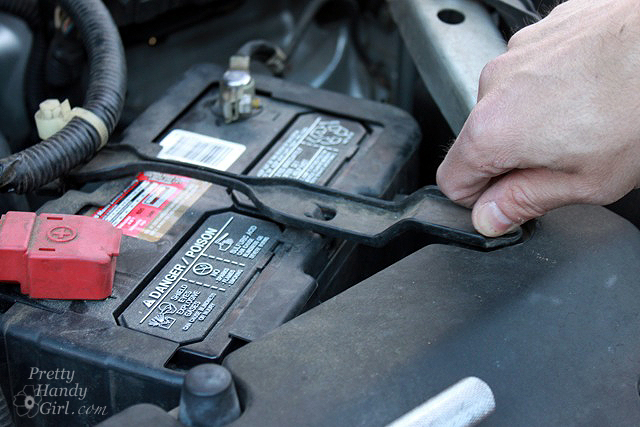
Visually inspect the battery for cracks or signs of acid leaking. If you see any (and even if you don’t) wear gloves to protect your hands. I’m a manly man, so battery acid doesn’t phase me (then again I’ve never been burned by it, so it might just phase me.) Use the socket wrench to remove the mounting bracket if you have one. The front has a nut, the back usually has a hook that attaches below the battery stand.
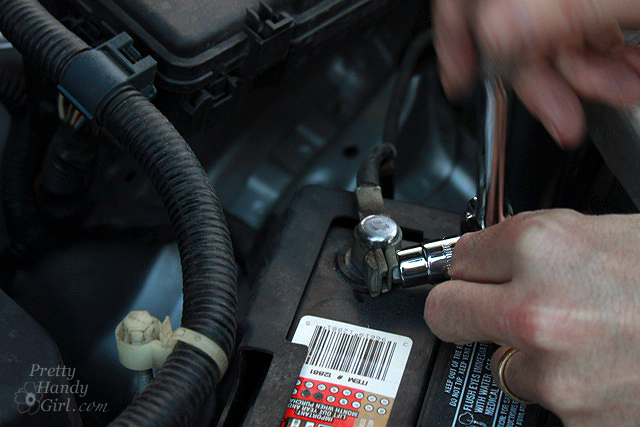
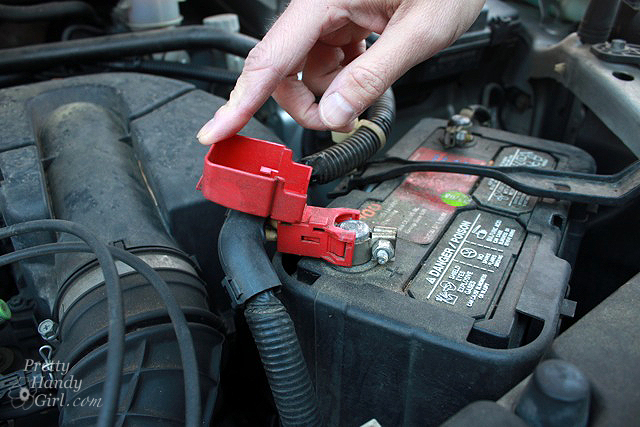
Loosen the nut on the negative (black) battery terminal first. You might need to put the adjustable wrench on one side to secure the nut head while turning with the socket wrench on the opposite side. Slide the terminal clamp off the battery terminal post and push it out of the way.
Repeat the same process for the positive (red) side.
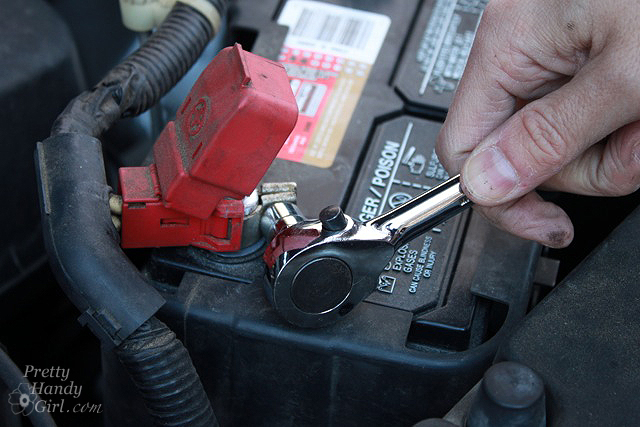
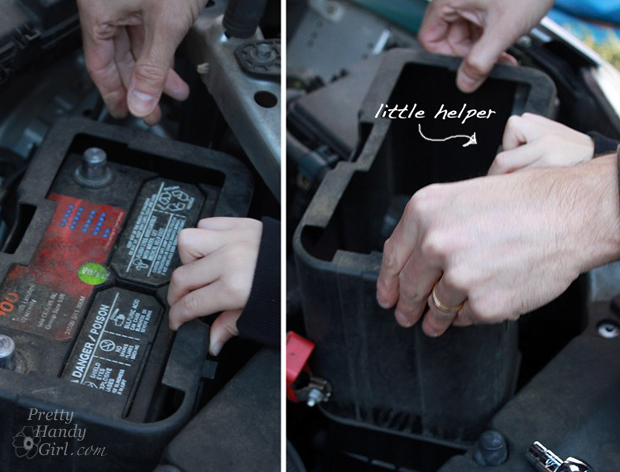
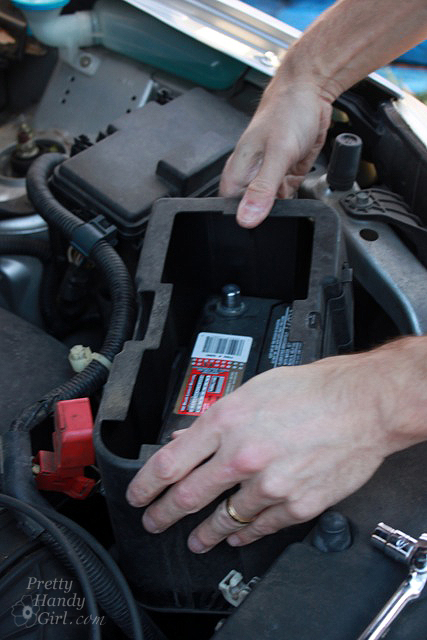
The battery should no longer be connected to the car at this point. Look closely, does your car battery have a protective cover surrounding it? If so, gently lift off the battery cover.
Lift the old battery out of the car. It will be heavy, so make sure little helpers aren’t in the way. Be sure not to get the battery up against you as battery acid will eat through clothes like termites through wood.
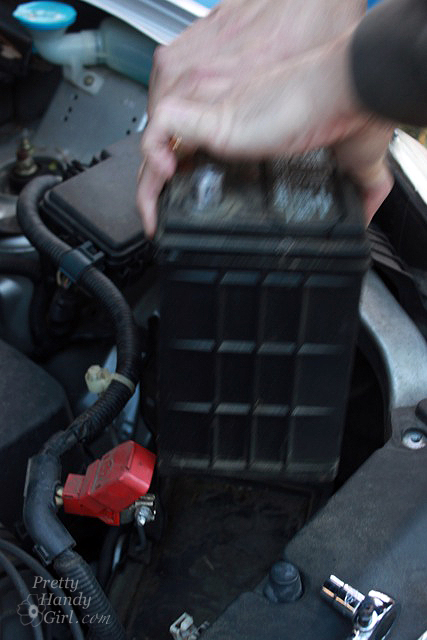
At this point, you will want to use the wire brush to clean off any corrosion from the battery terminal clamps.
Gently set the new battery into the car. You can spray a little anti-corrosion spray on the battery posts if you like.
Replace the battery cover you removed. I guess these casings serve a purpose but many cars won’t have them and not sure what they are really accomplishing — but whatever.
Re-attach the battery in the reverse order that you removed the terminal cables. Positive side (red) first. And then the negative side (black). Replace the plastic cover over the positive post.
Re-attach the mounting bracket by hooking the rod back onto the stand and then attach the bolt to the front.
Start the car to make sure the battery works. You will probably have to reset your clock and radio presets at this time. Sorry I can’t help you with that one. Many car radios have an anti-theft code that is needed once the battery gets disconnected – make sure you have this before starting or else your next ride will be mighty quiet. (Or you will be forced to listen to your six year old sing his own repetitive version of Gangnam Style — pure torture I tell you.)
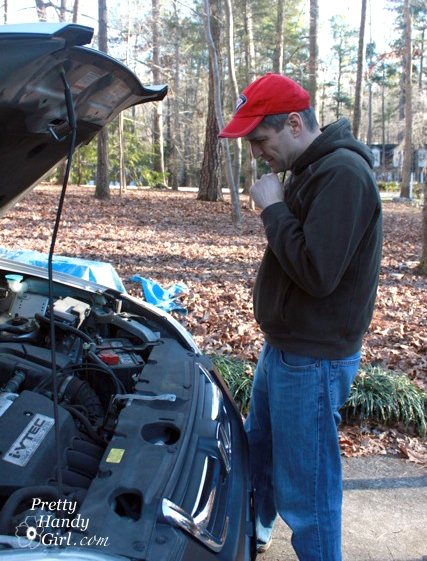
Hmmm, wonder what else I can tinker with on Brittany’s car.
Did Brittany ever tell you about the time that I changed the oil on my car when we were dating? Trying to be Mr. Cool showing off my mad shade tree mechanic skills I started up the car and asked her to look for any leaks. All I saw was her jumping up and down and yelling turn off the car! It wasn’t so much leaking as it was gushing out all over the driveway. Turns out the oil filter was missing a gasket and oil was spraying all over the place. Mr. Cool indeed…
Pin for later!




Thanks for your marvelous posting! I truly enjoyed
reading it, you will be a great author.I will be sure to bookmark your blog and may come back from
now on. I want to encourage you to continue your great posts, have a nice weekend!
Have a Build up of sulfate deposits on your cable clamps and posts. Use a little baking soda and water to help clean it off. A tip from Tire House Auto Center in Maryland
Very good lesson today i will try to change car batter by my self too.
Hi, Brittany
I love how you add different post to your blog. One day it’s about home decor, building something, planting something, car repair etc. You are awesome!
not only taking care of battery, but also make sure to shine the emblem^o^)/
Very timely, Pretty Handy Guy! My car is currently sitting in the garage for the second time this cold, cold winter, hooked up to a battery charger. Pretty soon, that baby will need changing!
Wait a minute…they make stuff you spray on them? You mean I don’t have to share a coke with the battery every once in a while! Man that blows my date with the car every six months! 🙂