Fork Photo Holder Base
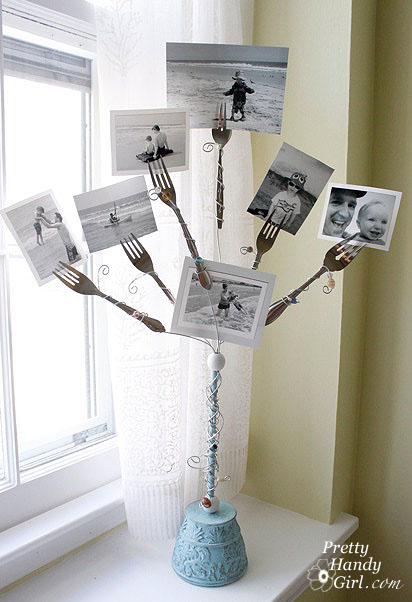
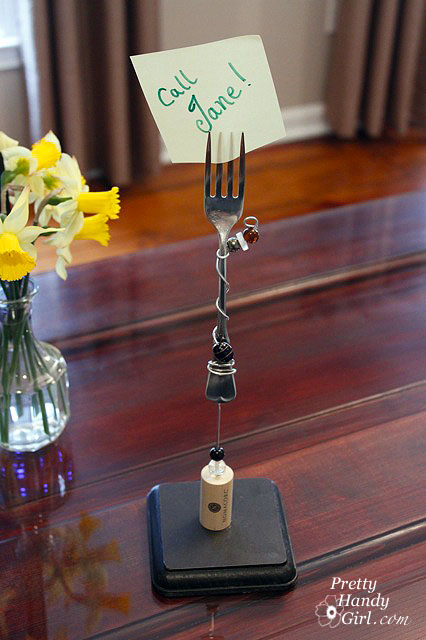
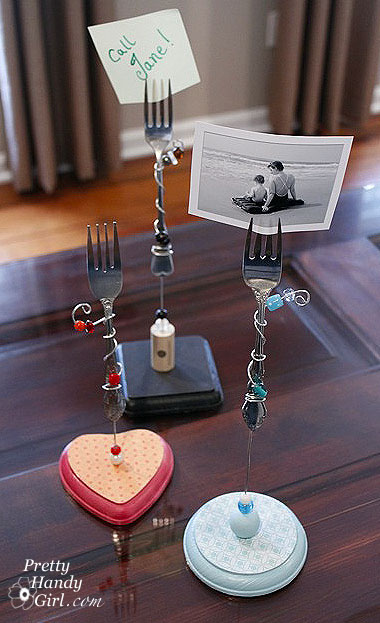
I want to share with you how to make an alternate base for that Fork Photo Holder you see above. If you will give me a few minutes, I’ll show you how to do that.
Materials:
Fork (.25 each from Goodwill)
Wooden base from craft store (cost me .69 each)
Beads, corks, or other items to thread onto the base of your wire (corks were free, beads I had on hand)
Scrapbook paper
Mod Podge
Multi-Purpose Utility Wire 16 Gauge ($7.99 for a huge roll of it, I only used a few inches per project)
Wire cutters
Needle-nosed pliers
E-6000 glue
Felt
Drill with 1/16″ drill bit
Instructions:
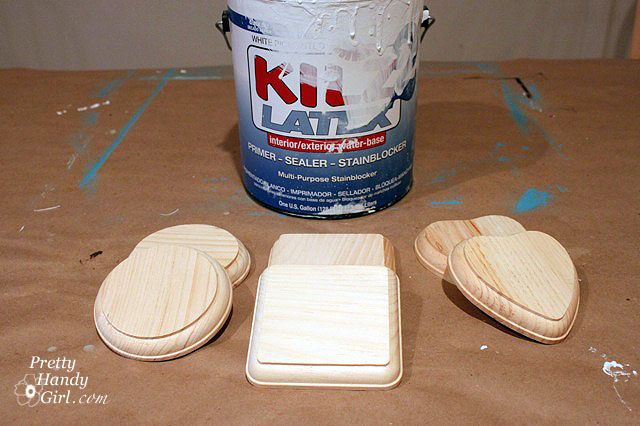
Start by sanding any rough edges off your wooden base. Then prime and paint them.
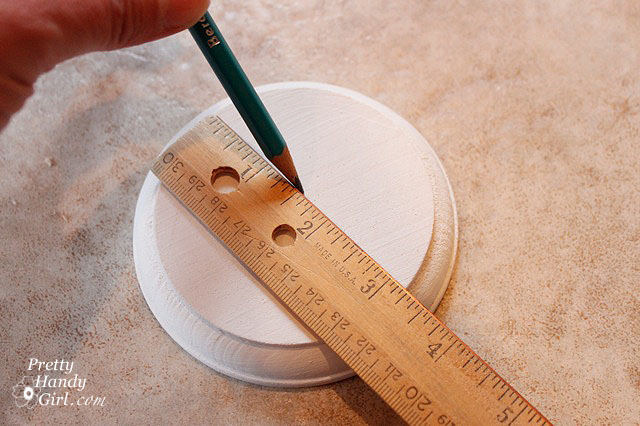
Measure and mark the center of your wooden base.
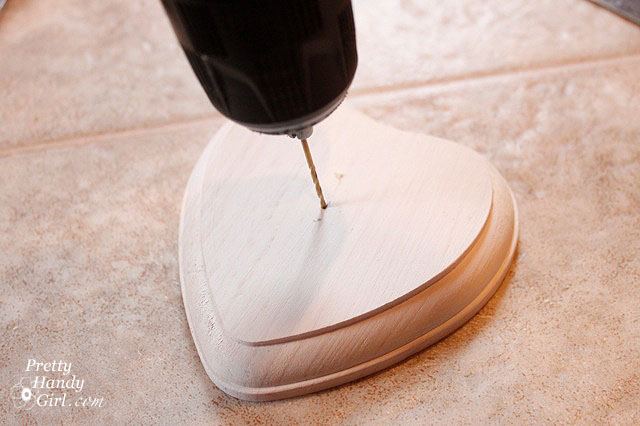
Using your 1/16″ drill bit, drill through your base (be sure to put a piece of scrap wood underneath to avoid drilling into your table, etc.)
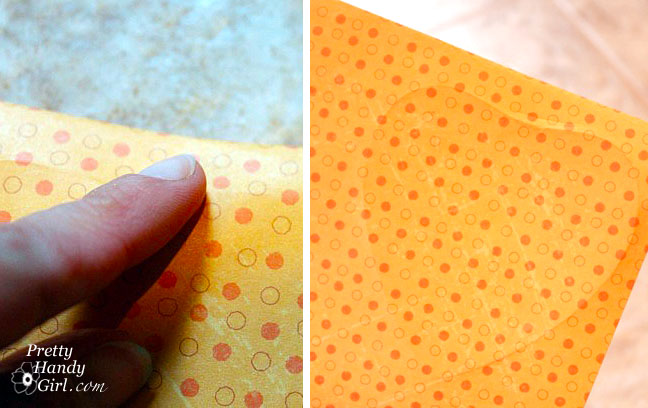
Lay a piece of scrapbook paper on top of the base and use your finger to score around the edges of the base.
Cut out the shape scored on the scrapbook paper.
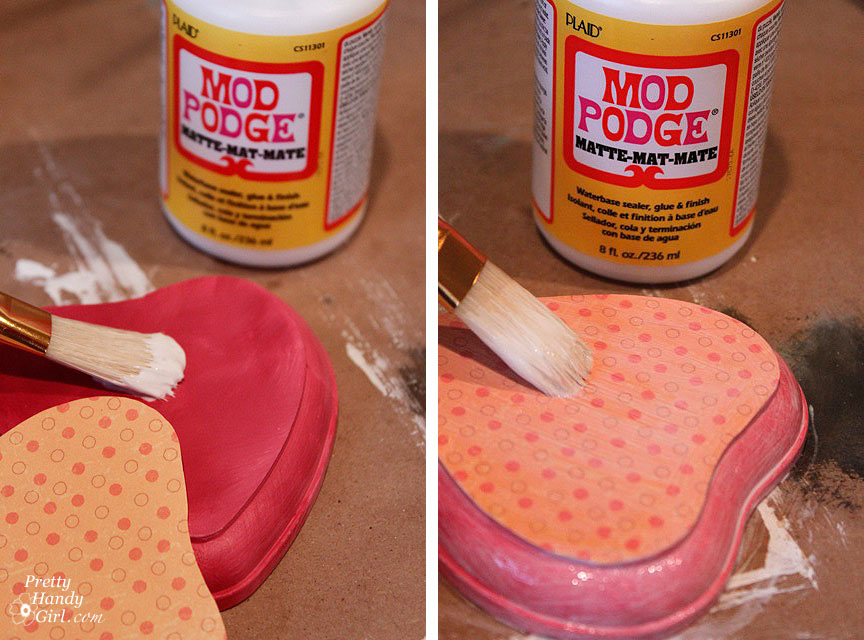
Using mod podge, brush one coat onto the top of the wooden base. Lay your scrapbook paper cutout onto the base and follow up with another coat of the mod podge to seal the paper to the base.
Assemble your fork onto the wire as shown HERE.
Thread on your beads for the base. (Alternatively, you can use a wine cork or a solid end bead and drill a hole through them.)
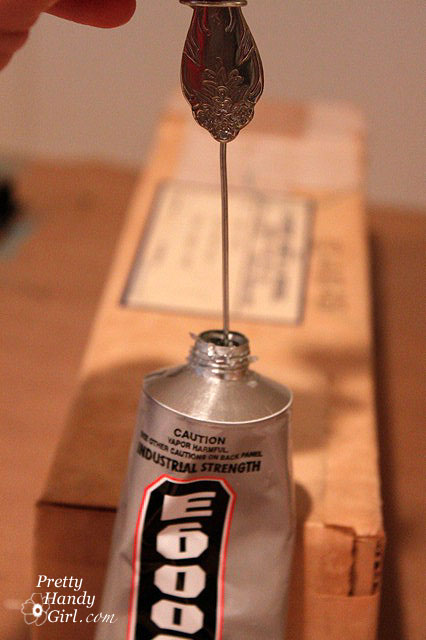
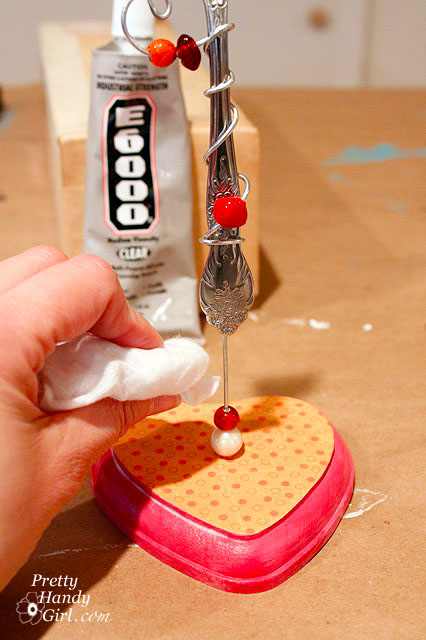
Then dip the end of your wire into the E-6000.
And insert it into the base. Some of the glue should squeeze out of the base. You can use the excess glue to adhere the beads to the base. (Yes, you should wear gloves when working with E-6000 glue. Do as I say, not as I do!)
Protect your table with newspaper, craft paper, or wax paper while the glue dries.
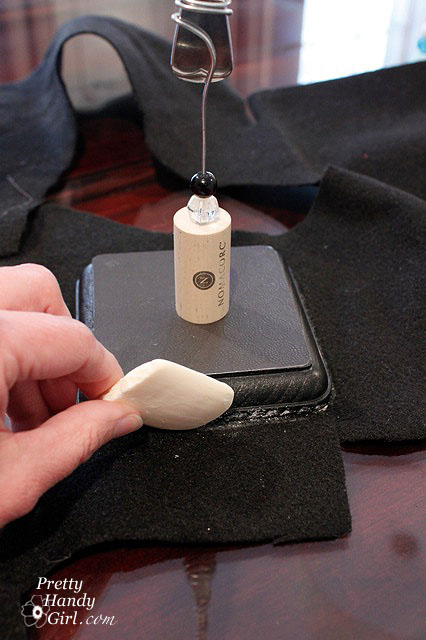
Using a sliver of soap, draw around the base of your photo holder onto the felt.
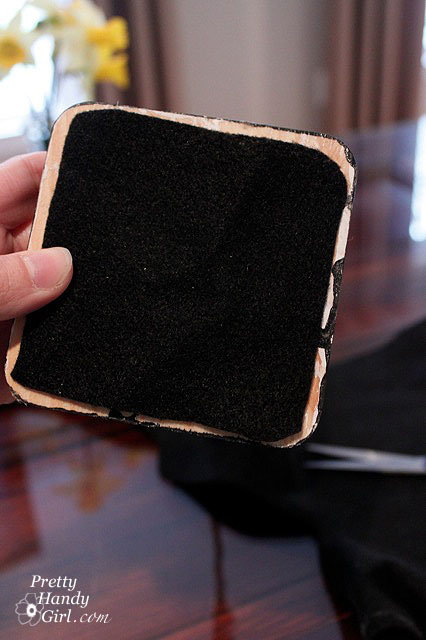
Cut the felt slightly smaller than the traced shape.
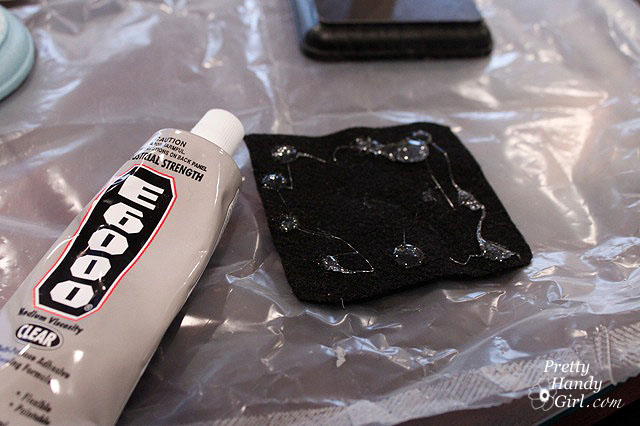
Use a little E-6000 to glue the felt to the bottom of the base. Let it dry on wax paper (I use old cereal bags because they were free and I like to recycle.)
And you are done!
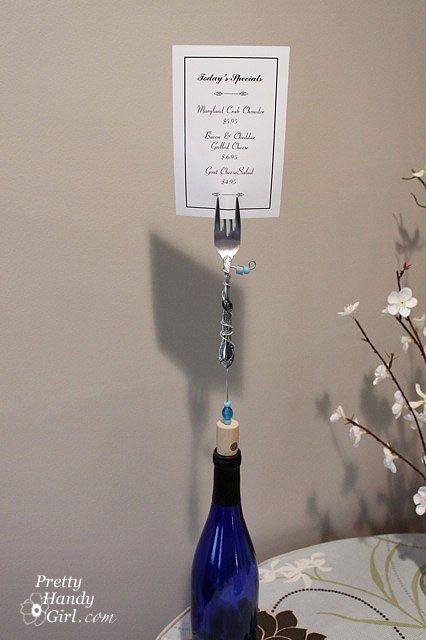
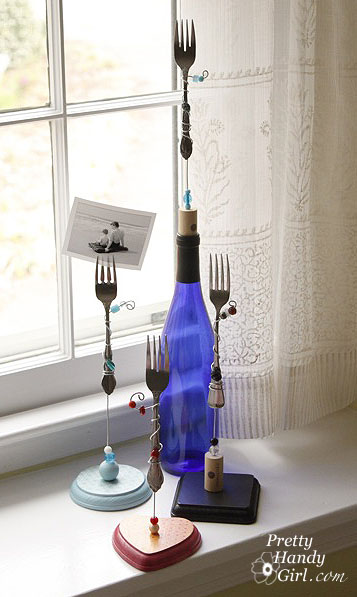
I raided my neighbor’s recycling bin for that beautiful cobalt blue wine bottle. It works well as a base too! Don’t you think it would be a cute place to hold “Today’s Specials” at a restaurant? Or a reminder note. Or just a beloved photo.
What would you use one of my fork photo holders for?




Very interesting….look onward to returning.|
Well, I plan to use them as menu cards for a buffet table. I already have the wine bottles, corks and forks. Only need to purchase the beads, glue and wire. I wanted to do something different and this would be perfect! Plus, the cobalt blue are the colors of the party. It’s a 60th birthday celebration. 🙂
Thanks for posting this.
Great idea! Can’t wait to get started. 🙂
In the process of making 12 for a preschool project for mothers day…letting them mod podge 3x3x3 blocks…then we drill, etc. What kind of wire did you use? Can’t find any at Hobby Lobby strong enough!!
Wow…so crafty clever. Love it. 🙂