Hand-Lettered Fall Pumpkin Sign
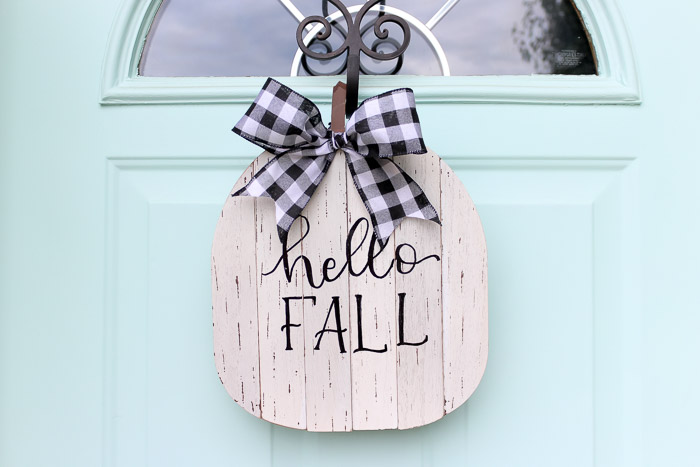
Let’s add a little hand-lettered touch to your front door with this adorable wooden fall pumpkin sign that you can make in no time!
How to Make a Hand-Lettered Fall Pumpkin Sign
Hi, it’s Amanda from Domestically Creative again with another easy DIY project. Today I’m sharing how I made this adorable hand-lettered pumpkin sign that hangs on our front door for fall. Don’t let all of the steps and photos scare you away from making your own fall pumpkin sign! This project is very simple and only took me about 15 minutes to make. Heat up your glue gun and let’s get started!
Materials:
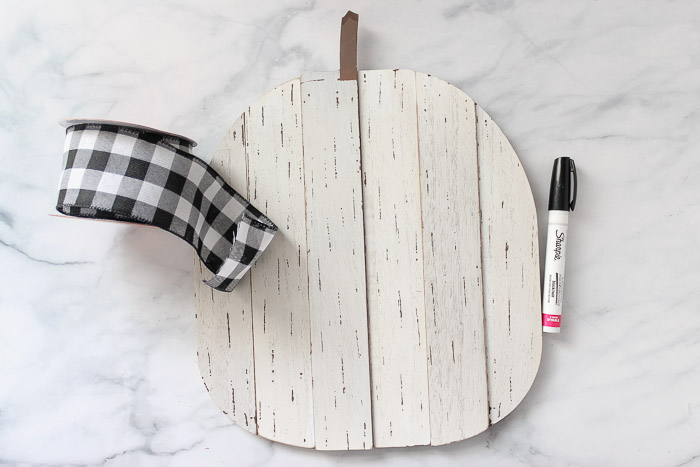
- Wooden Pumpkin Cutout (or this one)
- Sharpie oil-based paint marker
- Paper and pencil
- Wired-edged ribbon
- Scissors
- Heavy-Duty Staple gun with staples
- Hot glue gun with glue sticks
Instructions:
Step 1 – Create the design
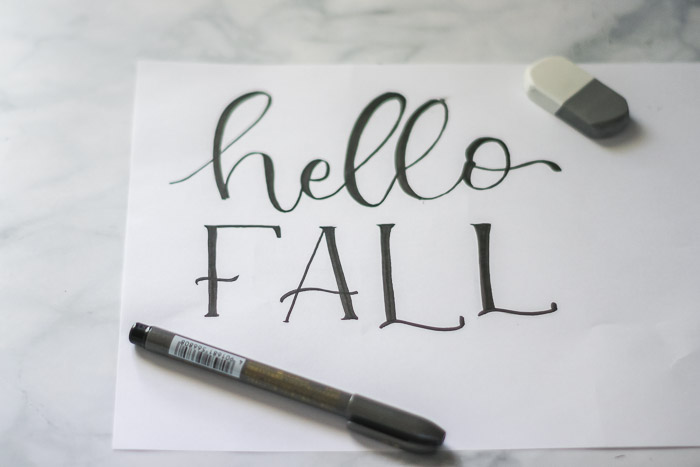
The first step is to create a hand-lettered design for this fall pumpkin sign. You can create it in one of two ways. If you feel confident enough to hand-letter your own design, draw it out on a sheet of paper to the same size it will be on the pumpkin. If you are doubting your artistic lettering skills, create a digital design using fonts on your computer and print it out to the right size. Either way will work for this simple fall door decor.
Step 2 – Transfer the design
Turn the paper over and shade over the back with a pencil. Aim for dark and full coverage so that the graphite can transfer in the next step.
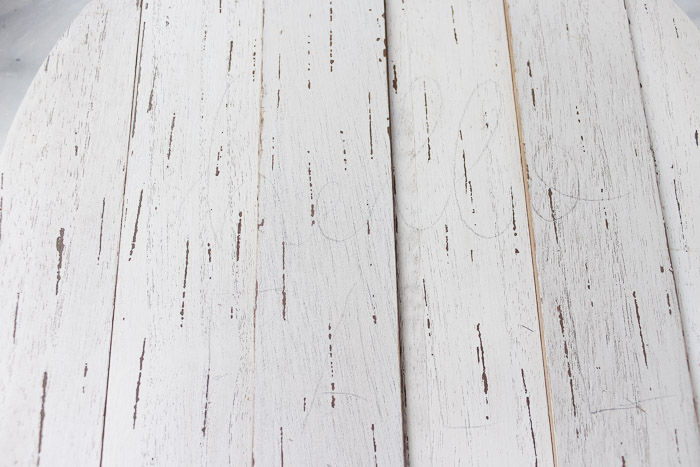
Flip the paper back over and place it on top of the wooden pumpkin. Using a pencil, trace over the design using firm pressure. This will transfer the design onto your pumpkin!
When you pull up the paper, you should be left with a light pencil outline of your design.
This is the same method used in this reversible pedestal sign!
Step 3 – Paint on the design
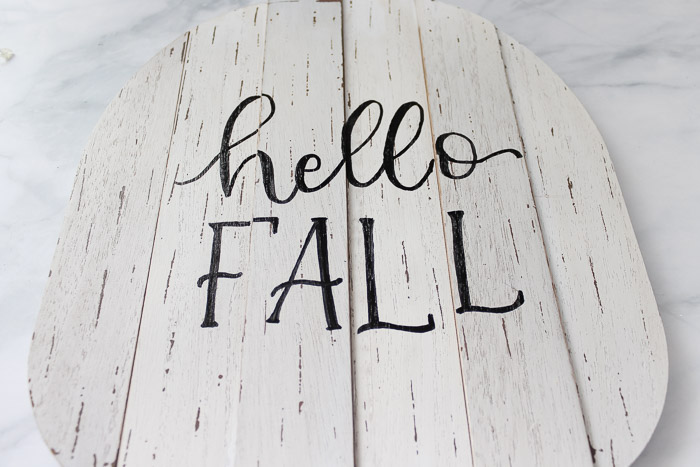
Using an oil-based paint marker, go over the design, and fill in any necessary areas. Since this fall pumpkin sign will be hanging on the front door, using oil-based paint will protect it from fading or running.
Step 4 – Make the bow
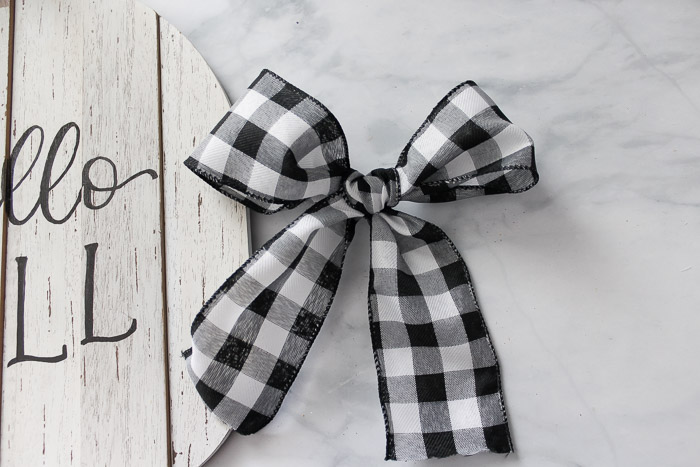
Tie a simple two-loop bow with a wired edge ribbon, just like tying your shoes! Fluff up the loops and center knot of the bow until it looks nice and full.
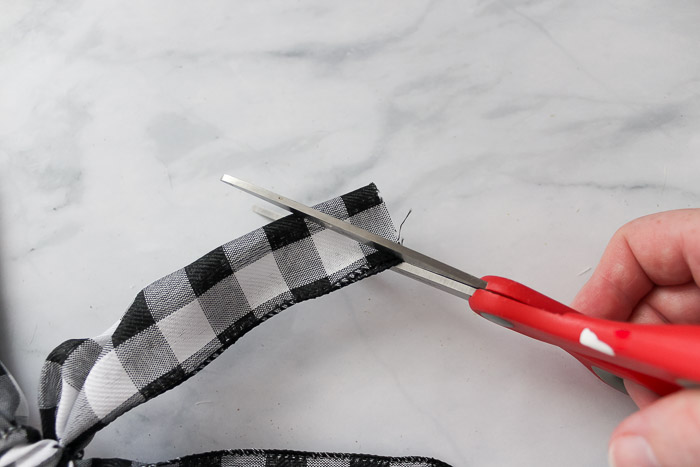
Optional Step: Fold the tails of the bow in half length-wise. Use scissors to cut out a triangle from the wired edge at the bottom of the tail.
Step 5 – Attach the bow
Attach your bow to the pumpkin with some hot glue. Another option is to use a thin gauge wire and wrap that around the stem of the pumpkin. Either way will work!
Step 6 – Attach a ribbon for hanging
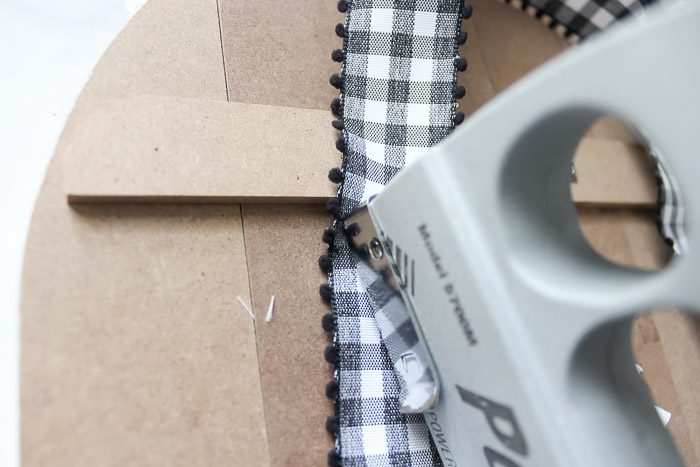
Since this fall pumpkin sign will be hanging on the front door, I added a small ribbon to the back of it using a staple gun. First, cut a piece of ribbon slightly longer than the width of your pumpkin.
Then staple one end of the ribbon to just inside the left edge of the pumpkin. Repeat this for the other side and end of the ribbon. You will be left with a loop in the middle to hang your new pumpkin sign from.
Step 7 – Hang on the front door
You’re finished! Hang up your new fall pumpkin sign on the front door (or any place in your home) and enjoy!
What design will you put on your own hand-lettered fall pumpkin sign?
Love it? Don’t forget to pin this project for later!
![]()

I’m Amanda, and I am the creator and voice behind the food and DIY blog, Domestically Creative. What started as a place to share updates with friends and family after we moved from Illinois to Tennessee and then to Texas, turned into a passion for finding creative and frugal ways to feed us and decorate our homes.
I have always had the “make it myself” attitude and I’m not afraid to bust out the power tools or get creative when it comes to decorating our home on a budget. You can usually find me scouring the local thrift stores, garage sales and estate sales looking for my next makeover (like this litter box cabinet), or dreaming up ways to make our new house feel more like home. My most recent project was giving my home office a much needed facelift. Some of the plans included creating a fun inspirational accent wall and adding pegboard to store my craft hoards.
I currently call Missouri home, where I live with my husband, dog, and 2 cats in a pretty dull, late 90’s split level. My husband and I both love to travel the U.S and recently purchased a small travel trailer to tag along in our journeys. In our free time together we can usually be found working together on a home project, exploring a new place, or just lounging with our pup, Delilah.
I’d love for you to connect with me on social media via Facebook, Instagram, Pinterest and Twitter!
See all of Amanda’s tutorials HERE.






What fonts did you use? Thanks! Love it!
Thanks, Amanda, for this adorable pumpkin sign tutorial! It’s the perfect size for my porch. I’m impressed by the technique you’ve used to transfer the lettering and I’m anxious to give it a try! This sounds like a great project for my rainy Wednesday afternoon. Happy Fall!