Creative Gift Wrapping Day #1 – Using Elmer’s Holiday #GlueNGlitter Supplies
Every year I try to come up with new and creative ways to wrap Christmas gifts for my friends and family. For me, making beautiful packages is almost as fun as opening the gifts Christmas morning. In fact, I usually invite a few friends over to wrap presents with me. We spend a few hours chatting, cutting paper and creating little present masterpieces.
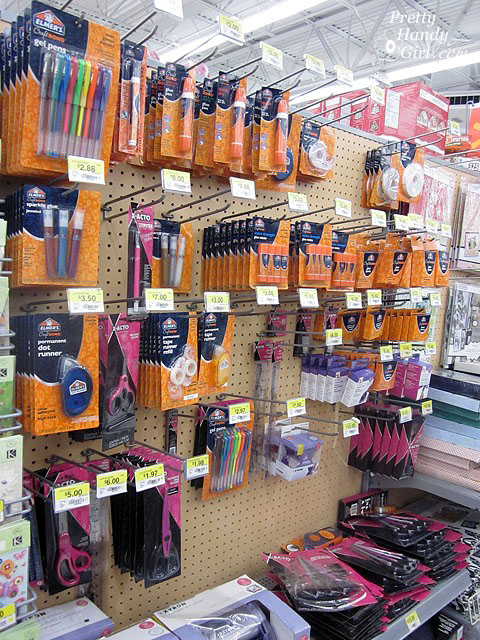
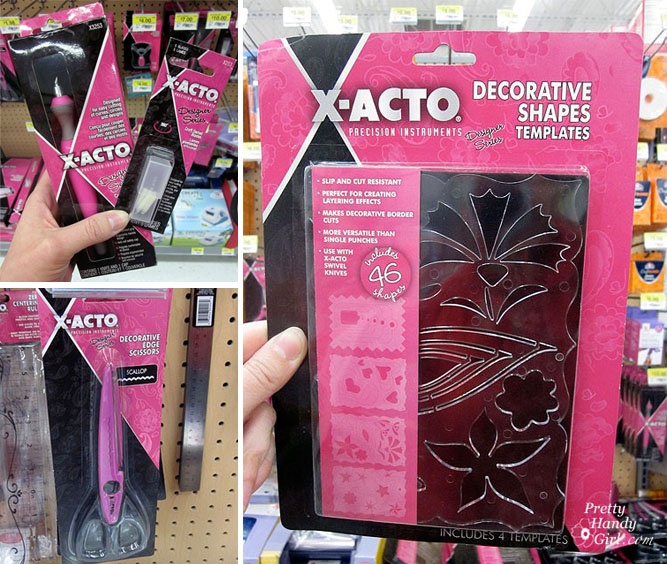
After last year’s get together, I needed to stock up on more gift wrap supplies. A quick trip to Walmart provided plenty of embellishments, paper, and exciting new crafting supplies.
I was especially excited about trying the X-ACTO template, decorative edge scissors and the swivel knife. I’ve never seen these products before. Fun, fun, fun!
Want to join me for a little gift wrappity wrap party? Go ahead and grab these supplies and I’ll show you how I created my scrapbook inspired presents.
Materials:
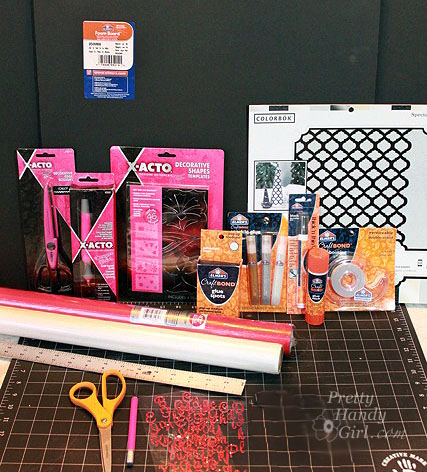
- Elmer’s Black Foam Board
- X-ACTO designer series knife
- X-ACTO decorative shapes templates
- X-ACTO swivel knife
- X-ACTO decorative edge scallop scissors
- Elmer’s Craft Bond extra strength glue stick
- Elmer’s CraftBond Glue Spots Pop-up Medium
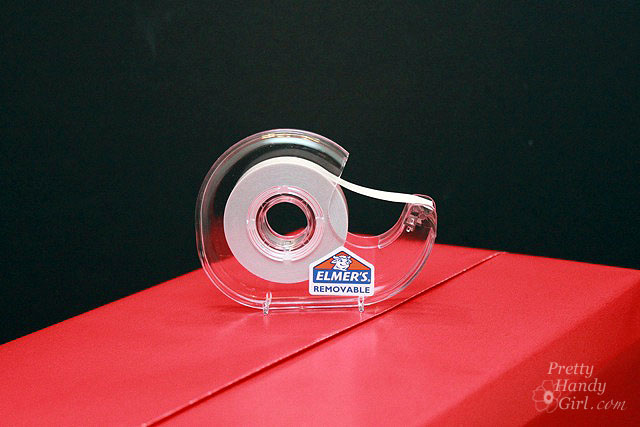
- Elmer’s Craft Bond scrapbooking tape (removable)
- Elmer’s Craft Bond Sparkle Glue Shimmer
- Painters opaque paint marker
- Colorbok decorative scrapbook pages
- 2 pieces of coordinating scrapbook paper
- Scissors
- Plain colored wrapping paper (red and green)
- Cutting mat
- Pencil
- Ribbon
- Stapler
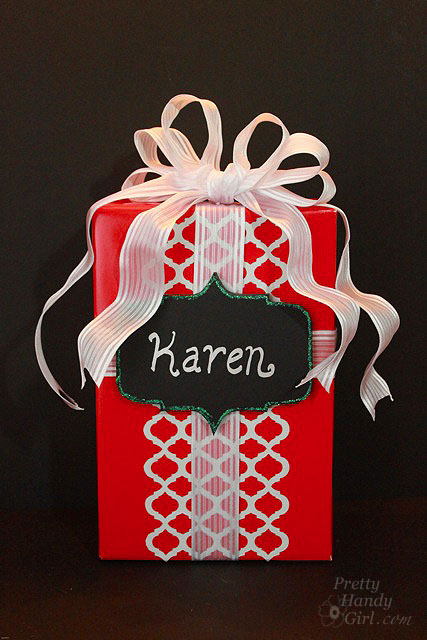
Let’s start with this red and white graphic shape gift.
Begin by wrapping the present with a solid color gift wrap.
Use the Elmer’s double stick tape underneath the edges of the paper for a hidden (no tape lines) closure.
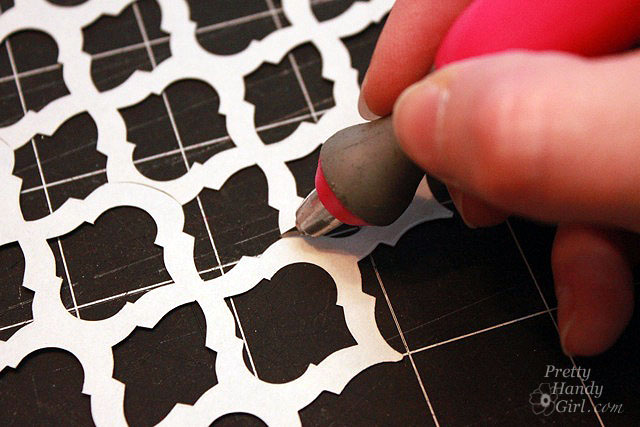
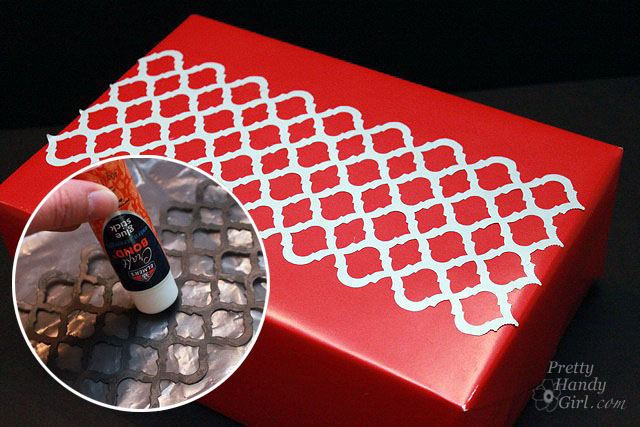
Cut a piece of the Colorbok decorative scrapbook pages (die cut lattice page) to the same height of the package and about 2/3 the width of the gift. Trim along the edges of the design using the X-ACTO swivel knife.
Rub the Elmer’s glue stick onto the back of the lattice pattern. Then flip it over and press it onto the gift.
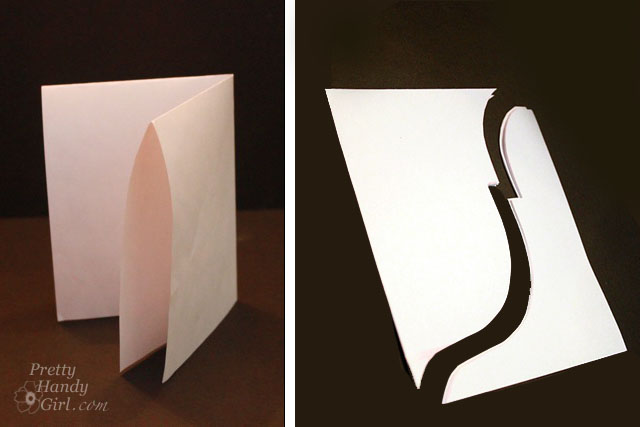
Fold a letter size sheet of paper into quarters. Draw one quarter of a decorative shape onto the paper (I tried to emulate the lattice hole design.) Make sure that your paper folds are in the center of the shape.
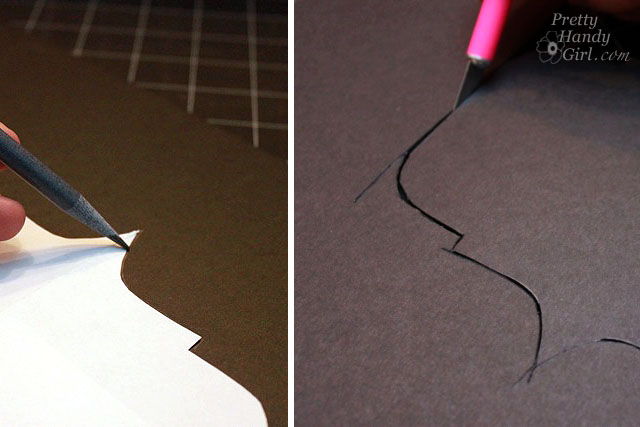
Cut out the shape you drew on the paper. Open the paper up and use it as a template to trace and cut the design out of black foam board.
Use the regular X-ACTO knife (and a brand new blade) to cut around the template. (Take your time with this task. You can make multiple cuts from different angles if you need to.)
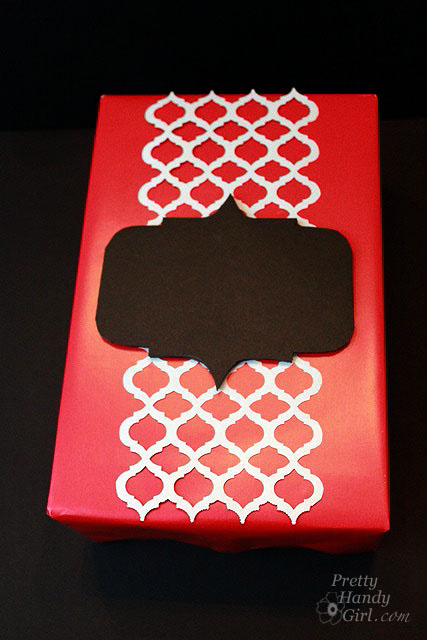
Play with the layout of the graphic shape on your package. Mentally note where the graphic shape will go, then lift the black foam board shape off of the present.
Wrap ribbon around the present forming a cross shape. The center of the cross should line up with the center of your graphic shape. Tape the ribbon to the back of the package.
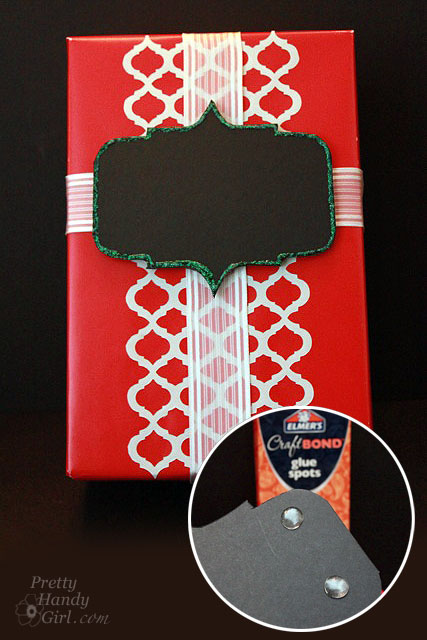
Adhere the black foam board shape to the center of the ribbons. (I find the CraftBond medium glue dots are super strong and perfect for the task of gluing the foam board shape.)
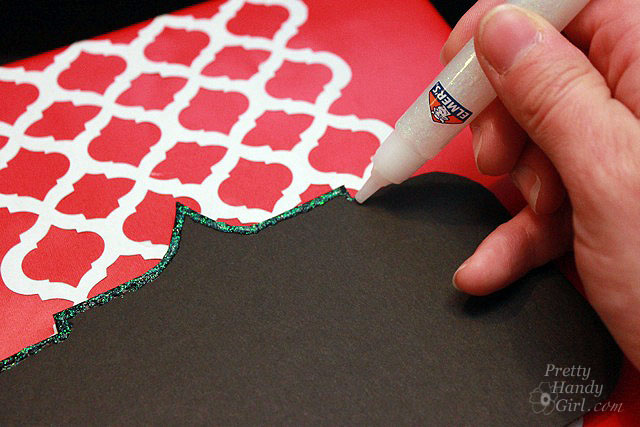
Dress up the black foam board graphic by outlining the shape with Elmer’s sparkle glue.
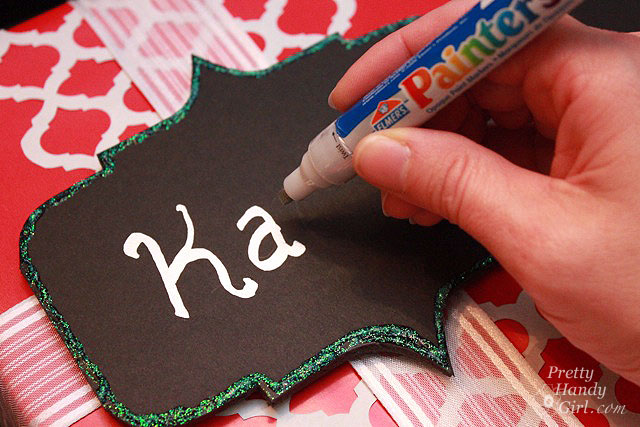
After the glitter glue has dried, write the recipient’s name using the silver Painters opaque paint marker.
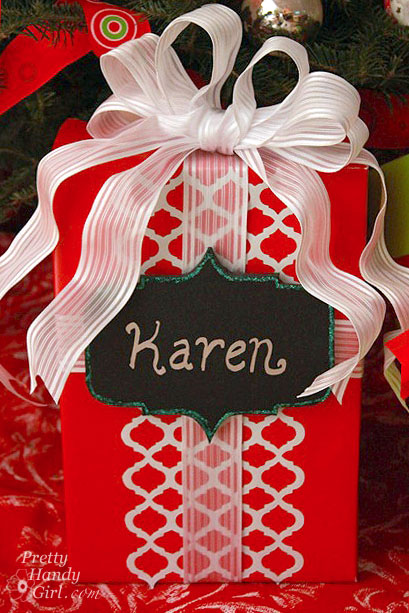
Add a ribbon to the top using another glue dot to hold it in place. You can learn how to make professional bows from Mural Maker & More.
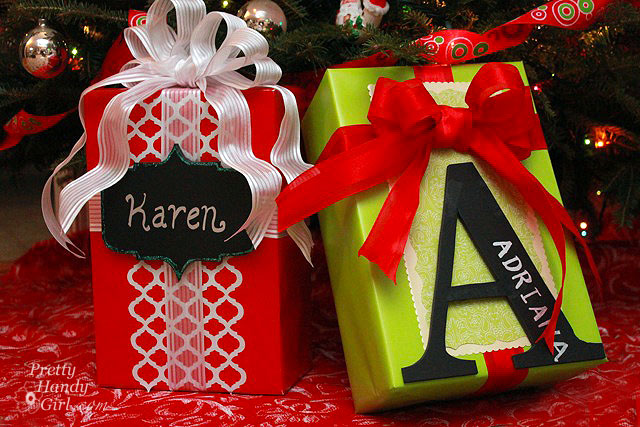
And you are finished! Isn’t that beautiful? I really like the graphic shapes and the layers of textures.
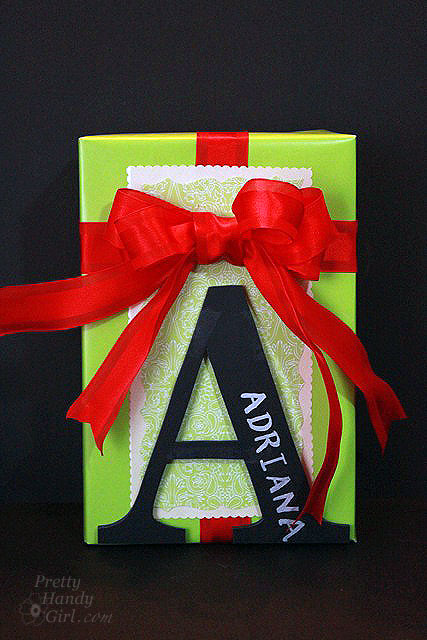
Let’s try another gift wrap design! This green and red gift with a monogram letter is just as easy to create.
Begin by cutting out a piece of scrapbook paper. Lay the X-ACTO decorative shapes template on top of the paper and carefully run the X-ACTO swivel knife around the edges. Be careful not to cut or chip the template edges. Because they are plastic, they can break. I “tiled” the template to create an elongated shape.
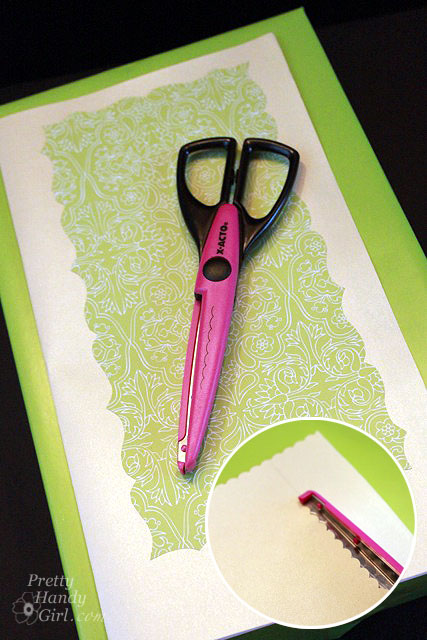
Lay the cut out scrapbook paper on top of another piece of coordinating scrapbook paper. For this 2nd sheet, I decided to use the decorative scalloped edge scissors to compliment the X-ACTO decorative shapes curved template. Cut out the second sheet about 1/2″ wider than the first one.
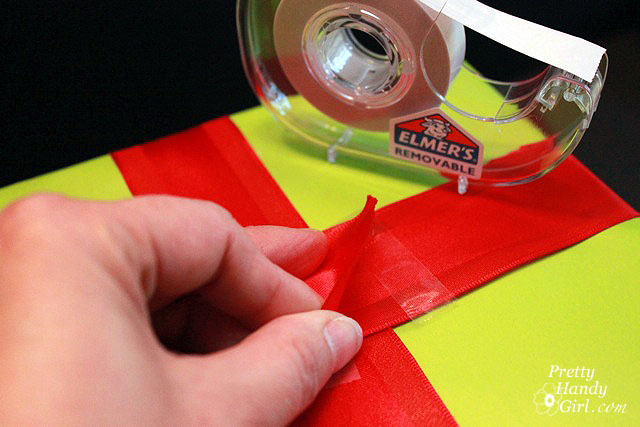
Remove the scrapbook papers and tape a ribbon around the present. By using the Elmer’s removable double stick tape you can hide how the ribbons are secured. Be sure to have the ribbons cross high up on the gift to allow room for the monogram.
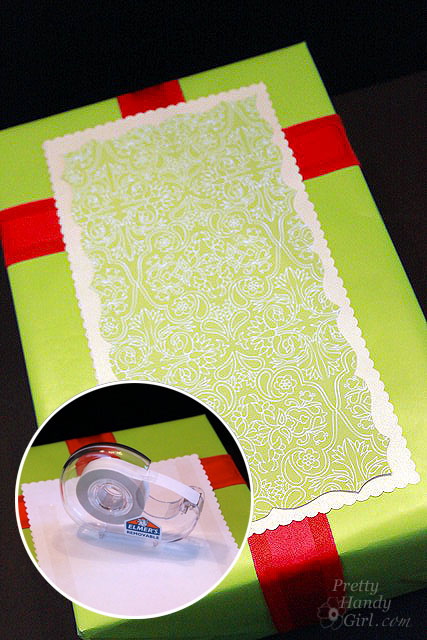
Add some more double stick tape to the backs of the scrapbook paper. Center the smaller piece on the larger one. Then, adhere the papers on top of the ribbon using the double stick tape.
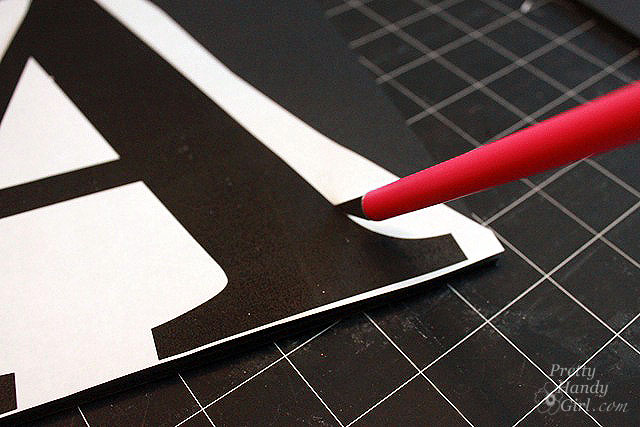
Print out a large letter from your printer. Trim some of the excess paper from around the letter. Lightly tape the letter printout on top of a piece of black foam board.
Using a fresh X-ACTO blade and knife, carefully cut out around the outline of the letter.
Use some Elmer’s Craft Bond Medium Glue Spots on the back of the foam board “A” and adhere it to the present.
Write the gift recipient’s name onto the letter using the silver Painters opaque paint marker. Tie a separate bow and then adhere it with more glue spots.
You now have an adorable monogrammed present for someone special.
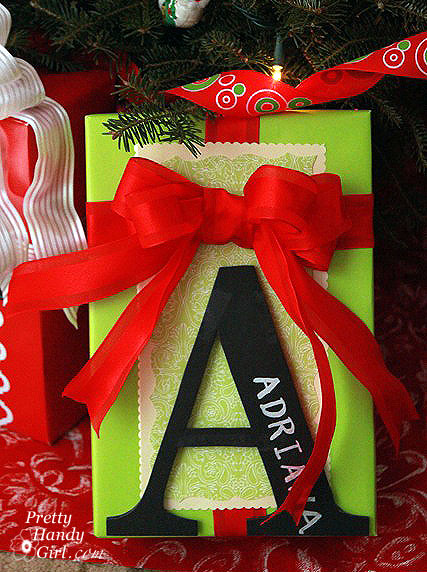
These two Christmas presents are too beautiful to open. But, if you put them in front of five and seven year old brothers, they won’t hesitate for a second to rip into the frilly bows and lines of these presents. So, save these for someone special! 😉
How did you like this tutorial? Want to learn more ways to spruce up the presents under the tree? Check back everyday this week to see some more creative gift wrappings.
Disclosure: This project has been compensated as part of a social shopper insights study for #Elmersholiday #GlueNGlitter #collectivebias and #CBias. I was paid a small fee to shop at Walmart and use a selection of X-acto and Elmer’s brand products. The ideas, tutorial and opinions expressed in this post are solely my own.








Trackbacks & Pingbacks
-
Creative Gift Wrapping Day #5 - Polar Bear, Dove, Holly and a Sleigh - Pretty Handy Girl says:
April 13, 2016 at 1:21 pm
« Older Comments[…] Day #1 – Monogram & Name Plaque […]
Leave a Reply
Want to join the discussion?Feel free to contribute!