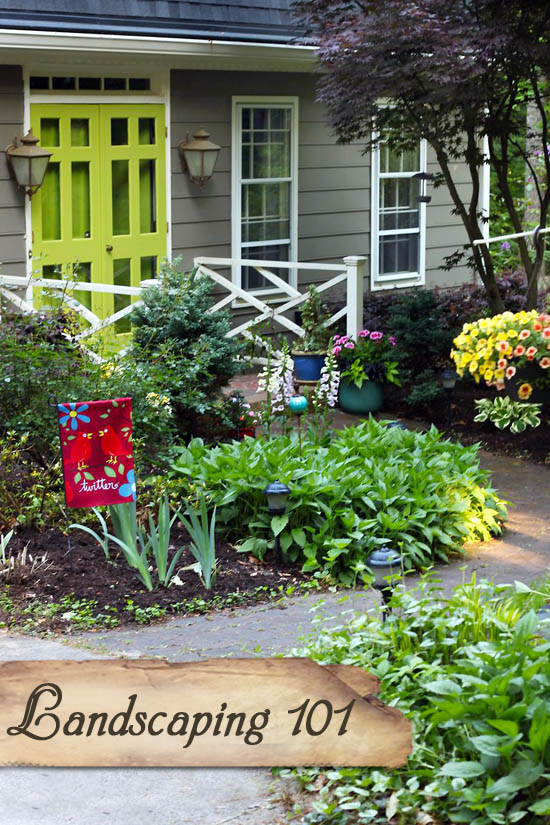
Creating walkways around your home can keep mud and dirt from getting on your shoes and ultimately from being tracked into your house. Today I’ll show you how to create a super easy (and inexpensive) pathway using mulch, stones, and edging. It’s a very easy DIY project, let’s get going on this landscaping task.
How to Create an Inexpensive Stone and Mulch Walkway
Spring is on its way and that means more rain. It’s also the time of year when the grass has been dormant, we had a harsh winter (lots of snow and ice), and there is more exposed dirt and mud in the yard. Let’s be honest, everyone tends to have problem spots in their landscaping that end up looking like a mud pit. And if you have kids or pets running around, that mud means keeping your home clean is a constant battle.
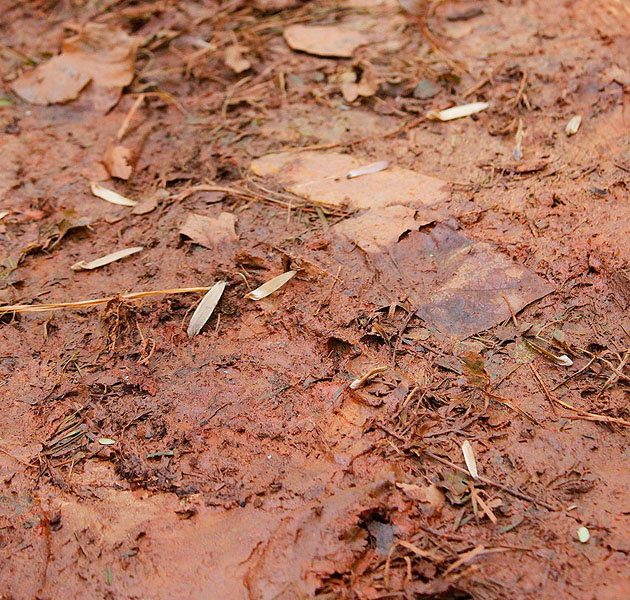
For those of us that live in the south, mud is not just wet dirt. It’s usually tough red clay! And unfortunately, it will stain everything you own and make housekeeping a nightmare. With early spring here, it’s time to come up with a fast and inexpensive solution to the mud problem. Let’s put a stop to the muddy yard.
Potential Materials:
While searching the exterior section at Lowe’s, I found a large selection of materials both man-made and organic in a variety of colors and textures.
- Pea gravel
- Crushed granite or crushed limestone
- Crushed limestone
- Pine bark mulch
- Hardwood mulch
- Rubber mulch
- Concrete pavers
- Brick pavers
- Crushed granite
- Natural stone (flagstone, limestone, sandstone, slate, blue stone, quartzite, or granite)
- Cobblestone (for an old antique look)
- Hardwood tree stumps
- Deck Boards
- Concrete cement
- Any non-slip smooth surface material
Considerations When Choosing Materials:
I really mulled over the different options and considered all the pros and cons of the different materials.
- house style/landscaping (a cottage style garden may not fit with a modern architecture house)
- color selection (color should compliment your house not compete)
- material availability
- cost (what’s your budget)
- maintenance (will the material break down or scatter too easily)
- sloped or flat path (will the material stay put or be a tripping hazard)
- choking hazard (do you have little kids or pets that might eat pea gravel)
For this pathway project, I had a very limited budget. Plus, I didn’t want to haul a lot of heavy materials home. Finally, I liked the idea of covering the entire area with organic materials that would help by adding nutrients as it breaks down. I chose to use two different colors of mulch.
Edging Choices:
Using edging for your pathway is important to keep the walkway materials from shifting or scattering. Like most home improvement stores, there are a wide variety of edging materials to choose from.
- Brick
- Cast concrete
- Stone pavers
- Steel or aluminum edging
- Rubber or plastic edging
- Landscape timbers
- Creative recycled materials (old bottles, metal parts, tiles, or roof tiles)
- Durable plants (shorter plants like liriope or taller plants like boxwood hedge)
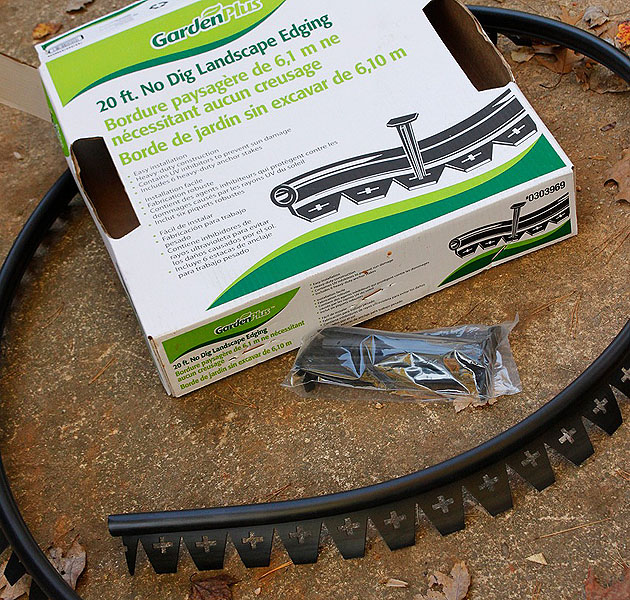
I would have chosen a more professional-looking edging (like pavers or landscape timbers), but my budget was tight so I chose an inexpensive (and time saving) no-dig landscape edging. This plastic edging doesn’t require any power tools and no digging a trench to bury half of the edging like you’d need to do with a metal edging This no dig edging uses pegs to nail into the ground and hold the edging in place.
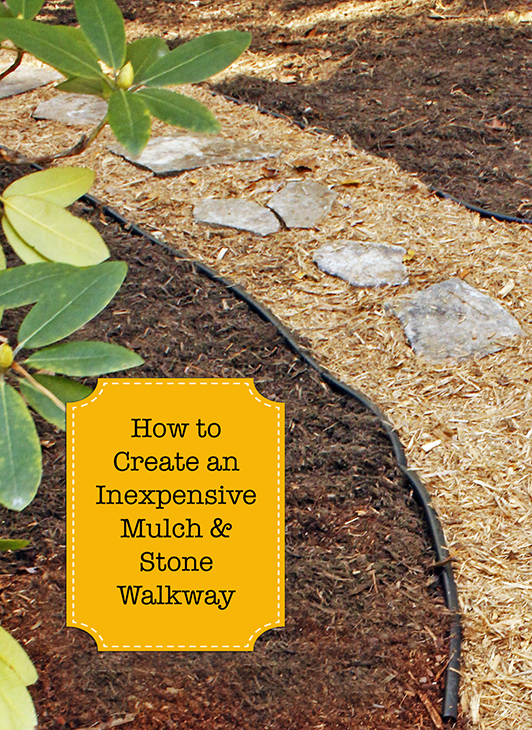
How to Create an Inexpensive Stone and Mulch Walkway
Materials:
(I’ve included affiliate links for your convenience. I earn a small percentage from a purchase using these links. There is no additional cost to you. You can read more about affiliate links here.)
- Stepping stones (flagstone, limestone, sandstone, slate, or blue stone)
- No Dig Landscape Edging Kits (or your choice of edging)
- 2 Types of Mulch (Pine bark, hardwood mulch, pine needles, pine nuggets, cedar, cypress mulch)
- Yardstick for your width template
- Hammer
- Garden Rake
Optional:
- Garden hose
- String & Stakes
- Spray Paint
- Weed barrier
- Sand or Paver base
Instructions to Create an Inexpensive Mulch and Stone Path:
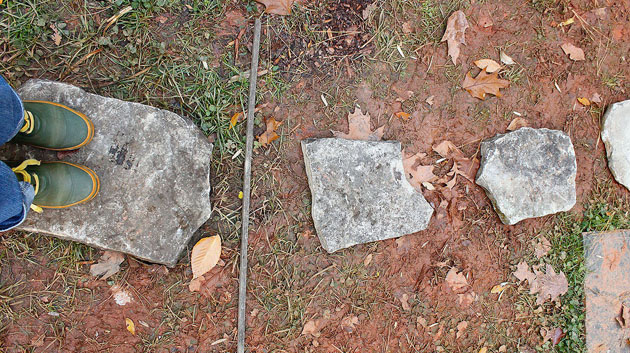
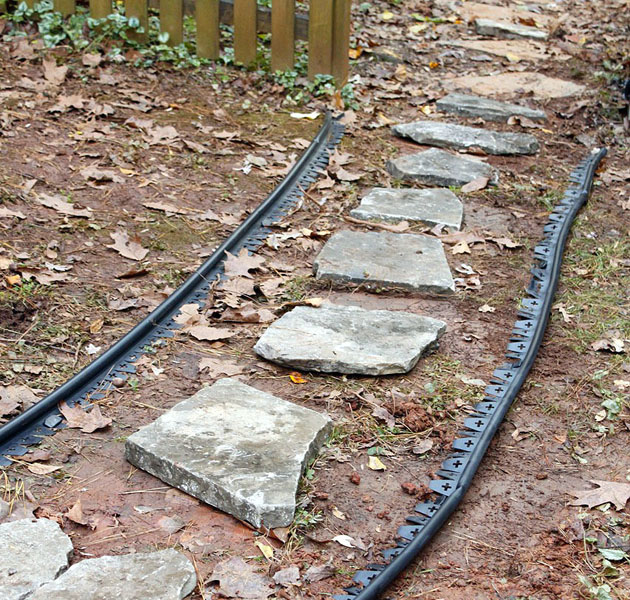
Gather all your materials near the path site. Layout your stones and walk on them to make sure they are spaced for a comfortable gait. (Do you see that stick in the above picture? That is my three foot path width guide.)
For a perfectly curved path, use a garden hose to line one side of the path creating smooth curves. For straight lines, use stakes and strings to set the path line. Once you are happy with your path location and shape mark the edges with spray paint.
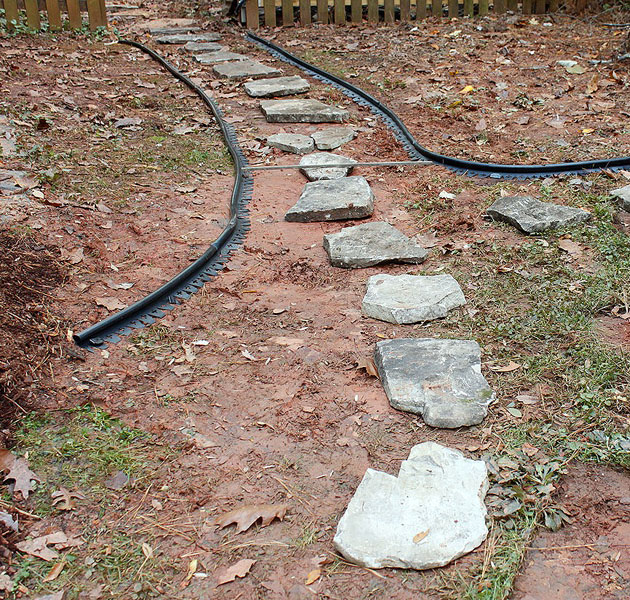
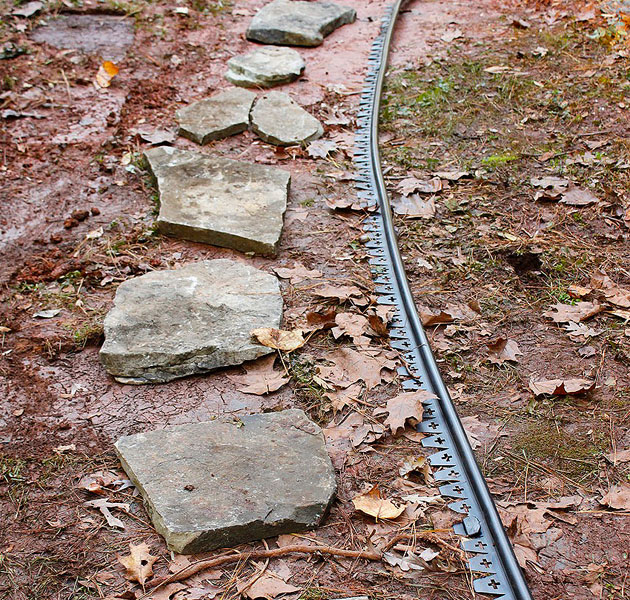
Use your path width template (aka stick) to keep your edging equal distance apart the entire length of your path. (You may need to put a weight on your edging or set a peg in halfway to hold the edging in place.)

After the path and edging are laid out, step back and take a look. Make any tweaks to your pathway now.
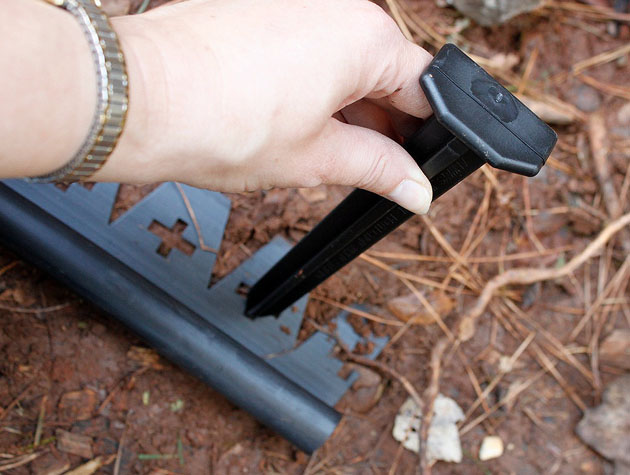
To set the path, start from one end and insert a peg into one end of the edging.
Then hammer the peg into the ground…
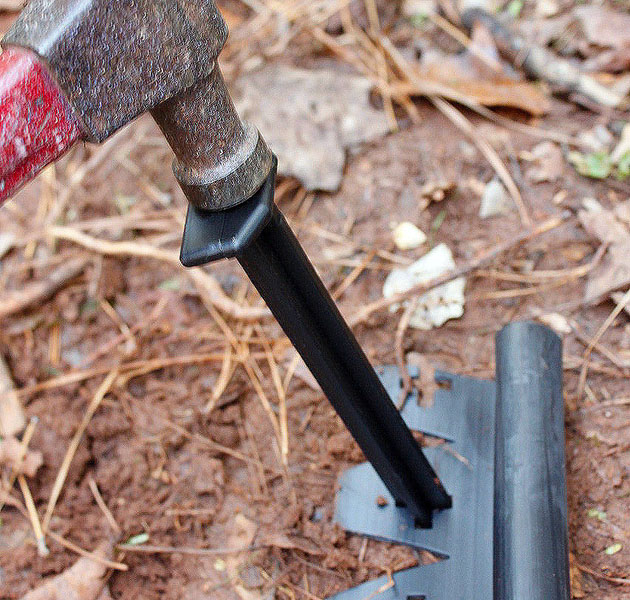
…until it is flush with the earth.
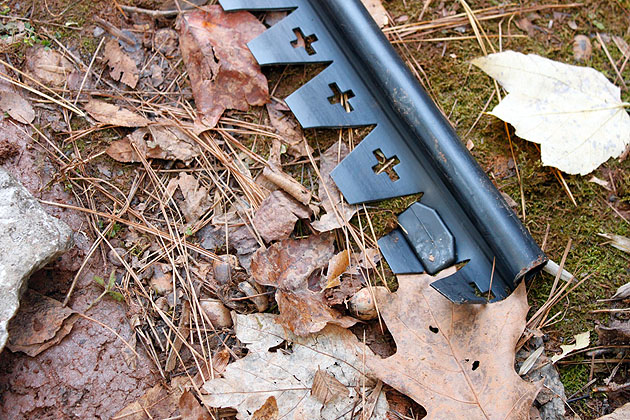
Continue setting a peg every 4-6 feet (and especially at the peak of any curves.)
Repeat for the other side of your path. If you want to lay down weed barrier cloth, now would be the time to do it.
Also, check to make sure your stepping stones are flat and don’t rock when you walk on them. (If you have very hard or compact soil, you should level underneath the large stones with sand or paver base.)
Open a bag of mulch and first spread one color to the top of your stones and the edging. Use the back side of your garden rake to smooth the mulch and eliminate any high or low spots.
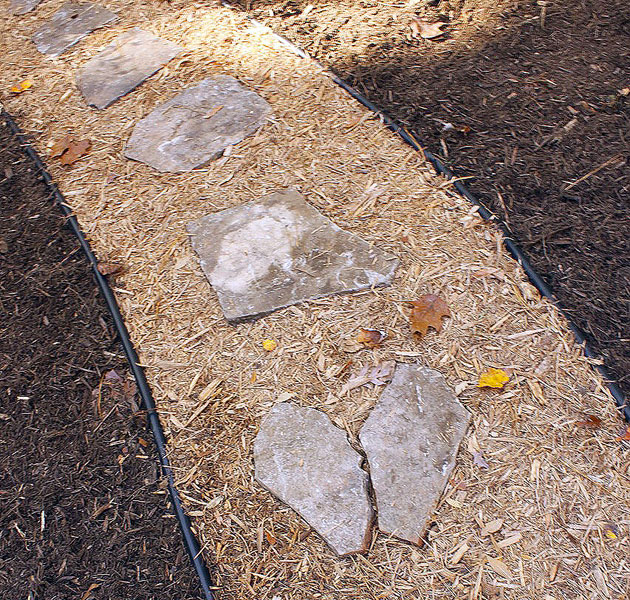
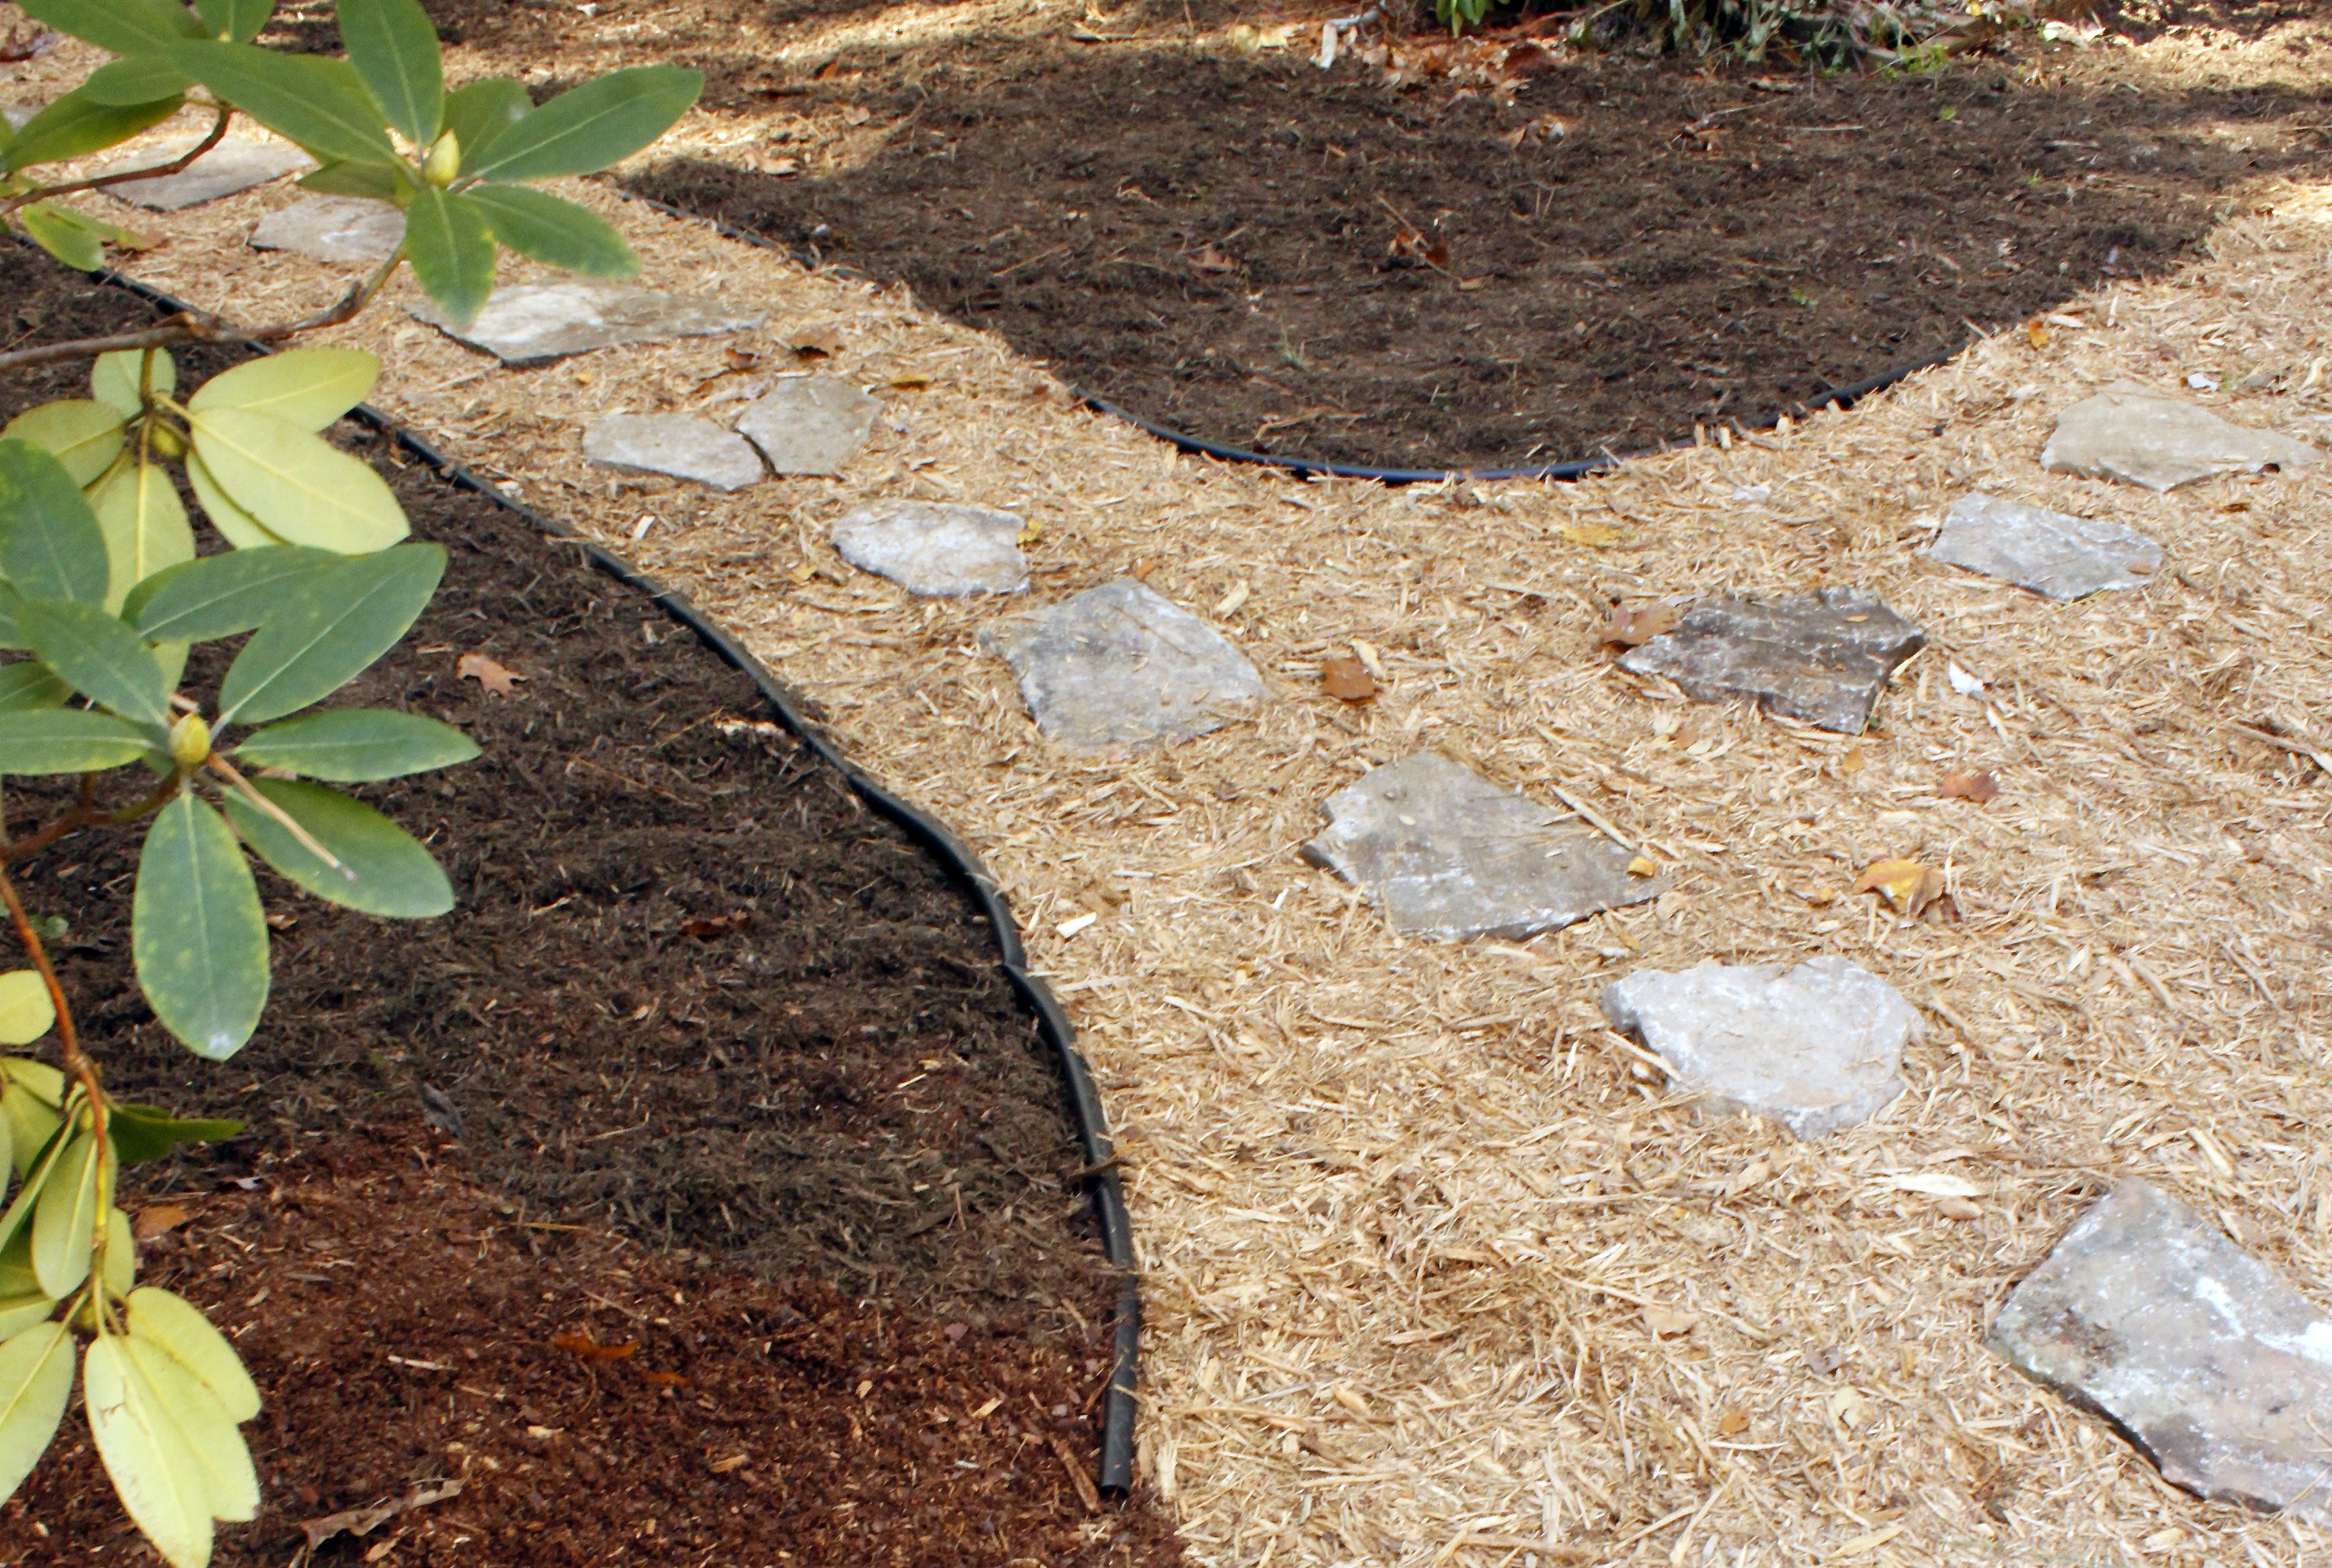
Repeat until you have filled your entire path. Then spread the second color mulch (a nice dark brown color is a great contrast to the lighter mulch) on the outside of your path.
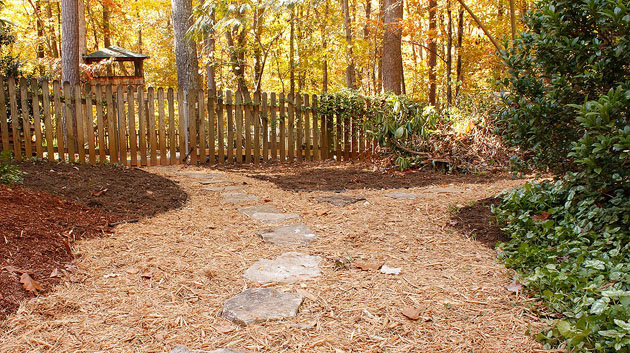
Don’t you just love the contrast between these two? The lighter colored mulch is cypress and the darker is hardwood mulch and adds some much-needed color to this previously barren area. Walk on your stones and put some dirt or sand underneath any that wobble. Now stand back and admire your finished path! I think my favorite stepping stone is the broken heart stone I made with two rocks.
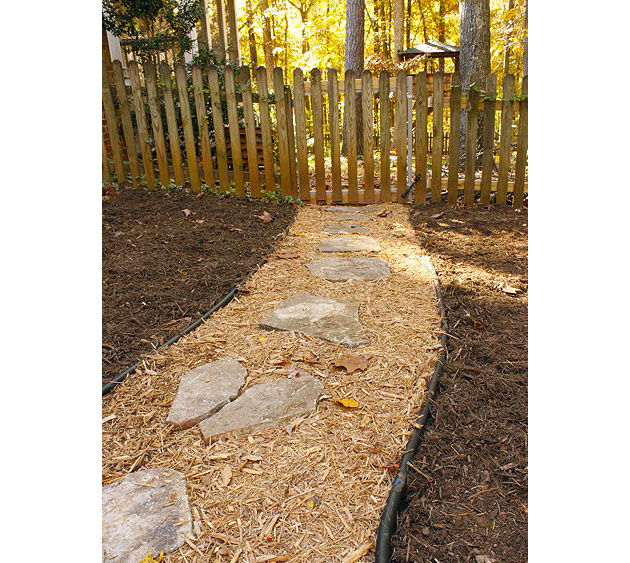
The entire path took me just over two hours. Not bad, and the bonus is that I didn’t need to go to the gym to workout that day!
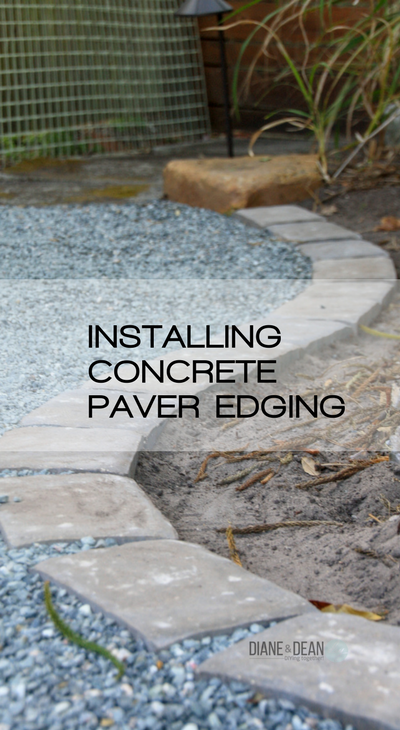
If you wanted to learn how to use concrete pavers to edge your walkway, I have you covered in this tutorial:
Finally, I have a great article helping you find 10 Creative Concrete-Free Walkway Ideas for Your Home.


Want to improve your curb appeal? Here are some tips and tricks to improve your landscaping in no time!