This is it, the last day of my Creative Gift Wrapping Tutorials. I saved these adorable silhouetted animals for last.
Snowy Polar Bear

Materials:
Wrapping paper
White card stock paper
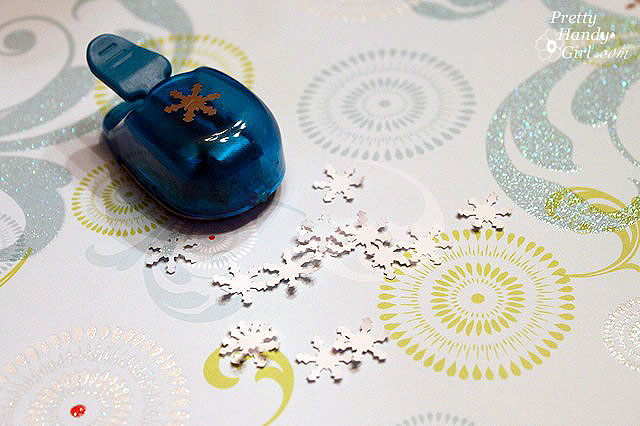
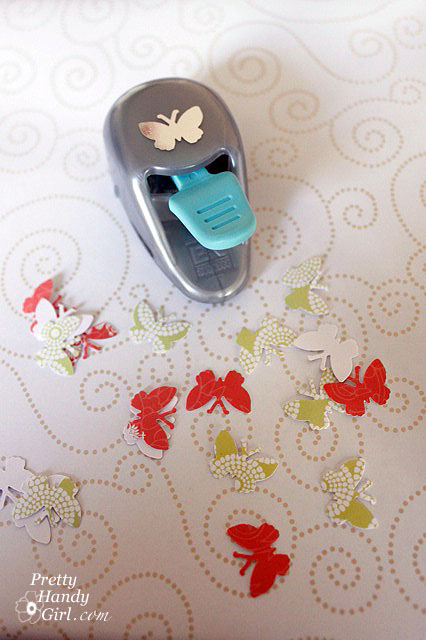
Snowflake hole puncher
Key tag
Satin ribbon
Satin ribbon
Jingle bell
Black & white pom poms (nose & tail)
Small black button
Elmer’s glue
Hot glue gun

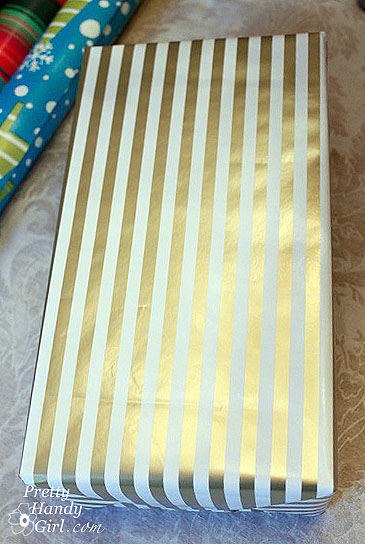
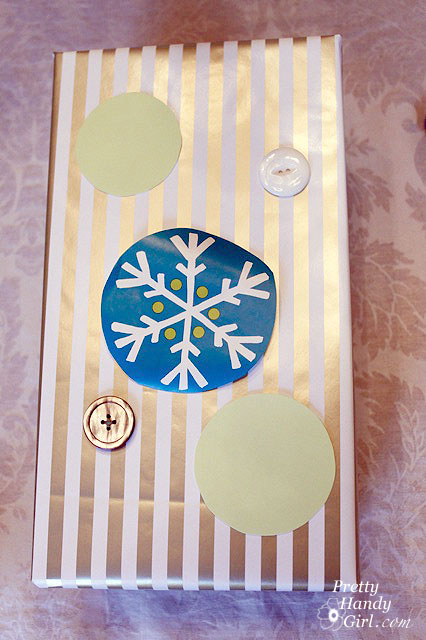
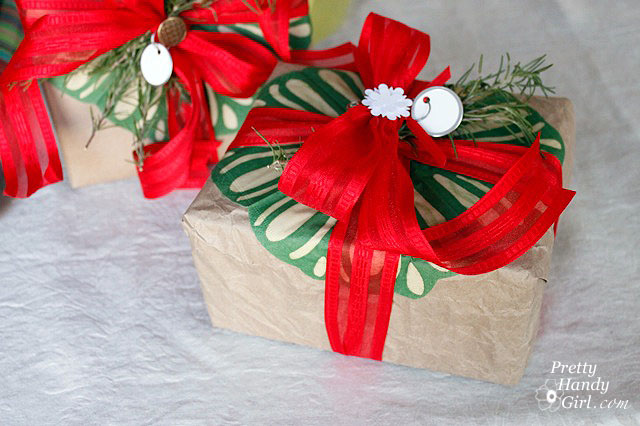
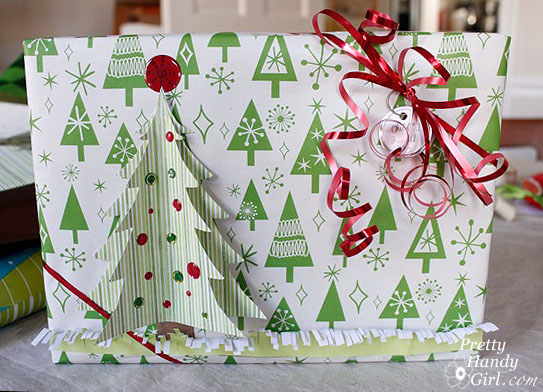
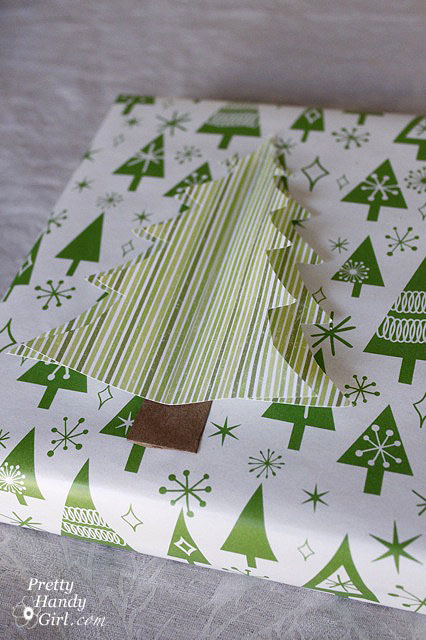
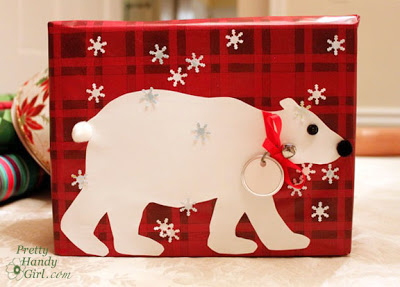
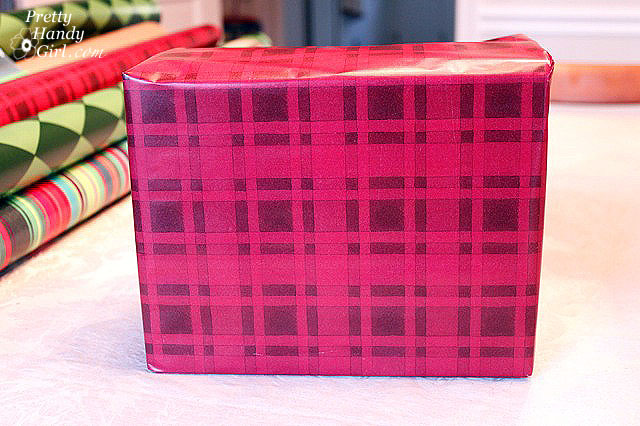
Wrap your present as you normally would.
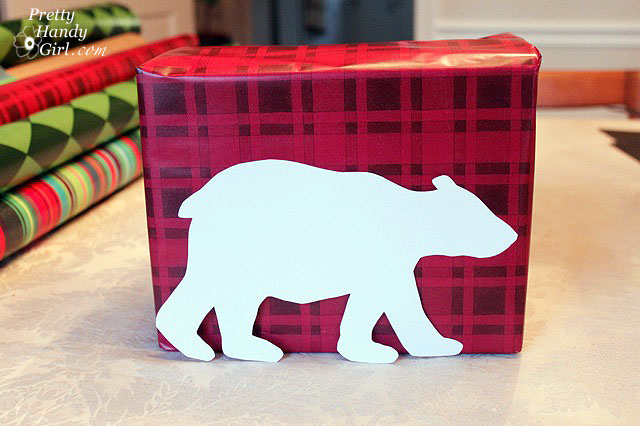
Using this template (click on the photo for a larger version and then print it out), cut out the polar bear shape on white card stock. Better yet, if your printer will handle it, print it out on card stock and then flip your bear over to the white side.

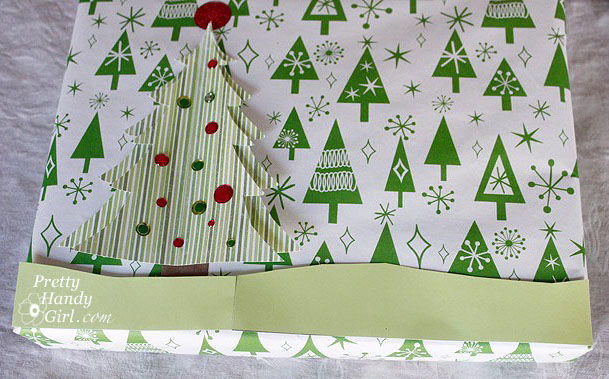
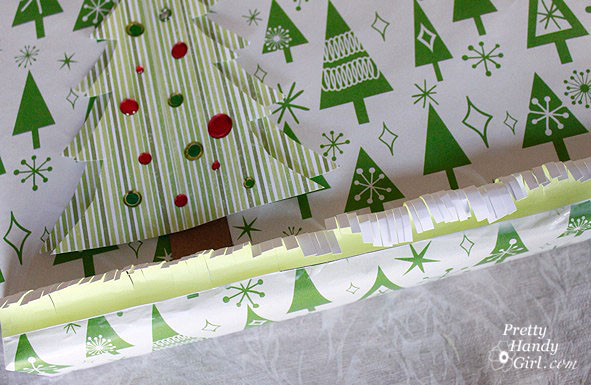
Glue your bear onto the gift package.
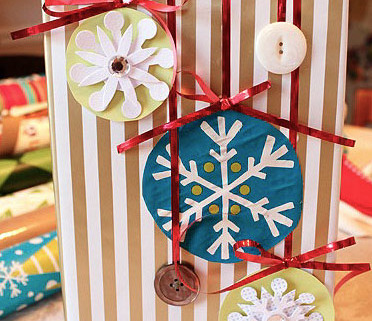
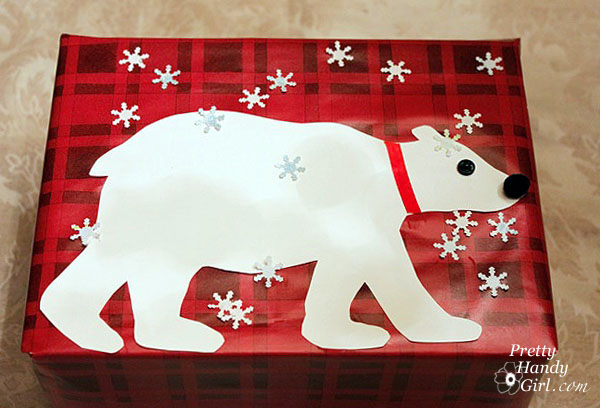
Punch out some snowflakes. (I used some white and some light blue that would show up better on top of the white bear.)

Cut one piece of red ribbon for the bears collar. Then glue the collar and snowflakes onto the package using Elmer’s glue. Then glue the button and pom poms using hot glue.
Thread a jingle bell onto some satin ribbon, then tie a bow onto a key tag.

Hot glue the bow/jingle bell onto the bear’s collar.
Factoid: Polar bears are my favorite animal! Did you know that a polar bear’s skin is actually black? And the bear’s hair is actually transparent hollow tubes. This serves three purposes:
- The tubes are hollow so they store air in them. This acts as an insulator.
- Plus, it helps the polar bears buoyancy while swimming.
- Remember how I said their skins is black? Well, because the fur is actually transparent, it allows the sun to reach the bear’s skin and help warm them. Cool, huh?!
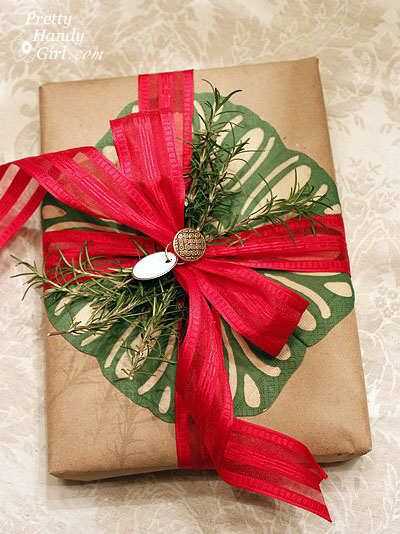
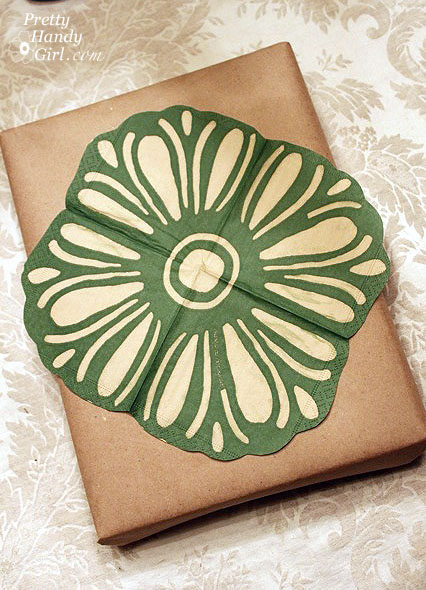
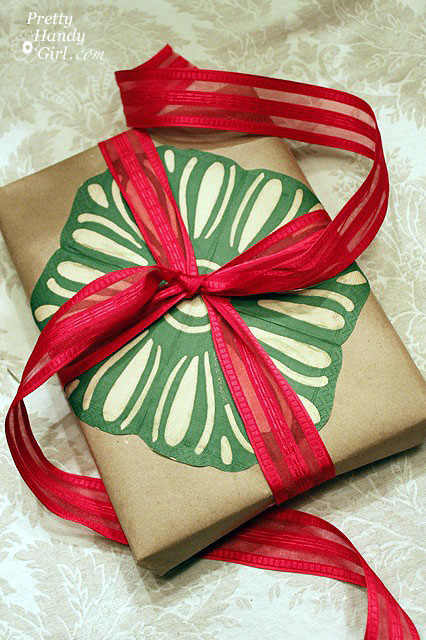
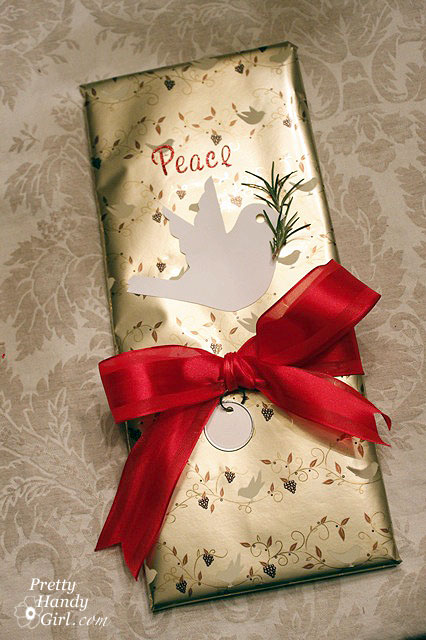
Dove of Peace

Materials:
Wrapping paper
White card stock paper
Satin ribbon
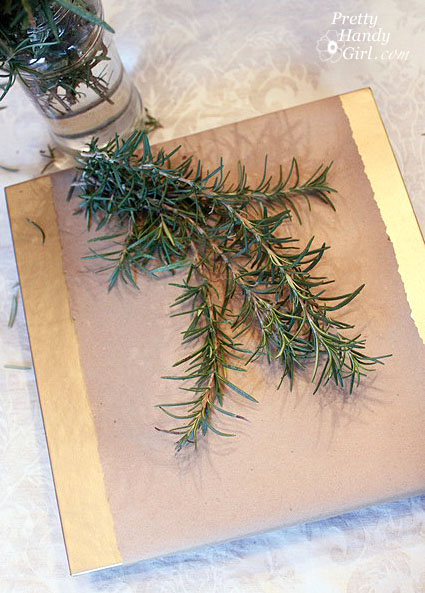
Sprig of rosemary or other evergreen twig
Hot glue gun
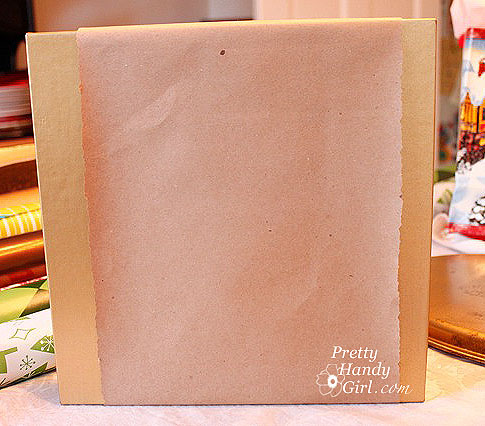
Wrap your present as you normally would.

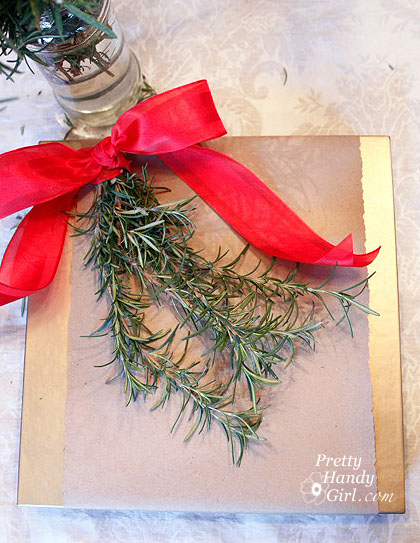
Add your ribbon on the diagonal corners.

Click on the dove silhouette below to see the full size image. Print it out on the cardstock paper and cut out the shape to use as a template, or use the reverse white side of the shape.

Use a hole punch to cut out the eye. Hot glue your dove to the package and hot glue the rosemary underneath the dove’s mouth.

Have fun with this creative package. Add the words PEACE, or bend the wings up to make them three dimensional.
This dove will work on a variety of sized gifts. Here she is on a vertical present.
“Peace on Earth, Goodwill Toward Men”