Upholstering Little Bench – A sweet spot to land
If you stuck through my ugly post yesterday. I have some pretty pictures for you today!
Two years ago I happened upon a cute little bench being thrown out with a neighbor’s trash. (I am addicted to trashed furniture. In fact, I have a NASTY chair in my garage that needs a lot of help structurally and asthetically.)
The roadside bench was painted a very blah beige color. I brought her home and gave her some decorative lines and a monogram. At the time we didn’t have anywhere to sit in our mudroom, so this little bench served the purpose well. Later I built a big mudroom hallway bench with built in shoe storage (I promise to create a tutorial for that at a later date.) So, this little bench was moved to the guest room where she sat by the window until this week.

The first thing I did was give her a little rub down with some sand paper. Then I laid down 3 coats of fresh shiny white paint (leftover from trim and moulding painting).

I used some old foam I saved from our move (only 3+ years ago). This foam was the packing material used to ship ice cream cones! I received it from a nice woman off of FreeCycle.org and thought it could be used for a cushion at some point.
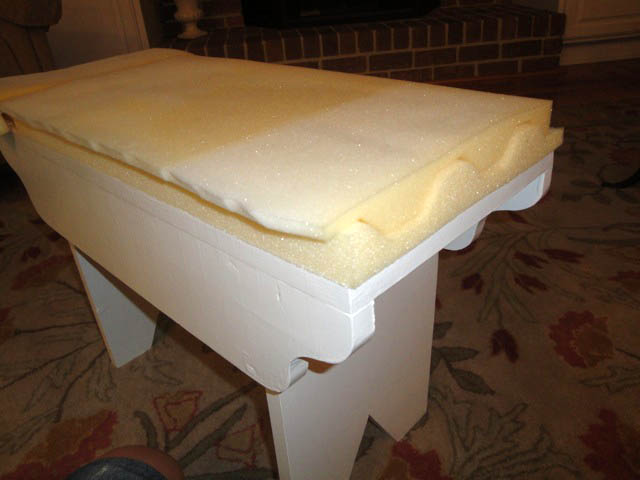
I cut some batting to fit over and wrap around the foam (so as to hide all the seams in the foam).
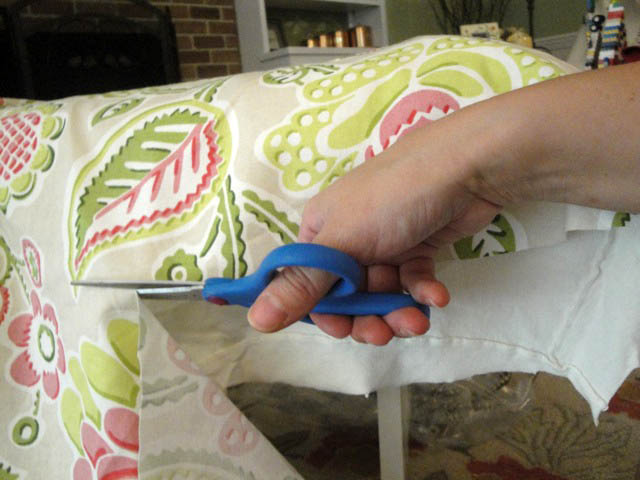
Then cut the arms off of an old t-shirt of Pretty Handsome Guys (don’t worry, he had already said goodbye to it.) And cut up the sides so I could use just the back of the shirt.

And finished off with the decorative fabric cut slightly larger than all the other layers.

I carefully folded my decorative fabric under being sure that I had the old t-shirt hidden in the fold. And put in two staples with the staple gun to hold the fabric on the one side.
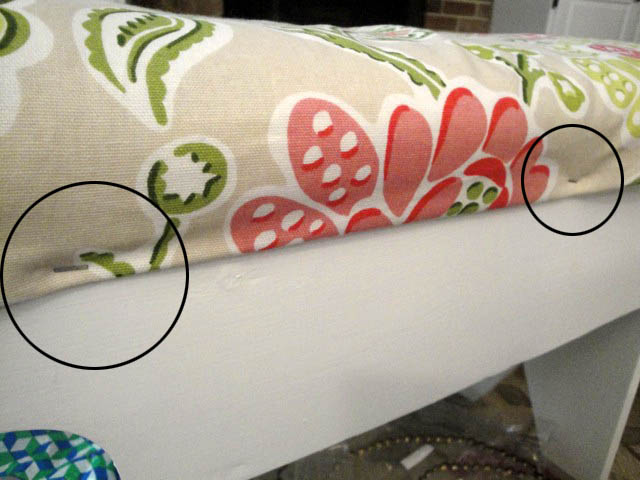
Moving over to the other side, I cut the t-shirt, batting, and decorative fabric down to size being sure to leave about an inch excess on the decorative fabric.
Then I repeated the same fold under and put in two staples.
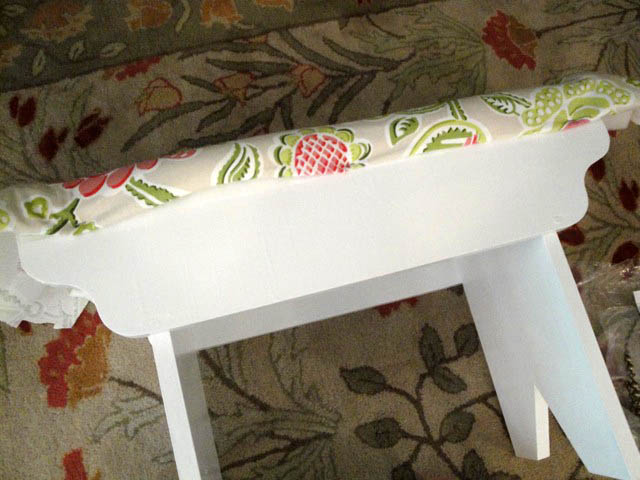
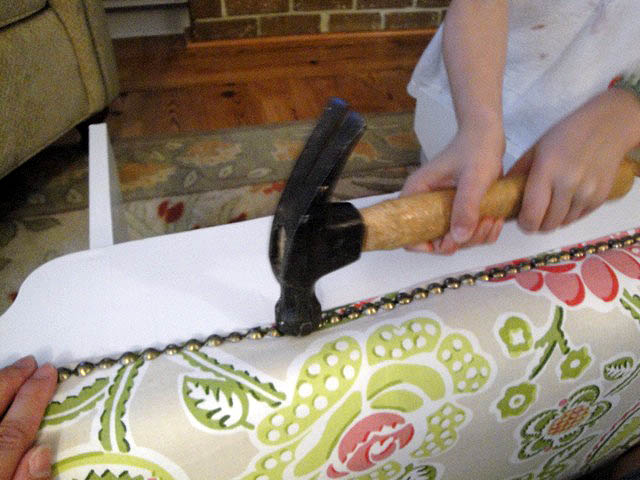
Now for the bling! I had plenty of leftover nailhead trim from this project (check that link out if you need a better tutorial on adding nailhead trim.) I began at the corner of the front of my bench and added the starter nail.

At this point my 6 yr. old had come over to my side telling me how bored he was and, “What can I do now?” I asked if he wanted to help me hammer. Once I started each nail, he was able to hammer it into the nailhead trim for me. (I did have to finish a few off myself.) We worked together adding the nailhead trim to the front and back of the bench.
Before adding the trim to the sides I neatly folded and tucked under all the layers (cutting excess off when necessary.) Until it looked like this. Then I added the trim on top to hold the fabric in place.

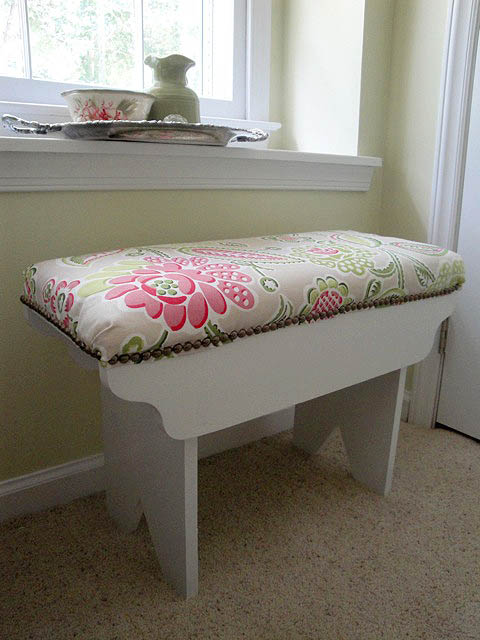
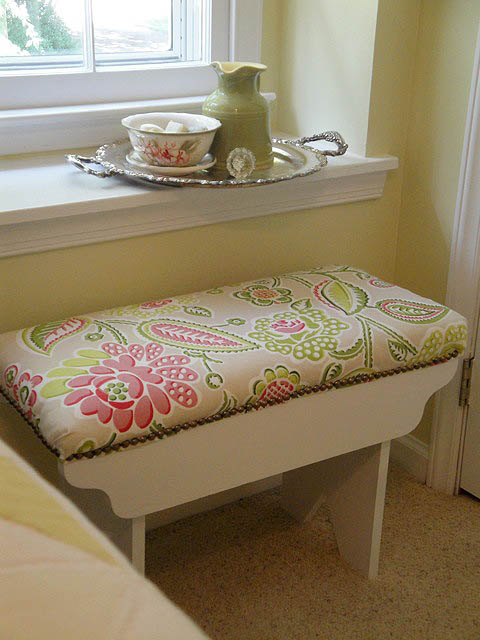
And there she was, my beautiful cushioned bench for our guest room. I’ve been busy trying to finish a few projects (rebuilding a curbside chair and making a night stand from a door and picket fence) in this room before my best friend from high school comes to visit. Nothing like a visitor to get your DIY butt in gear!


Brittany,
This is such a fabulous remake…just love it. Your fabric and nail heads, turned hoe hum into terrific. Congratulations on a great job…and thanks for your visit! I'll be back for sure.
SO FUNNY–I was just taking a break from re-appolstering a little bench/foot stool–when I got your awesome messages that you posted on my blog–so I thought I would come over and take a look at your blog–only to see this post where you are doing the exact same thing that I am doing right now!! AND I am excited to be your 100th follower!!! Congratulations on 100!!
I love it!!! You are super handy!!! and creative!
smiles!
awww that is such a cute bench! You did a great job.
gail
love your tutorial. the spring fabric is beautiful. i'm hunting for a bench too. hope i can score one soon.
That is beautiful. I think everything looks better white and I love the fabric!
I love it!!!
Love Love LOVING your redo (as always!!) That fabric is beautiful – and you did an awesome job!!
looks fab! i love the fabric too
I LOVE freecycle! That was a super use of that foam…my problem is that I don't like storing stuff very long so I have to have a good reason to keep it! It looks really pretty now!
Thanks for the wonderful comments. Lori, the nailhead trim was purchased for this project: https://prettyhandygirl.com/2010/06/adding-nail-head-trim-give-me-some.html
(Purchased every third hole style trim. It cost $1.25 per yd. on Amazon.com) Hope that helps! Be sure to purchase trim and the actual nails (sold separately).
That nail head trim is beautiful. Where do you buy it?
Oh wow! I love the transformation of this bench! The fabric is fantastic. The colors are right up my alley. You did a great job! Thanks for stopping by!
wow that came out beautiful!
1st i love this material the colors are so pretty 2nd i love the the bench great job