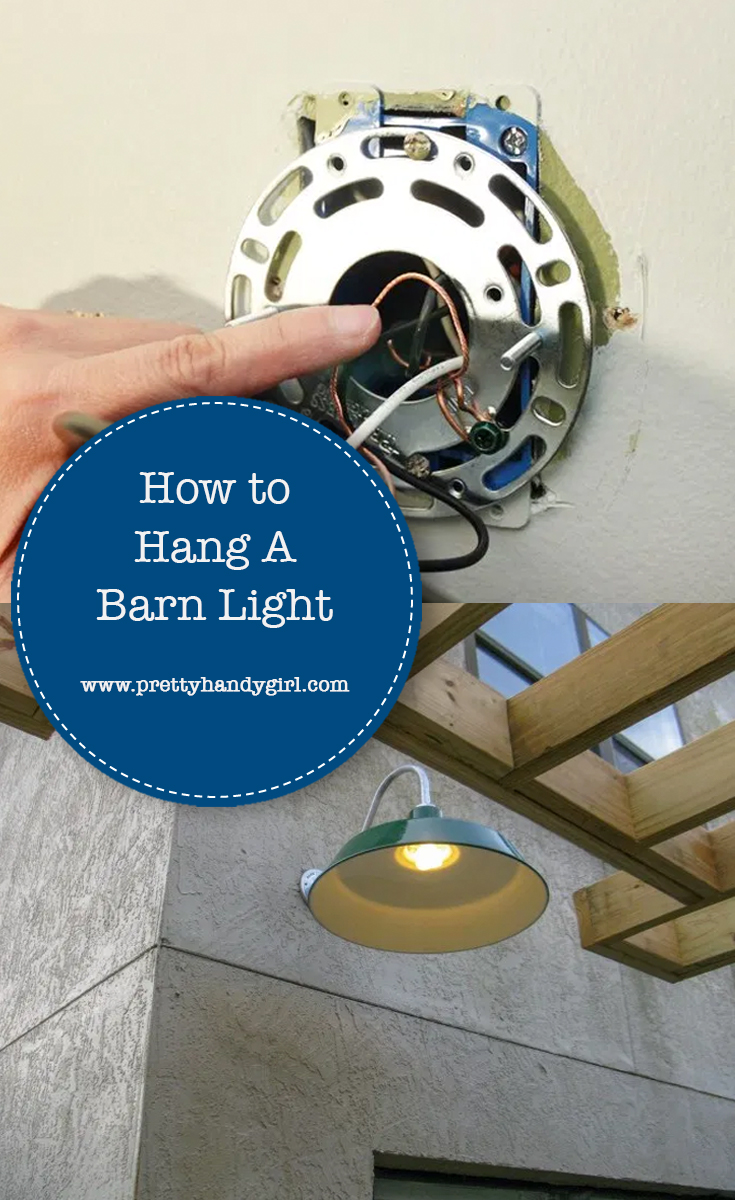
 How to Hang A Barn Light
Hi everyone, it’s Dean from Diane and Dean today. I can’t wait to show you how to hang a barn light. Some may call it an obsession, but I like to think of it as a significant interest! What is it? Exterior lighting! Most homeowners may not think much further beyond function, but exterior lighting can REALLY make a difference to the curb appeal of your home.
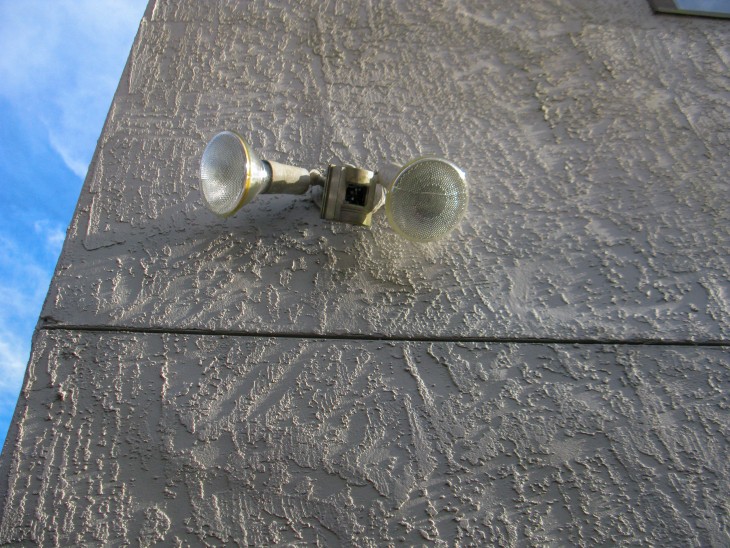
With fewer choices for lighting fixtures on the outside of the house (compared to the inside), getting the right light fixture is important. Like most typical homes, our’s came with the gratuitous flood light circa 1980. The light was mounted in a highly visible spot over a walkway to the paver patio and pergola. Unfortunately, the flood light lacked everything but function!
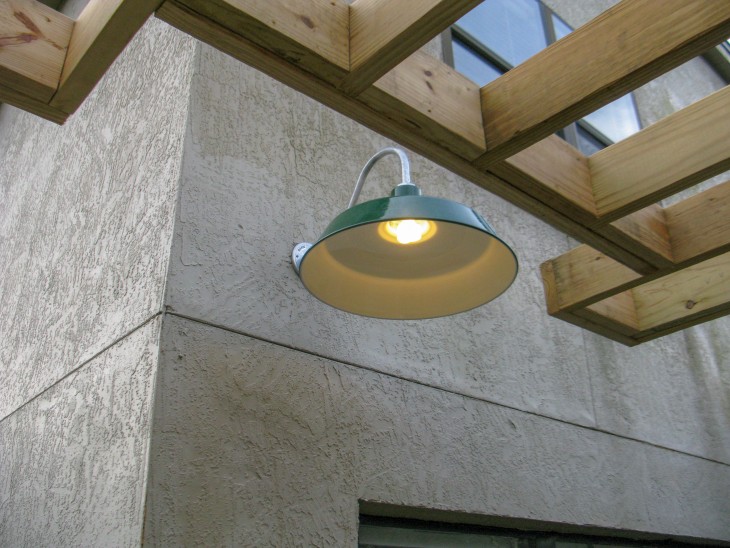
For a long time, I have been eyeballing gooseneck barn lights. They remind me of my summers in eastern Pennsylvania spent on my cousin’s dairy farm. These fixtures aren’t the most economical in price, but the prominent spot dictated reaching a little further into the old wallet. After placing the order with a local company, that makes replica fixtures by hand, I anxiously waited for its arrival!
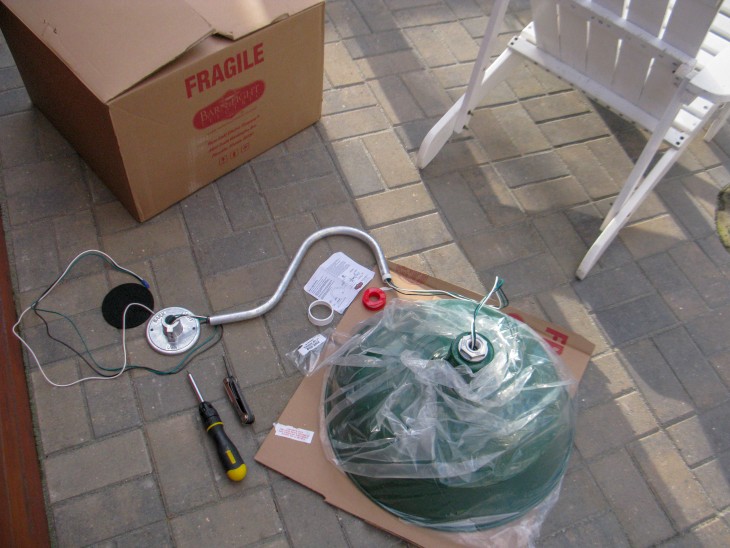
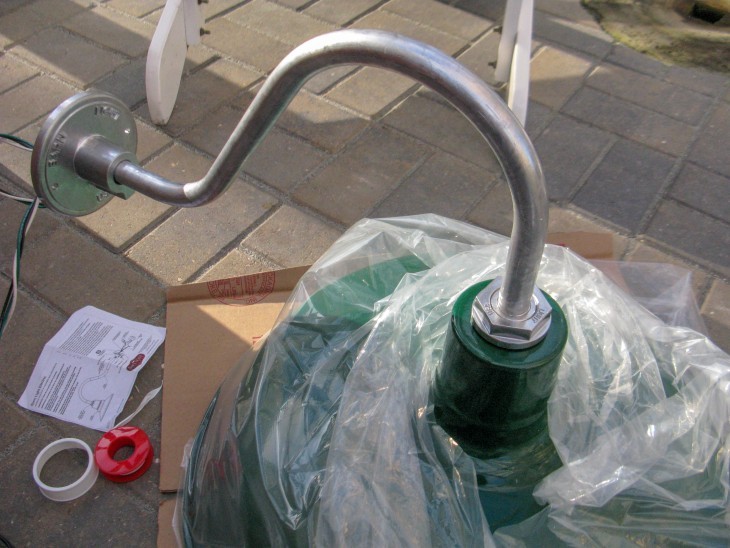
Here it is fresh out of the box, and it looks pretty simple to install because it is simple to install!
Let’s get to it and I’ll show you How to Hang a Barn Light!
Materials:
(I’ve included affiliate links for your convenience. I earn a small percentage from a purchase using these links. There is no additional cost to you. You can read more about affiliate links here.)
- Gooseneck Barn Light
- Philips screwdriver
- Hex Wrench
- Wire Cutter and Stripper
- Wire nuts
- Plumber’s Tape (may be included with the fixture)
Instructions:
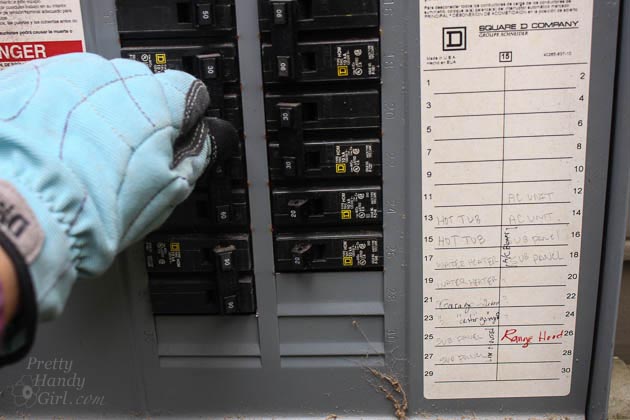
Step 1: Turn off the power at the circuit breaker. (It’s a good idea to turn the light on before you turn off the circuit. Then you can visually verify that the power is indeed turned off to the light.)
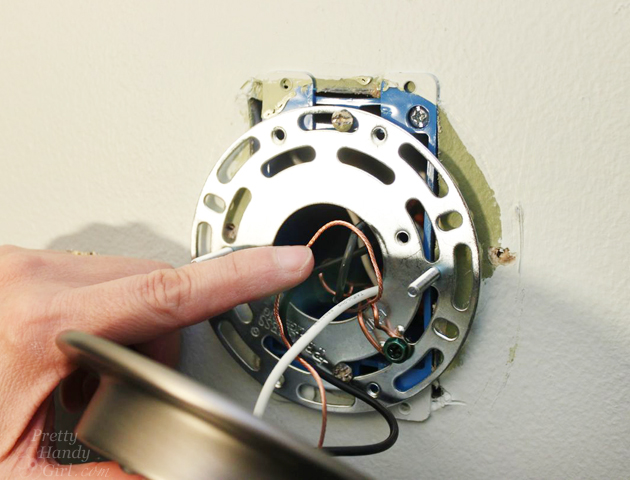
Step 2: Unscrew the cover off of the flood light (or whatever fixture you are replacing.) Pull the wires out of the junction box. Unscrew the wire nuts. Discard or recycle the old fixture and throw away the old wire nuts. (I like to replace the wire nuts when installing new fixtures because they are inexpensive and it insures a good connection.)
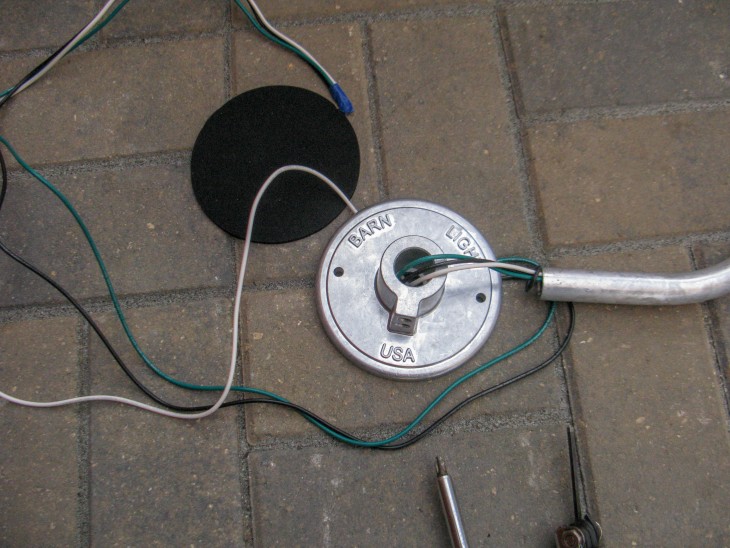
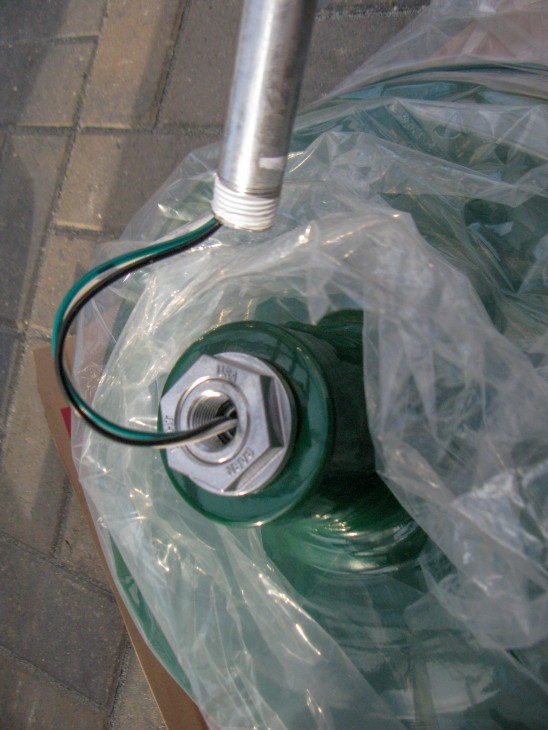
The gooseneck barn light comes with a face plate, a shade, and the gooseneck arm. All light fixtures have a white and black wire (together they provide the power); and a green wire (the ground wire). Thread the wires through the goose neck arm and the face plate (if not already threaded through). One end of the gooseneck arm is threaded and will attach to the shade. Wrap the threaded end of the goose neck arm with plumber’s tape (to prevent water from getting into the fixture.) Screw the threaded end into the shade. The other end is held into the face plate with a hex screw. Super easy, right?
Unfortunately, with this light, you must mount the entire fixture fully assembled (some fixtures can be installed by first mounting just the face plate first.) Therefore, you will need an extra set of hands to help hold the fixture in place while trying to connect the wire nuts and the fixture to the junction box.
NOTE: This fixture is made from real materials (aka heavier than big box retail fixtures). You need to make sure your junction box will hold the weight of the barn light snug against the exterior wall. If not, you will need to replace a plastic junction box with a metal one to support the additional weight.
Step 3: Cut the excess wires with the wire cutter. Using the wire stripping tool, remove approximately 1″ of the wire covering from each wire. (I like to remove a little bit more than usual because it can always be trimmed off if the wires don’t fit within the wire nuts.)
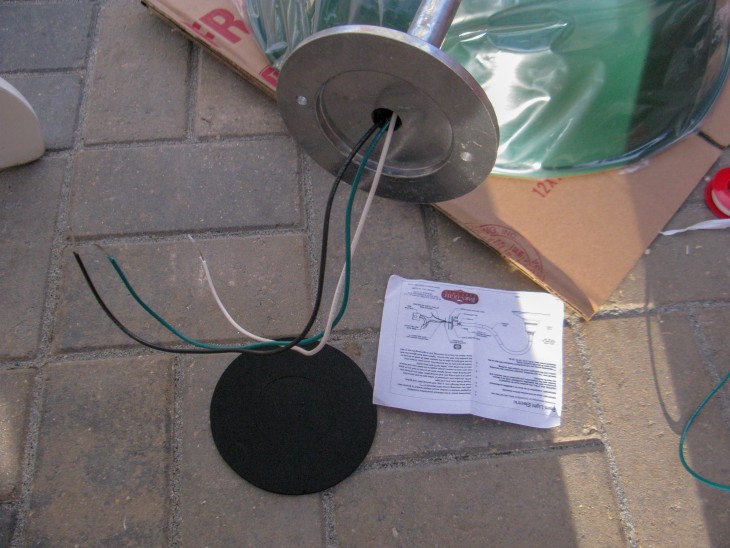
This fixture also comes with a gasket that goes on the back of the face plate (to prevent water from getting into the junction box.) Feed the wires through the gasket before the next step.
Step 4: Holding the fixture close to the junction box, connect the green ground wire from the light fixture with the green or bare wire from the junction box. Connect the white with the white wire and finally the black with the black wire. Secure all the connections with new wire nuts.
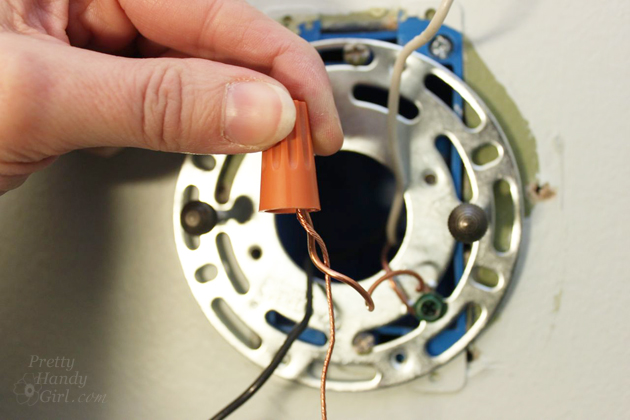
NOTE: For safety, all wire connections need to fit inside the wire nut with no bare wires exposed. If you want, you can wrap electrical tape around the wire nut and wires to fully seal and secure the connections.
Step 5: Gently fold the wires into the junction box behind the face plate or mounting plate. Lift the light fixture into place against the wall. Thread the two mounting screws through the holes in the mounting plate and into the junction box. Tighten the mounting screws.
Congratulations! You have just learned How to Hang a Barn Light!
Do you love the look of the barn light? Much better than the bare floodlights, right. I hope you’ll try installing an exterior light to your home, it’s not hard to do.
~ See more of Diane + Dean’s projects ~
If you liked this tutorial, you’ll love How to Install a Motion Sensing Light:
Or How to Install Low Voltage Landscape Lights:
Pin for later!
