Easy Decoupage Citrus Glass Plates
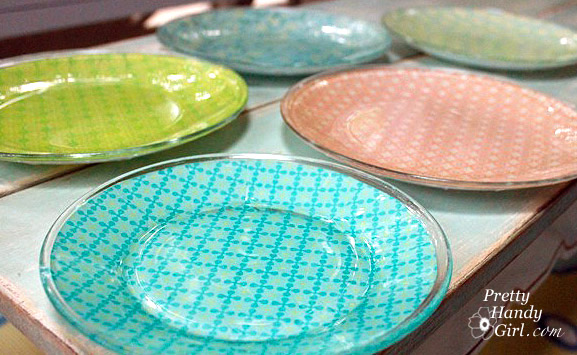
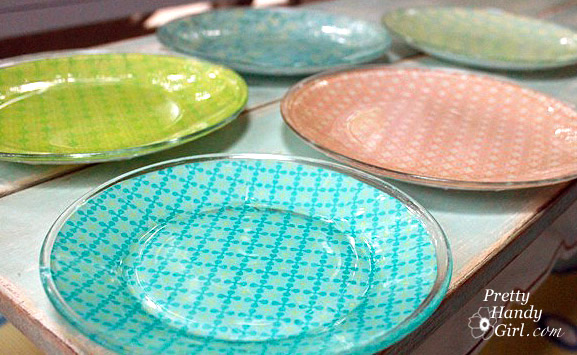
Today I want to share with you an easy craft tutorial. I call these my citrus themed glass plates.
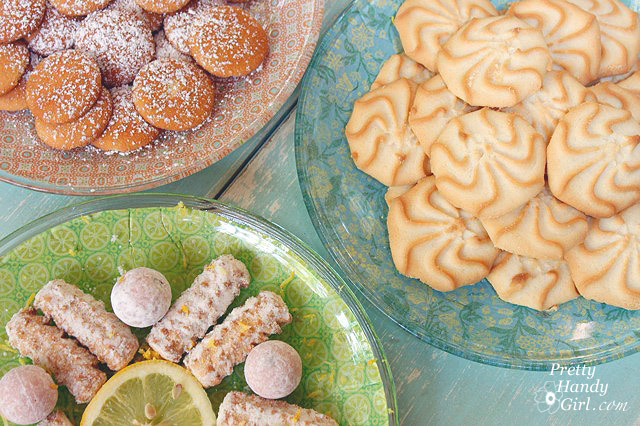
Before my 4oth birthday party, I had been scouring the stores for some pretty citrus colored plates to serve sweets on. I was coming up empty-handed, was running out of time, and was concerned about my budget.
I happened to stumble upon some glass plates I bought at Goodwill awhile ago. And then the idea hit me! Why not make my own decorative plates!
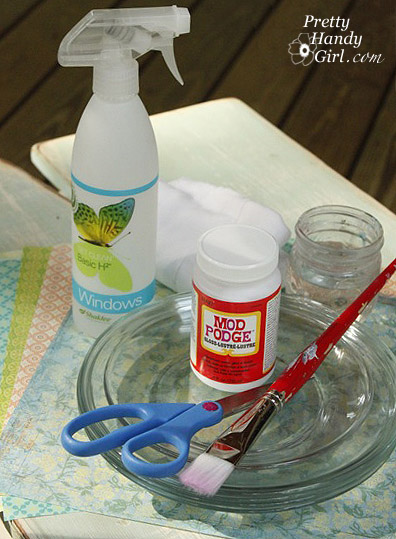
Materials:
- Mod Podge Glossy
- Paint Brush
- Jar of Water
- Glass Cleaner
- Paper Towels
- Scrapbook Paper (thin works better)
- Glass Plates
- Recycled Jar or Cans to Dry Plates on
- Scissors
- Pencil
Instructions:
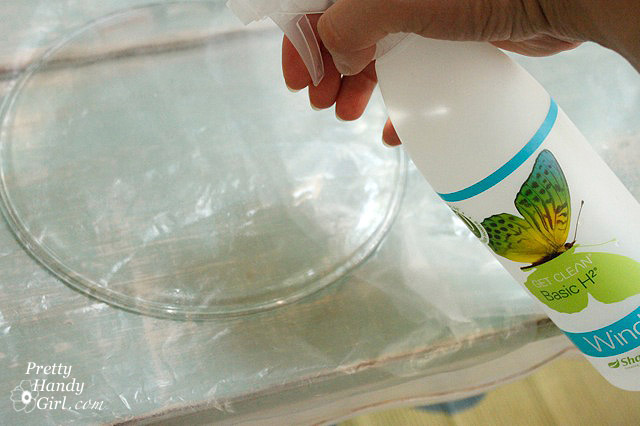
1. Clean the bottom of the glass plates with glass cleaner.
2. Trace around the plate on the scrapbook paper.
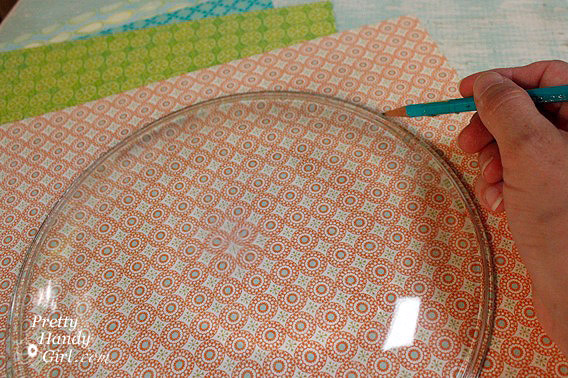
3. Cut out the circle.
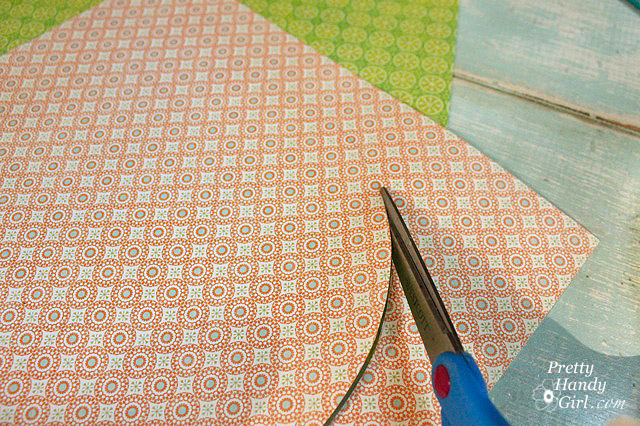
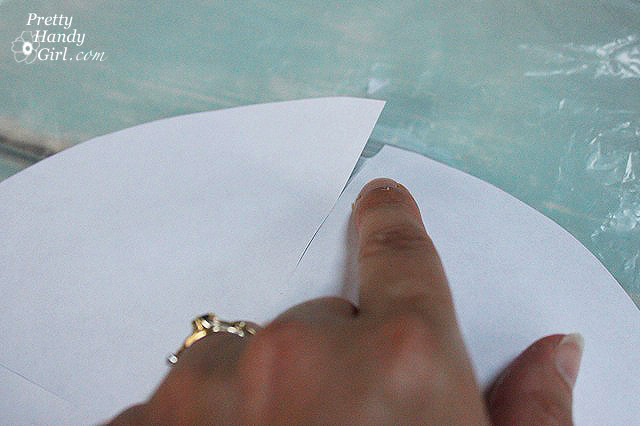
4. Snip four slits into the circle but NOT all the way to the center.
5. Snip four more slits centered between the first set of slits. You should end up with eight cuts equally spaced.
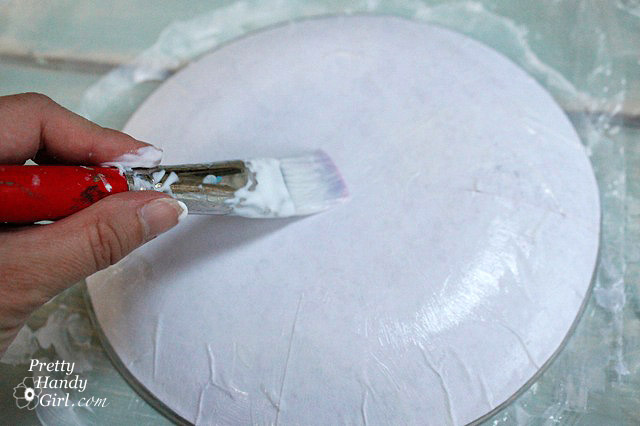
6. Cover the bottom of your glass plate with mod podge.
7. Center the cutout circle onto the bottom of the plate, pattern side down. Gently press the paper onto the plate allowing the paper to overlap slightly at each slit.
8. Liberally apply mod podge over the scrapbook paper.
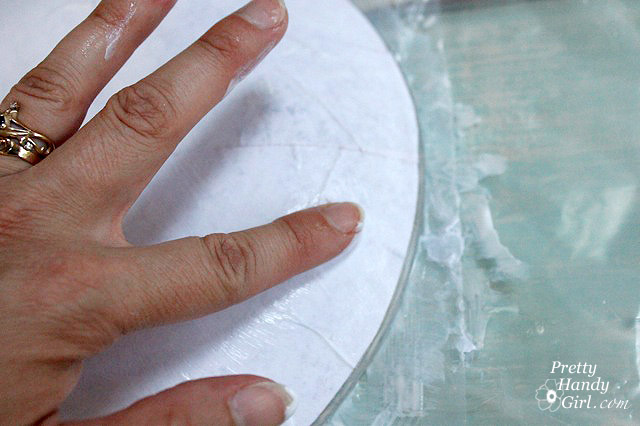
9. Use your finger to smooth out the wrinkles in the paper. But, be gentle or the paper will tear.
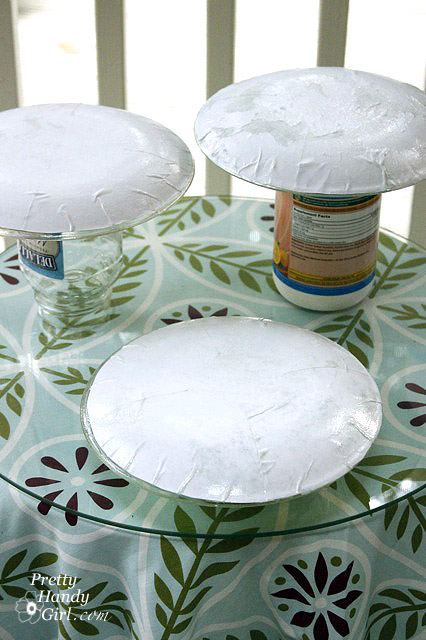
10. Lay the plates upside down on the jars and cans until dry. Add more mod podge if needed to seal the scrapbook paper and glue it down.
Turn them over and enjoy your unique decorative plates.
Note: Do not fully submerse the plates in water, wipe them off and wash the tops so as not to mess up the paper side. Stack them with a paper towel in between so they don’t stick together.
Load them up with some light citrus sweets and they will be the hit of the party!
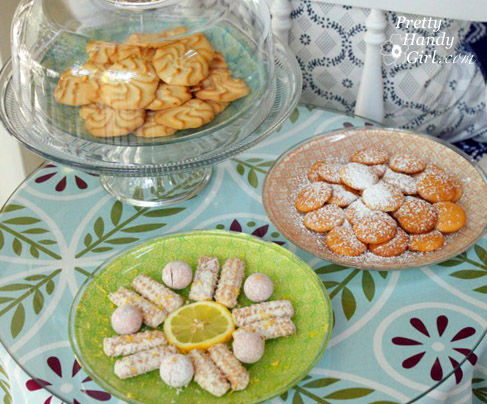
The possibilities are endless with these plates. Think about personalizing them with photos or monograms. What are your ideas for making your own plates?




Hi Brittany –
These are so scrumptious looking.I can understand why they make you happy. Little cheery pops of color to make you smile.
My best- Diane
so smart 🙂 looking cute !!
Super pretty! Thanks for the tip about the slits in the paper. 🙂 Happy 2012!
what a gorgeous project! thank you for sharing the details! happy 2012!
What a fantastic idea!! Thanks for the tutorial!
What a great idea. I could be getting distracted by the cookies though… 🙂 Great tute (as always!) I’m going to keep this in mind when I look through my new book of papers I received for Christmas. Thanks!
I love these! What a great and inexpensive way to create a beautiful tablescape 🙂
Great tip to snip the circles so the paper lays flat! These turned out so cute! I wonder if waxed paper might be better between the plates if they are sticky, seems like paper towels would stick as well? Do they stay sticky?
Sheila, I think wax paper would work well too. The paper towels haven’t stuck to it. It is just the two glossy mod podge surfaces that stick together. I haven’t stacked them together recently, I have them set up on the backs of my cupboards on display, because they make me happy.
wow.. Amazing!
I love decoupaging under glass and your tip about how to snip the paper so it lays down is just what I needed! Your plates are gorgeous! Hope you link them up at my weekly link party tomorrow.
So fun! There’s so many directions you could go with these too. Great idea 🙂
Awesome! I am def going to have to try this!!!
Oh, this is fantastic Brittany! I’ll have to give this a try.