Come see this Closet Reading Nook Transformation! Learn how I turned this closet into a Reading Nook in a weekend. This area could also become a built-in desk area at a later date.

When is a Closet not a Closet? Reading Nook Transformation!
Have you seen all those cute closets on Pinterest? The ones that were closets but are now a new space like a reading nook or a home office? Well, today I’ll show you how you can give your closet a makeover by turning it into a reading nook!
The Back Story:
My husband took the boys camping! Translation: A free weekend – by myself – peace and quiet!
{insert sound of hammers, jigsaw, table saw, and more hammering}
Well, forget the quiet part, I decided to tackle another DIY project I have been thinking about for almost two years. My son’s closet!
My three year old has two full-size closets in his room. And, yet, his toys were always strewn around the room. Here is the “keeping it real” BEFORE picture:
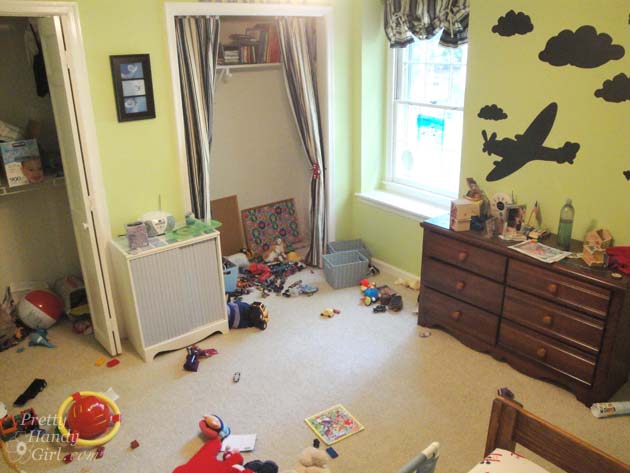
Last year I took the doors off one of the closets and put up some curtains so he could have a little hideaway. That was an easy task, but I wanted to give him more storage and a fun spot to sit and read books during quiet time. When I saw this picture in a magazine, I knew I had the perfect solution.
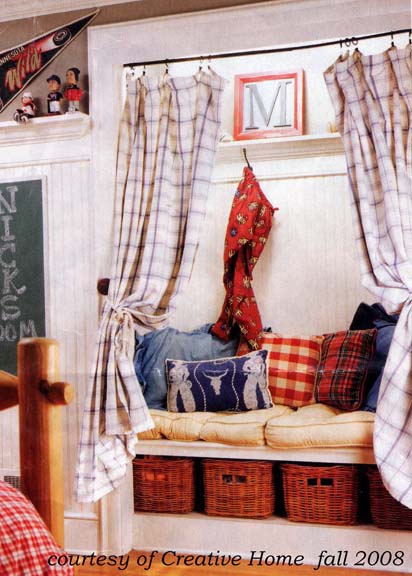
Kym, the homeowner, turned her son’s closet into a private nook. I thought, no problem, I’d complete this project in an easy 2 days. After all, how long can it take to renovate one 6′ x 2′ closet? During stopping points I could squeeze in a pedicure, swim some laps and possibly have a friend over for wine and some chat one evening. Truth be told, it ended up taking a full 3 days (and nights). If I had a helper, I probably could have knocked it out in a day and a half.
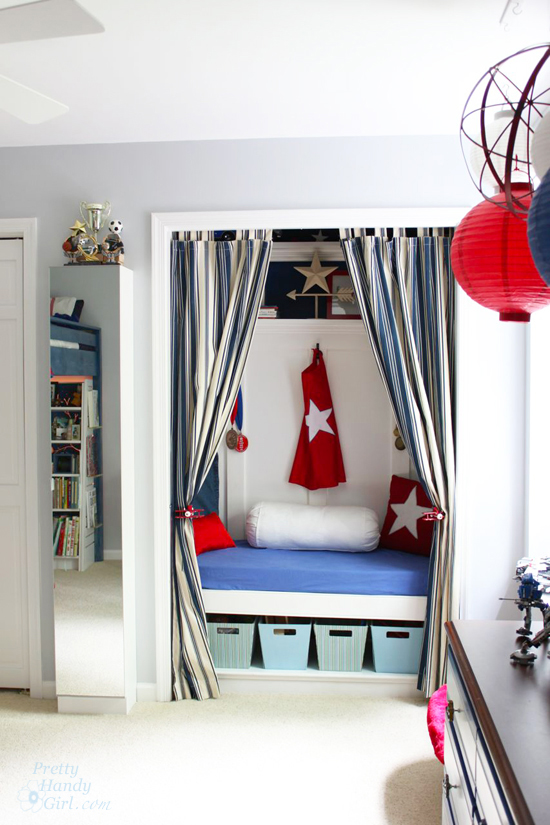
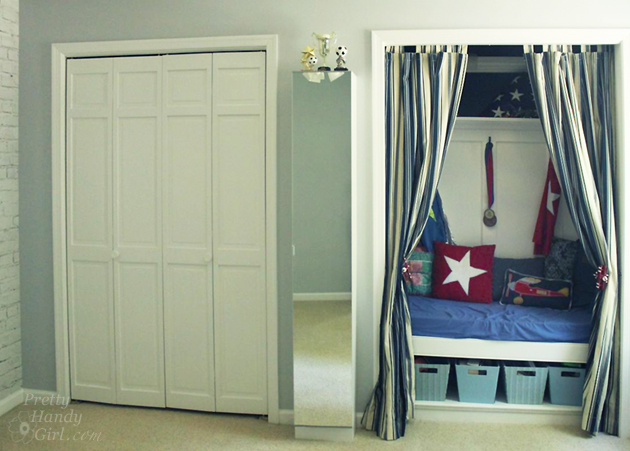
Before and After:
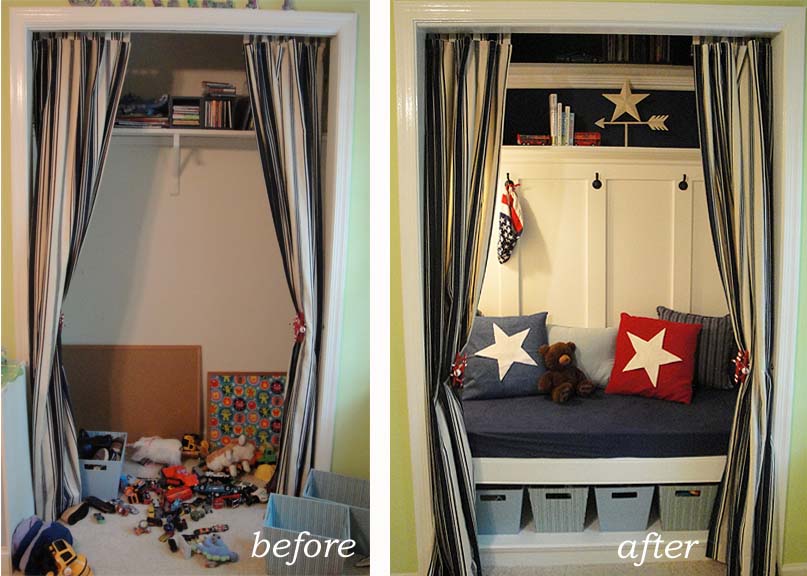
Ready to see how I transformed a standard 2′ x 6′ closet into a multi-functioning reading nook, toy storage, sleepover bed, and creative play space?
How to Turn a Closet Into a Reading Nook:
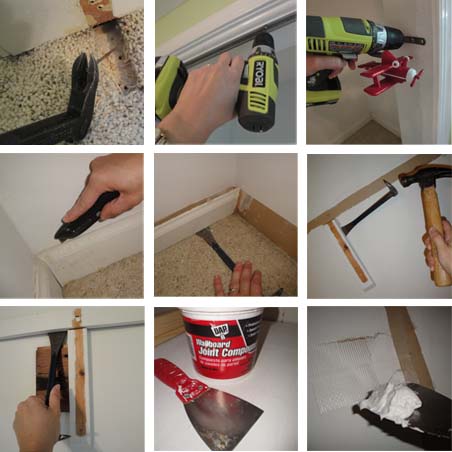
First (after cleaning up all those toys, of course), is removing hardware, base molding, and patching holes. (This is where I found I didn’t know my own strength and ended up having to patch a larger drywall hole after trying to remove the closet cleats.)
Once the closet is empty it’s time to build!
Materials:
(I’ve included affiliate links for your convenience. I earn a small percentage from a purchase using these links. There is no additional cost to you. You can read more about affiliate links here.)
- 4 – 2x4x8 studs
- 1 – 3/4″ x 4″ x 8″ sheet of finish grade plywood
- Tape measure
- Drill
- Hammer
- 3″ screws
- Level (and/or laser level)
- Drafting compass (or tool for scribing)
- Pencil
- Jigsaw
- Miter Saw
- 3″ foam cushion (cut to size or use electric carving knife)
- Caulk
- Primer
- Paint
- Paintbrush
- Roller
- Paint Tray
Optional: trim molding & shelving
Home Office Desk Option:
If you want a home office in your closest, skip the base and only build the framing for the bench, but install it at 29 inches (standard desk height).
Measure and Cut Lumber:
Measure the floor of your closet to determine the size for your base and bench.
Cut all your lumber to size, then build two frames. One for the base and one for the bench.
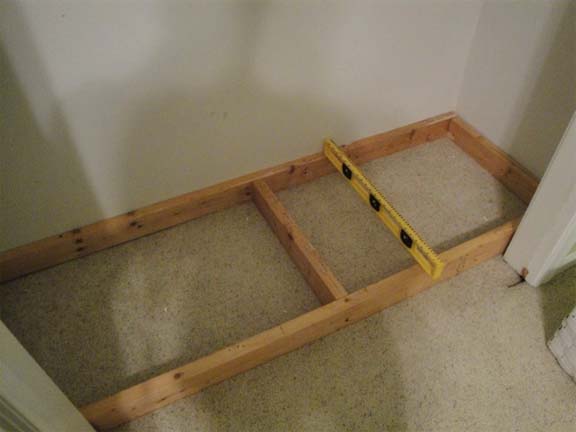
Your base frame only has to have one center support because it doesn’t have to hold much weight. The bench seat frame needs two center supports at 2′ intervals.
Find and mark the studs in the wall. (Here are 5 different ways to locate studs without a stud finder.) Then secure the base frame to the studs using a few screws.
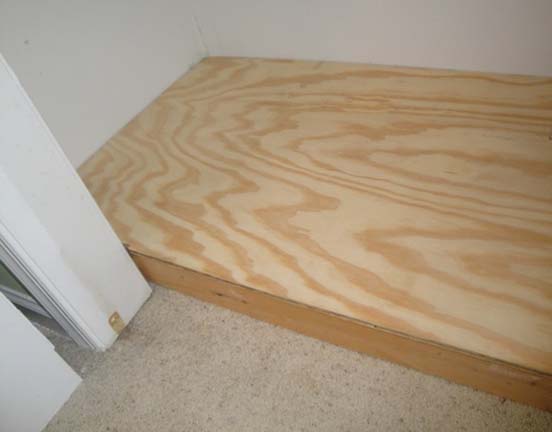
Cut your finish grade plywood to top the base and bench frames.
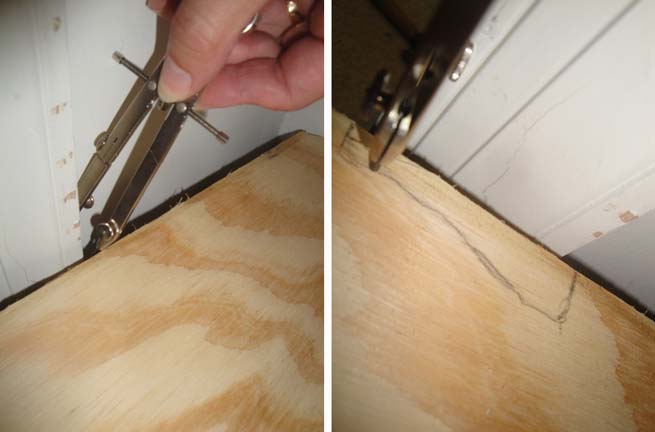
Scribing Around Molding:
Here is a little trick for scribing the profile of trim or other obstacles onto your board. Use a compass and set the width to the same distance from the wall to the outside of my door casing. Then draw a line around the casing being careful to keep the compass perpendicular to the casing. Then you can cut out the profile with a jigsaw.
Set the plywood on top of the base. Secure the plywood to the base with a few screws (or wood glue and trim nails.)
Next build the second frame the same way (but add two center supports for the bench.)
To simplify things, you may want to prime as much of the framing as you can before nailing it into place. It is easier to prime wood on sawhorses.
Installing the Bench:
If you have a helper, this process will go easier. If not, you need to temporarily hold the framing before securing it. Cut some scrap blocks to hold the bench or temporarily drive in a few screws.
Measure up 18″ from the floor. This is standard bench height.
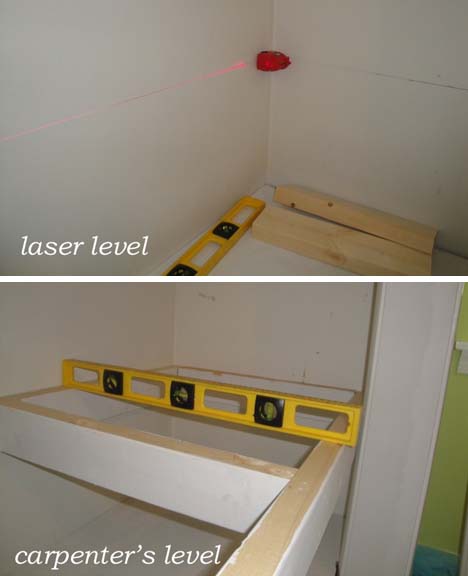
Use a level (both a carpenter’s level and laser level if you have them) and level the bench platform before screwing it into the studs. Use at least two screws on each side and several into the back and one on either side of the door frame to secure the bench in place. Set the plywood on top of the bench framing. Secure it with a few screws or wood glue and trim nails.
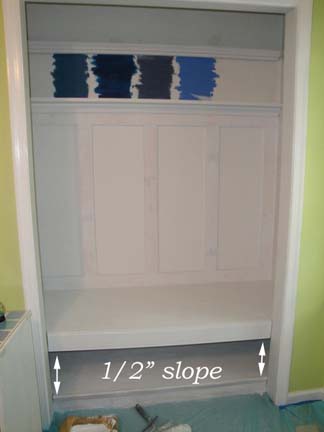
Remeber that note about having a helper? I wish I had one because at some point the right hand side of my bench shifted while I was securing it, which resulted in a slight slope. Seriously, I really did level it! I even have the pictures to prove it! Shhhh, don’t tell anyone! My lesson learned is that next time I will either screw the frame in place to hold it or put a brace underneath to keep it from slipping.
Bench Cushion:
Cut the foam cushion for the bench seat. If you haven’t heard, the best way to cut foam is with an electric carving knife! (Huge thank you to my friend and neighbor Karen for the use of her 1970’s electric carving knife.)

You can sew a bench cushion later to cover it. Here’s how to sew a simple bench cushion with piping.
Decorative Molding:
Sewing will have to wait, for now we’re going to finish off this closet reading nook with some decorative molding. This is a personal preference, but I chose to install board and batten molding for the back like I did in this bathroom.
But, if you don’t want to use board and batten, you may like the DIY shiplap look instead.
Then I added decorative molding under the shelves. Did you know that some of the molding in your home, especially crown molding, is made up of several different molding profiles? You can make molding more decorative by using several different pieces and then caulk seams to hide the edges?
Painting Prep:
Before priming all your wood, caulk all the seams and let it dry.
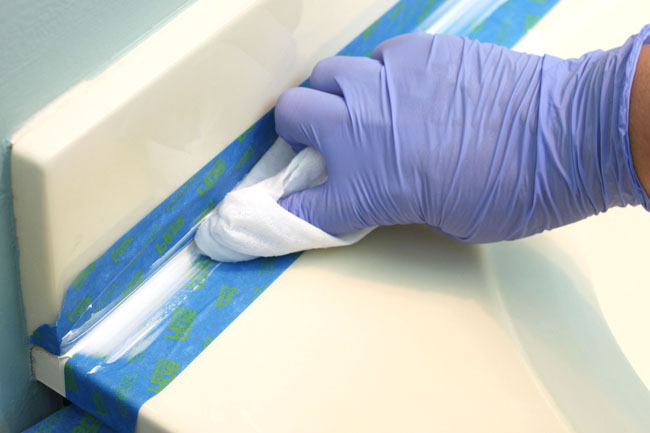
This is the Pretty Handy Girl’s tried-and-true caulking method:
- Squeeze out your bead of caulk with a caulk gun.
- Keep your finger at the front of the tip of the caulk and use a baby wipe smooth the caulk as it’s dispensed.
- Follow up with a clean baby wipe if necessary to smooth any spots.
It’s easy to caulk like a pro if you follow my tutorial.
Once the caulk dries, prime all the wood and trim. Let it dry.
How to Tint Primer:
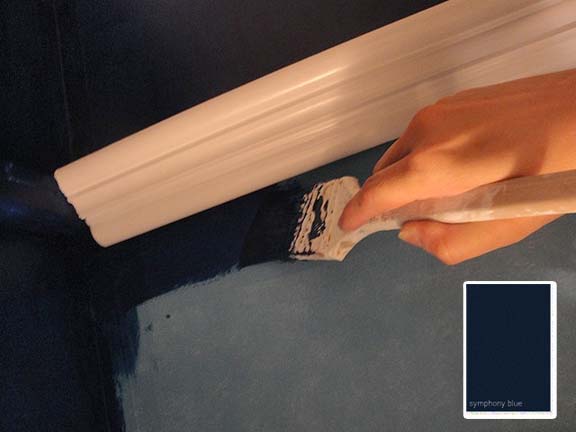
After trying some Benjamin Moore paint swatches, I settled on a deep navy blue called “Symphony Blue”. I knew I’d need to use some tinted primer before trying to paint such a dark color on the light walls. You can save money by tinting your primer. Simply add 1 part paint to 3 parts primer.

Isn’t the marble effect pretty! Mix well.
Painting:
Always use at least two coats of paint. This makes it easier to clean the walls and eliminates any missed spots.
Paint the trim first. Then cut in around trim with a good quality angled brush.
Use a paint roller to paint in between your cut in lines.
So, are you ready to see this Closet Turned Reading Nook?? The drumroll please…
Can’t you hear the Symphonic Chords playing?

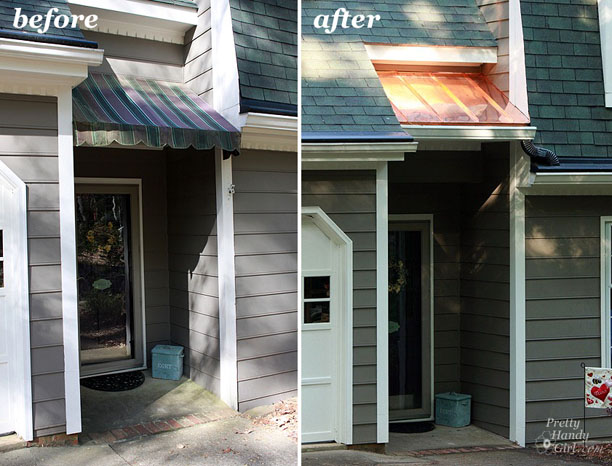
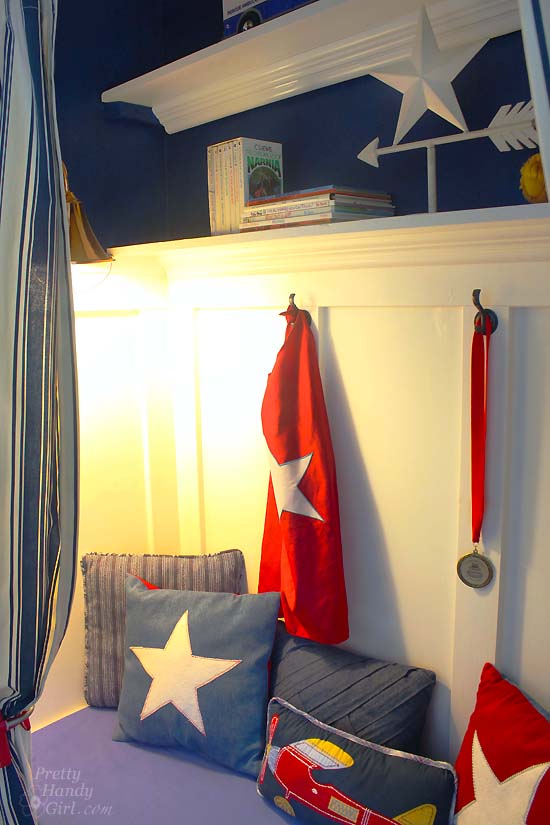
The copper wall sconce was also from the Habitat for Humanity ReStore. I scored that gem for only $5! It has a cord that I snaked around the molding and then plugged into the outlet just outside the closet. Click Here to Learn How to Add a switch to a Hard-Wire Light.

Plenty of storage bins for all the toys a three-year-old can hoard.
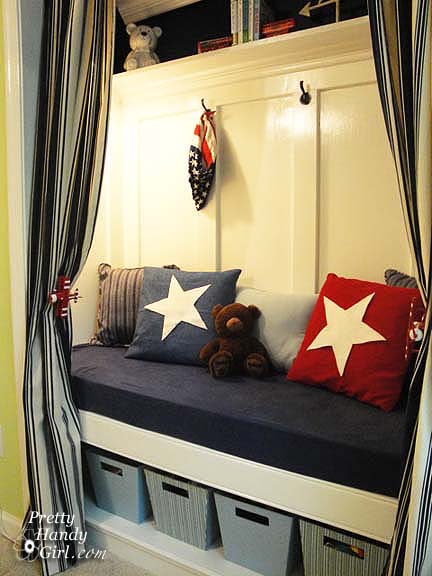
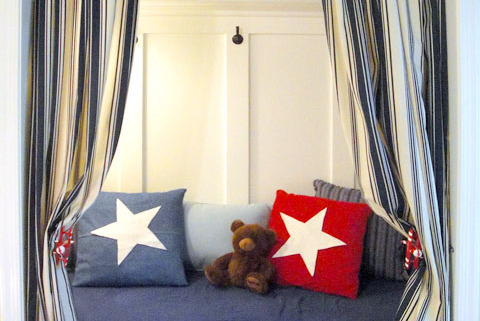
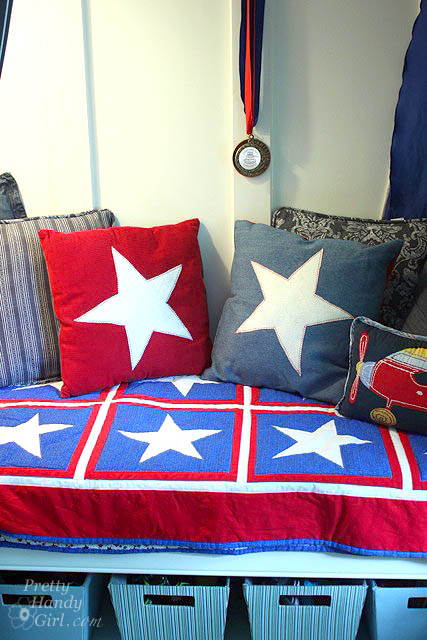
Star pillows were super easy to make with cloth napkins and fabric I had on hand.
Finally, a nook built for reading, sleepovers…
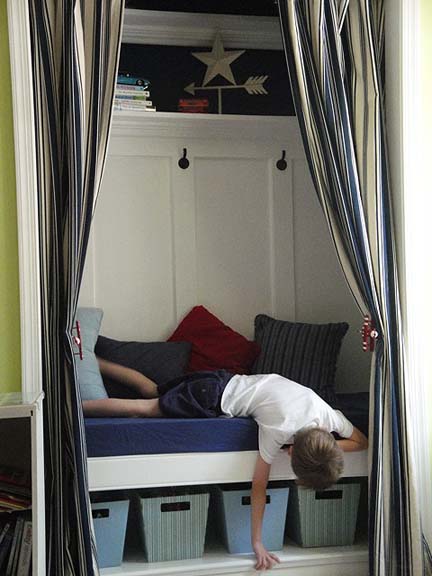
…or just hanging with big brother.


That’s all folks! Bye-bye!

![]()
Did you like this transformation? If so, you’ll love more custom spaces in my home!