
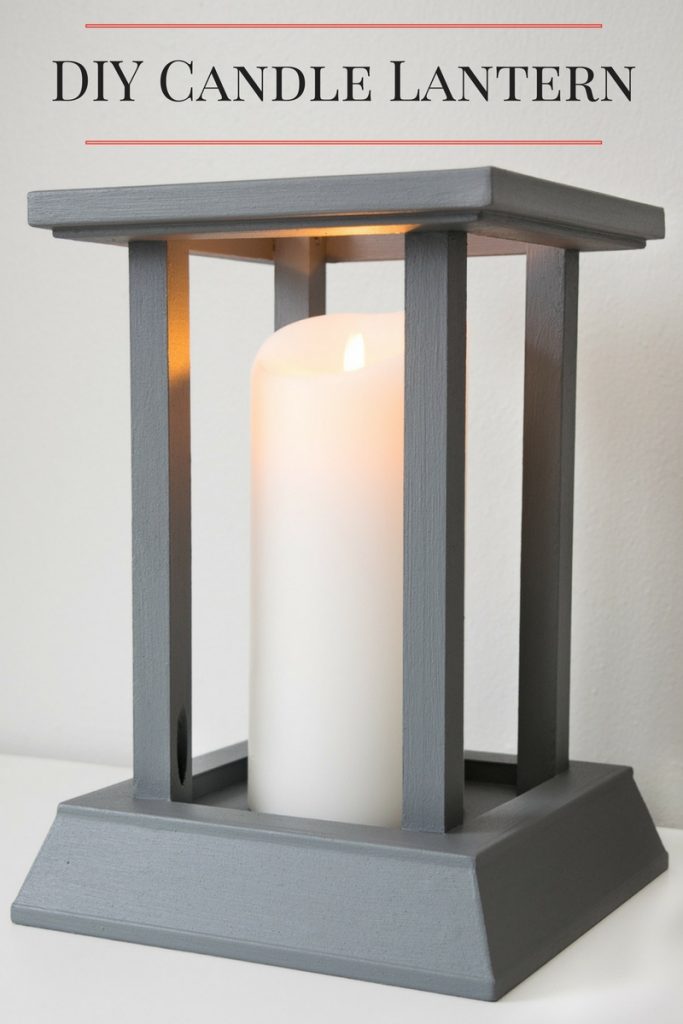
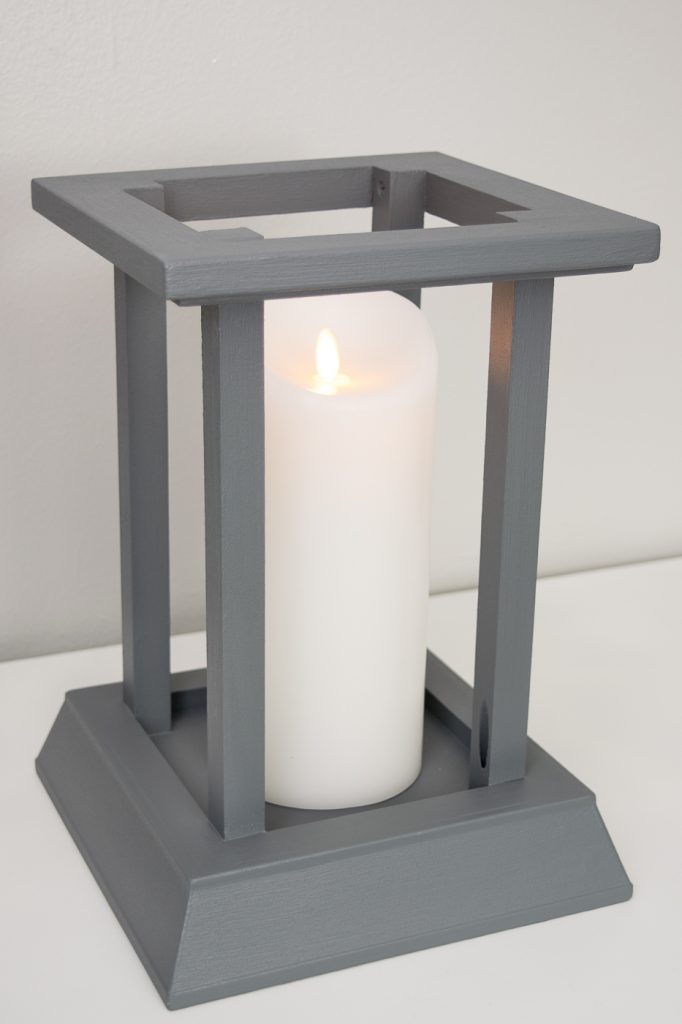
Hi there, Pretty Handy Girl readers! I’m Vineta from The Handyman’s Daughter, and I’m back with another awesome project to share with you. When I cleaned up my disaster of a workshop last month, I unearthed a few scraps of trim left over from my fireplace remodel. I couldn’t bear to get rid of these beautiful pieces. Instead, I decided to turn them into a candle lantern that will coordinate perfectly with our new fireplace!
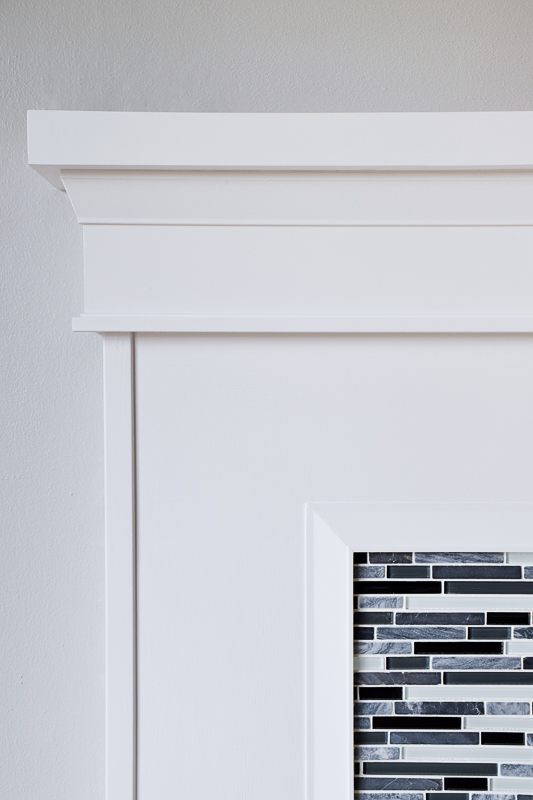
This particular type of trim is called an architrave, and it is typically installed on top of windows and doors for a bold architectural statement. But it worked perfectly under my narrow mantel! You can see all the details of the trim I used in my fireplace remodel here.
Materials:
(I’ve included affiliate links for your convenience. I earn a small percentage from a purchase using these links. There is no additional cost to you. You can read more about affiliate links here.)
- 3/4″ square wooden dowels
- Scrap wood for the inside of the base (Feel free to use any type of trim for this candle lantern, especially leftover trim. 😉 )
- Brad nails
- 1 ¼” pocket hole screws
- 1″ wood screws
- Wood filler
- Wood glue
- Sandpaper
- Candle
- Miter saw
- Pocket hole jig
- Brad nail gun
- Countersink bit
- Drill
- Corner clamp (optional, but helpful!)
Instructions:
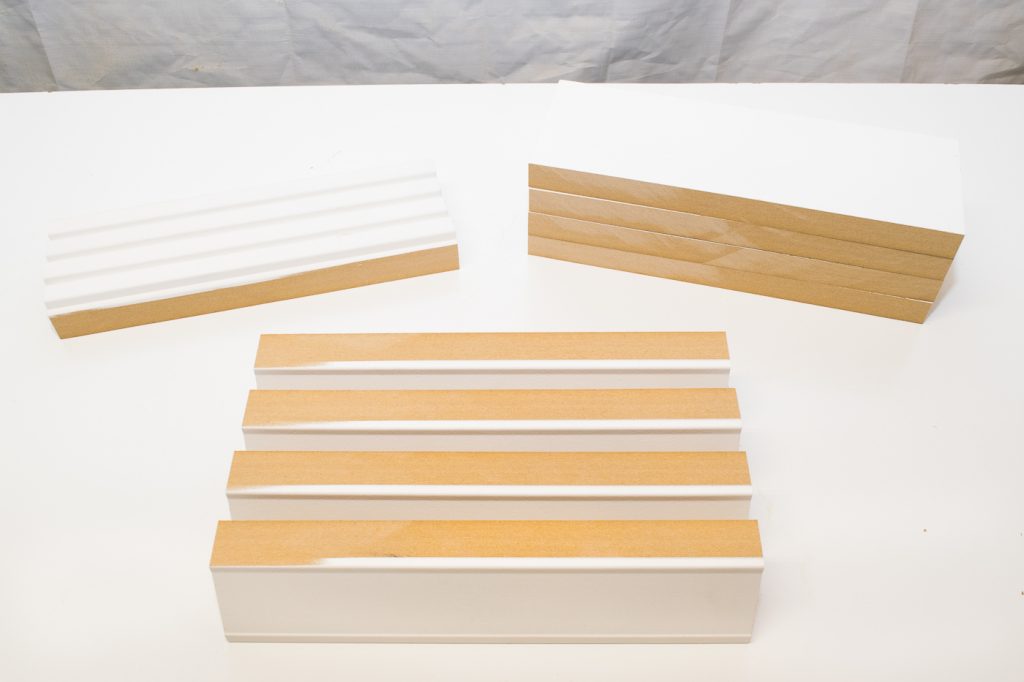
Start by cutting your trim down into manageable pieces. (Mine are about 10 inches long.)
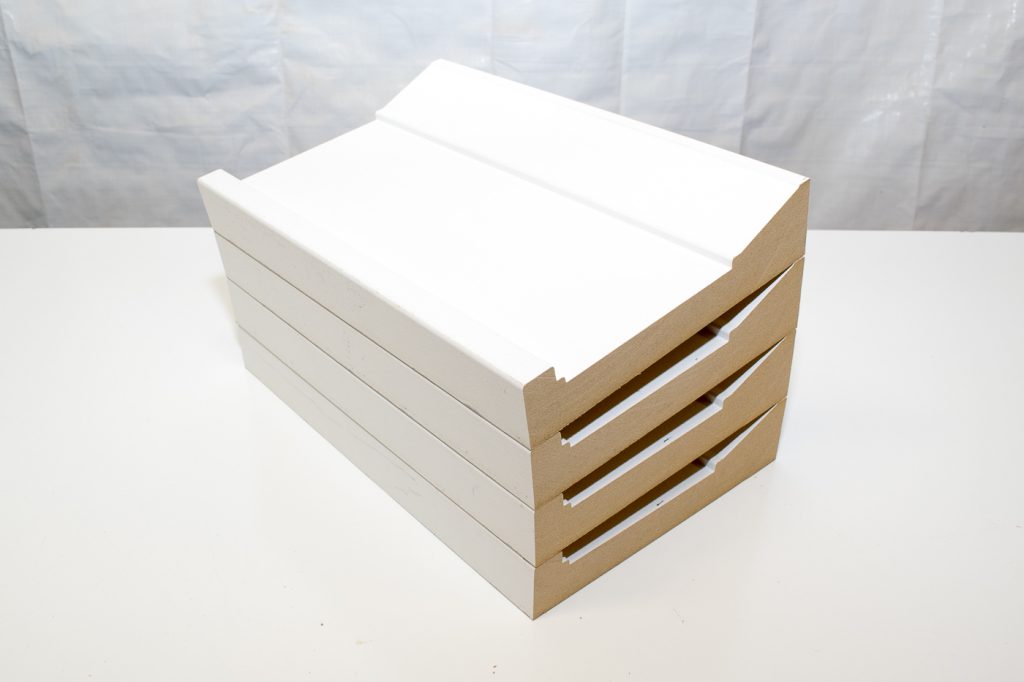
Then cut it into three separate parts as shown below.
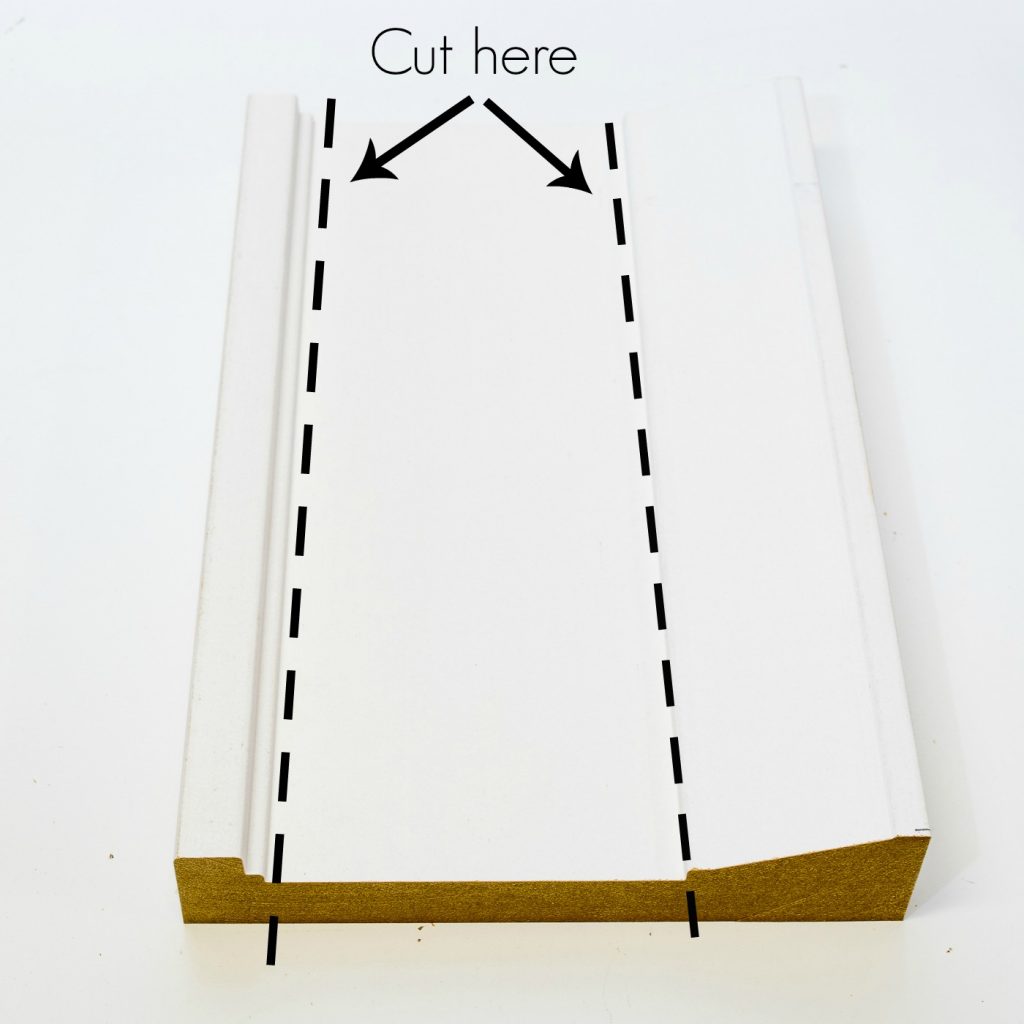
The angled piece will become the base, the square piece will be the top, and the flat middle will fill in the bottom. Alternatively, you could use baseboard or crown moulding for the base, smaller trim for the top, and scrap wood for the bottom. Play around with different combinations in the trim aisle of the home improvement store until you find one you like!
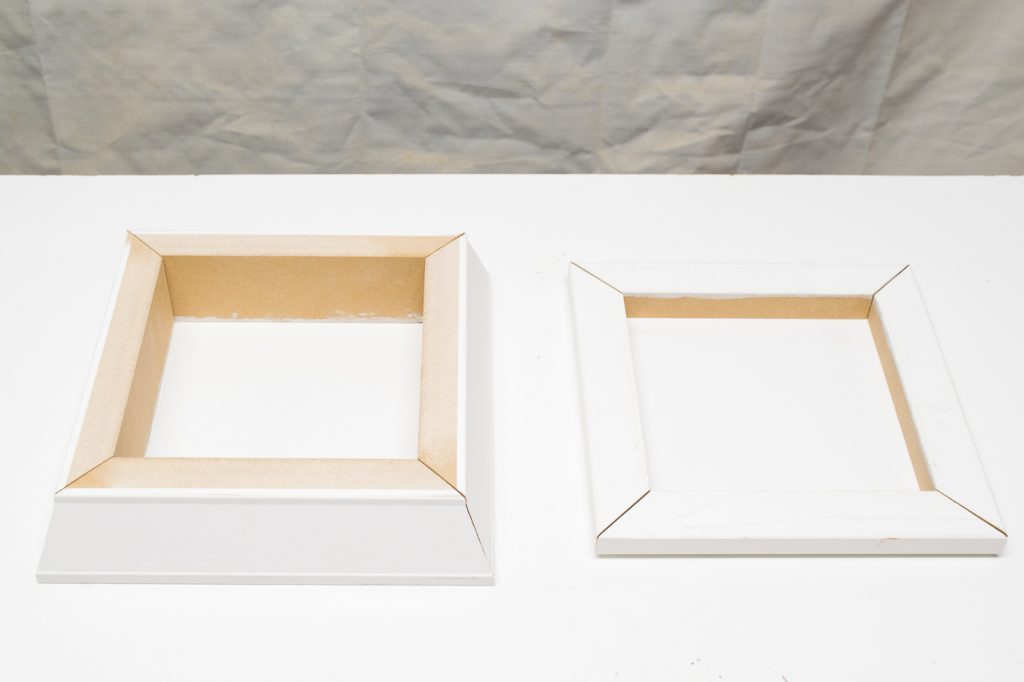
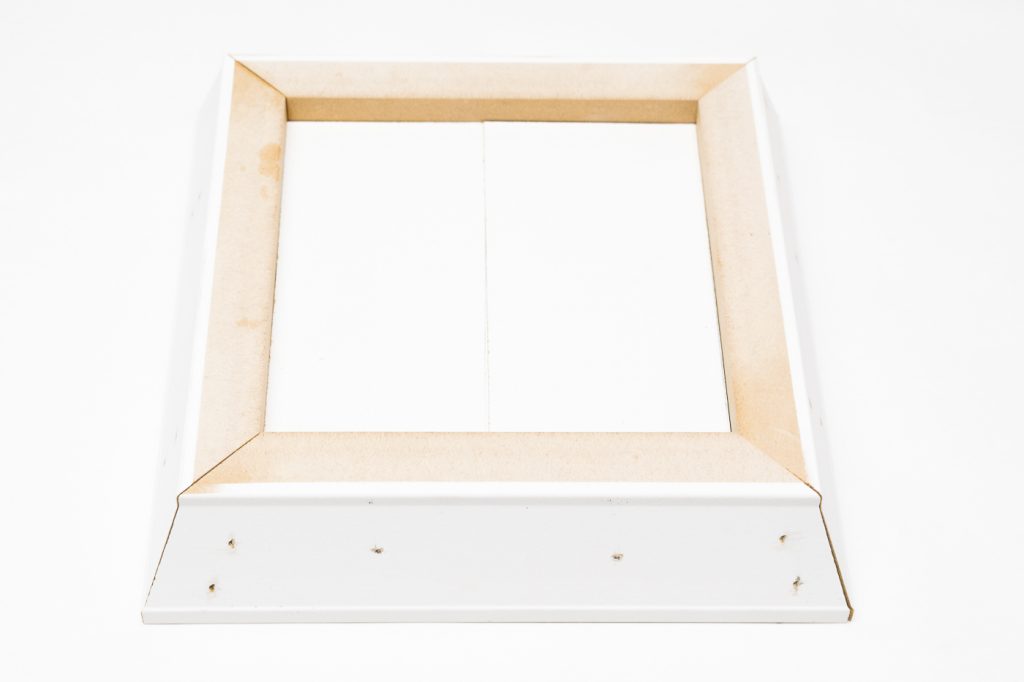
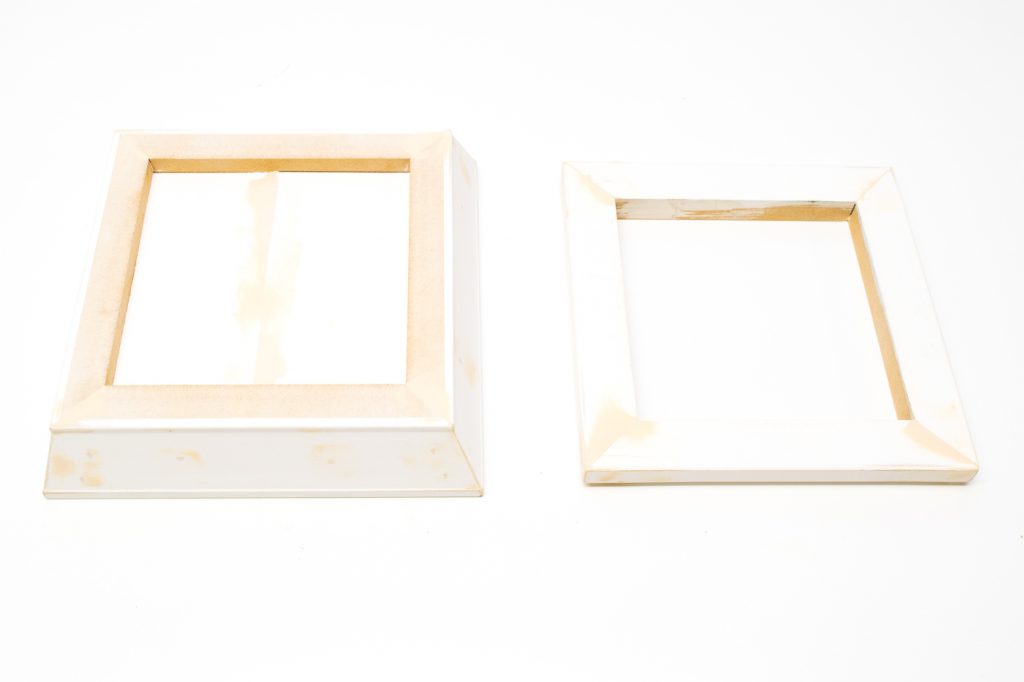
Miter the corners of the base and top pieces to create two frames. The interior dimensions of my lantern are 6″ square.
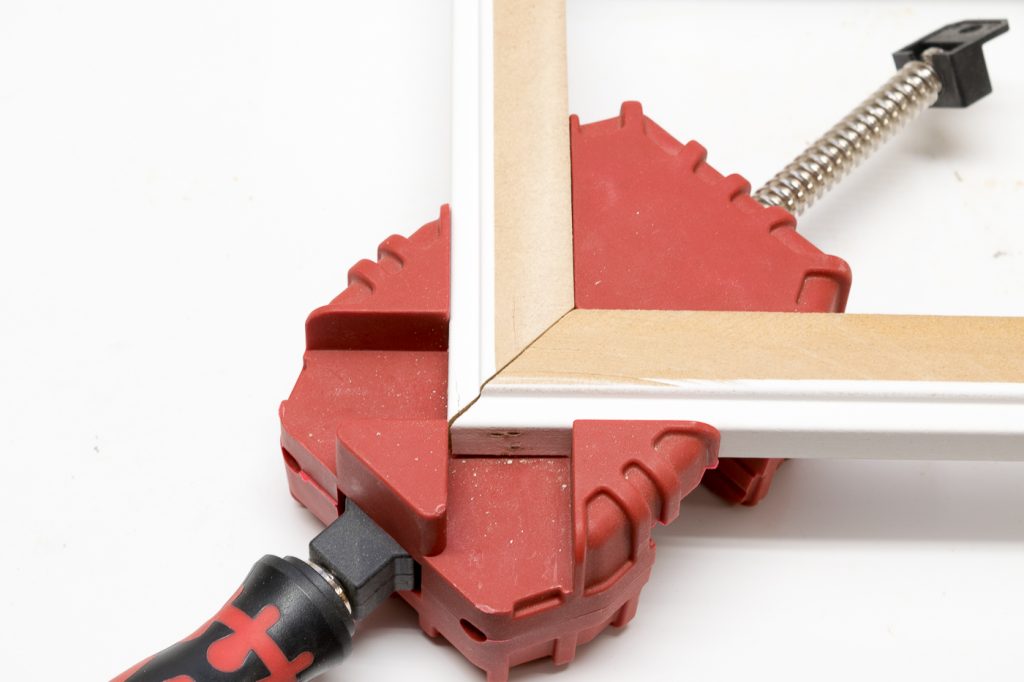
Apply wood glue to the corners, then nail each one together. The thick base was easy to handle, but the thinner top pieces were a little squirrely. I used a corner clamp to hold everything in place while I wielded the nail gun. Don’t worry if there’s a gap in the corners. We’ll patch everything up later.
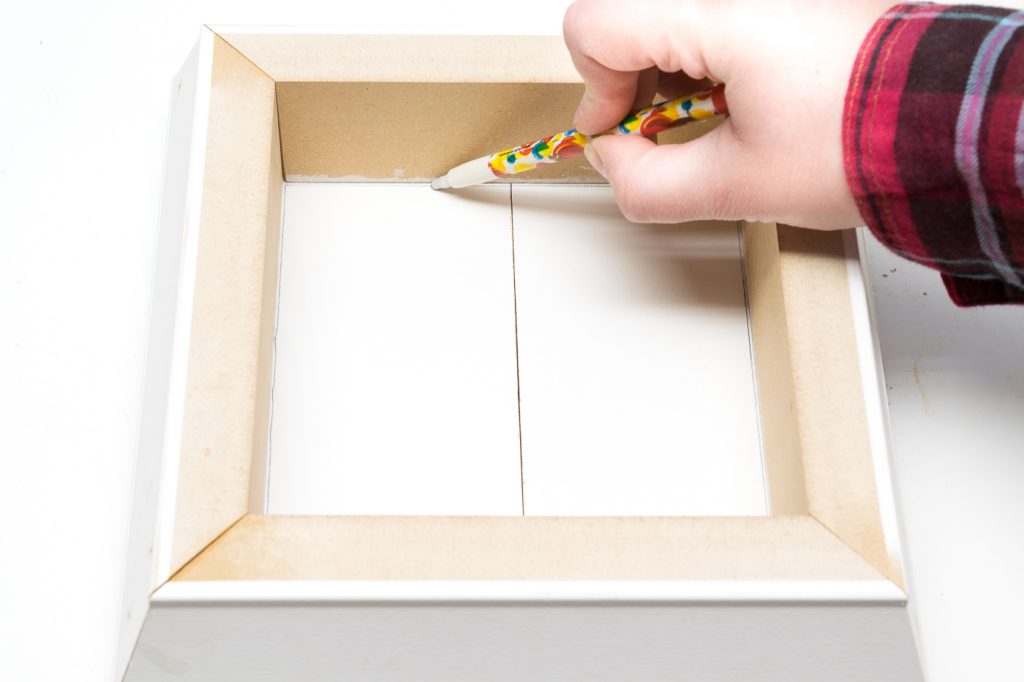
Using your base square as a guide, mark the bottom pieces and cut them to fit inside. I used the flat part of my trim for this, but plywood or scrap wood would work as well. Keep in mind how high you want your candle to sit inside the lantern when working on this step.
Nail through the sides to hold the base flat pieces in place.
Fill any holes or gaps with wood filler. Allow it to dry, then sand the surface smooth. When the candle lantern is painted, all those imperfections will disappear.
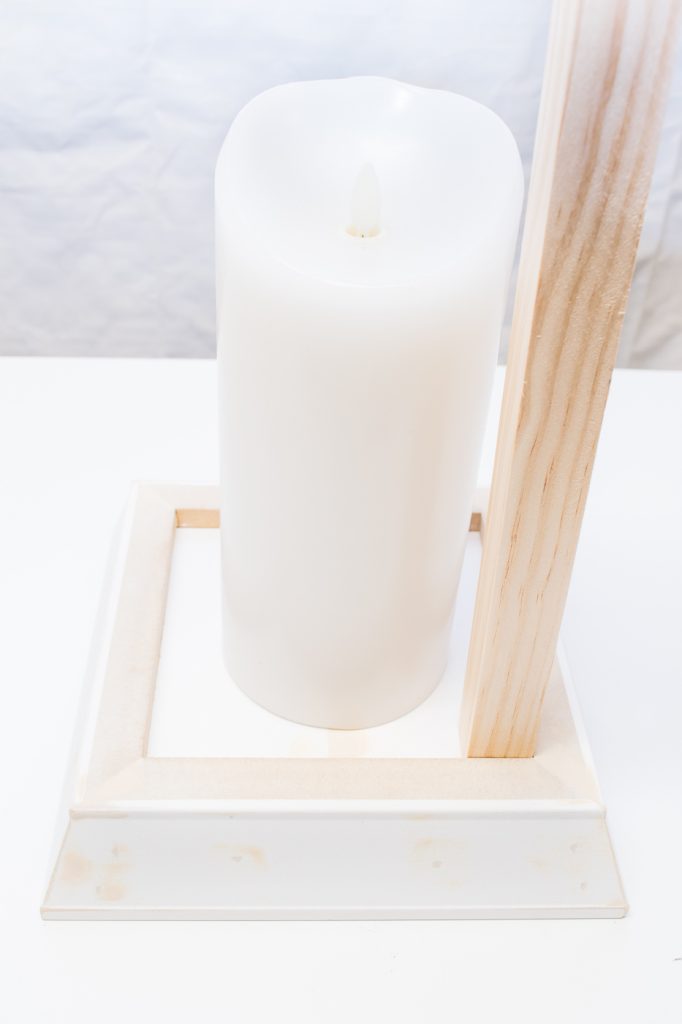
If you have a particular candle you want to use, now is the time to test it out. Place it in the middle of the base, then determine how tall you want the pillars to be. Mine are about 2 inches taller than the top of the candle. Cut 4 square dowels to that measurement.
Predrill a hole in one end of each dowel with a countersink bit, and a pocket hole in the other end.
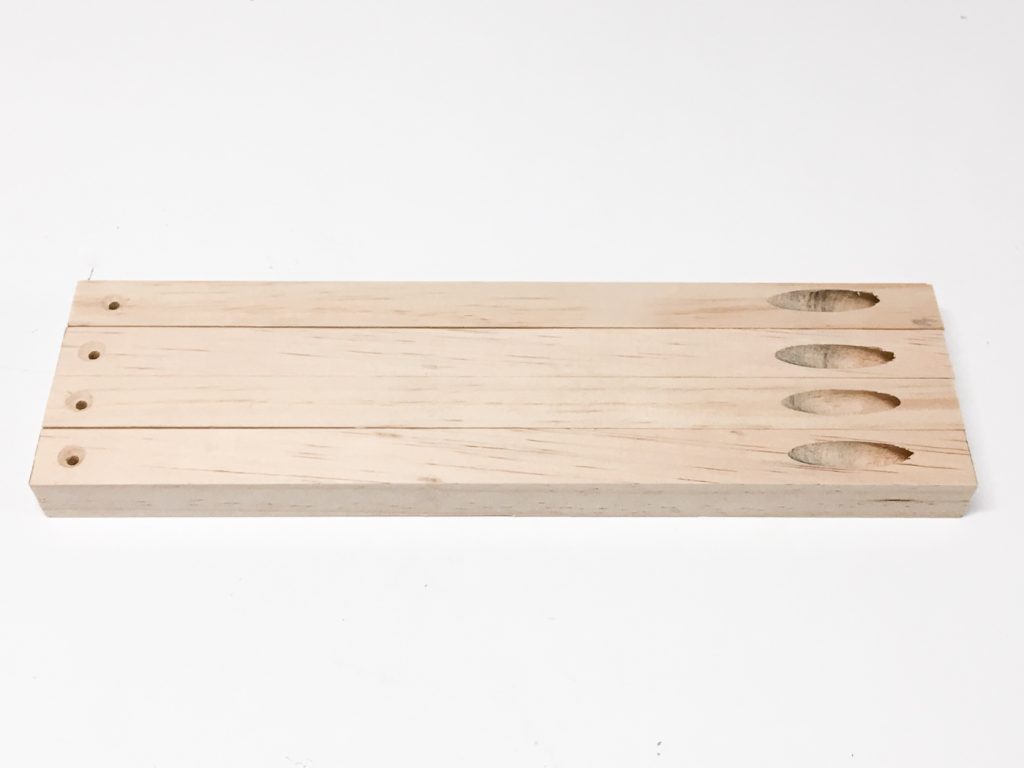
Attach the pillars to the base with 1 1/4″ pocket hole screws. I arranged mine with the pocket holes facing each other, but in retrospect I wish I had them all facing the back so the holes were hidden from view.
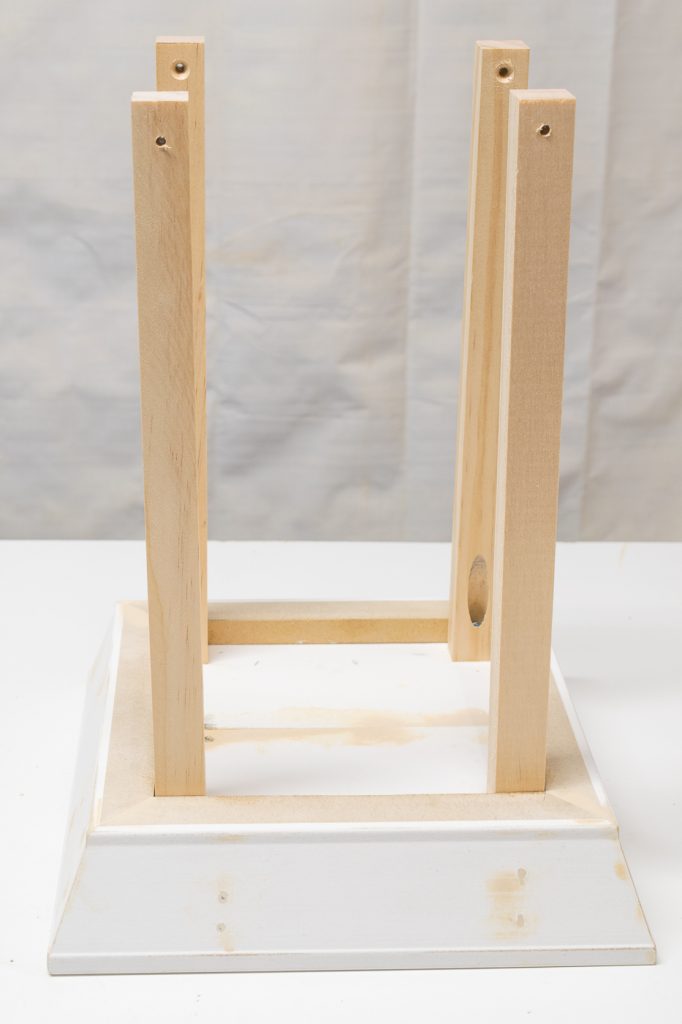
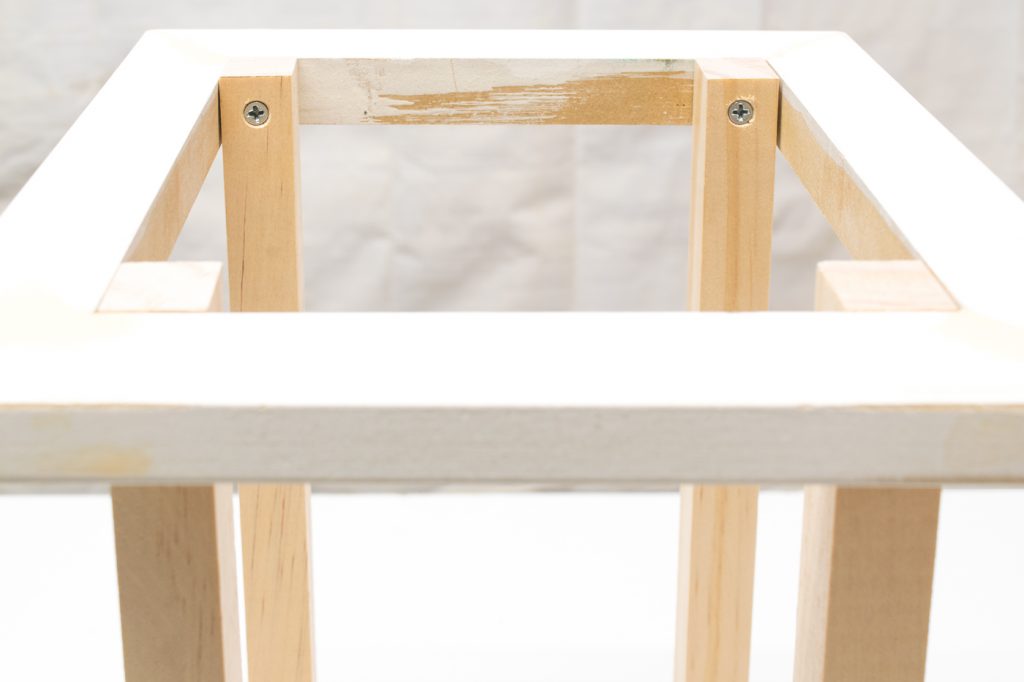
Attach the top frame to the top of the pillars with screws. Make sure the tops of the pillars are flush with the top edge of the frame.
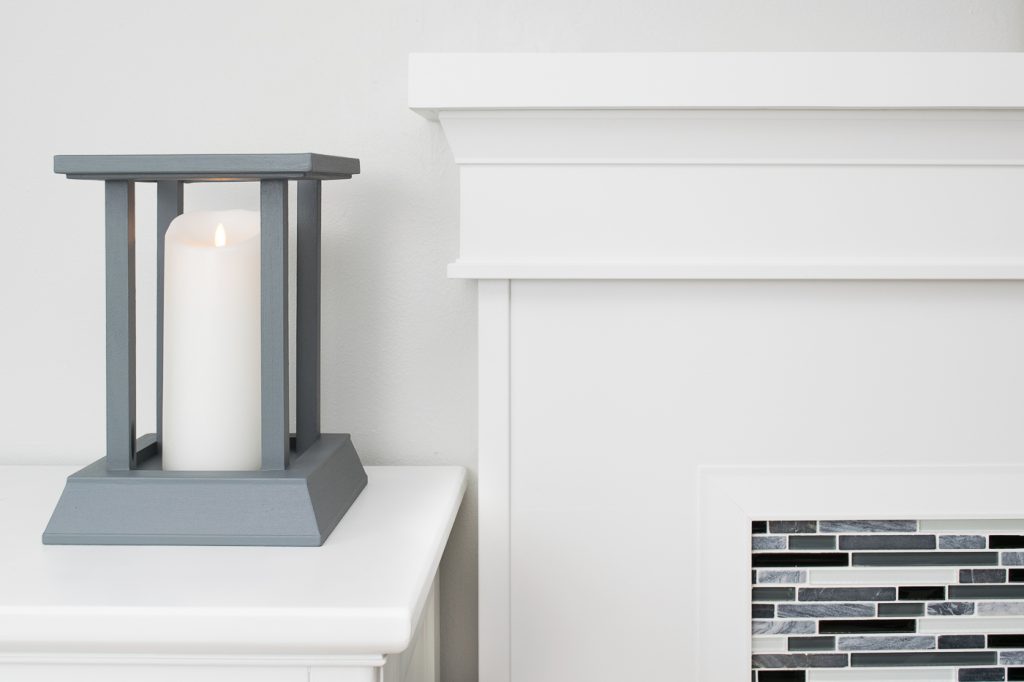
Now your candle sconce is ready for paint! Primer helps cover up the wood filler. I used some leftover chalk mix paint from my bread box makeover, and it goes perfectly with the dark gray tile of my fireplace. Even side by side, it’s hard to tell that I used the same trim for both!
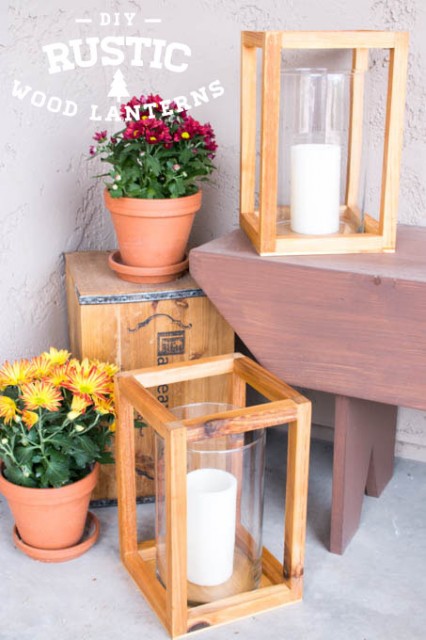
Is your style a little more rustic? Katie has you covered with this stained wood version lantern!
I hope you’ve enjoyed this month’s tutorial! For more great DIY ideas, check out my blog at The Handyman’s Daughter. Until next time!
 ~
~