Tag Archive for: Christmas

Clever DIY Holiday Decor Ideas Social Media Image21 Clever DIY Holiday Decor Ideas

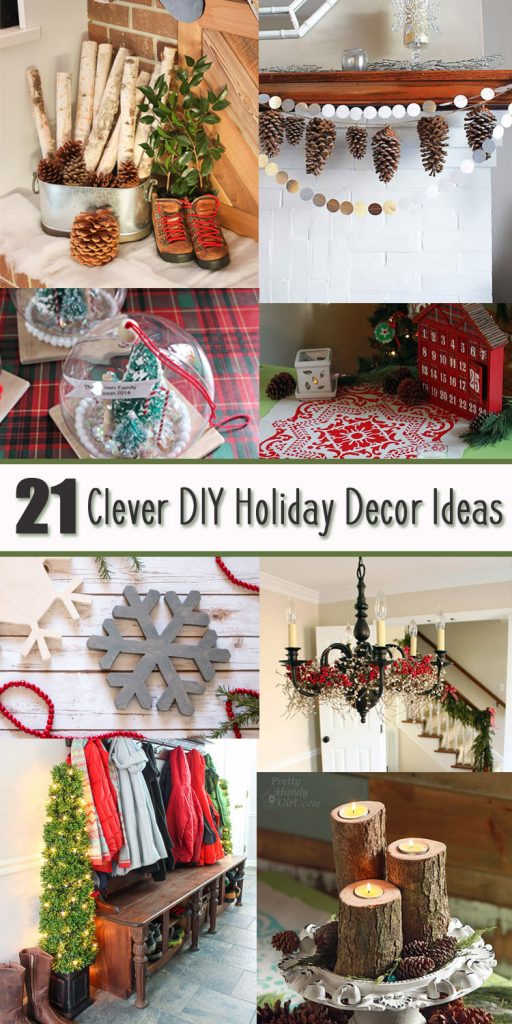
The holidays here, but there is still plenty of time to make some DIY holiday decor that will bring the warmth and festivity of the season into your home. Here are 21 Clever DIY Holiday Decor Ideas to inspire you!

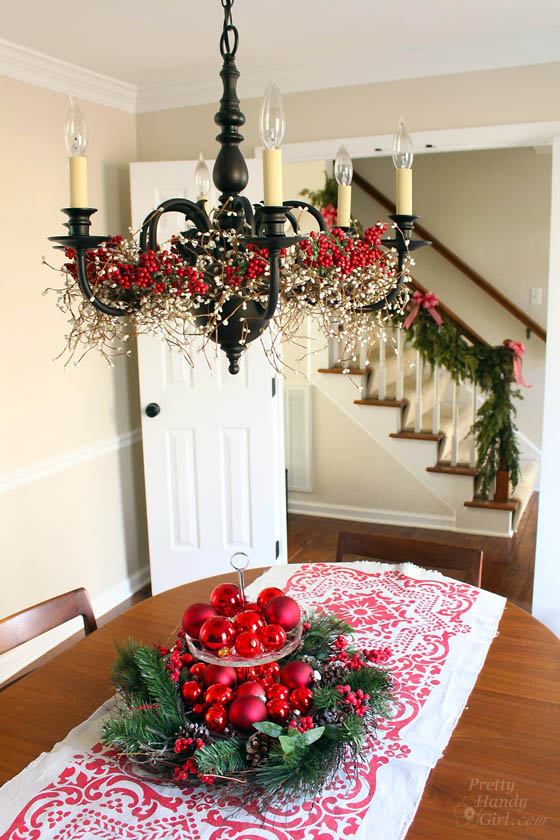
Clever holiday decor - garlands in chandelier

Add garlands to your chandelier for some extra holiday sparkle.


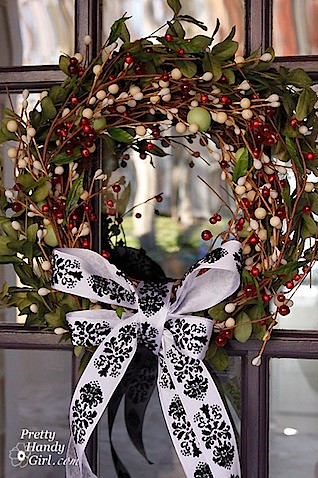
clever holiday decor - wreath makeover

Add a some faux floral items to make a simple wreath more spectacular!


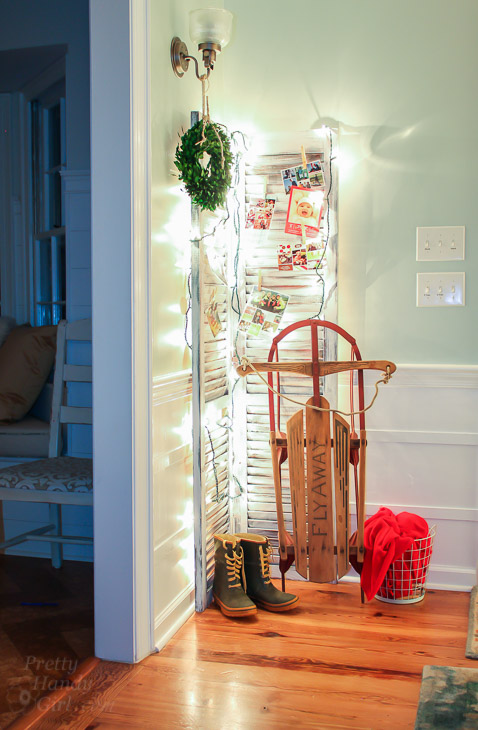
clever holiday decor - shutter card holder

Use an old shutter for a holiday card holder. Add a vintage sleigh and boots for some extra charm.


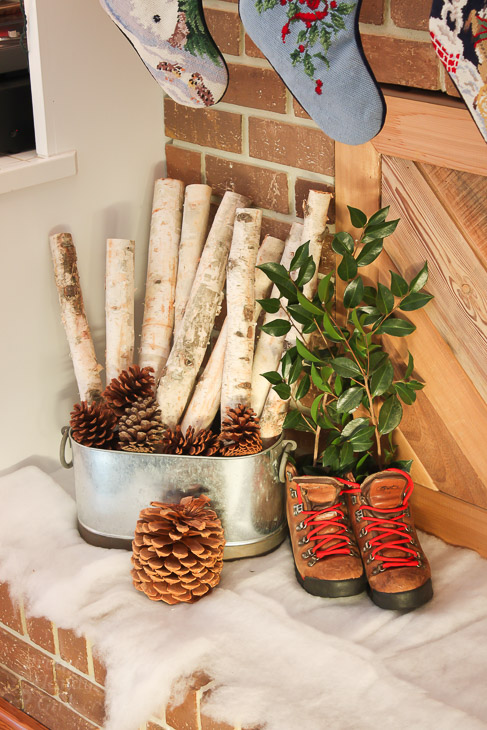
clever holiday decor - birch log and pinecones

Use some birch logs and pinecones to bring that natural winter feeling.


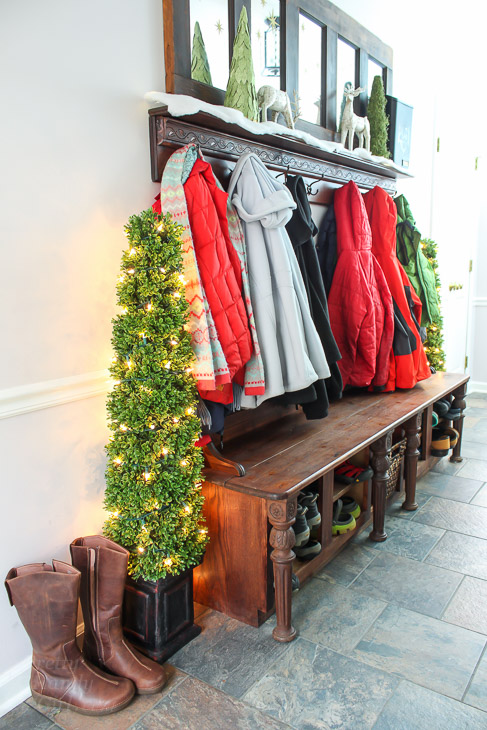
clever holiday decor - lighted topiaries inside

Bring lighted topiaries inside to add some sparkle and holiday cheer!


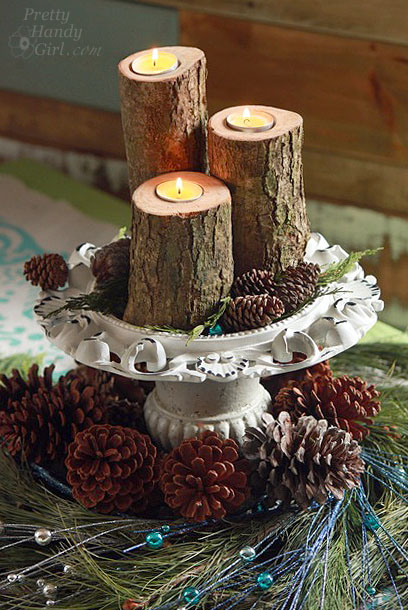
clever holiday decor - log pillar candles

Make these log tea light pillar candles out of fallen branches.


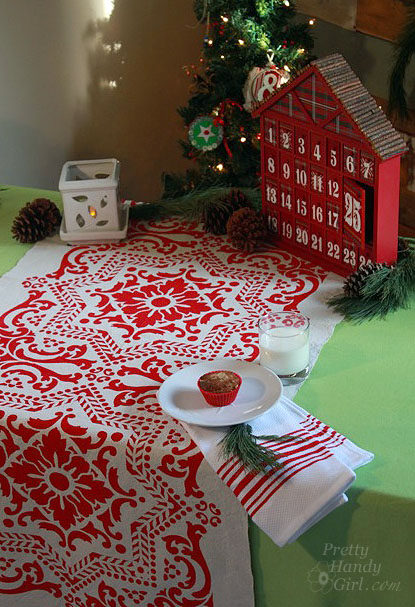
clever holiday decor - stenciled drop cloth

Buy a cheap painter’s drop cloth and use a stencil to make a gorgeous runner for your holiday table.


clever DIY holiday decor ideas - santas footprints

Make Magic North Pole Snow Santa Footprints in your living room on Christmas morning!


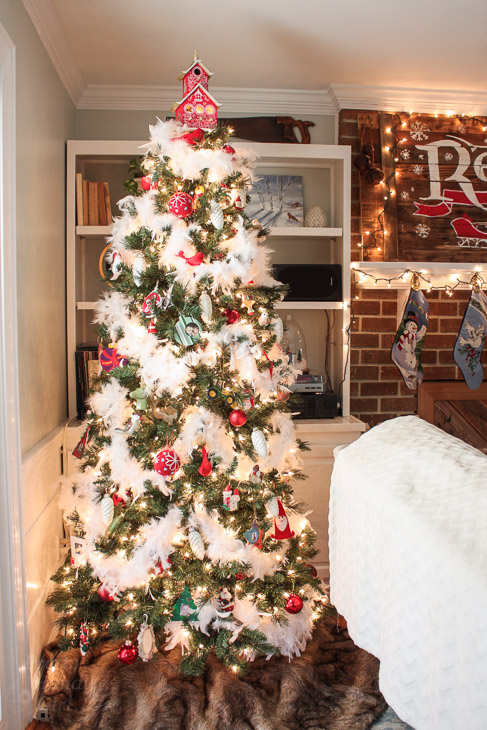
clever holiday decor ideas - feather boa for tree garland

Make a gorgeous and bright tree garland using a feather boa!


clever holiday decor ideas - decorative birdhouse tree topper

Adorn your tree with a unique Decorative Painted Bird House Tree Topper! 


clever holiday decor ideas

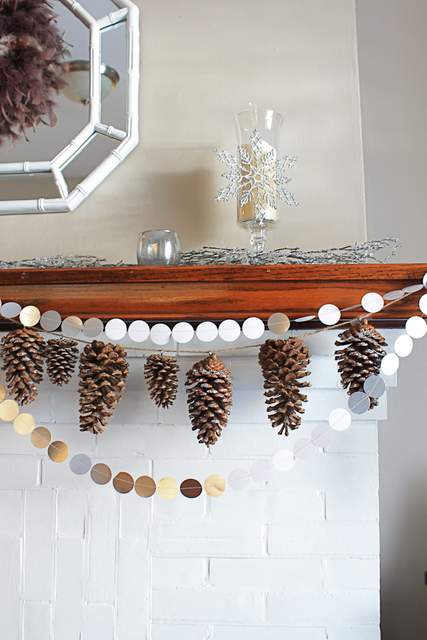
Make an inexpensive garland using pinecones. 


clever holiday decor ideas

Create fun 3-D paper snowflakes and tree ornaments.


clever diy holiday decor ideas

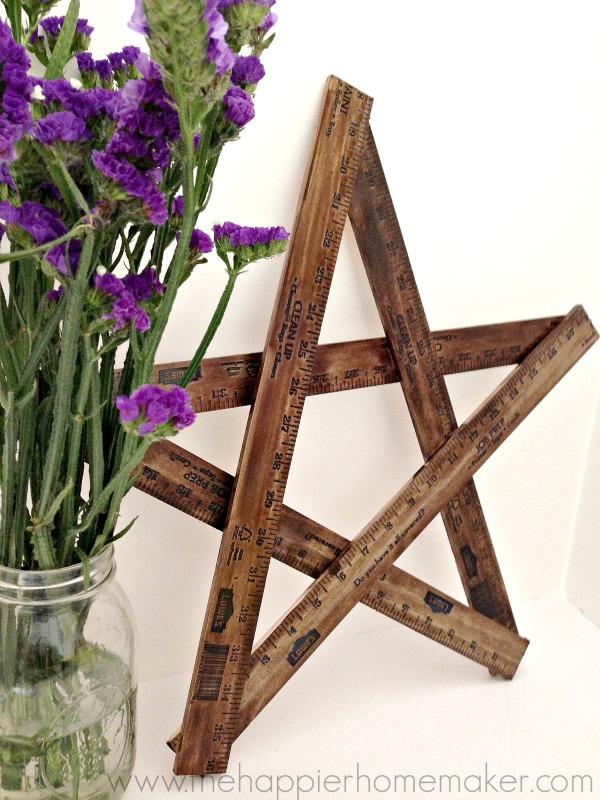
Use yard sticks to make this awesome wooden decorative star.


clever diy holiday decor ideas - placemat pillow

Make festive and adorable pillows using placemats and pom-poms.


clever diy holiday decor ideas

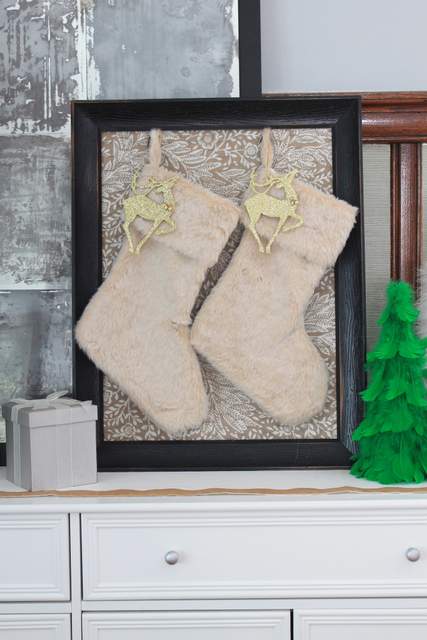
If your home doesn’t have a mantel, here’s a great solution for hanging stockings without one!


clever diy holiday decor ideas

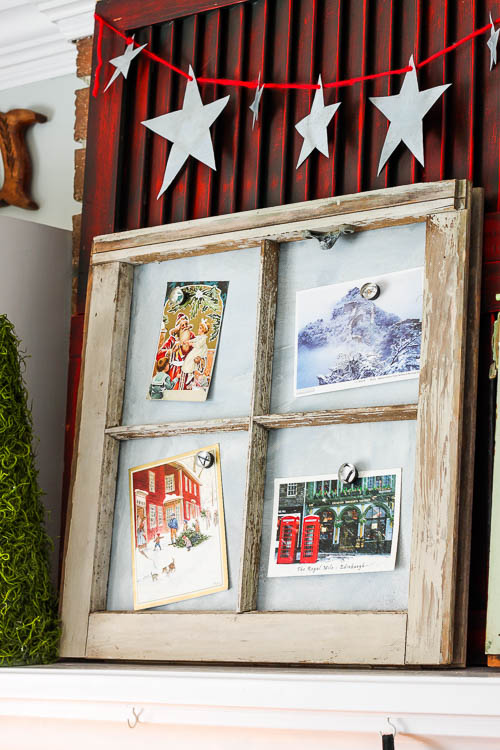
Use old chippy windows and faux aged metal to create a magnetic holiday card holder.


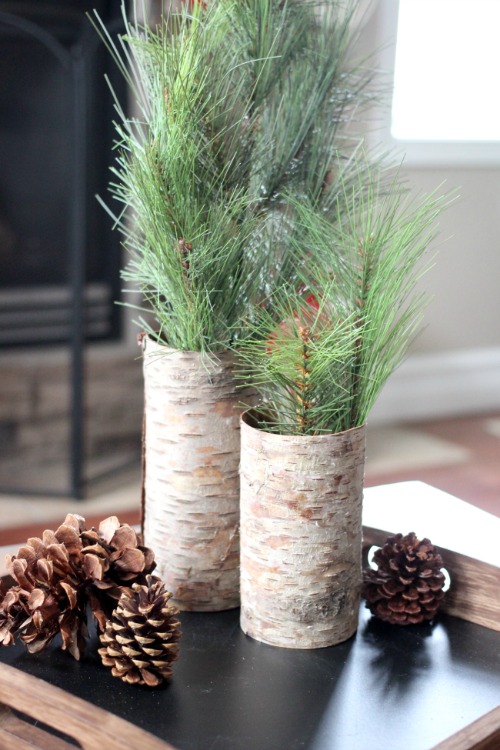
clever diy holiday decor ideas - rustic bark vases

These rustic bark vases would be a gorgeous holiday addition to any room.


clever diy holiday decor ideas - peppermint snowflakes

Make these creative peppermint snowflakes for your holiday tree!


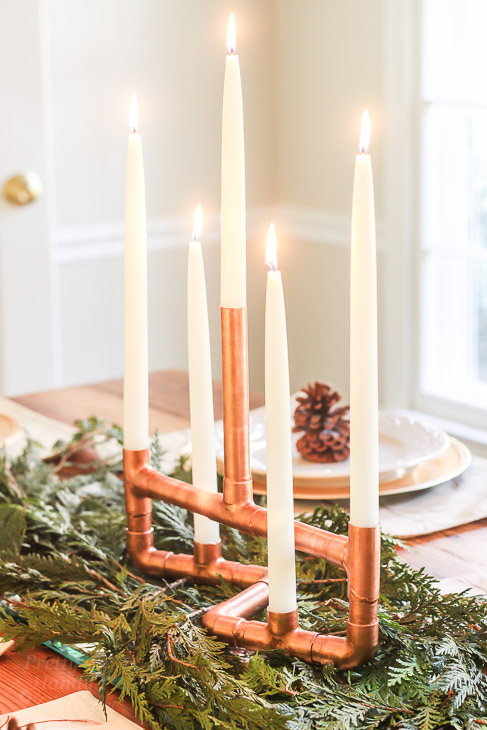
clever diy holiday decor ideas

Create this elegant copper pipe centerpiece. And who says it’s just for the holidays? Use it for any season.


clever diy holiday decor - snowflake trivets

Use some plywood and your jigsaw to make these amazing Snowflake Trivets!


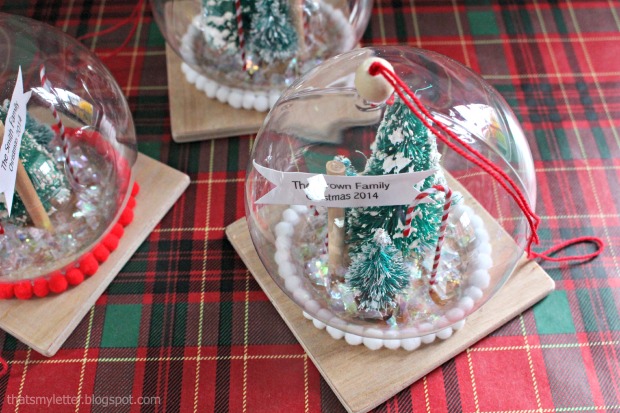
clever diy holiday decor ideas - snowglobe ornament

These adorable snow globe ornaments would be perfect for your tree or to gift to a friend!


Hopefully these clever holiday decor ideas give you some creative inspiration as you prep for the holidays this year!

If you like this collection of ideas, please share this pinnable image on Pinterest!

Clever DIY Holiday Decor Ideas Pinterest Image


If you liked this post, you may like these related posts as well!

12 Great Upcycled Ideas for Holiday Decor

 

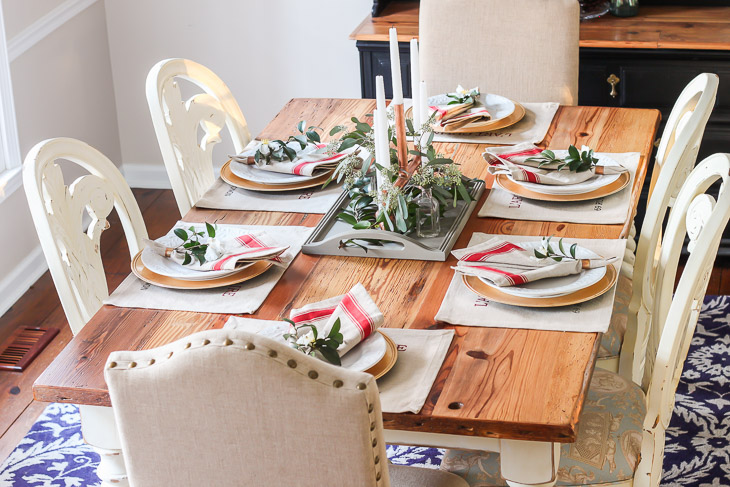
Holiday Tablescape Tour 2016


21 Creative Gift Wrapping Ideas

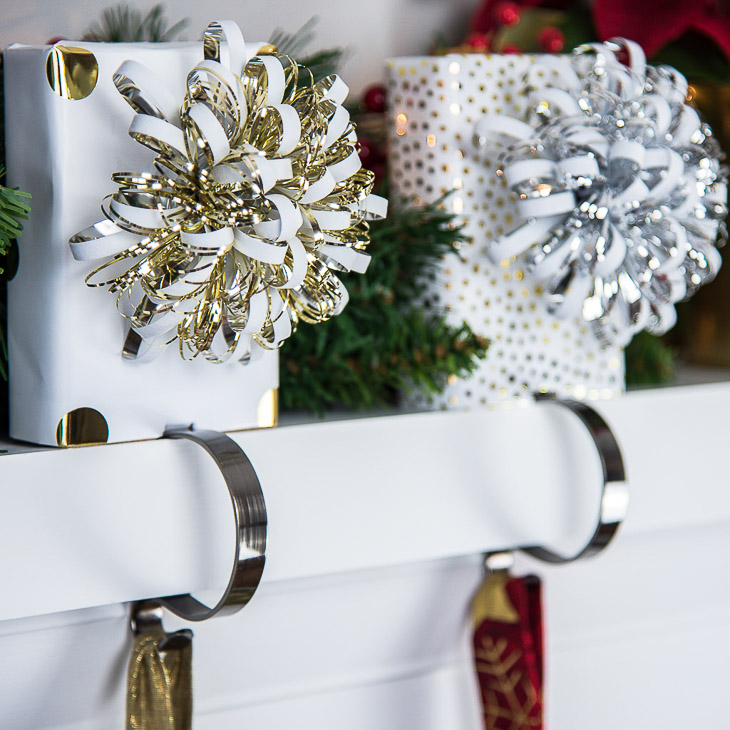
Decorate your mantel for Christmas with these DIY stocking holders made of scrap wood!

Use up those scrap 2 x 4 pieces to create these gorgeous stocking holders!
Hi there, Pretty Handy Girl readers! I’m Vineta from The Handyman’s Daughter, back with another tutorial for you! I have a mountain of wood scraps in my workshop, and the hardest pieces to use up are those pesky 2 x 4 end cuts. Lucky for you, I figured out an adorable way to use them! Feast your eyes on those gorgeous gift-wrapped stocking holders for your mantel!

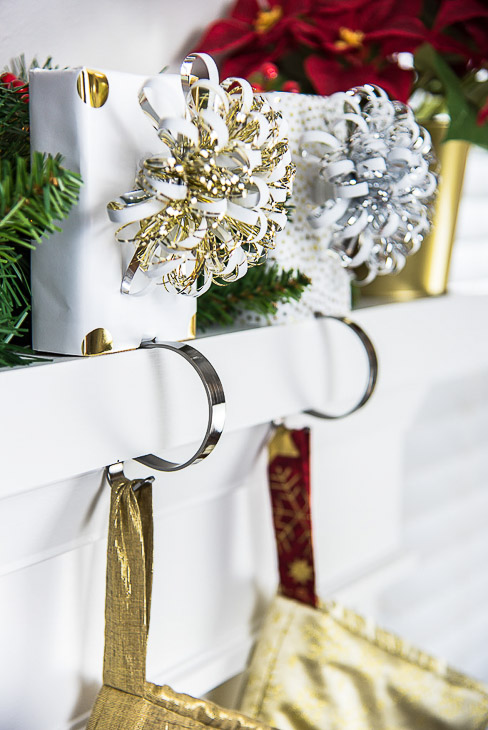
Love how festive these DIY stocking holders look on the mantel!

Materials:

(I’ve included affiliate links for your convenience. I earn a small percentage from a purchase using these links. There is no additional cost to you. You can read more about affiliate links here.)


Instructions:

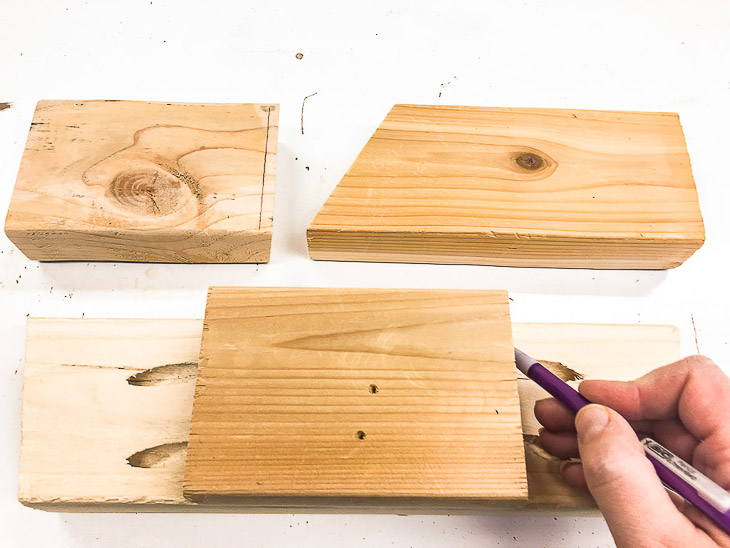
Gather up your scrap 2 x 4 pieces, especially those really ugly ones! Mine had paint splatters, stain samples and random pocket holes. Cut all to the same size.

Cut all your scrap wood pieces the same size to make these stocking holders.

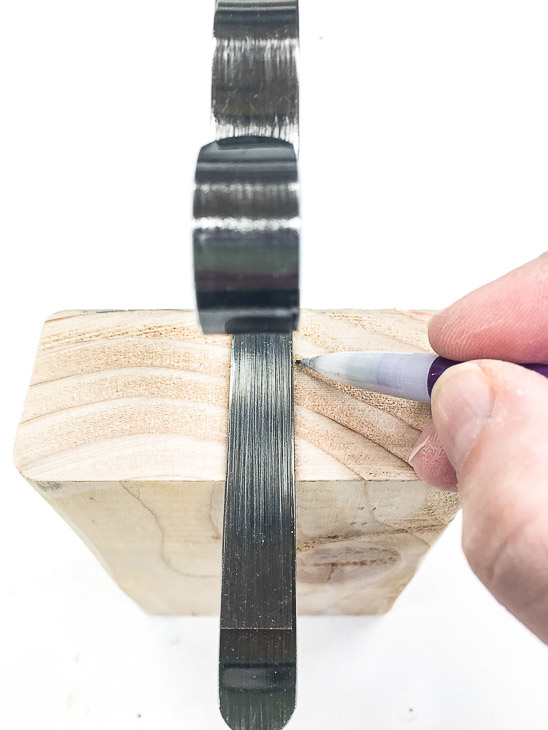
Center the mantel hooks and mark the width on the bottom of the scrap wood.

Mark the placement for your mantel hooks.

Cut a channel deep enough for the mantel hook to sit in. (I used a router for this, but you could chip it out with a chisel, use a Dremel, or use a table saw.

Cut out a channel in the bottom of the scrap wood for the mantel hooks.

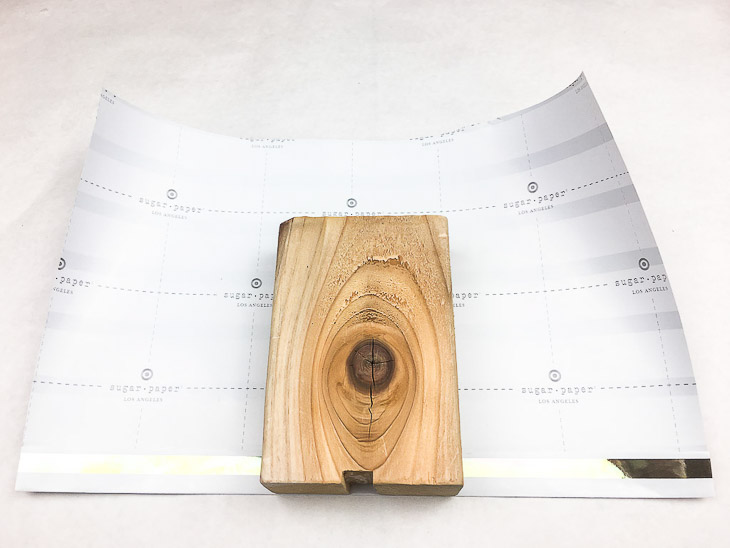
Cut a piece of wrapping paper big enough to cover the entire wood block. Fold the bottom edge then line up the cut channel end with the edge of the fold.

Fold up the bottom edge of the wrapping paper and place the block on top.

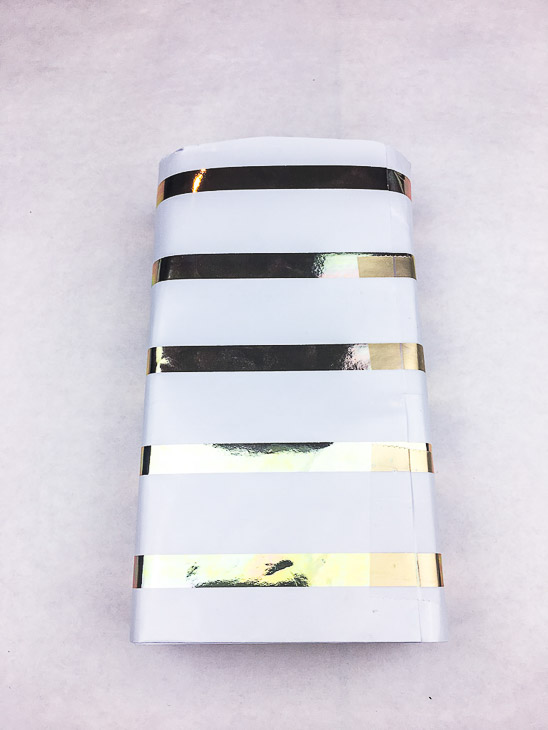
Wrap the wrapping paper around the sides of the block and tape it in the back.

Wrap the wrapping paper around the block and tape in the back.

Fold the top of the wrapping paper like a present, with the tape on the back side.

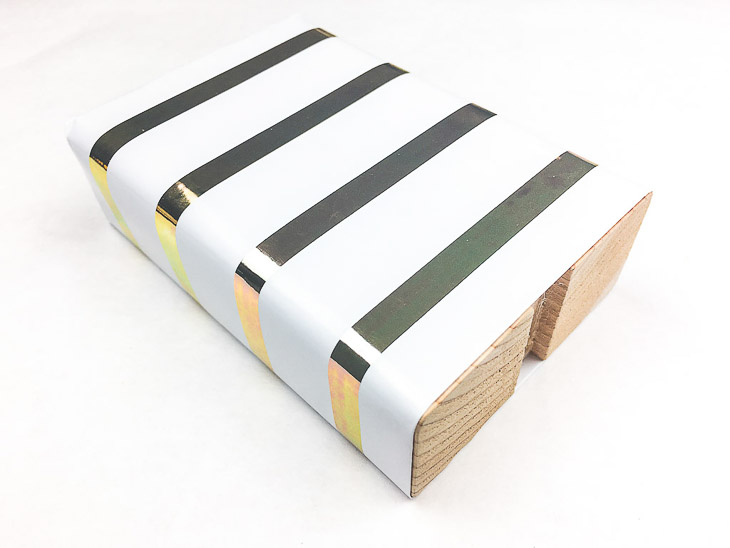
Finish wrapping your stocking holder block.

Add a festive bow to the front. Cut a notch in the wrapping paper at the front and back of the cut groove and fold it inward.

Decorate your stocking holders with a festive bow!

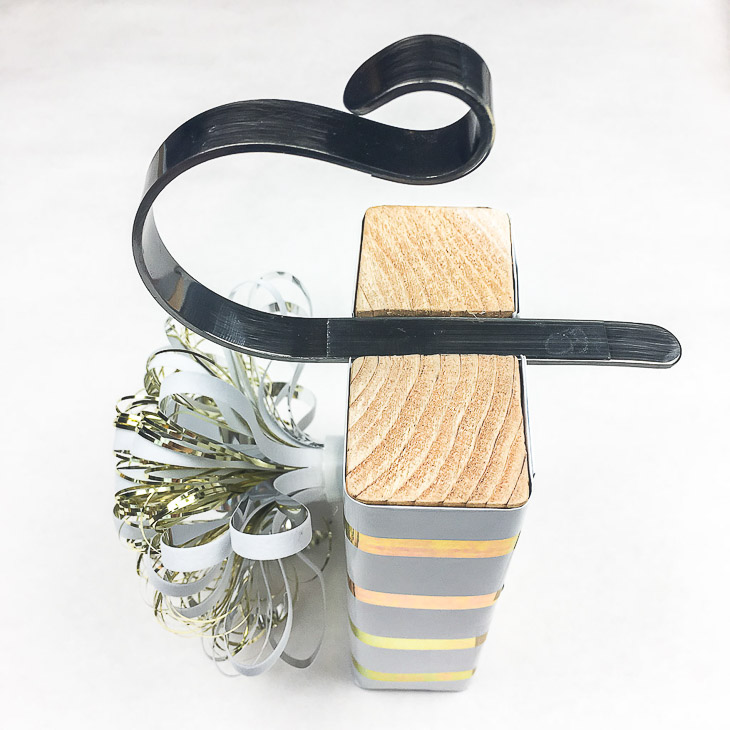
Apply hot glue to the groove and attach the mantel hook. (I cut my grooves a little too deep, so I filled in the extra space with more hot glue until the metal was flush with the surface of the wood.)

Glue the mantel hook to the bottom of the stocking holder.

These hooks stretch over the mantel and clamp around the edge securely with its grippy surface. Now you don’t have to worry about little ones or pets pulling heavy stockings down on their heads! Santa can load up them with goodies and they won’t budge!

Decorate your mantel for Christmas with these DIY stocking holders made of scrap wood!

I love how all these stocking holders look lined up on the mantel. It was totally worth suffering through our fireplace remodel last year for this!

Love how festive these DIY stocking holders look on the mantel!

These stockings are all ready for Santa!

These stocking holders keep stockings secure and safe for children and pets.

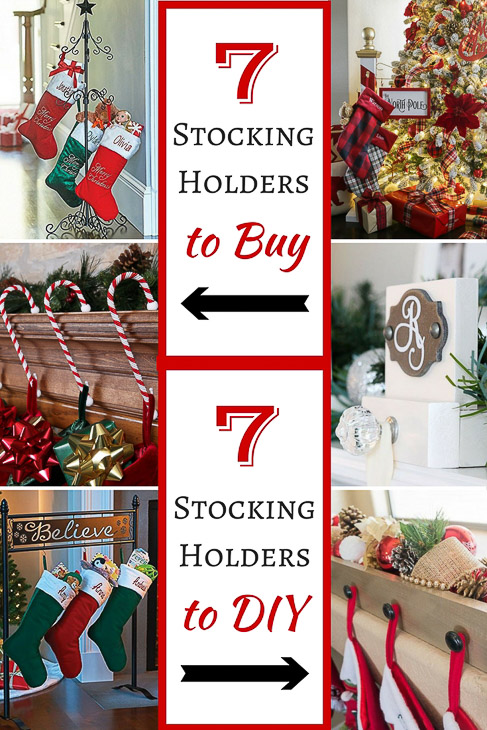
Want more ideas for hanging your stocking? I’ve rounded up 14 more stocking holders to buy or DIY, even if you don’t have a fireplace!

14 Stocking Holders to Buy or DIY

Have a wonderful holiday, and I’ll be back with another tutorial in the New Year!

~ view more of Vineta’s projects ~

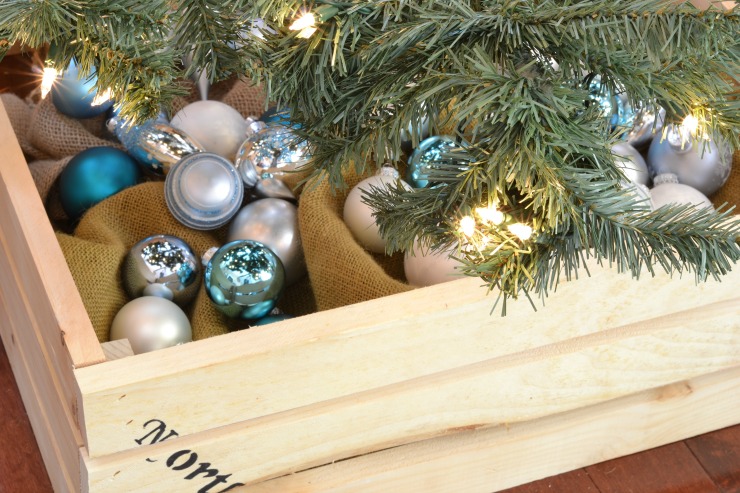
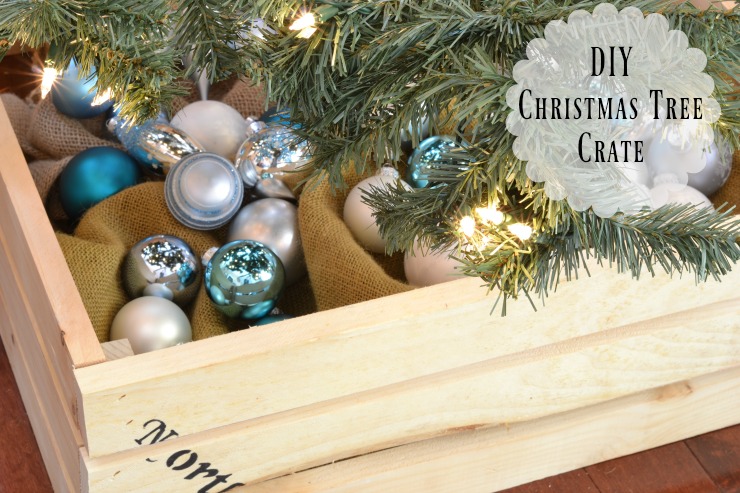
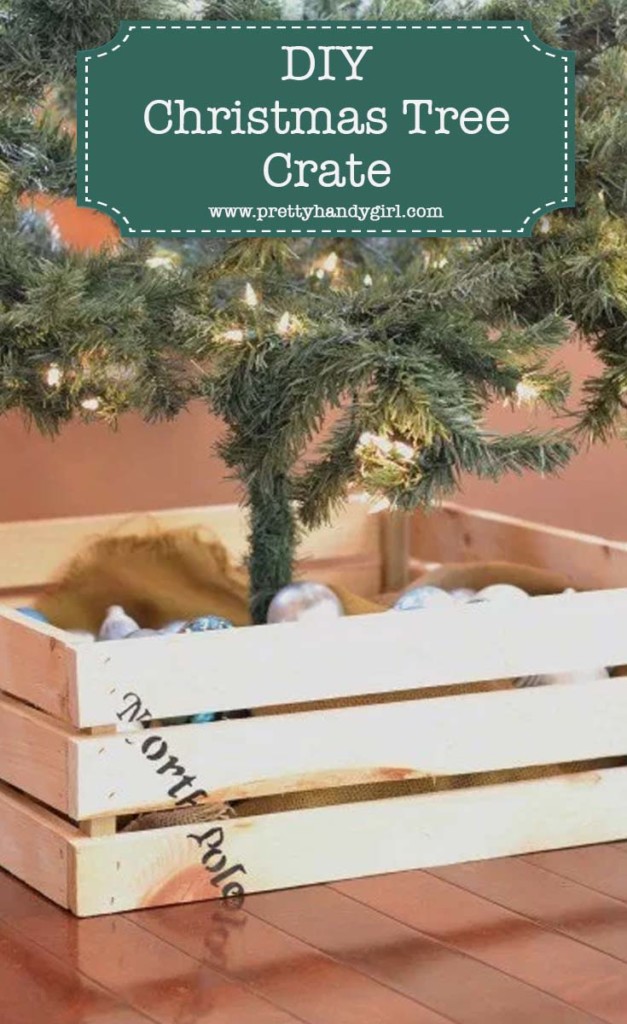
This quick and easy DIY Christmas tree crate is just what you need to update your decor this year.
This quick and easy DIY Christmas tree crate is just what you need to update your decor this year.
Hi Pretty Handy readers! It’s Jillian from I Am a Homemaker, and I am here to share a fun and inexpensive idea to hide your Christmas tree stand.

I have always had a tree skirt for my tree, but this year I thought I would mix it up a bit.  I have so much scrap wood in my shop. Finding uses for it is almost a relief. It took one hour and cleared up one tiny little section of my pile, but now I have a great DIY Christmas Tree Crate for the bottom of my tree. Interested to learn how to make your own? Let me show you!
(I’ve included affiliate links for your convenience. I earn a small percentage from a purchase using these links. There is no additional cost to you. You can read more about affiliate links here.)

Materials:

Cut List:

  • 12 – 1″ x 2″ @ 24″
  • 4 – 1″ x 1″ @ 7.5″ cut from left over 1×4

Instructions:

Step 1: Before we get into cutting, measure your tree stand. My tree stand is 20″ across but I wanted to make the crate to accommodate any stand I may buy in the future, so I made each side of my box 24″ long.

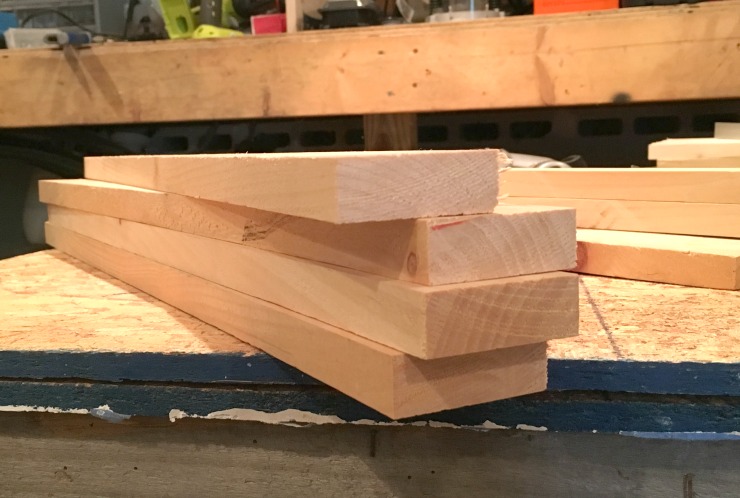
Cutting a 1×4 down to size makes this project inexpensive, but if you aren’t comfortable using a table saw you could also buy 1×2 boards instead.

This quick and easy DIY Christmas tree crate is just what you need to update your decor this year.

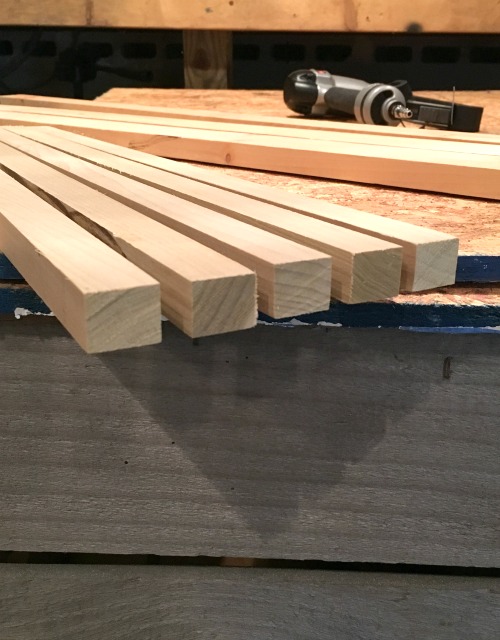
The 1x4x8 can be cut in half lengthwise and then cut into 24″ sections. You will have enough scrap left over to slice into 1″x1″ pieces for the corners. We’ll pretend I only took a picture of 4, right? ‘Cause you only need 4 ;-).

This quick and easy DIY Christmas tree crate is just what you need to update your decor this year.

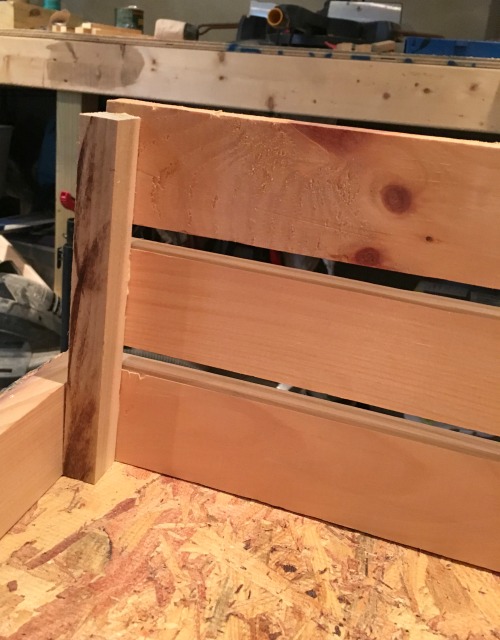
Step 2: Lay two 1×1 boards onto your work surface. Dry fit the 1x2s on the top to figure out your spacing. You can just eyeball a space that looks good to you. (I’m sure Santa doesn’t require the elves to have perfect measurements on shipping crates.)

Glue and staple the 1x2s onto the 1x1s.

It is fine if you want the top 1×2 to come a bit above the 1×1.

This quick and easy DIY Christmas tree crate is just what you need to update your decor this year.

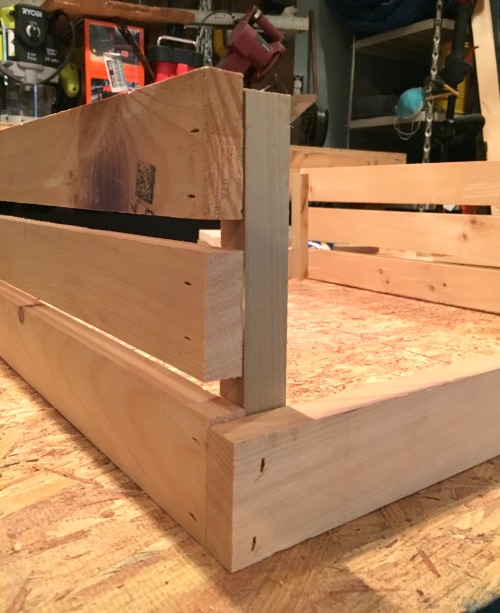
Step 3: Continue stapling the 1×2 boards onto the 1×1 to create a box. Line the sides up flush on the ends.

This quick and easy DIY Christmas tree crate is just what you need to update your decor this year.

There is no need to create a bottom because the tree will sit directly on the floor in the middle of the crate.

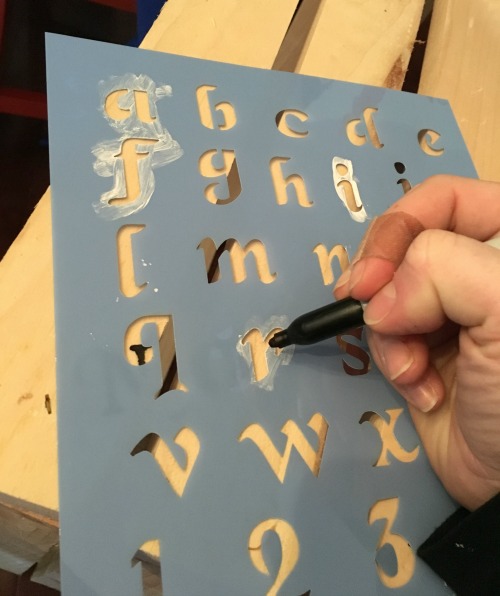
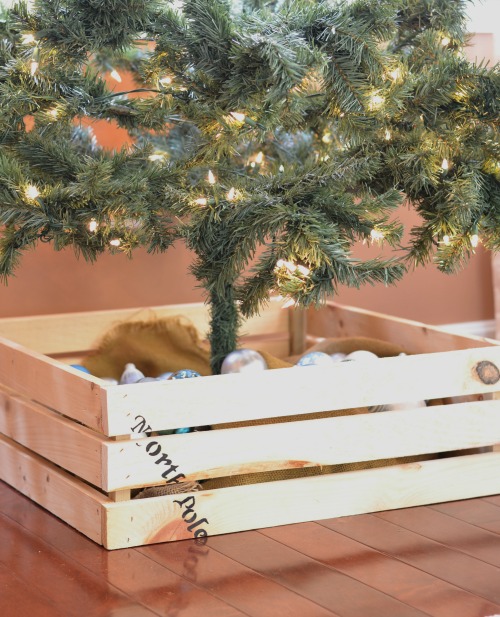
Step 4: Once you have completed the four sides of your crate, you can customize it with stencils. You could write something like “North Pole” or “To: your family’s name From: The North Pole.”
This quick and easy DIY Christmas tree crate is just what you need to update your decor this year.

Step 5:

Add your tree and some burlap, shredded paper or left over packing peanuts.  You could also add small, wrapped gifts or ornaments for fun.

This quick and easy DIY Christmas tree crate is just what you need to update your decor this year.

I have been meaning to build this for years. I am so glad I can finally cross it off my list!

This quick and easy DIY Christmas tree crate is just what you need to update your decor this year.

I’m off to wrap some gifts and get this season started.

This quick and easy DIY Christmas tree crate is just what you need to update your decor this year.

What is your favorite way to camouflage your tree stand?

Jillian's Signature

-Read more of Jillian’s posts-


Pin for later!