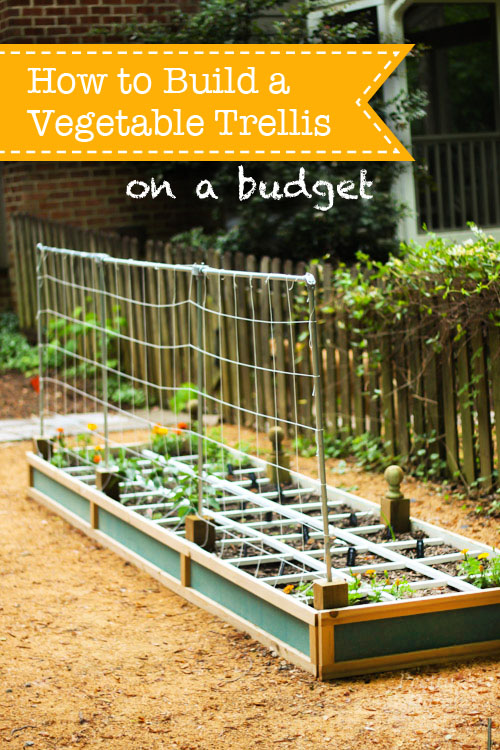
How to Build a Vegetable Trellis on a Budget
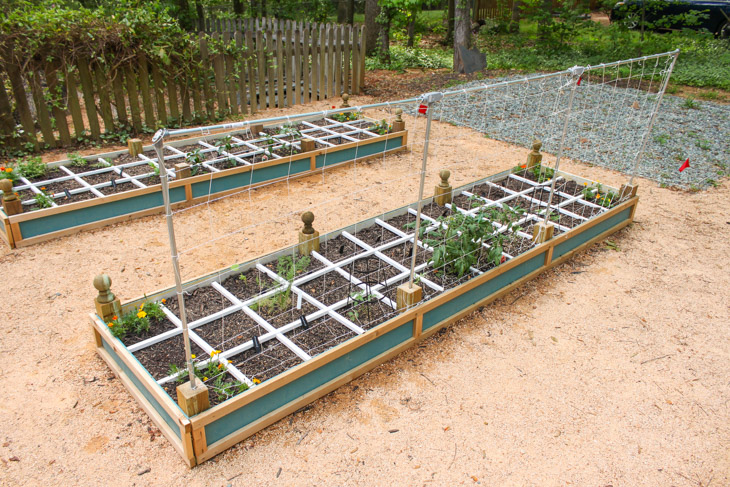
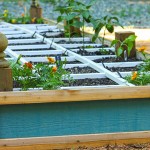
Recently, I showed you how to build these rot resistant planter beds. They are definitely working well for me. Many of my seeds have sprouted and they look very happy. Soon I’ll need a trellis to support the tomatoes, peppers, cucumbers and beans. With that in mind I set about trying to find the most cost effective way to build a trellis that would be strong and also rot resistant.
I found the idea to use electrical conduit while reading Square Foot Gardening (affiliate link). However, unlike Mel’s plans, I needed to create a structure to span my longer bed. Plus, I didn’t want to drill holes into the exterior of my planter bed. My design for building a vegetable trellis uses support from the corner 4×4 posts.
Ready to learn How to Build a Vegetable Trellis on a Budget? I thought so, grab your frugality and let’s get building.
Materials:
(contains affiliate links)
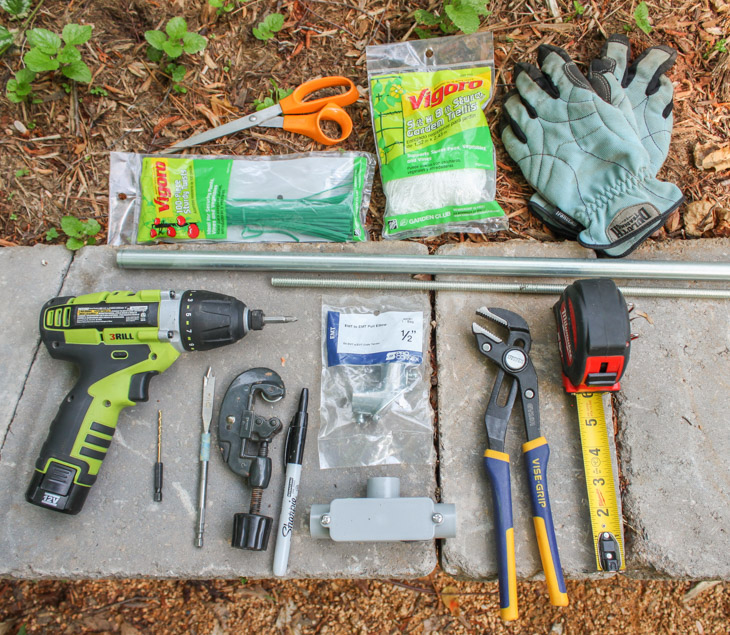
- Drill
- Drill bits (3/8 inch bit and 1/16″ bit)
- 1/4″ Threaded rod 12″ long
- Sharpie or pencil
- Pipe cutter
- 1/2″ Electrical conduit
- Pliers
- Tape measure
- Sturdy nylon garden trellis net
- Twist ties
- Scissors
- Gloves
- Conduit connectors: 90 degree connector and 3-way (You’ll probably want to order this on Amazon. The set screw type are very hard to find in the big box stores.)
Choosing a location for your Trellis:
If you made the rot-resistant planter bed that I designed, you’ll have 4″x4″ posts to use to support the trellis. Be sure to rotate or select the North facing side of your planter bed to locate your trellis. Then your non-climbing plants won’t be overshadowed by the climbing vines.
If you have different planter bed, you can secure the conduit to the sides with straps like these. Or simply hammer the conduit into the ground enough to secure the trellis.
Instructions:
Measure and mark your conduit to the height you prefer your trellis to be.
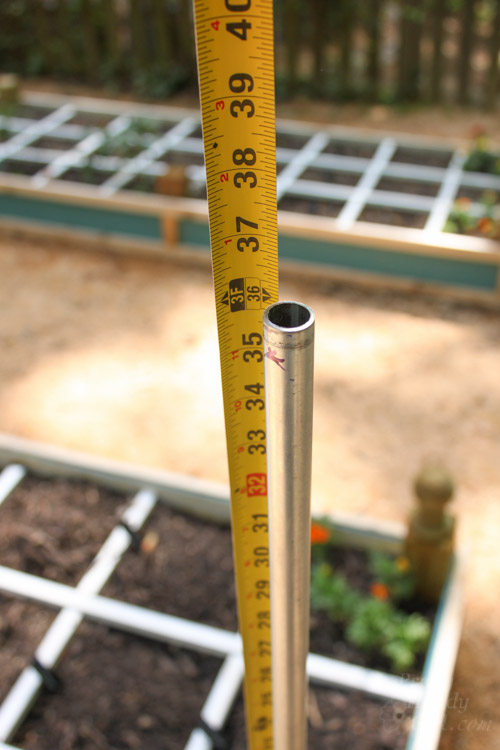
I chose 36″ heights because it will sit on top of a 12″ post, making it 48″ off the ground.
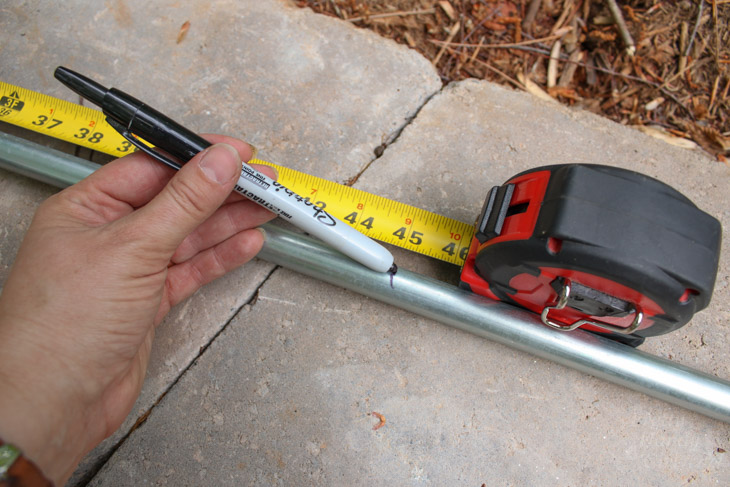
Use a pipe cutter to cut the conduit to size.
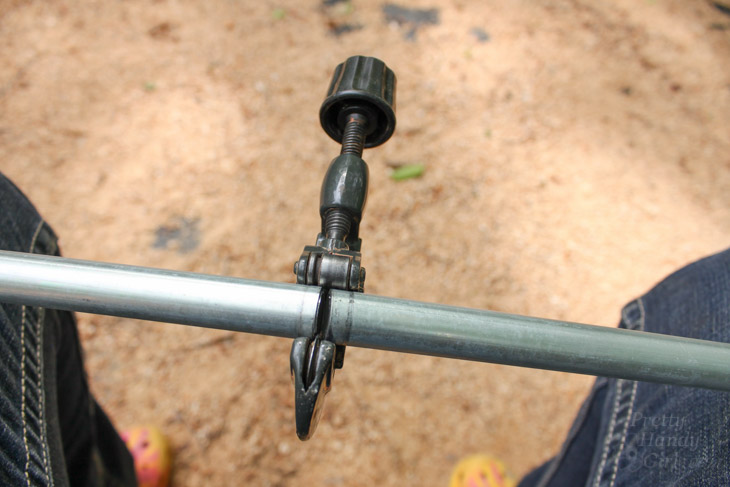
If you’ve never used a pipe cutter you’ll find this short video tutorial I made helpful:
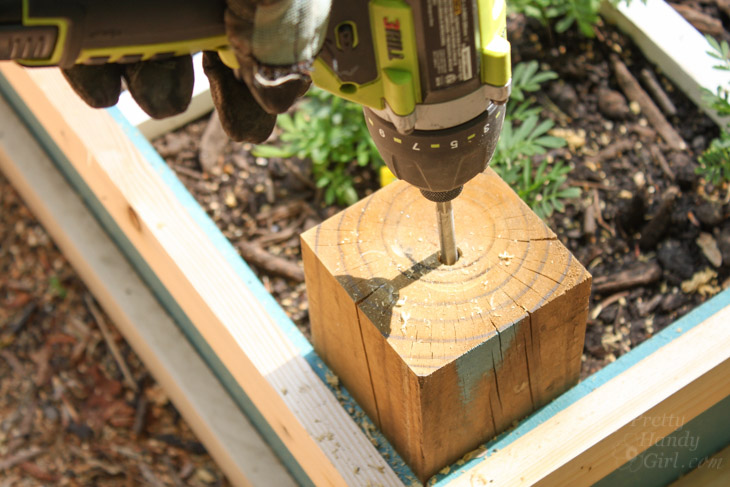
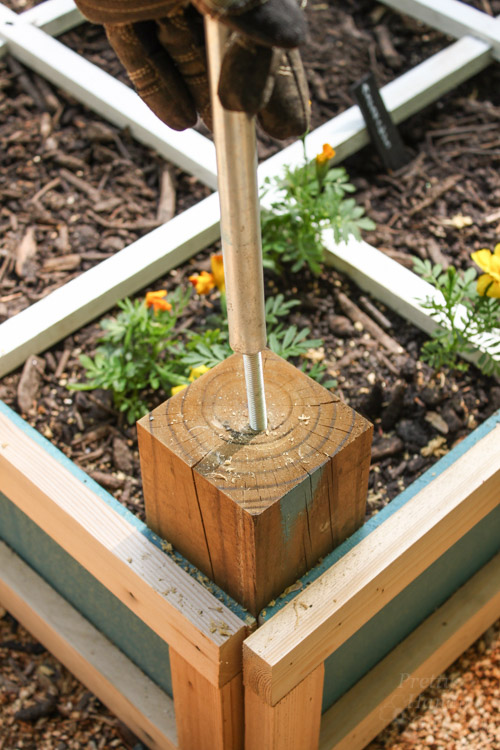
Using a 3/8″ spade bit drill into the 4″x4″ posts against the edges of your planter bed. Drill into the post at least 5″ deep.
Drop the threaded rod into the hole.
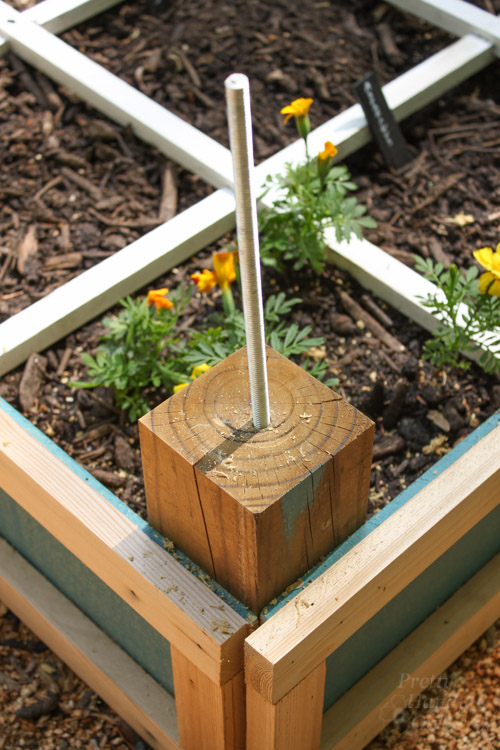
Slip your first conduit pipe over the threaded rod. Repeat for the remaining vertical supports.
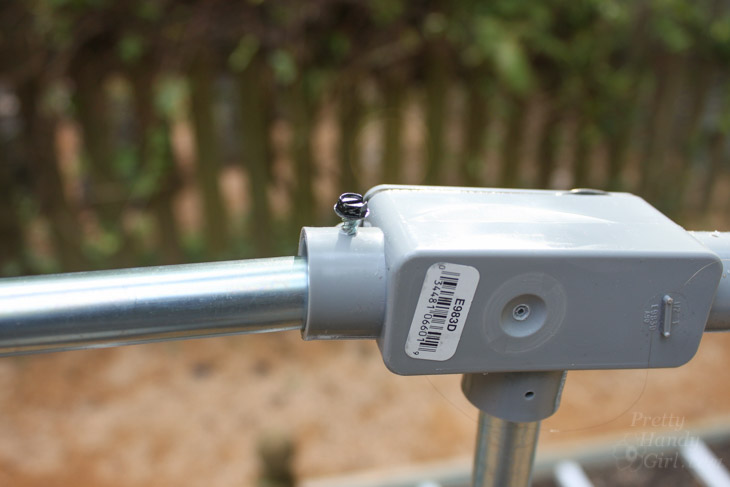
Attach one of the corner connectors to the first or last upright conduit.
Set the T connectors on the middle supports. Measure the horizontal distance between the vertical supports.
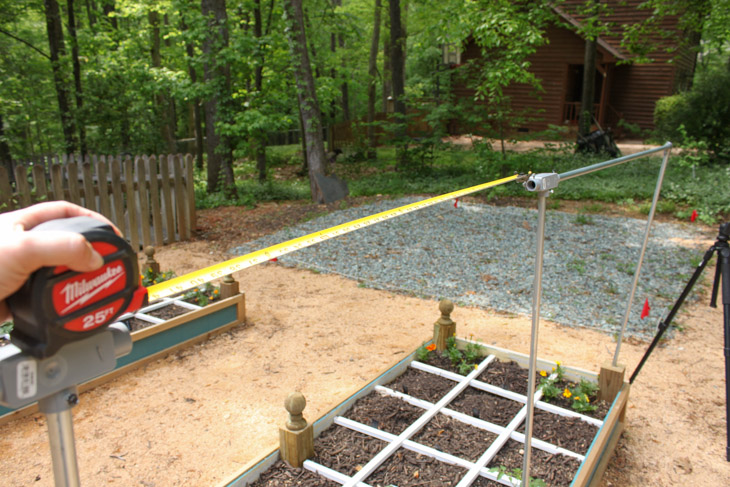
Cut your conduit and test fit them in the connectors.
Secure the horizontal top conduit to the corner connector.
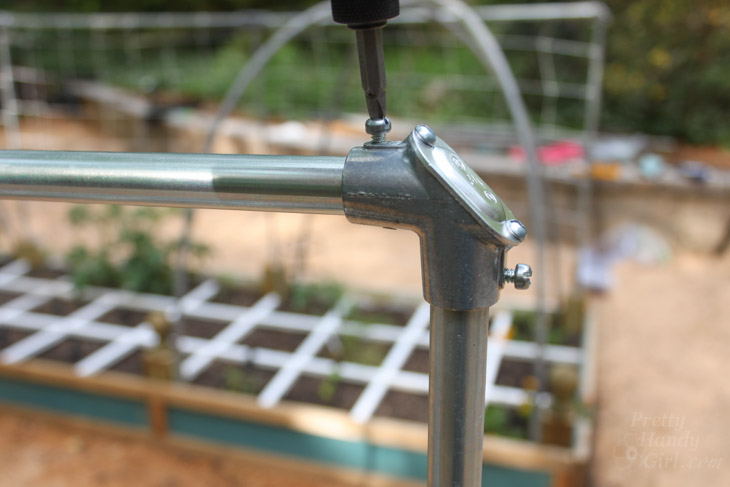
Secure the other horizontal pieces between the remaining connectors.
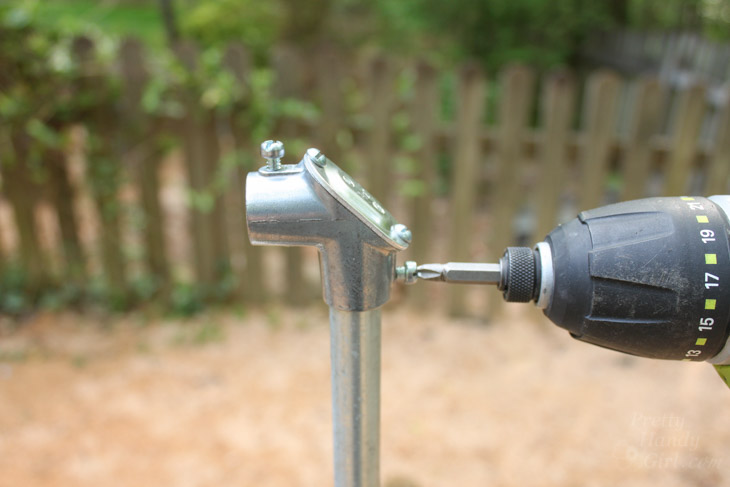
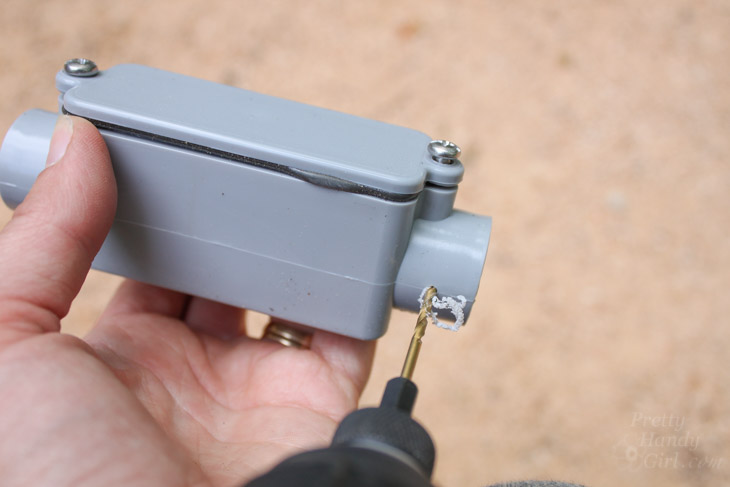
Remember that I suggested you purchase the set screw T connectors from Amazon (affiliate link). If you can’t find those connectors, you’ll have to drill your own holes and make your own set screws.
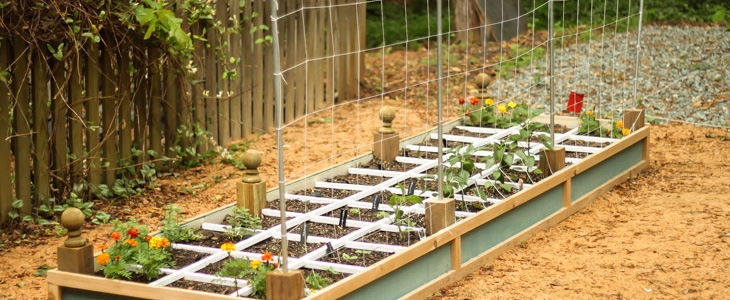
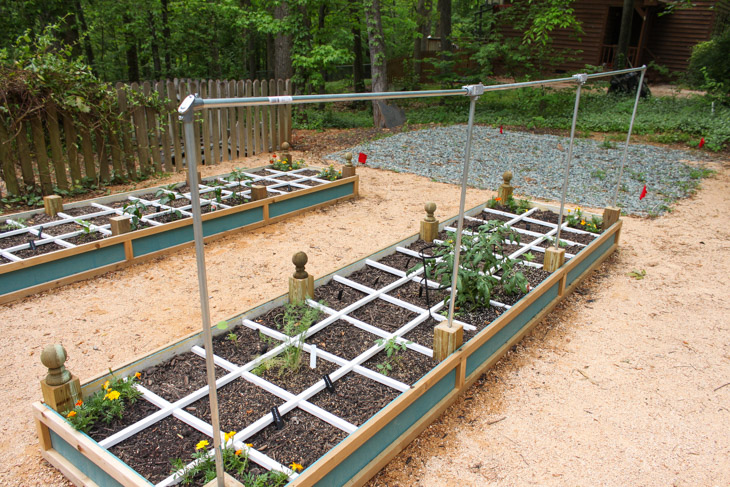
The trellis support poles should look like this:
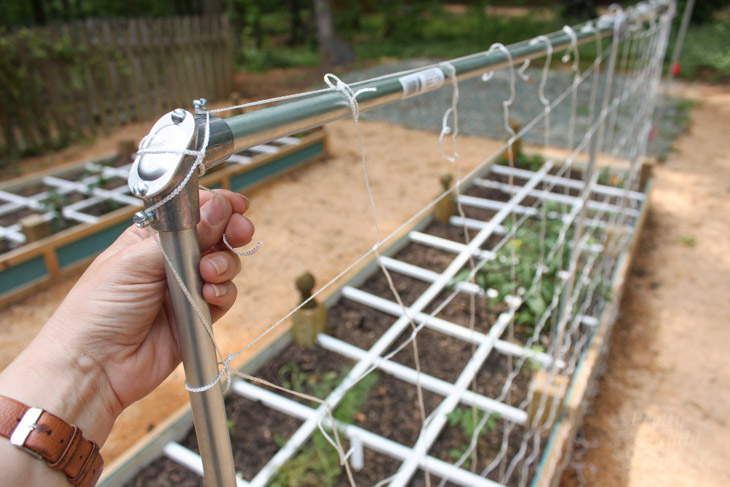
Wrap the trellis netting around the top and side supports of your trellis. Tie the netting onto the supports making sure the netting is snug.
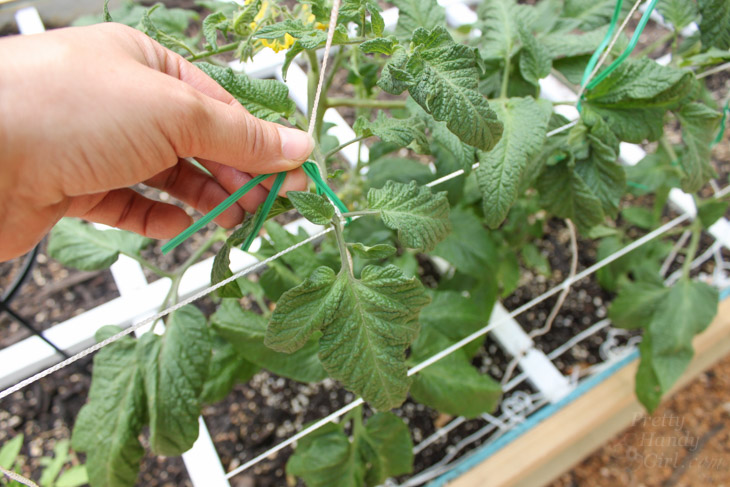
Now you’re ready to grow some vines!
As your plants grow, gently tie them to the trellis with twisty ties.
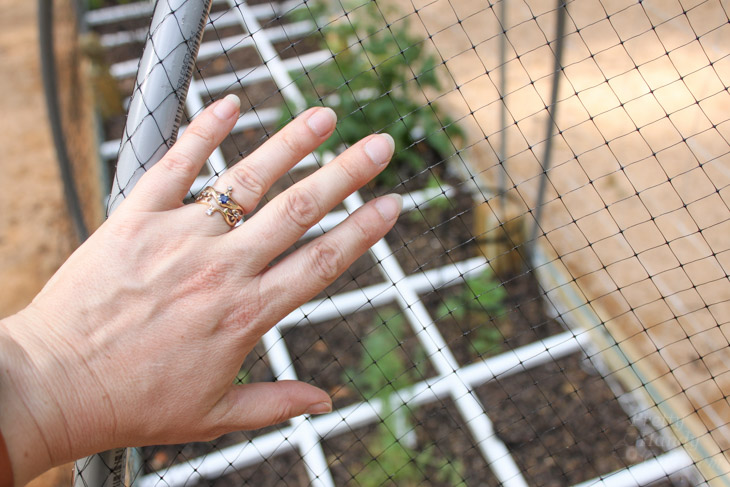
To protect my beds from wildlife, I bent pvc conduit (affiliate link) into hoops and draped wildlife netting on top of the bed.
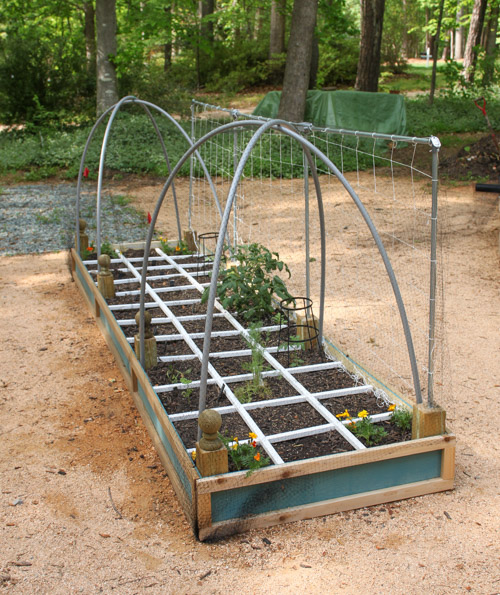
So far this seems to have protected my plants from fruit and veggie nibblers.
Do you have a garden? How do you keep the critters away from your fruitful harvest?
![]()
That’s an awesome vegetable trellis. I predict a bumper crop this summer for you. You could open up your own farmers market stand.
LOL, I don’t know about that. But, I’ll be happy to have fresh veggies.
Can you comment on your choice for metal conduit for the trellis vs pvc?
Metal is stronger, won’t flex as easily and won’t deteriorate in the sunshine.