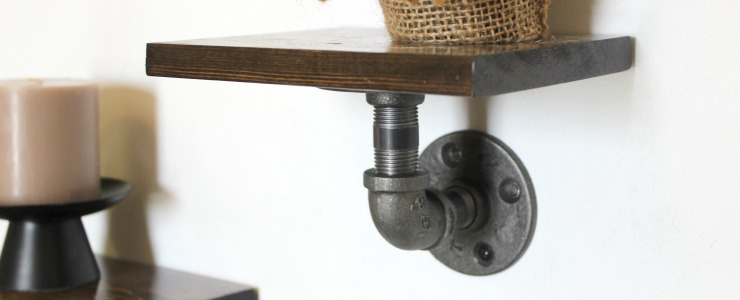
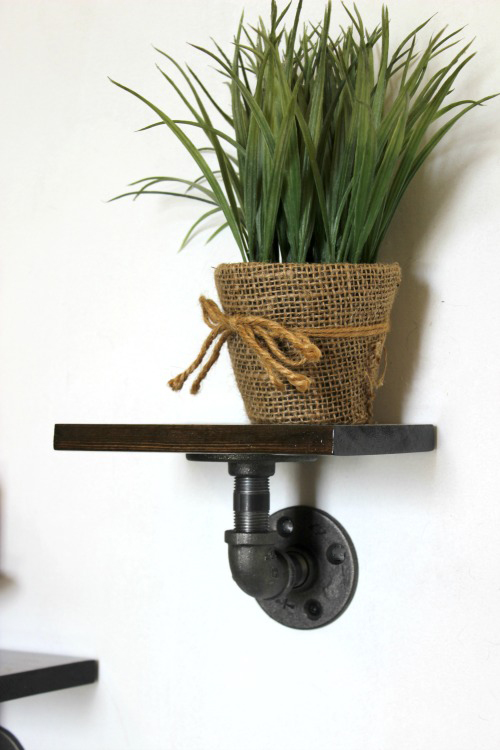
Hello! My name is Lindi. I normally blog at Love Create Celebrate, but I couldn’t be happier to contribute some great ideas at Pretty Handy Girl! I love the look and style of industrial home decor. On my blog, Love Create Celebrate, I recently started an industrial guest bedroom renovation, and I’m taking you through the entire process. These Industrial Display Shelves are the perfect addition to the decor in the room, and I’m thrilled to share this tutorial with you today.
Materials:
- 1″ x 6″ x 2′ board
- 6 – 1/2″ black steel flanges
- 6 – 1/2″ (diameter) x 2″ (length) black steel pipes
- 3 – 1/2″ black steel elbows
- 12 – #10 1 1/2″ wood screws (flange to wall connection)
- 12 – #10 1/2″ wood screws (flange to shelf connection)
- Wood Stain
- Varnish (gloss)
- Acetone
- Clear coat
Tools:
- Chop saw (or circular saw)
- Sander
- Drill
- Planer (optional)
Instructions:
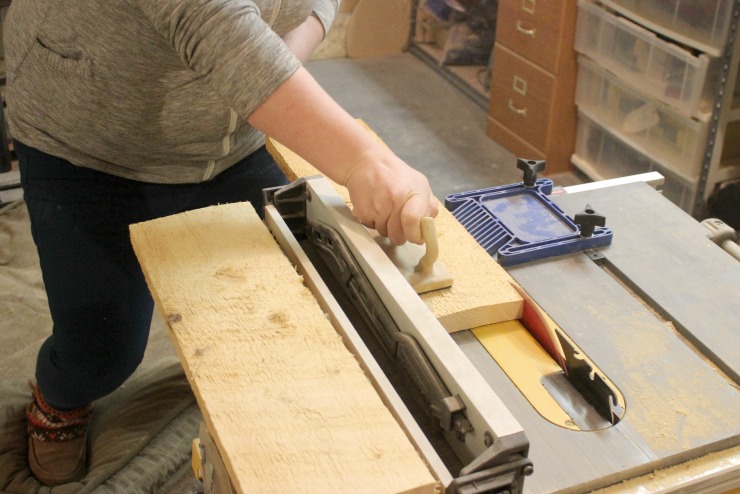
To begin, use the table saw or circular saw to cut the width of the board to 5″ for your shelves (you need a total of 21″ in length). If you are using rough wood, you may want to run the wood through the planer to make it flat and smooth. (If you bought wood that was straight, you don’t need to worry about this step.)
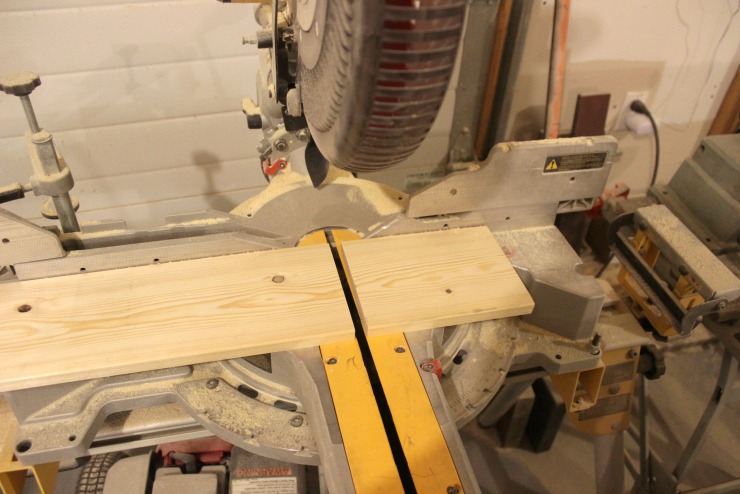
Grab your 1×6″ board and cut the board to 7″ inches in length.
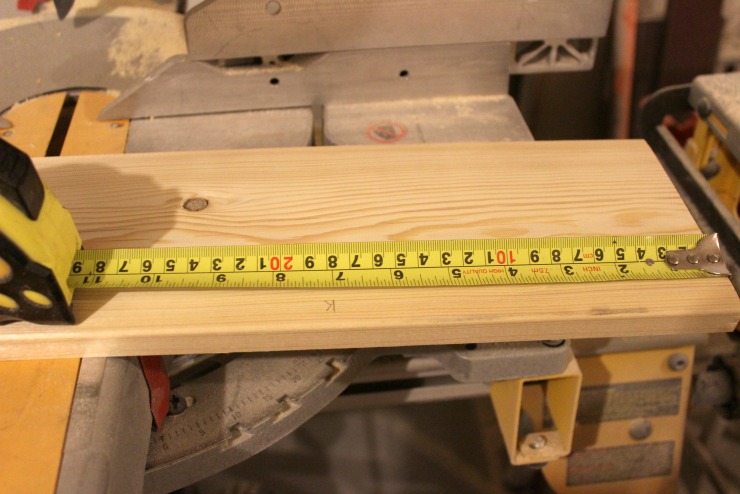
Use either a miter saw (chop saw) or a circular saw for this cut.
Next, pick up your sander and sand down all sides of your wood. Stain the wood with any color stain you chose. Read more

