How to Make Your Own Piping
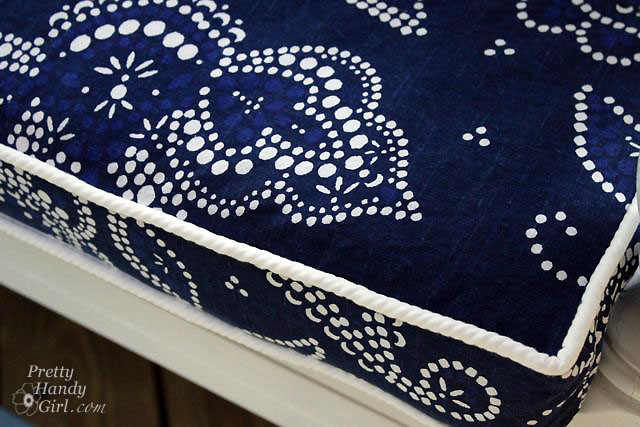
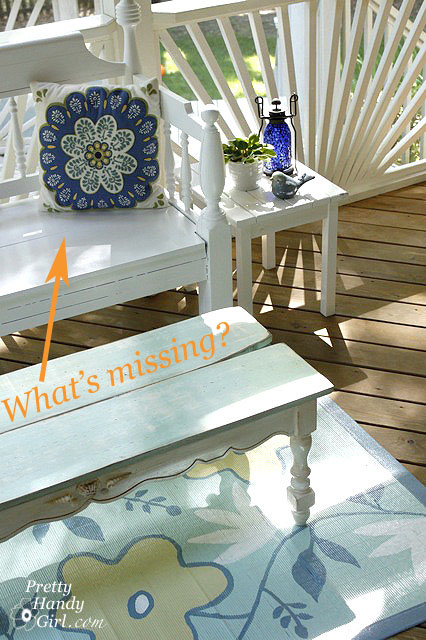
Back when I showed you my screen porch tour, I told you it really wasn’t 100% finished. Why? Well, I really wanted to sew a cushion for the garden bench.
As I was looking for piping for my cushion, I was getting VERY disappointed! Why? Two reasons:
- I couldn’t find a simple piping cord in a white color.
- Anything that might work (off-white) was VERY expensive!
So, I decided to teach myself how to make my own piping for the cushion. I can tell you now, I WILL NEVER BUY PIPING AGAIN! It was that easy.
Materials:
- Cotton rope
- Inexpensive cotton/poly blend white fabric
- White thread
- Scissors
- Pins
- Sewing machine with a zipper foot
- Iron
Tutorial:
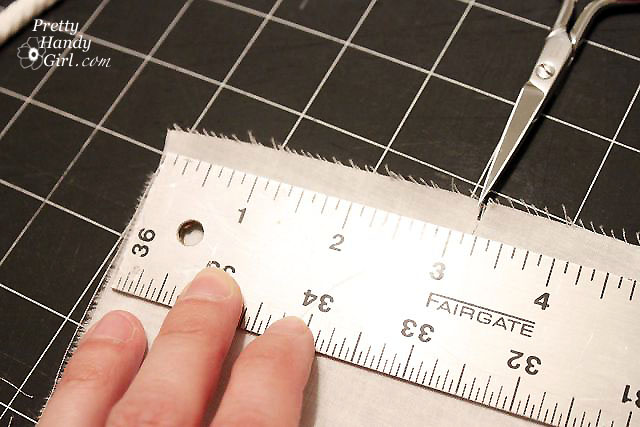
1. Start by measuring your fabric and put a snip at 3″.
2. Tear the fabric along the length. The strip should stay approximately 3″ along the rip.
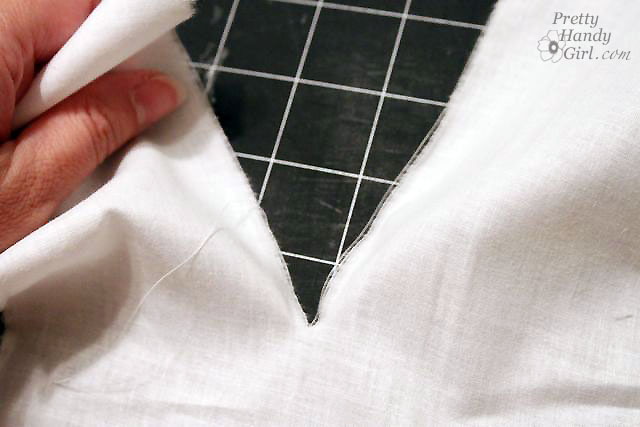
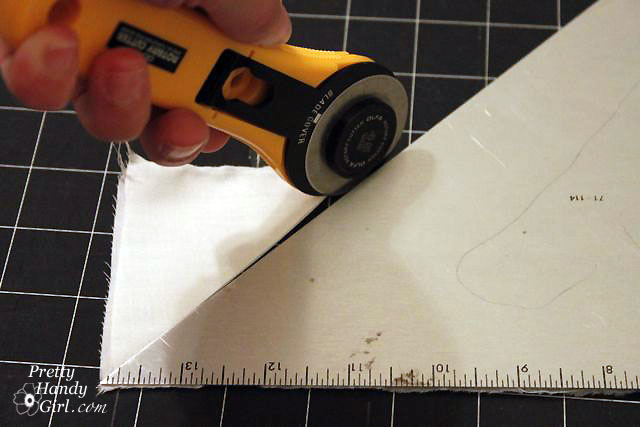
3. To add more length, cut two pieces at a 45˚ angle.
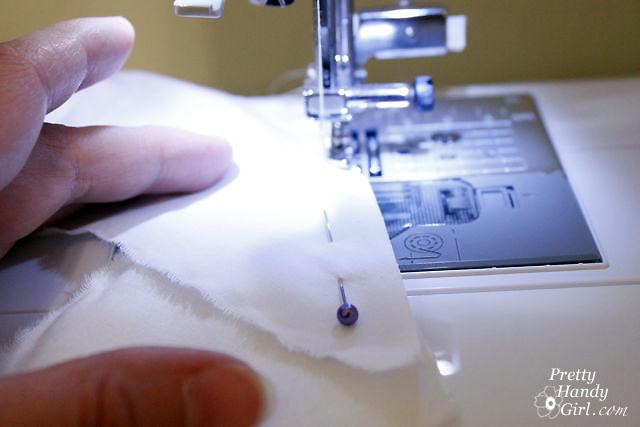
4. Pin the two angled ends together as shown (at a 90˚ angle).
5. Stitch the two pieces together along the angled edge.
6. Open up the fabric and press the seam.
7. Lay your rope in the center of the fabric.
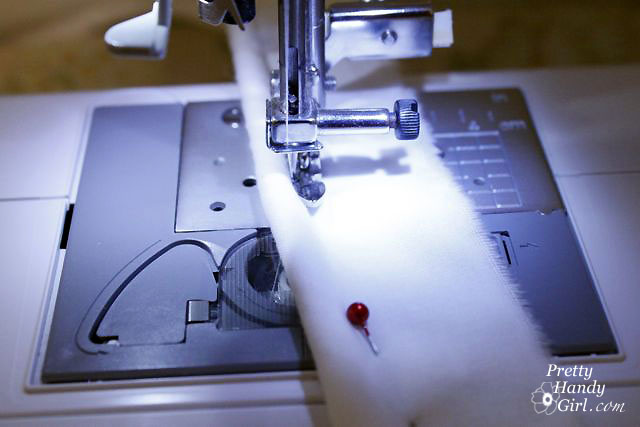
8. Line up the raw edges and pin next to the cord.
9. Using your sewing machine and zipper foot, stitch very close along the edge of the rope but not on top of it.
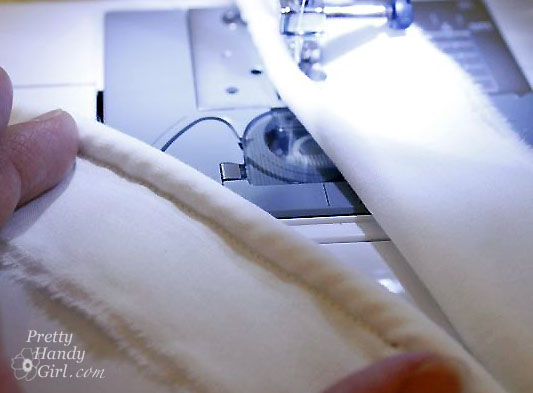
And this is your finished product! I actually like how the thin fabric shows the spiral pattern of the rope through it.
Now, head on over to my tutorial for sewing the bench cushion cover!








How do you know how much material to by for the pipping, not the cording but the cover?
Sue, you have to do a little math. Figure about 3-4″ for the strips of fabric and multiply that width x the number of strips you can fit on your width of fabric (usually fabrics are 45 – 60″ in width.) To figure out how much piping total, figure out the linear edge(s) of your cushion. Does that help?
Everywhere I’ve seen piping made, they had to cut their fabric on the bias. Was it more difficult to get it to go around the edges, or did you not really notice a difference?
Hi! I wanted to show what I made with the help of you piping tutorial and box cushion cover tutorial over at the CSI Project. I tried to work an envelope closure on the box cushion but it still needs the velco (I haven’t done that yet). Great tutorials – couldn’t have done it without them!
Here’s the first post on it:
http://29ruehouse.blogspot.co.uk/2012/05/breaking-out-ole-sewing-machine.html
And the second with the finished cushion (minus the velcro)
http://29ruehouse.blogspot.co.uk/2012/06/pinning-it-all-together.html
I am so glad I decided to look for a tutorial on piping cushions! I have cushions to re-cover for a sailboat and this tutorial on piping and making the cushion covers is both easy to understand and most helpful. Thanks so much!!!
That is soooo cool. Beleive it or not where I live i can not find cotton rope. Is it ok to use something else like nylon rope like this? http://www.homedepot.ca/product/5-8-inch-twisted-nylon-rope-white/960374
That shouldnt cause issues when washing right? Sorry just learning to sew and if this is a stupid question please forgive me.
I have some thin nylon cord from lowes I bought before I found the cotton cording. Do you think that would work?
Nikole,
Thank you for your comment. I would think the nylon cord would work fine if it is the same thickness. It might be stiffer, but it never hurts to try. Go ahead and cut a small piece off an sew the piping then see what you think 😉
Brittany