
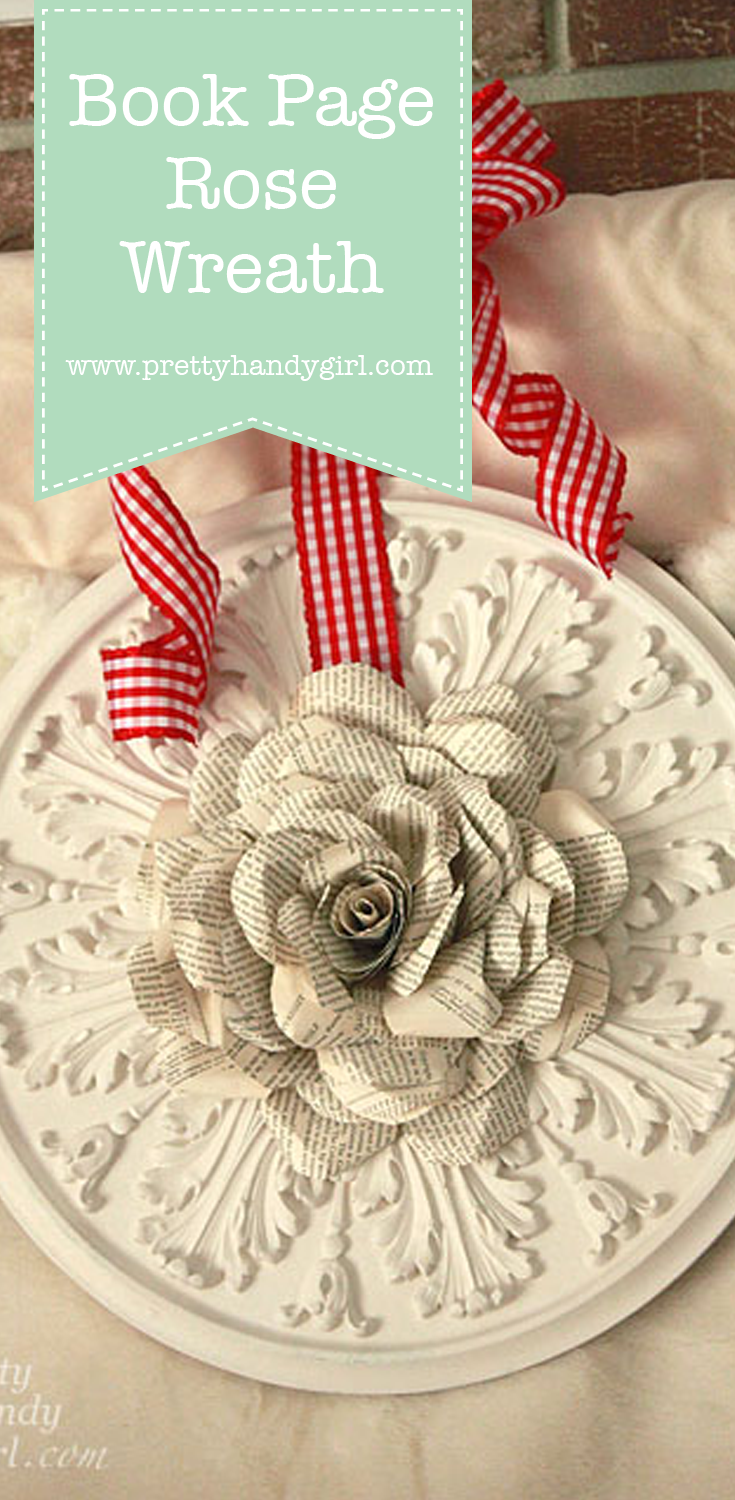
Book Page Rose Wreath

Are you drawn to the amber color of aging book pages? Do you love the scrolling detail on an ornate ceiling medallion? Do you like roses? Yes, yes, and yes?! Well, this post has your name written all over it!
I must say, I really enjoyed photographing this tutorial. The dimensions and shadows in the rose and medallion lend themselves so nicely to photography.
Before we start, I need to give credit where credit is due. I saw a beautiful paper rose bouquet on 100 Layer Cake the other day, and knew I wanted to make one giant one. The bouquet was created by Valerie Lloyd for a wedding. So beautiful and unique!
I had not taken down our Christmas decorations on the mantle (I know, slacker that I am.) But, this project propelled my desire to create a Valentine’s Day themed mantle.
Material:
- Old book
- Scissors
- Hot glue gun
- Hot glue sticks
- Ceiling medallion
- Small piece of cardboard
- Ribbon

Step 2. Cut out petal shapes from the book pages. Make some slightly larger and some smaller for the insides of the rose.

Step 3. Curl the top edges of the petal back.

Step 4. Fold the petal in half lengthwise. The curled edges will be on the outside of the fold.

Step 5. Roll several of the smaller petals into a tube shape for the center of the rose.

You should have a decent pile of petals collected before proceeding.

Step 6. Cut a long piece of ribbon to feed through the center of the medallion. It is important to add the ribbon now before you build out your rose and cover the hole.
Plug in your glue gun and let it warm up.

Step 7. Cut a piece of cardboard large enough to cover the center of the medallion. Run a line of hot glue around the center hole on the back of the medallion. Place the cardboard over the hole.

Step 8. Squeeze a large dollop of glue into the center of the cardboard (on the front side of the medallion.) Press one of the small petal tubes into the center of the glue. Hold it until the glue hardens and sets.

Squeeze more glue around the base of the first petal. Wrap a few more of the small petal tubes around the first one.

Experiment with folding the base of each petal or leave them open (your choice.) Variety will make your rose look more “real.”

Step 9. Continue working around the rose from the center out until you have a very full paper rose.

Step 10. Let the hot glue cool. Fluff the rose and add any petals where you think your rose might need more.

Tie a bow at the top of the ribbon and hang your beautiful wreath!
Stand back and admire your new romantic book page wreath.

What did I tell you? This rose is so beautiful and fun to photograph.
I’d love to hear from you if you make your own! Very rewarding and a relatively easy project.

I hope you are having a fabulous week!


This flower is exactly what I was looking for
Is there a free pattern to copy for the petals?
Sorry there isn’t. Just freehand your own. Flower petals are never perfect ;-).
This is really cool! It would be a fun idea to use an old copy of A Christmas Carol!
That is just awesome!
If you want a really aged look to pages, soak in weak tea awhile and lay flat to dry on table on paper towel. I did this with the wreath and the patina looks so nice. New books or white pages are nice too, depends on what yo want
Great idea Gloria! I need to try that.
where do I find ceiling medallions? Jeannie
Lowe’s or Home Depot
I bet this would look pretty with sheet music as well.
no words just Wow!
Your Rose wreath is truly beautiful. I have some old books and would love to give this a try.
Thank you for such a detailed tutorial.
Love this, and will make it, but, I love change, too, so I will make my rose independently from the wreath. I will glue it to a cardboard backing, but, I will attach the backing to my RIBBON, so that once untied, I can reuse the rose somewhere else, and still use the medallion elsewhere, as well. I like the idea of aging my pages with tea or coffee, too. Or, I may simply tape or pin the backing (if medallion is Styrofoam) to my medallion.
That’s a great idea Yvonne!
DELIGHTFUL!!!
Great tutorial! The pictures make it super clear!
This is really a great project! I love using pages of old books to make something pretty!
Would love for you to post and share it on my web site!
Susan,
http://www.ohmy-creative.com/
A community to Create – Share – Inspire
OH My! I love this project. I am pinning it! Please link up to my party- “Cowgirl Up!”. It is a linked linky, so when you post it on my site, your project will appear on 4 different blogs. I know everyone will love this! Thanks for sharing! http://www.craftytexasgirls.com/2012/02/cowgirl-up-2.html
wow, that’s so pretty. Hopefully mine will turn out as cute as yours
This is simply gorgeous! I am also a lover of recycled book pages and I love that rose. I plan to do an entire wreath using book page roses, and soon. In the meantime I’m coordinating my craft studio storage with lots of book page crafts. I’ll be glad when it’s done!
Hi!
I absolutely love, love, love, love this project! What an awesome idea. It gives me so many ideas (I have sveral ceiling medallions hanging around and I could certainly use them. I did other things to the ceilings that could have used them – and now I have only a few ceiling sleft in my house for their use.
Great, great idea. I am certainly going to follow you…hopefully you will do the same.
Looking forward to more of your ideas. Found you on Funky Junk!
Linda
I love this! So beautiful! I added a link to my Book Crafts article on Squidoo.
So cool! I wanted to make a medallion wreath for Christmas, but never got to it. I love book page art & have done a wreath, chandelier, and several flowers. This is definitely on my list! Thanks for the inspiration:)
This is so pretty! Thanks for the great tutorial, I shall be keeping an eye out for old books now
LOVE!! The rose turned out amazing! What a great idea for a unique wreath. Old books make the best crafts!
I made a book page wreath this week too! I am totally trying one of your roses though-it is soooo pretty!I would love for you to come link it up at my party going on right now!
http://too-much-time.com/2012/02/get-schooled-saturday-9.html
Gorgeous, I love it!
Ok, so besides being pretty darn handy, now you’re pretty artistic too:)
Thanks Vicki. I’m actually a professional artist (studied Illustration in college.) Did you know that?
Nicely done, explained and photographed. I love this combination of elements. Thanks for sharing the technique.
Thanks Lucy. BTW, don’t ever change your avatar, I love seeing your eye 😉
Brittany – so clever and so pretty! I love it! Beautiful job!
Thanks Roeshel ;-).
What an adorable idea! And what a cute picture it made!! Love this idea!
What a cleaver, cleaver girl you are! I love it!! 🙂
How unique and beautiful!!!
This is so beautiful, I just love it! Love how wreaths are so dynamic and diverse today, thanks so much for this gorgeous tutorial.
You are so welcome. Thanks for the comment.
Wow – amazing — Very nice! You’re the ‘bestedess’ of the ‘bested!’ Thanks for sharing!
LOL! Is that a new word? Bestedess ;-D
Very Very PRETTY!
Thanks Diane and thanks for the tweets!
It’s so pretty! I love making things with old book pages.
I love this wreath and the details of the rose! I’ve yet to do anything with book pages yet I’ve been hoarding quite a few books for the main purpose of using in projects! must make something with book pages ASAP!
Katie, I just found two old books too. For some reason they are harder to come by in my area.