Wall Mounted TV with Hidden Wires Tutorial
Do you have a flat screen TV? Do you have children? Wish you could mount your TV on the wall for space and safety? Or have you already mounted your TV, but the wires are visible and hang below your screen? GASP—not the dreaded visible wires syndrome!
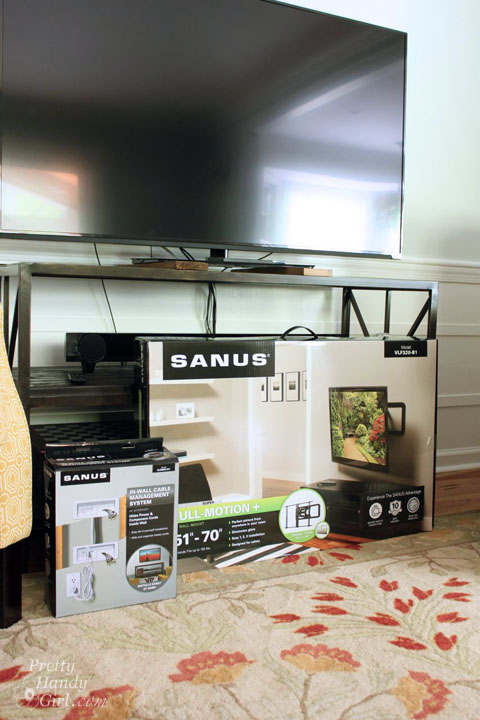
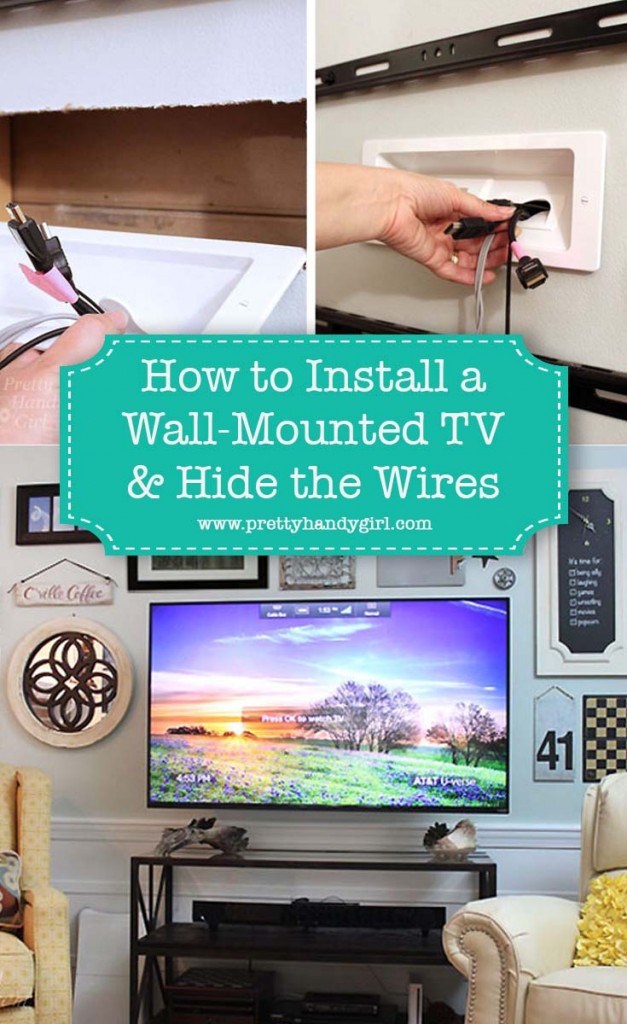
Today I have a tutorial to show you How to Install a Wall Mount for your TV AND How to Hide those Unsightly Wires in a cable management system. SANUS sent me their Full-Motion TV Wall Mount and In-Wall Cable Management to use for this tutorial. Before you start thinking that you can’t do this, or that you have to hire an electrician to run power behind the TV, you don’t! And this is a very easy DIY project! The SANUS In-Wall Cable Management System is the coolest product. It allows you to hook up to an existing outlet elsewhere (within 60″ horizontally from your TV)! (Per FTC regulations, you should know that this is a sponsored post for SANUS, but I approached them after researching TV mounts and cable management systems. )
Genevieve Gorder has some good information about why you want to use a SANUS mount in this short video:
Why did I want to use the SANUS mount? Here’s just a few reasons:
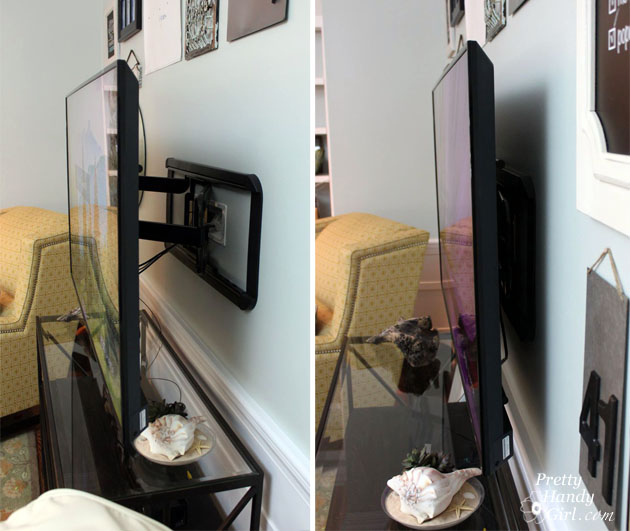
You can pull your screen out from the wall or press it back to just a few inches away. (The arms extend a full 20″. Further than shown, because our cables are too short to fully extend.)
The power cord plugs into an ultra low profile in wall cable system. All wires are hidden behind the TV.
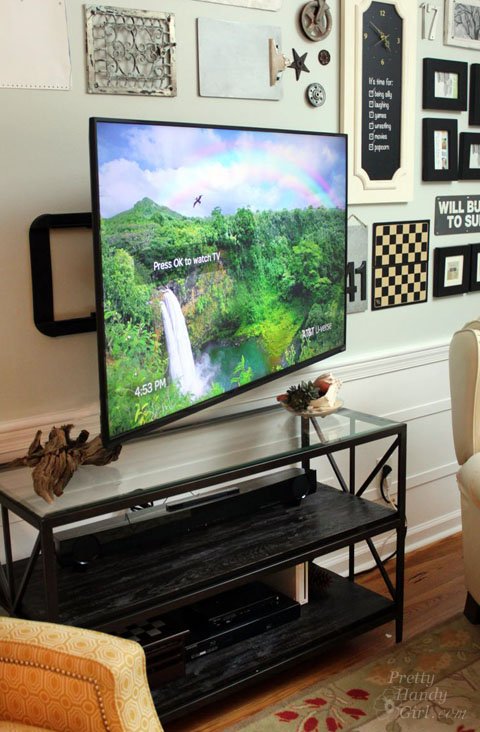
The TV can also extend and swivel from left to right. This allows us to be able to watch TV from the adjacent room! Which means the kids can eat pizza AND watch a movie because they can safely sit at the kitchen table and view the movie in the living room. Score one for Mom! No more pizza stains on the rug or sofa.
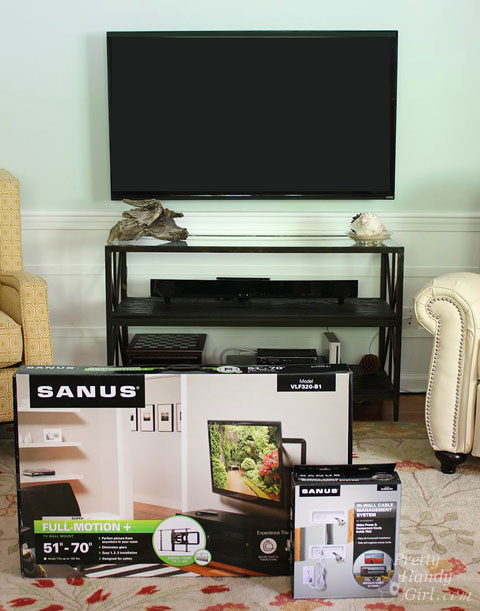
Ready to learn how you can easily mount your flat-screen TV on the wall AND hide the wires? Let’s get to it!
Materials:
(I’ve included affiliate links for your convenience. I earn a small percentage from a purchase using these links. There is no additional cost to you. You can read more about affiliate links here.)
- SANUS Full-Motion TV Wall Mount
- SANUS In-Wall Cable Management
- Tape measure
- Painter’s tape
- Stud finder (included in the box, but I like using a bigger one) or view 5 ways to find a stud without a studfinder
- Pencil
- Level (also included, but I prefer a bigger one)
- 1/2″ Socket wrench
- Drywall saw (possibly a multi-tool if you have paneling on your walls)
- Flat head & phillips head screwdriver
- Drill
- 7/32 wood drill bit
- Flashlight & mirror (or smart phone with camera)
Instructions:
This tutorial will show how to install the mount and cable management system in drywall. If you have walls that aren’t drywall, please contact SANUS customer service for help selecting a product for your home.
Decide where you want to mount your TV. Locate the closest studs to the TV. Typically studs are 16″ apart (on center).
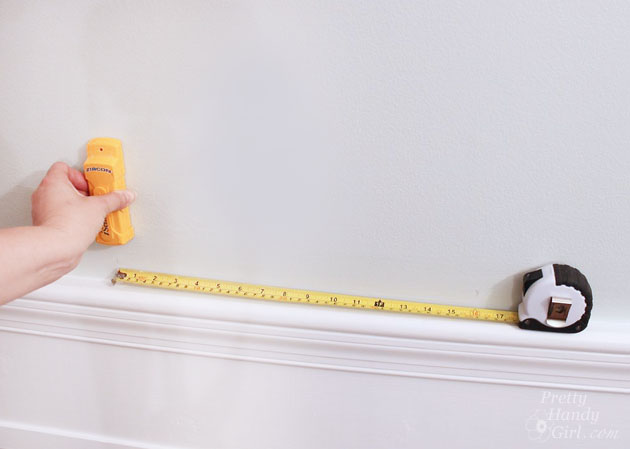
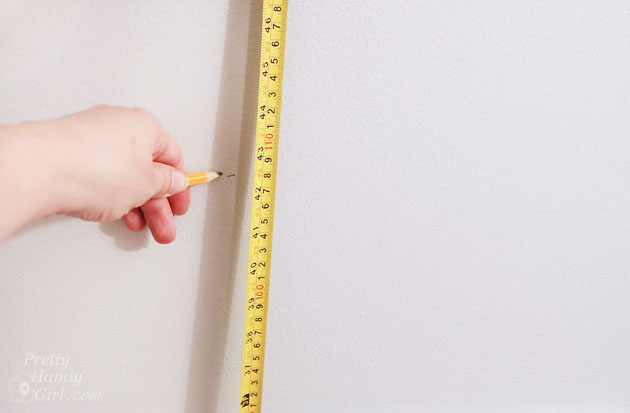
Determine the height you want your TV to hang. View the SANUS HeightFinder page to get exact measurements for hanging the wall plate. Mark the dimensions from the HeightFinder page onto your wall.
Tape the SANUS Wall Plate Template on the wall centered on the desired location your TV will hang. Level the template.
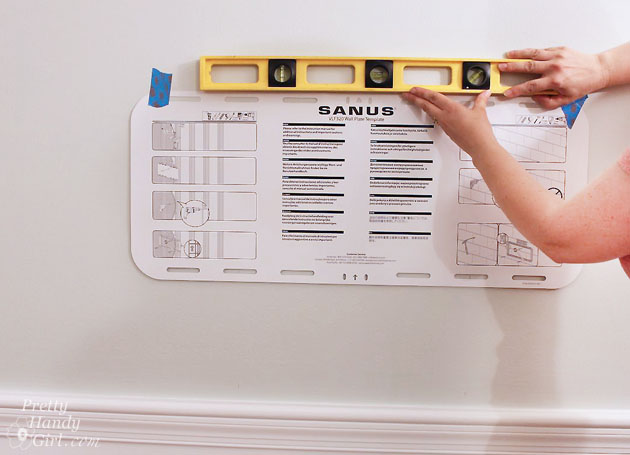
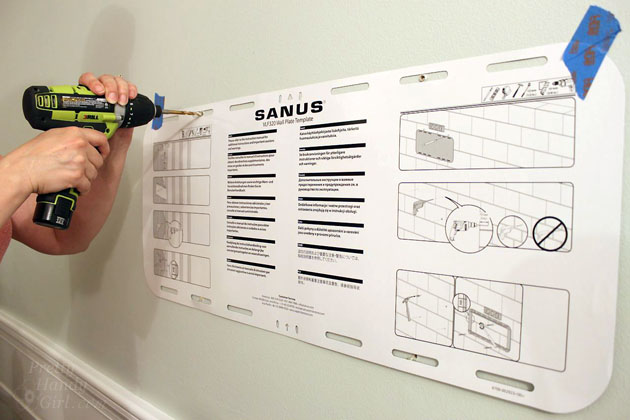
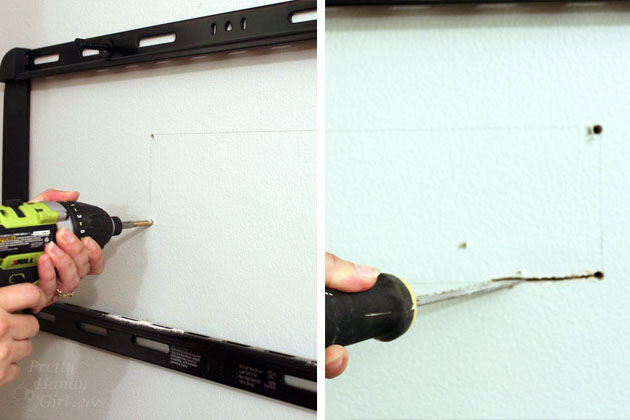
Locate the studs you marked earlier and drill holes through the wall into the studs (2 on top and 2 on bottom) using the 7/32″ drill bit.
Attach the wall plate to the wall using the 1/2″ lag bolts and washers.

Center the Wall Cut-out Template for the cable management system in between the wall studs inside the wall plate. Level the template and trace around it.
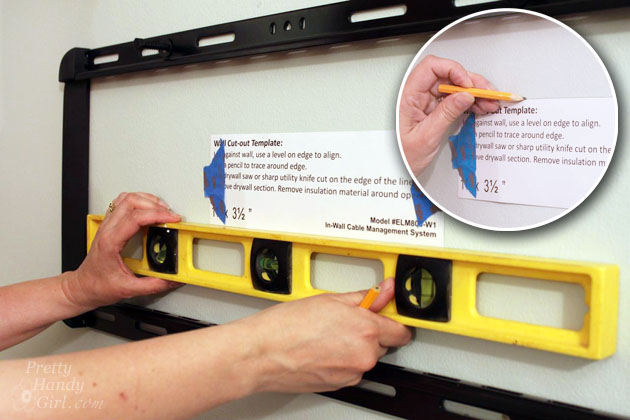
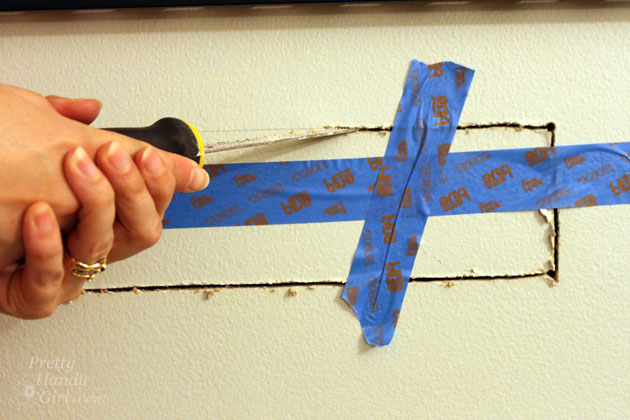
Drill holes into the four corners of the traced template. Use a drywall saw to cut between the holes.
To keep the drywall from dropping into the wall, tape over the cut out before you complete your cuts.
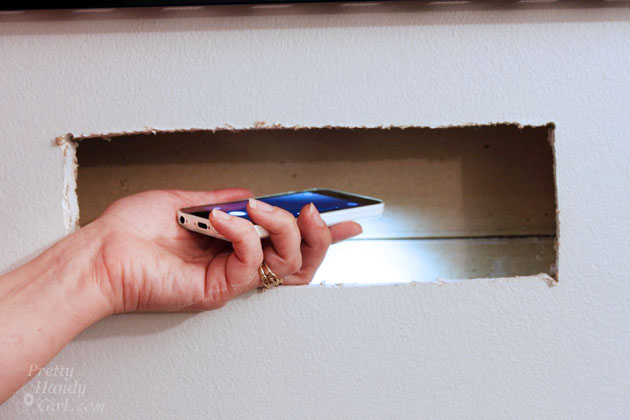
Use a flashlight and mirror or your smart phone to take a picture in the wall. Make sure you have a clear shot down to the baseboard level.
Tape the cable management template just above your baseboard directly below the upper cut out. Level the template.
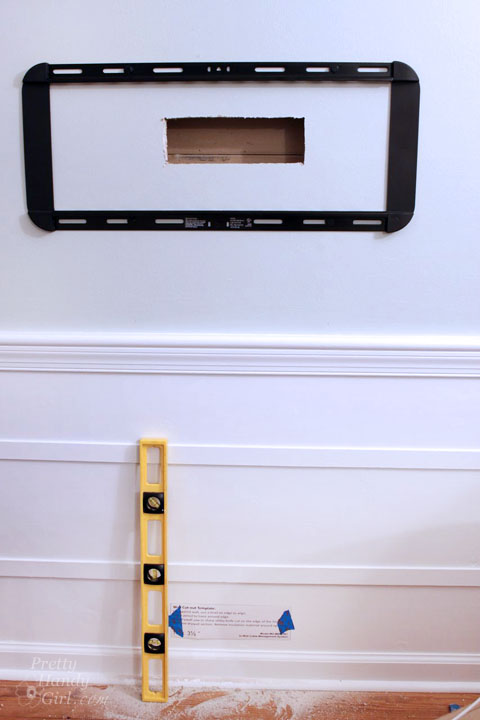
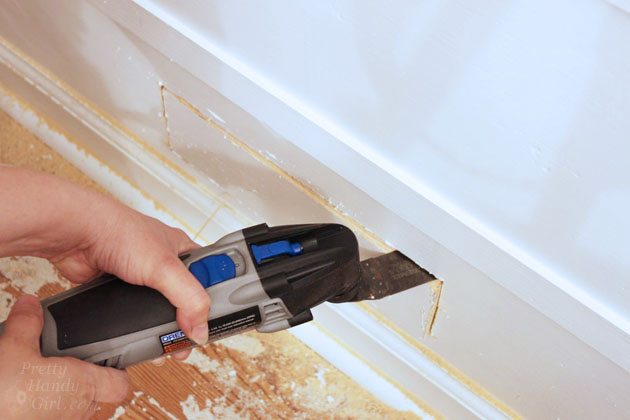
Repeat the same steps to cut out around the template. When cutting through wood paneling you will want to use a power saw, like a multi-tool.
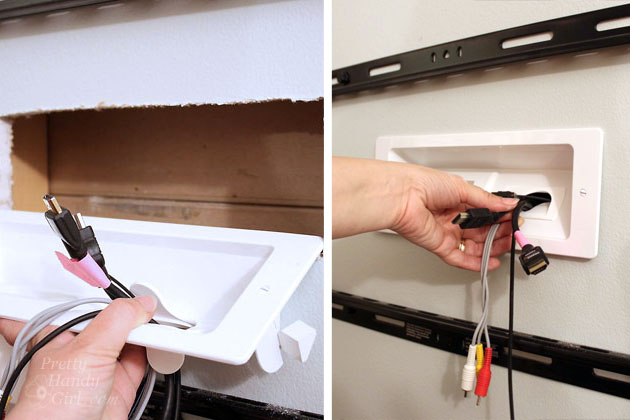
Feed your cables that attach to the back of your TV through the back of the upper cable management system. (The upper unit has a regular electrical outlet receptacle.) Press the management system into the wall.
Use a flat head screwdriver to tighten the wings that will secure to the inside of the drywall.
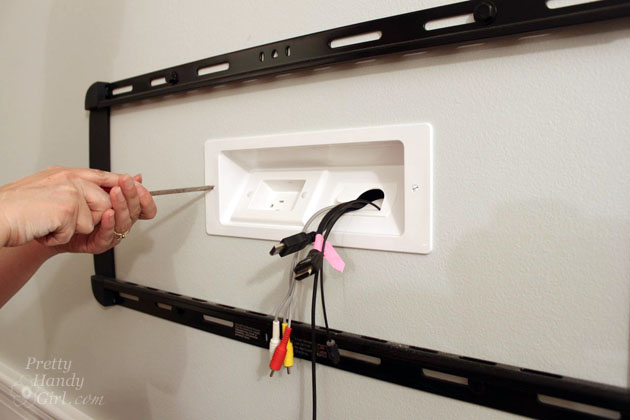
Locate and pull the cables and the PowerConnect cable through the bottom cut out. Connect the PowerConnect cable connectors together and press firmly until you hear them click.
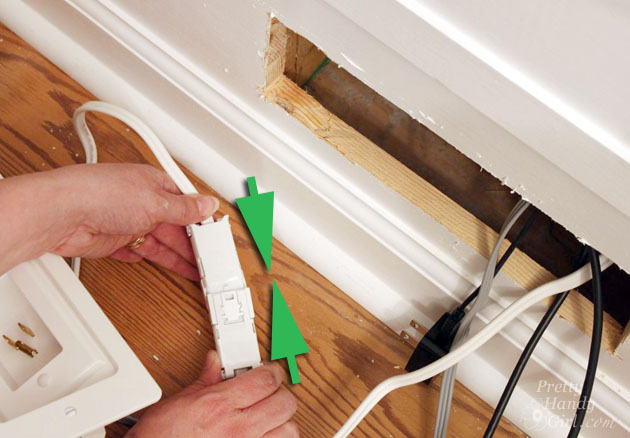
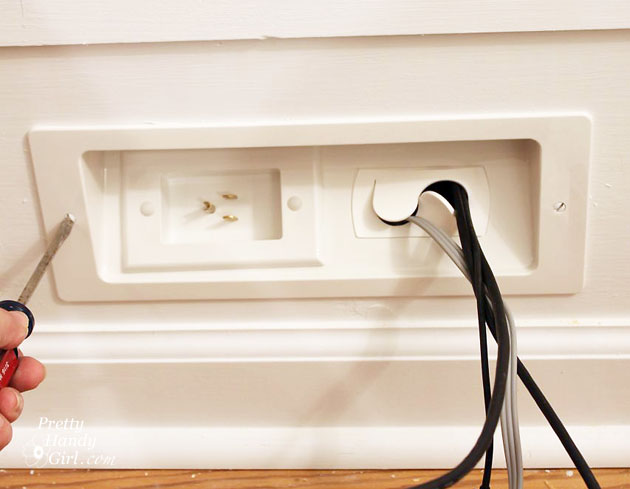
Thread the additional cables through the back of the lower cable management system.

Press the in wall cable management system into the wall and tighten the wings using your screwdriver.
Time to prep your TV for mounting!
Remove the TV stand from your TV. Some flat-screen TVs have screws on the back that will release the stand.
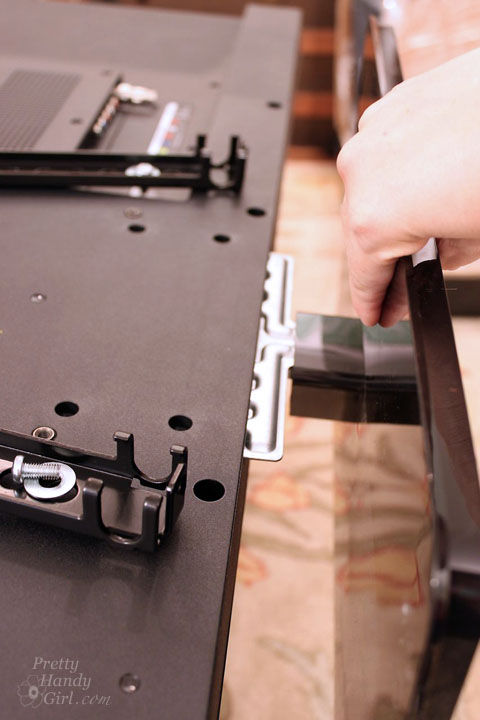
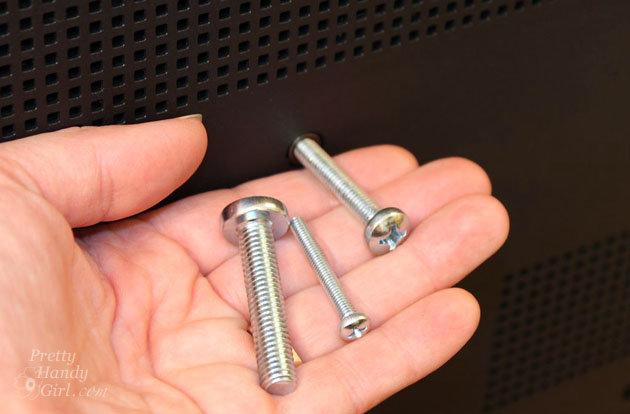
SANUS includes several TV screws with the wall mount kit. Locate the screws that fit your TV. Use the shortest ones you can to avoid damage to your screen.
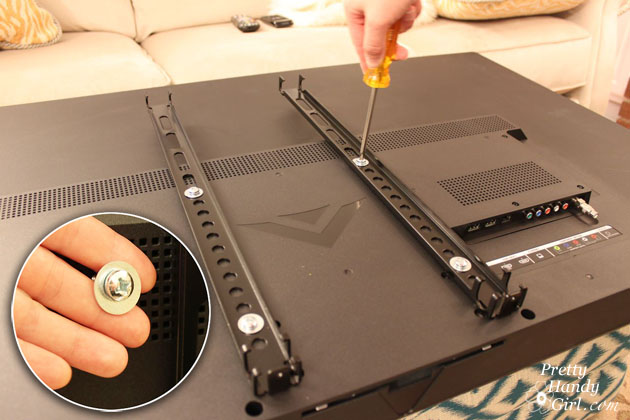
Attach the TV brackets to your TV using the screws and washers.
Locate the arm assembly and press it into the wall bracket as shown below:
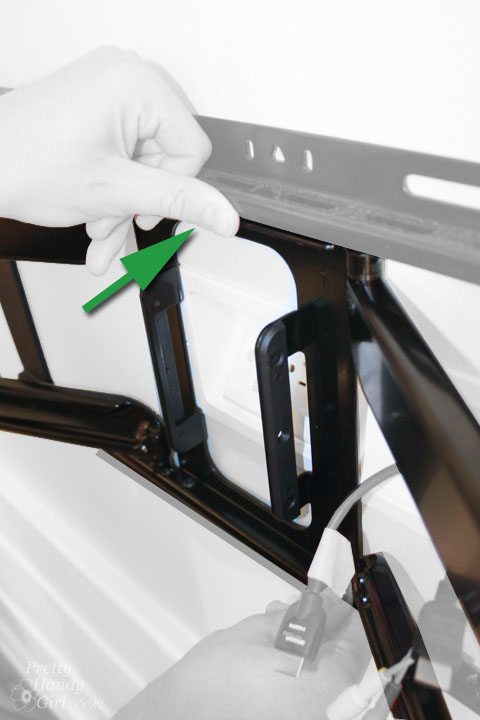
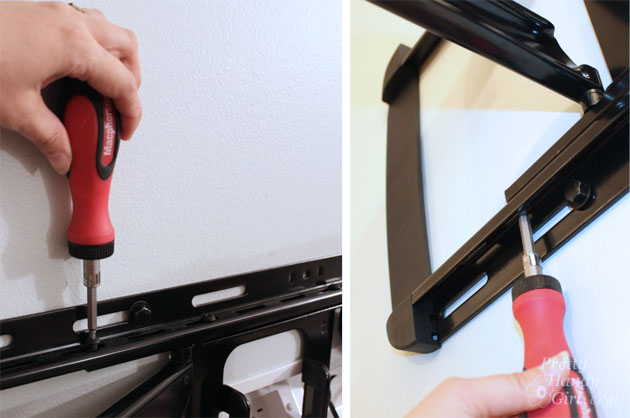
Attach the arm assembly to the wall bracket with provided screws (two on top and two on the bottom). You’ll find it a lot easier to tighten the screws if you have a hex bit for your screwdriver. The provided hex wrenches are a little more difficult to turn close to the wall.
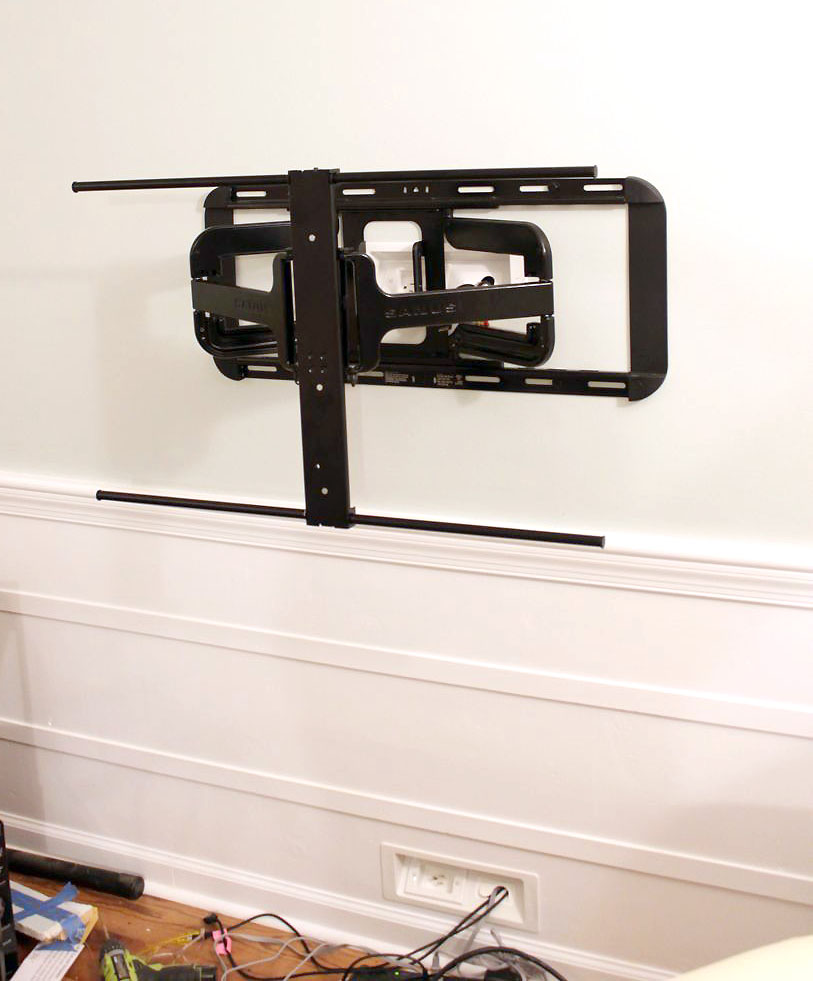
The TV mount should look like this:
Get the assistance of a Pretty Handsome Guy (or a friend) to help lift the TV and rest it onto the arm assembly.
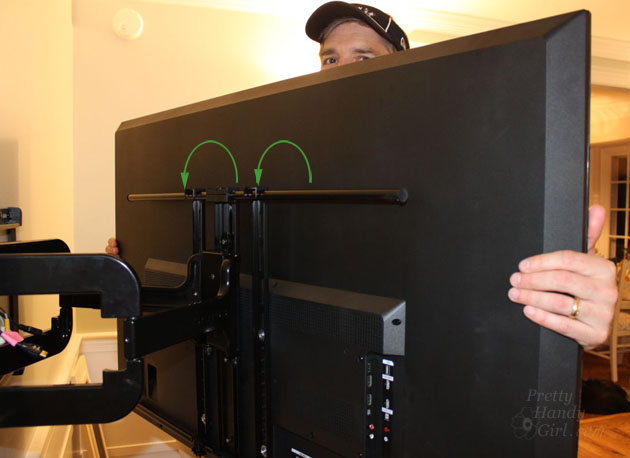
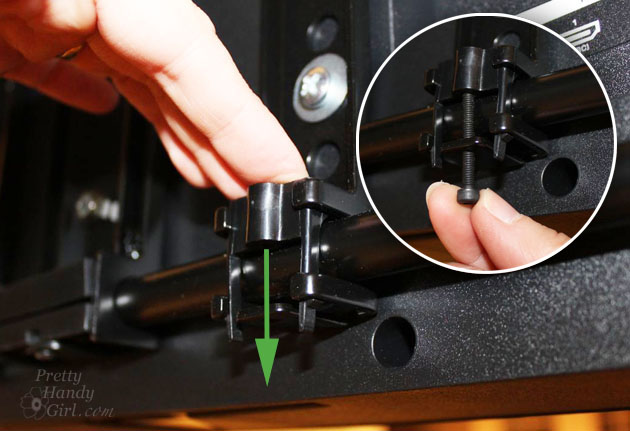
Attach the provided “click caps” to the TV bracket to secure the TV to the arm assembly.
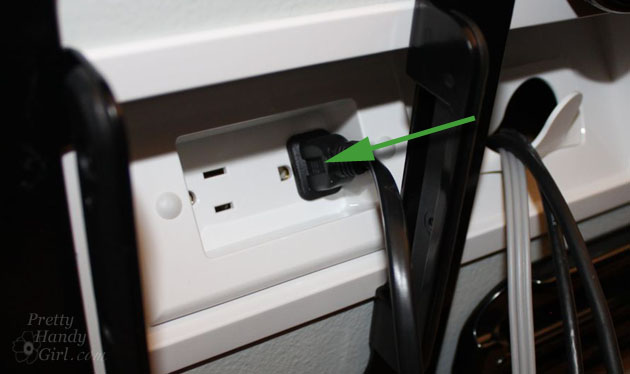
Plug the TV into the receptacle behind the TV and attach the cables to the TV.
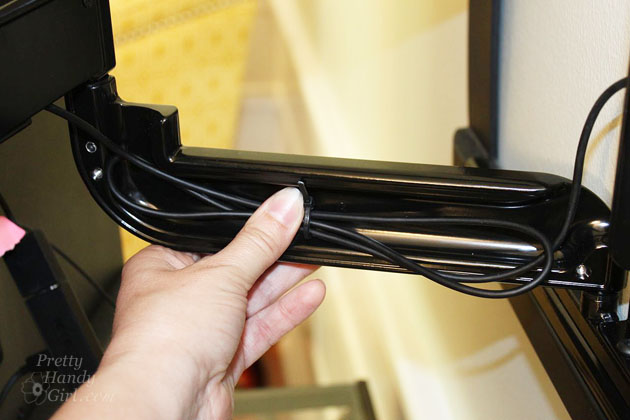
Neatly fold the excess cables and use a zip tie to hold the cable in place. Tuck the excess cables into the arm assembly.
Attach the cable covers to the arm assembly with the smaller hex wrench.

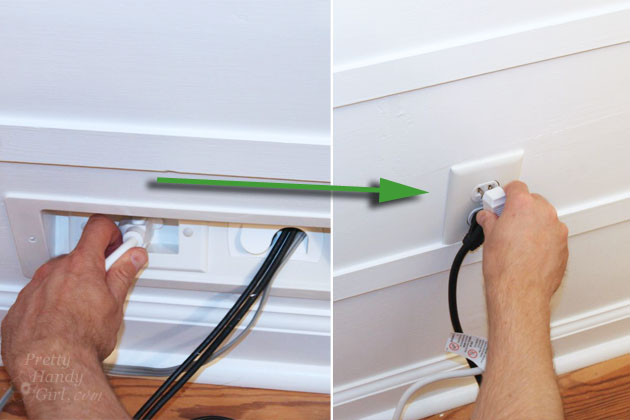
Plug the PowerConnect power cord into the lower cable management box. Plug the other end into the closest outlet (not to exceed 60″ horizontally.)
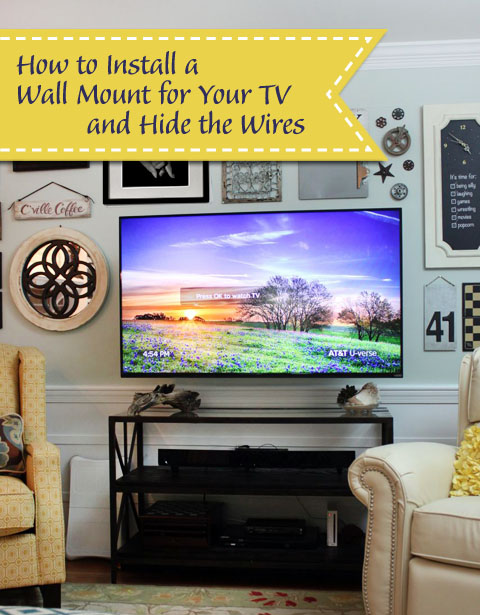
You’re done and it’s time to enjoy your favorite shows! Look Ma’, no wires!
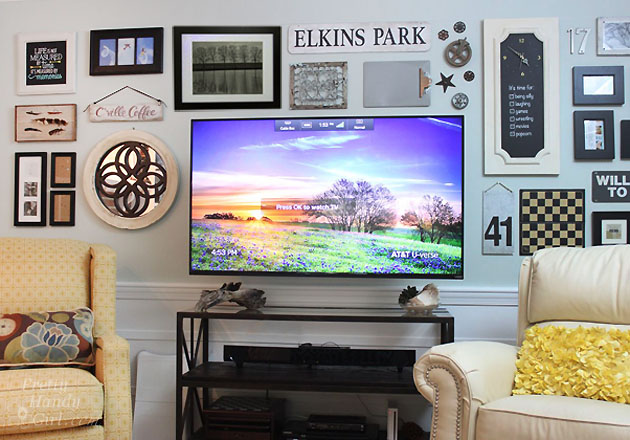
In the meantime, I’m off to finish watching Mad Men (yes, I’m a little behind on my viewing.) Anyone else still watching that series? I love Joan because she rocks the curvy look ;-).
Disclosure: This is a sponsored post for SANUS. I was not told what to write or say about the SANUS products. I am very particular about the brands I mention on my blog. This is a company I approached because I read great things about their products. You can rest assured that I don’t mention products or brands on my blog that I don’t like. I will always disclose if you are reading a sponsored post or product review.
Pin for later!


I would love this! I hate seeing all of the cables going every which way from our tv. This looks perfect!
I really, really love this. The kit seems to include everything you need. Definitely going to research more and probably buy. Thanks for the great info.
I never knew we could mount the tv and hide the cables like this without a pro installer! I SO want this!
I have to get my flat screen off my coffee table. It’s been sitting there for 5 months – i spent all my budget on thie nice TV so now I really need Sanus ! Thanks !
I have already been looking at the Sanus. I have three small children and safety is a huge priority. It would also be nice to keep them at the dining room table for Friday night movie night.
This is very cool. If never heard of this company. Thanks for the info!
I would love to win this! My family so needs one of these 🙂
This is a fantastic giveaway and an awesome product! Thank you for giving me the confidence I need to do the installation myself.
WOW Love this idea and the way to hide the wires!!! Perfect for a living room or great room mount. Think my son is going to love this for his open layout cabin on the river, can hide all those ugly wires now. Love how they include templates to make it even easier. WTG Sanus systems for a GREAT IDEA!!!!
This would give me more room and no danger of the television tipping over. Great giveaway!
That is one incredibly cool system Brittany! Great tutorial & what a wonderful giveaway!
This is a great tutorial – I’m always really concerned about the TV falling over, since it’s on a wheeled cart. If little ones visit we try to keep them out of the TV room since I’m worried they will try to push the cart & it’ll fall over. So perfect timing – I’m glad you’ve done some research on it and it looks great. I like that you can hide the cables away so easily, too.
I made a mess installing mine on the wall. Time to do it right.
I have hated the looks of wall mounted TV’s until this. Got to have this one. Thanks for the detailed instructions. You make it look doable!
Oh Brittany, this is awesome~! What a great tutorial as well. You don’t want to know the hideous job of a TV “mount” is currently in use. lol I love that it extends out 20″ and moves side to side. Congratulations on the new Sanus mounting system in your house as well!!