Update Your Ceiling Fan with Paint
I’m back, but only for a minute because I’m working hard on transforming our pinky-beige bonus room into an art and craft studio fit for an art show! This is compounded by the fact that the room has many angles and dormers. Who knew that such a small room would take FOREVER to paint! Gah.
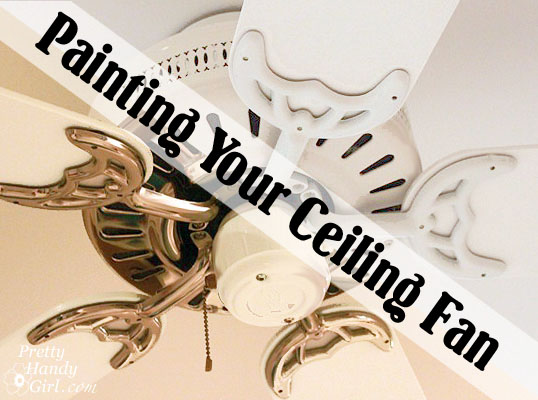
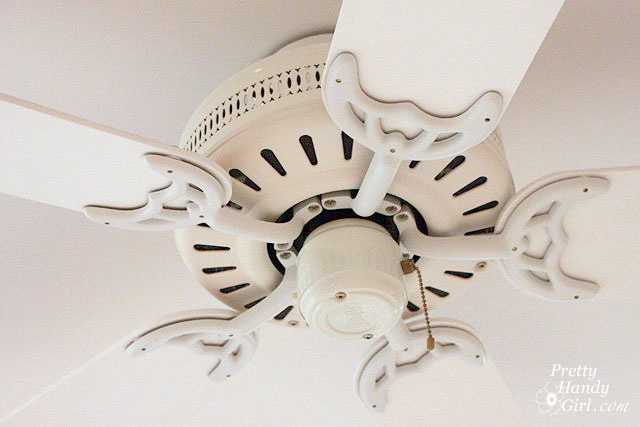
Do you have a brass ceiling fan cluttering the view on your ceiling? It is hard to imagine getting rid of a perfectly good ceiling fan. Especially if you live in a hot climate like we do. Ceiling fans are our salvation in the heat of the summer. But, they aren’t always the most attractive things.
I encourage you not to rid your home of a perfectly good fan if it still works. Instead, why not paint it? AND, even if your blades are white, I’m going to show you a trick that will help make that fan almost disappear on the ceiling. 😉
Update Your Ceiling Fan with Paint Materials:
(I’ve included affiliate links for your convenience. I earn a small percentage from a purchase using these links. There is no additional cost to you. You can read more about affiliate links here.)
- Wet Rag
- Phillips Screwdriver
- Fine grit sandpaper
- KILZ spray primer
- Rustoleum Gloss White Paint (and maybe Rustoleum Heirloom White)
- Drop cloth
- Flat white paint (matches your ceiling paint)
- Small paint roller
Instructions:
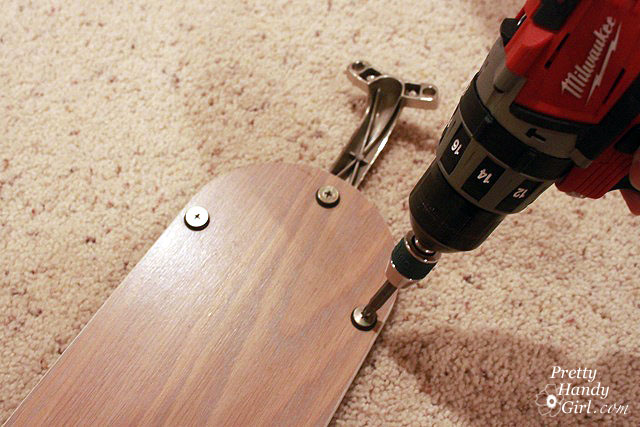
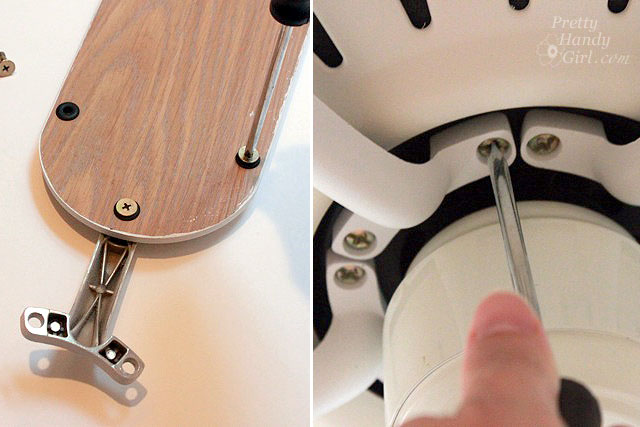
Start by unscrewing the fan blades from the fan motor. Use a cordless drill for speed or just a phillips head screwdriver.
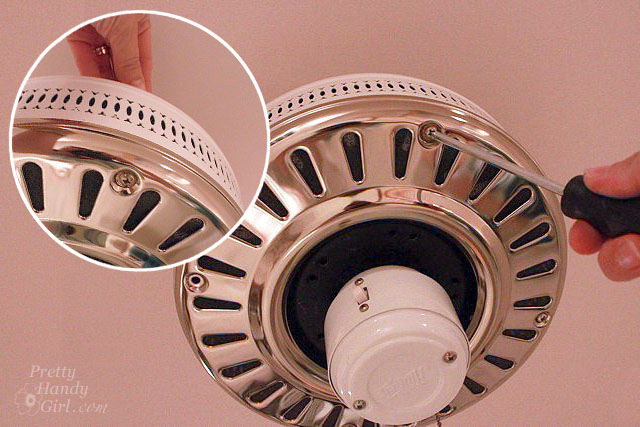
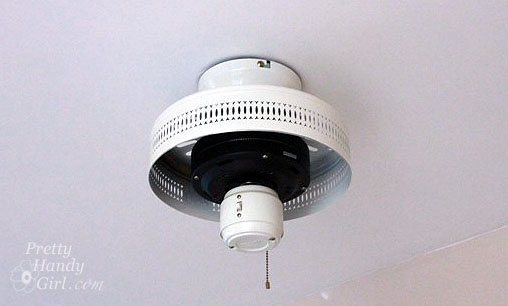
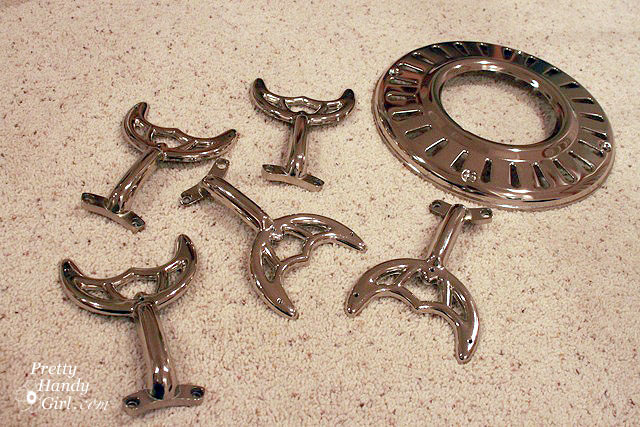
Remove the brass cover from the bottom of the fan. (My fan has a bolt on top of the motor and the screw head underneath.) Obviously if the entire fan is brass, you’ll need to shut off the power and take the entire fan down.
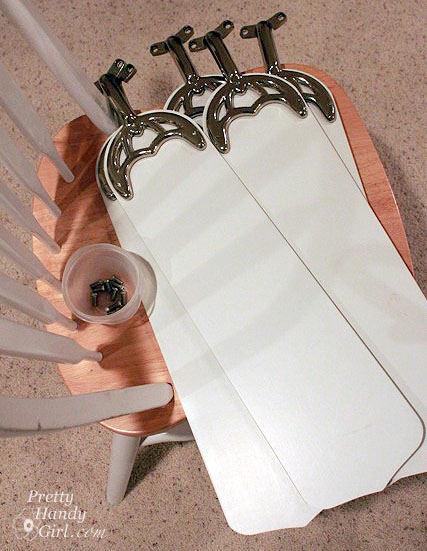
Set all the screws aside in a bowl (and out of the way of wrestling boys! Ahem.)
Unscrew the three screws holding the arm to each fan blade. Store the screws in the bowl with the others.
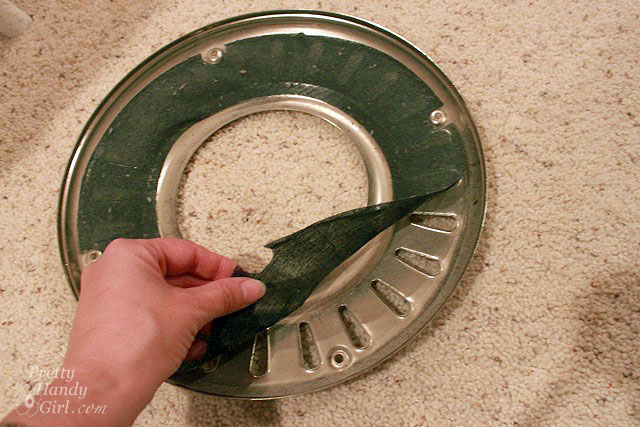
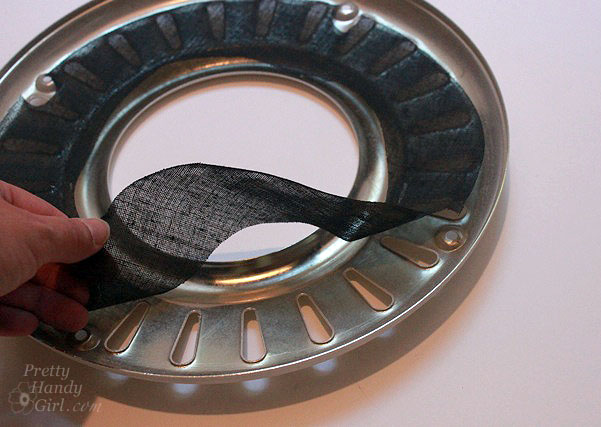
Remove the dust screen from the bottom plate (if your fan has one.) Wipe it clean and set it aside.
Clean the fan blades, arms, and the brass bottom cover well with a damp rag and some multi-purpose spray cleaner if necessary.
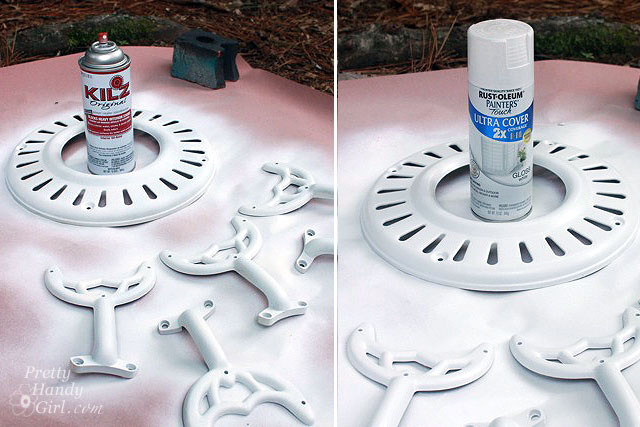
Take the metal arms and the bottom plate outside to spray paint. Lay them on a tarp or drop cloth. Spray one to two coats of KILZ primer onto the fan parts.
Let the primer dry. Then follow up with Rustoleum white spray paint. (Side note: I spritz a little Rustoleum Heirloom white onto the bottom cover to help it match the rest of the fan which was a slight off-white color.)
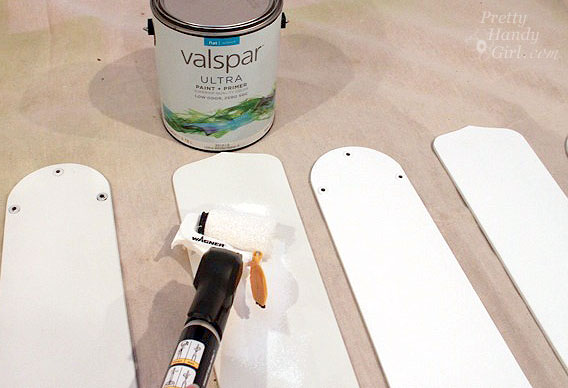
Take your ceiling paint and roll it onto one side of the fan blades. Let the paint dry. Gently sand the blade to remove any burrs or bumps. Add a second coat of paint.
After all the fan parts have dried. Reassemble your fan. Start by putting the dust screen back into the fan cover.
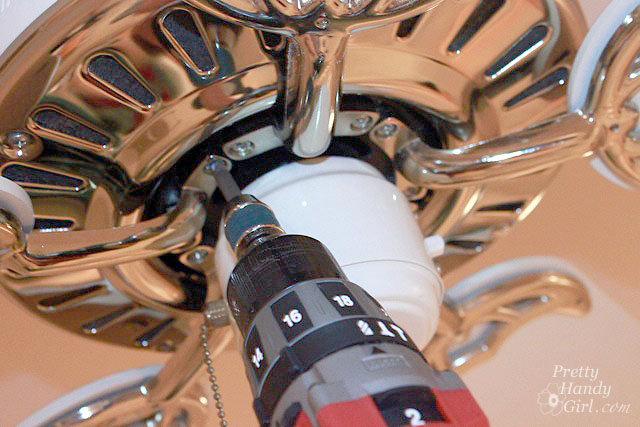
Then re-attach the bottom cover of the fan motor. (This proved to be the most difficult part of the entire project. Lining up the bolts with the hole on top took some patience.)
Reassemble your ceiling fan blades and then attach the arms to the fan with the freshly painted fan blades facing the floor.
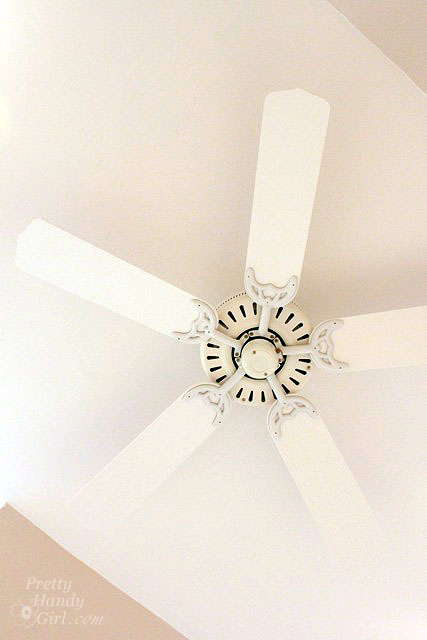
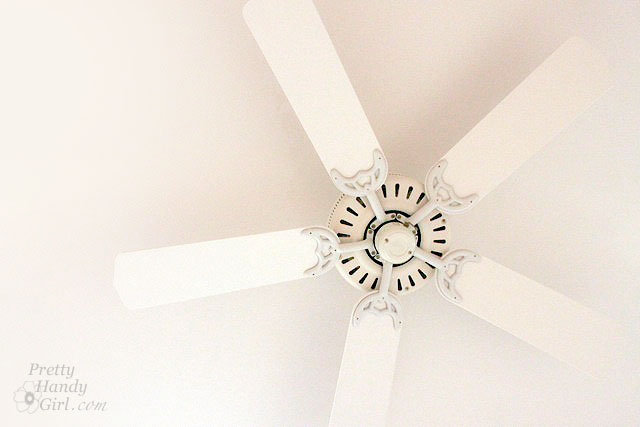
That looks much better, don’t you think?
Having your ceiling and fan blades painted the same flat white color helps the blades blend into the ceiling and almost disappear.
It also helps that I painted the ceiling the same white as the fan blades. I am not going to miss that flesh colored ceiling (and walls.)
The best part is that I didn’t have to buy a new fan, spend time installing it and worry about the old fan ending up in the landfill!
And now, it’s back to work for me. See ya’ later gator.


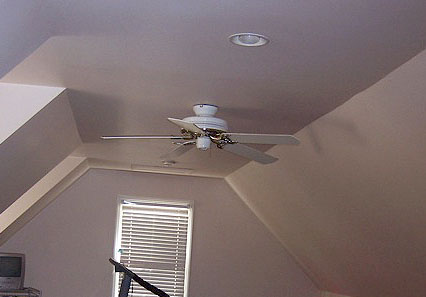



I did it! Pandemic boredom made me go buy a can of Rustoleum flat white paint. Totalupdated look for less than $5.00.
Hooray! This is a great time for DIY projects that keep us home.
great great site i have a chrome long pole fan in a living room with high ceilings
i hate the chrome but i do not want to purchase another one
i would like to paint it bronze or a copper color
i found this site and hope i can do this project where it will look perfect.
thanks keep your fingers crossed and ill let you know how it comes out.