5 Tips to Building Professional Looking Furniture
5 Tips to Building the Best Looking Furniture
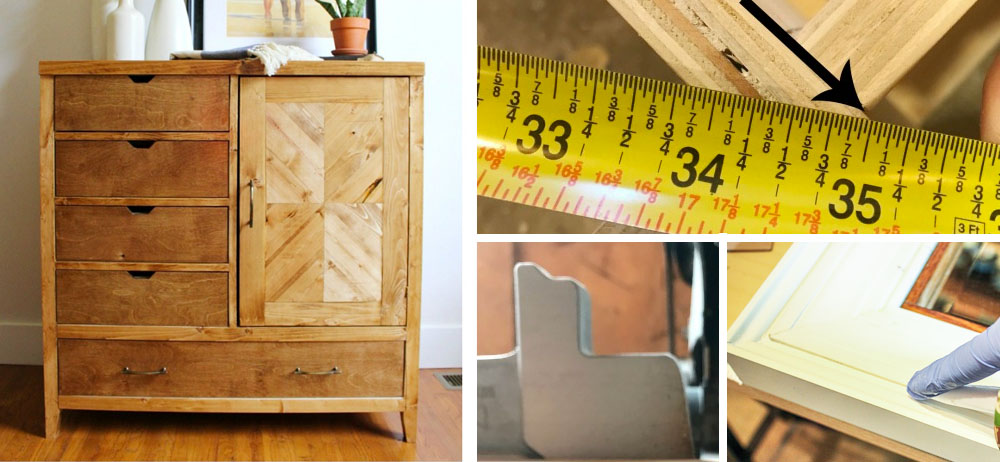
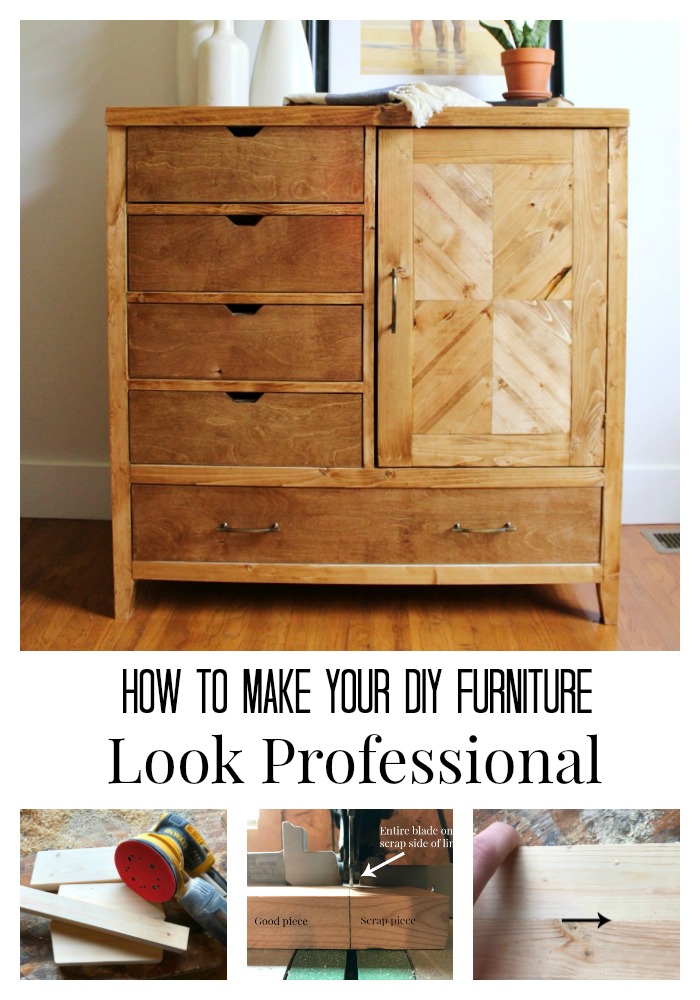
It’s Shara here again from Woodshop Diaries and today I want to share Five Tips to Building the Best Looking Furniture, which will result in more professional looking results.
I build a lot of DIY furniture–like the modern dresser cabinet in the image above. Over the past couple of years I’ve learned a few simple tips (mostly the hard way) that can make a huge difference in the look and quality of your DIY furniture. Luckily, these are simple tips that won’t take much time or effort to learn. Now that we’re friends, I’ll share all my pro secrets with you. 😉
1. Putty or Caulk Imperfections
Never assume that paint will hide imperfections. Overfill any small cracks, imperfections, or holes with wood putty. (Be sure to use stainable putty if you are staining instead of painting your furniture.) After the putty dries it will shrink slightly (which is why you should overfill). Then sand it down smooth.
If you have a seam between two pieces (i.e. a piece of trim secured to lumber), caulk the seam with paintable caulk. Caulk will flex as the two pieces move independently. Let dry and paint.

2. Sanding Isn’t Optional
Sanding is an absolute must. I know, I know! Yuck, right? No one likes sanding. But, for a clean and professional looking piece of furniture, you’re going to have to sand.
A few sanding tips to make your life easier:
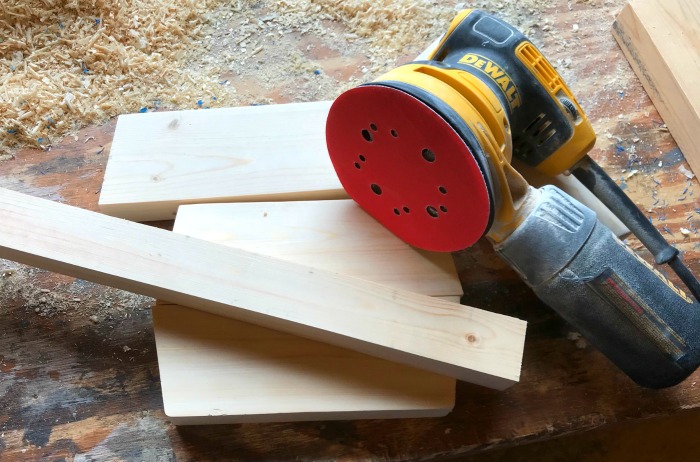
- Use an orbital sander (or belt sander if necessary) to smooth all pieces before assembling. I usually sand all my pieces with at least 220 grit before putting anything together. It’s hard to sand those hard to reach areas after assembly. Doing it before saves you time and energy later.
- After assembly, sand uneven areas with a low grit (like 60, 80, 120) to smooth edges, then buff out sanding marks and smooth down with a higher grit (like 220, 320). After sanding with 220 or 320, it should be super smooth (like a baby’s bottom!)
Need more sanding tips? I wrote a whole post on sanding here.
One more note: Be careful when sanding plywood. Sanding plywood veneer with high grit sandpaper can easily remove the top layer and ruin your piece. Sand plywood very lightly and with a low grit to prevent this from happening.
3. Account for Blade Widths on Cuts
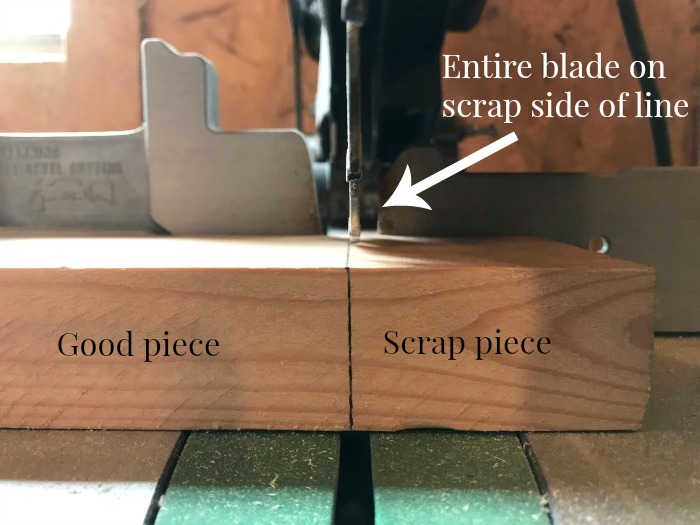
Saw blades for circular, miter, and table saws are typically about 1/8″ wide (measure your own to be certain.) This is not something I considered when I first started out. I quickly learned that this was important to know when I cut some table legs and realized that a couple were 1/8″ longer than the other—after it was already assembled.
When you make your cut marks, always remember to set the blade on the scrap side of the mark. Don’t cut in the middle of the mark and don’t line up the blade with the wrong side. One eighth of an inch doesn’t seem like much, but it can really throw off your project. For added insurance, mark an “X” on the cut off (or scrap) side of your lumber.
If you accidentally cut one board for a project a little short because you forget about the blade width (which, by the way, is also called “kerf”), it’s okay. Just be consistent. If you made the mistake on a table leg, then make sure to cut all the legs a little short. If you made the mistake on a table apron or the frame panel of a cabinet, just make sure to cut all the others in the project a little short. As long as you are consistent, you can usually recover.
4: Check for Square
This is usually something most people (like me) learn the hard way. I can’t tell you how many times I built something with doors and they looked crooked. Usually either the door or the cabinet isn’t square. Once you’re to this point, it’s usually too late to fix.
If you are building a cabinet or a table (or anything really), check for square after each step. If you aren’t a math person and don’t want to think about the logic behind Pythagorean’s Theorem, this is how you measure for square:
Depending on what you are building, this may look slightly different. Let’s say (for example) you are building a cabinet and you have all the sides together and are about to put on the back. You want to check that it’s square before you nail on the back piece because you don’t want to nail it on crooked. Take your tape measure and place it on one outside corner and take a measurement to the opposite outside corner.


Then repeat for the other two corners.
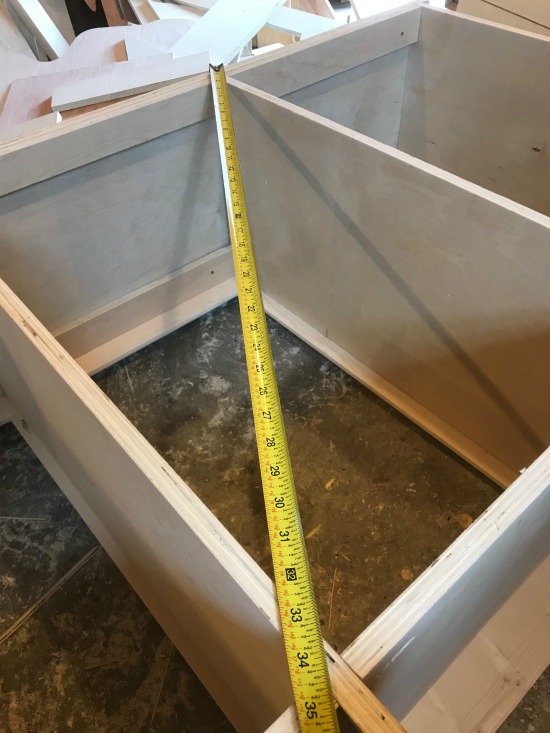

The two measurements should be equal as shown above. If they are not, make any necessary adjustments. Making adjustments can be as simple as removing screws and repositioning, or simply clamping two corners to pull them together before you nail on the back. Whatever you do, don’t move on to the next step until you’ve squared up your piece. This will save you headache later on, I promise!
5: Square your edges
Speaking of square, squaring off your board edges before using them can really take your DIY furniture up a notch. Your joints will look cleaner; your measurements will be more accurate; and it will be much easier to assemble.
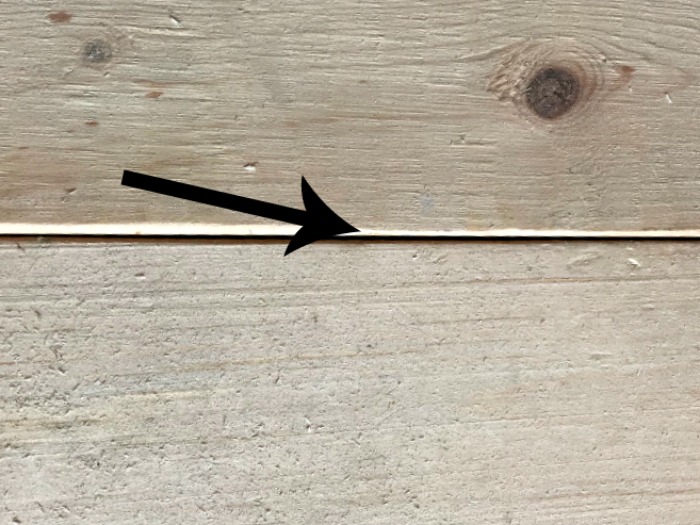
What do I mean by squaring off your board edges?? When you purchase any 2x board (and sometimes 1x boards too) at the building supply or big box store, the edges are rounded like this:

When you try to join a flat edge to this round edge, you get this large, awkward gap.
To fix this issue, you can use a table saw to rip this corner off the boards so the edge is square and flat like this:
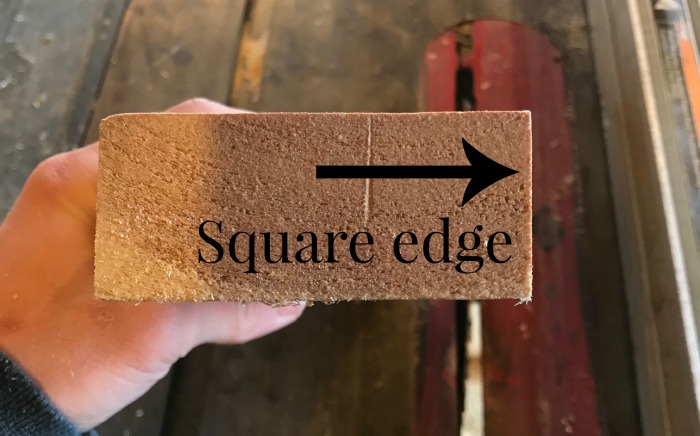
Then you have nice clean joints.

One thing you have to remember about squaring off your edges is that your board will now be slightly narrower. If you are following plans you found online or in a book, you may need to make a few adjustments to account for this change in width. It’s slight, but just like the kerf we talked about before, it can really throw you off if you aren’t careful. Want to see more details about squaring off boards? You can check out my post here on how I square off my board edges and how I make my own 2×2 boards.
Those are my top five tips for how to get better looking and better quality DIY furniture. I hope some of these were helpful and you can start improving your furniture builds today. What are your tips for quality looking DIY furniture! Leave a note in the comments about your best tip to improve your DIY furniture.
Happy Building!


So….#3 may or may not have shed some light on a recent project my husband and I did. Just had a ten minute convo about it. 😉