Tea Light Centerpiece
In my constant attempt to save things from the landfill, I came up with this nifty transformation of an old Hollywood light fixture.
Can you believe that I took this…
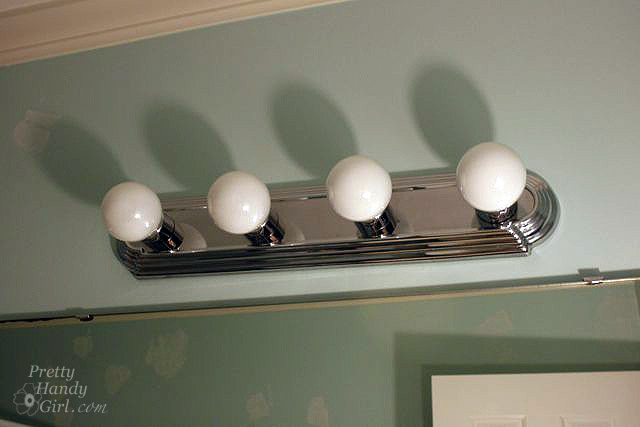
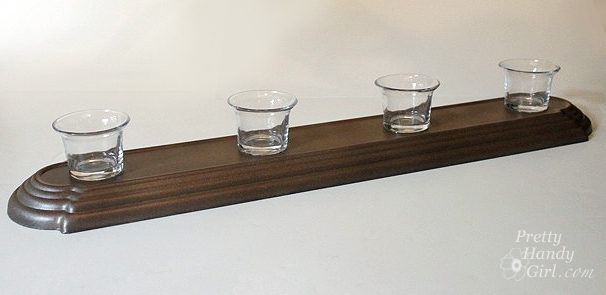
And turned it into this?
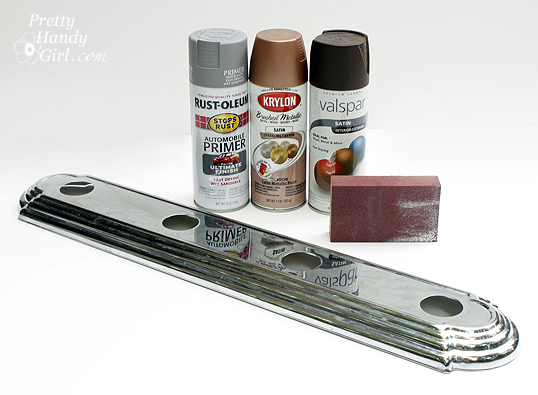
Materials:
- Trim (canopy) piece of an old light fixture
- Sandpaper or sanding block
- Spray primer (automobile primer works best on metal)
- Valspar java brown spray paint
- Krylon sparkling canyon spray paint
- Drop cloth (or plastic sheet)
- Votives
- E-6000 glue
- Brown and amber beads
- Hot glue gun and glue sticks
- Scoop or spoon to pour beads from
- Popsicle stick
- Tweezers
You are sick of staring at that old hollywood light fixture in your bathroom. Come on, you can admit it. It’s okay, you are among friends. If you need help, I’ll even show you how to remove that dated style offender. And hey, if you are lucky enough to live in a house without one — but you still want to replicate this project — head on over to your local Habitat for Humanity ReStore. I guarantee they will have plenty to choose from.
1. Start by wiping off the light fixture (unless you are a fabulous housekeeper and yours doesn’t have years of collected dust like mine did.)
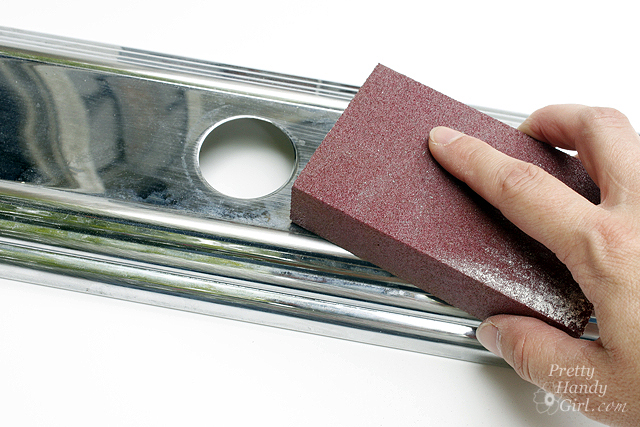
2. Scuff up the metal surface with sandpaper.
3. Spray the light fixture with the spray primer. Let it dry. Then spray a coat or two of the java brown spray paint. After the brown paint is dry, lightly dust the light fixture with the sparkling canyon spray paint until you are happy with the color.
4. Try to let the painted fixture dry overnight to allow the paint enough time to harden.
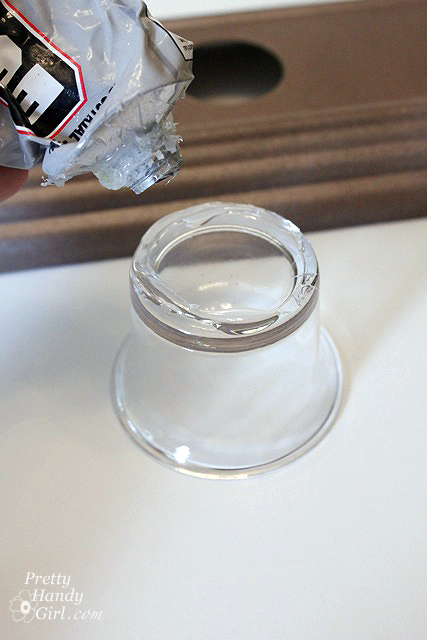
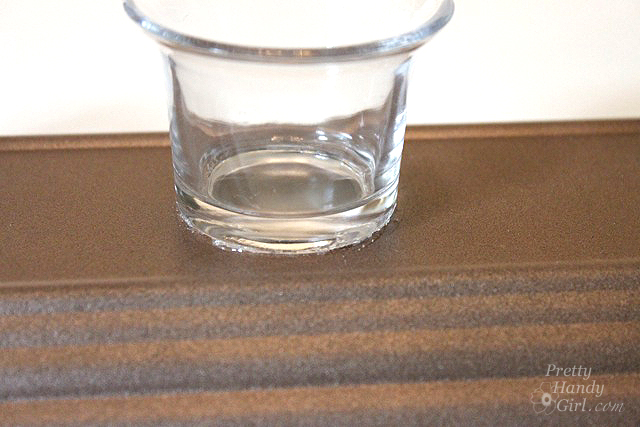
5. Clean your votives with some soap and water and let it dry thoroughly. Squeeze a line of glue around the bottom of the votive.
6. Center the votive over the hole on the light fixture.
7. Repeat for the rest of the holes.
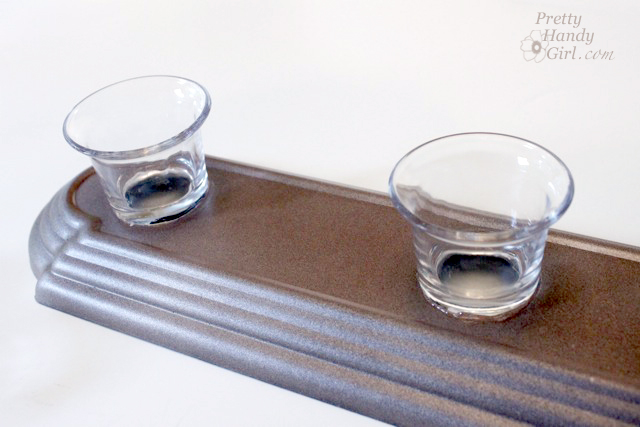
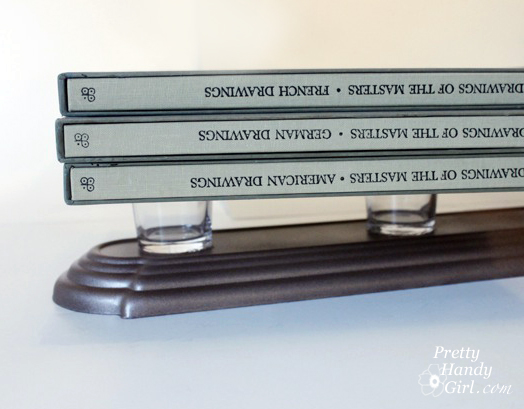
8. Weigh the votives down with some books while the glue sets (a few hours.)
9. Plug in the hot glue gun. (Have you read my Hot Glue Gun Safety post? If not, you should because your fingers will thank me.) While it is heating up, take out the beads you want to use. Set them in a little scoop or spoon.
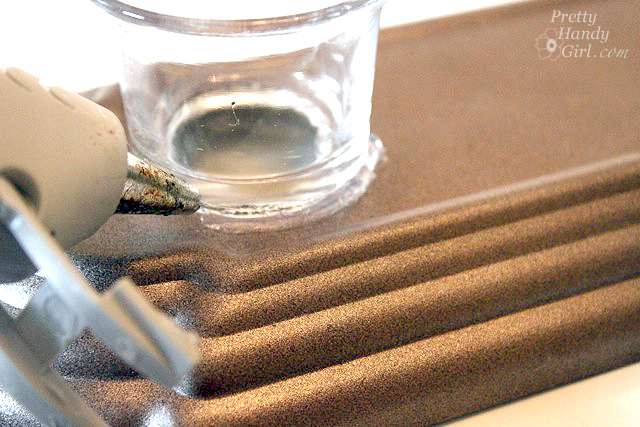
10. Run a bead of hot glue around the votive. Only work in a small 1-2″ section at a time. This will give you enough time to arrange the beads before the glue hardens.
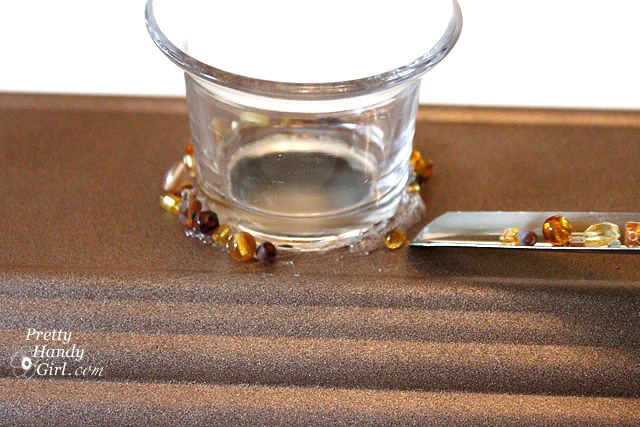
11. Pour the beads into the hot glue.
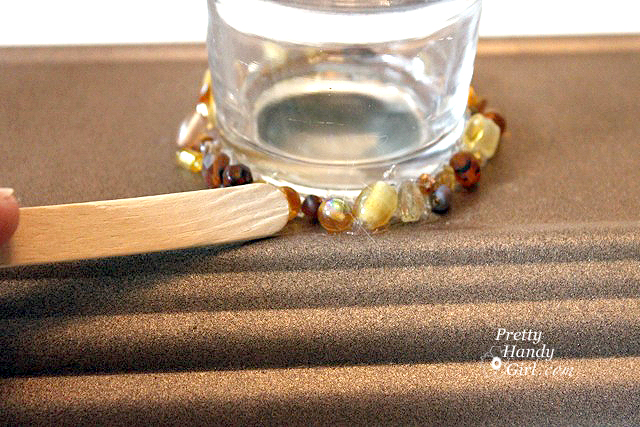
12. Use your popsicle stick to maneuver the beads into the glue.
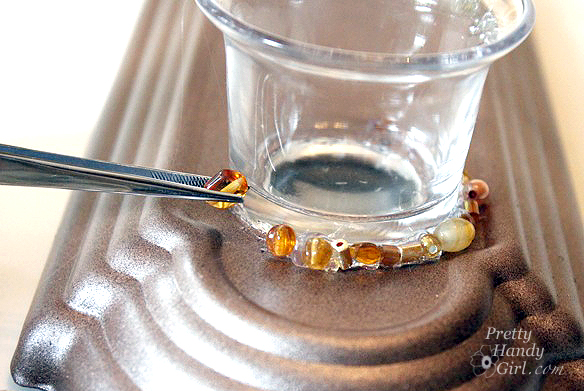
13. Use the tweezers to place any singular beads and perform any detail work.
14. Glue beads around the base of the other votives. Let the glue cool and then pull off any hot glue strings.
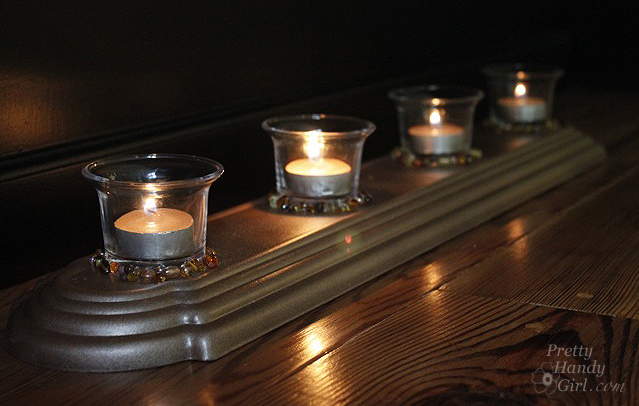
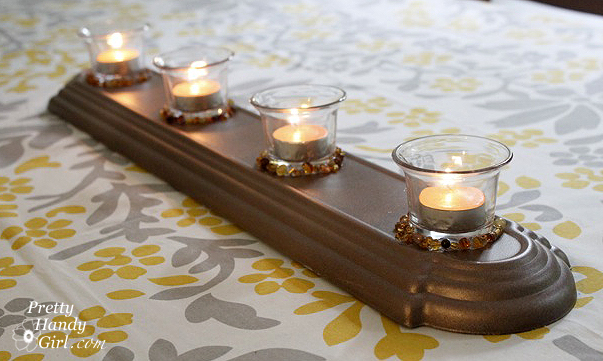
15. Put your tea lights into the votives and set it on your table…
…bathtub edge or sideboard.
What do you think? Do you like it or I am just trying to put lipstick on a pig?





Wow, Awesome idea!
I love this! I do lots of rehabbing and I’m always tossing ugly fixtures, while wishing I could think of a new use for them. Your project is brilliant!
That’s super creative! I love the way the beads look and that Krylon is awesome! Thanks for sharing the how-to, I’ll be linking.
Rachel,
Thanks so much for sharing it on your site!
Draga, tebi nikada ne nedostaje ideja. Kao i uvijek – originalno, precizno i uvijek savršeno!. Pozdrav
So cute! I love that you took something discarded and turned it into something great. Love it!
Brilliant!
Oh my goodness! I love that! Those light fixtures are pretty common around here – this is great use for them!
I love that you’re partnering with your habitat store – that is cool beyond words!
OOOOOoooo, I wish I lived in NC! LOVE this idea for the votives — I need an excuse to get rid of my old light fixture — exactly the one in your photo (I think) — AND recycling! A twofer! I hope you’ll share your holiday decorations on your blog – I do lots of shopping at the Restore too!
Love it! I smiled when you mentioned the hot glue gun. I may need to go back and read that post. I currently have a couple of blisters from that sort of thing. 🙂 Thanks for sharing!
Love this – you are so clever. Wish I lived close by to attend your Restore demo. Sounds like a terrific event. You will do great.