A Surprise Bathroom Makeover for Under $500
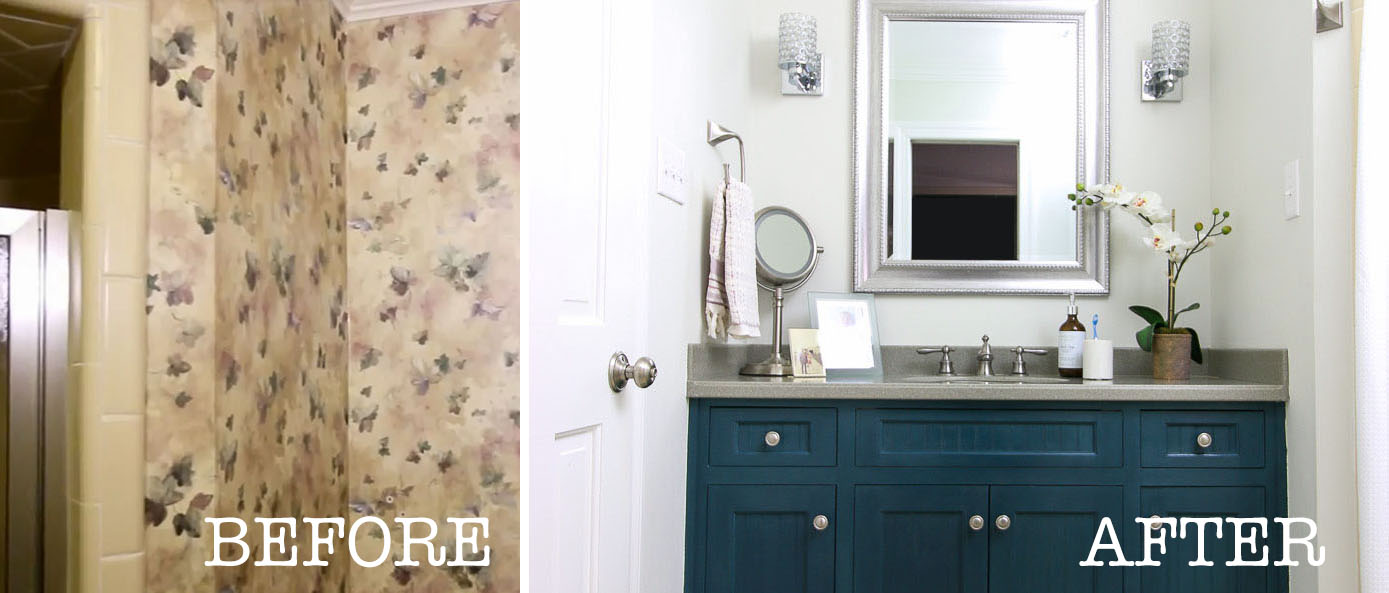
Ever want to surprise your spouse with a budget-friendly master bathroom makeover for under $500? You won’t believe this before and after transformation my friend Beth and I pulled off over a weekend.
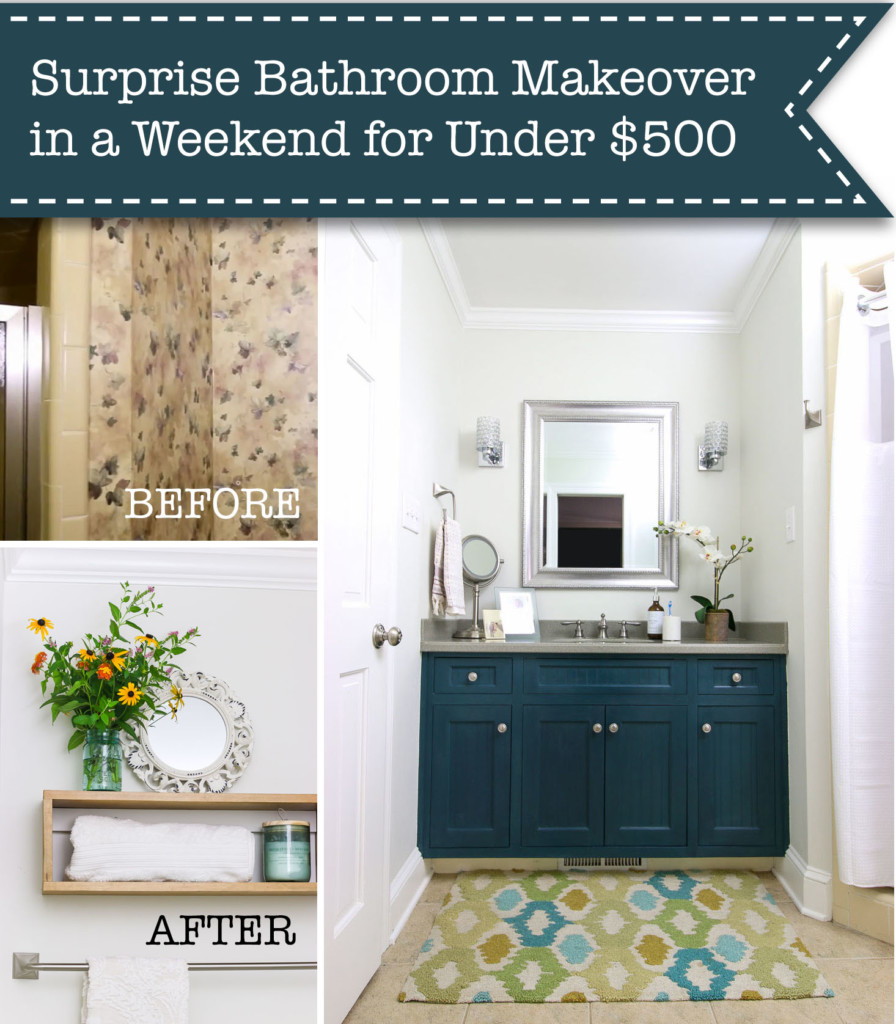 A Surprise Bathroom Makeover Under $500
My friends at GREAT STUFF™ sponsored this project, and I can’t wait to share a new product they recently released. Be sure to read to the end to find out what it is!
My good friend Beth, who I’ve known for over a decade, is my frequent walking buddy. Which means we pretty much discuss anything and everything on our walks. During one of our neighborhood strolls, we were discussing projects we wanted to work on next. Beth told me her husband, John, was so fed up with their bathroom, he’d been shaving in the kids’ bathroom. Upon further questioning, I learned the light over the mirror in their bathroom had stopped working a while ago. The light remained broken as Beth was plunged into some challenging family issues. Now that things had resolved with her family, she was ready to fix the bathroom light and maybe give the room a little makeover.
The next words out of Beth’s mouth were like a match igniting my desire to plunge headfirst into a new DIY project.
“John and the kids are going away this weekend and I’m staying here,” she said.
Instantly I volunteered to help her surprise her husband with a bathroom makeover. Little did I know, we’d have a lot of work to cram into one weekend. But, hey, what’s more exciting than a surprise makeover? Am I right?
Challenges in the Small Bathroom:
Before the big work weekend, I stopped by Beth’s house to assess the situation. Their bathroom had some issues, the first being the lack of lighting over the sink. The second was a dimly lit ceiling fixture that could only take one lightbulb. The exhaust fan worked, but it was loud and had a discolored cover.
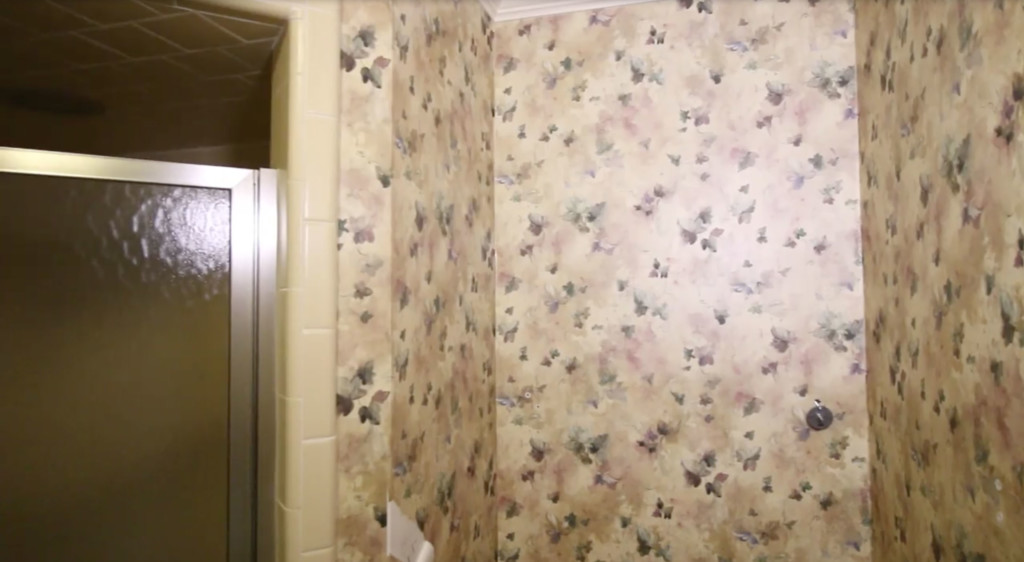
By far, the worst feature in the bathroom was the English ivy wallpaper. It was too busy, too dreary, and I don’t even think an English noblewoman would want it in her home! Luckily, Beth was on board with stripping it. With the wallpaper gone, we could give the bathroom an impactful makeover with paint, new lighting, and some new hardware. Beth was on a tight budget (she didn’t want to alert her husband to our surprise makeover), so she kept her purchases to just under $500.
A Surprise Bathroom Makeover for under $500
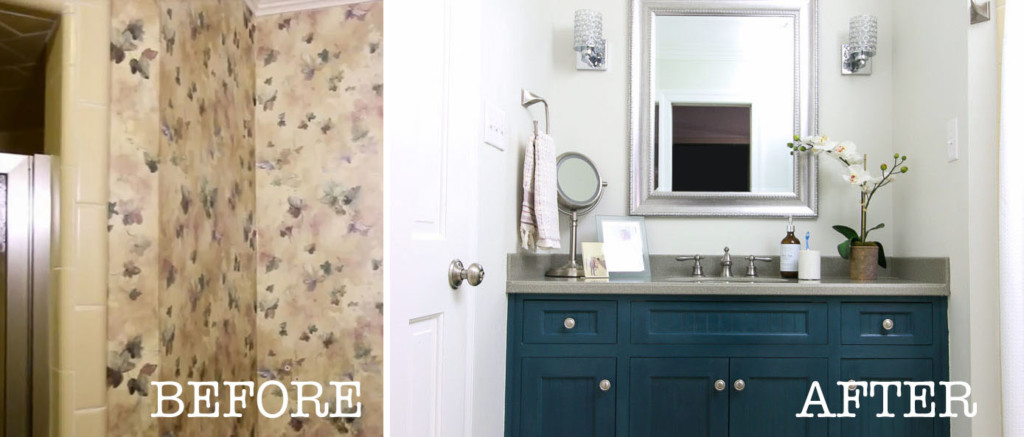
It’s time to get busy on Beth’s bathroom. Just remember it’s a surprise, so don’t tell her hubby. You can come join us by watching the video (but be prepared to help us strip wallpaper.)
The Makeover Weekend Arrives:
On Friday morning I arrived at Beth’s ready to work and we got straight to stripping! Wallpaper, that is!
Did you know there are really only two types of wallpaper when it comes to removal?
- The Easy to Remove Kind
- The Pain in the A$$ (what idiot didn’t prime the drywall—oh screw it let’s just replace the drywall) Kind
I was incredibly relieved that someone primed under Beth’s bathroom wallpaper. Lucky for us, it came off fairly easily in big strips. I wish I could say the same about my house, we had wallpaper glued to the drywall (no primer between the two.) But, this means I’ve had lots of experience and a proven way to prepare the wallpaper to paint over (so you don’t see the seams and you never have to worry about it peeling).
Learn how to get rid of both kinds of wallpaper here!
A Solution for the Electrical Problem:
Now that the wallpaper is gone, it’s time to address that light (or lack thereof) over the sink. Although Beth had dutifully called my favorite electrician to fix it, they hit a wall (or more accurately, a pipe.) Upon removing the broken light fixture he discovered an unsafe wiring situation.
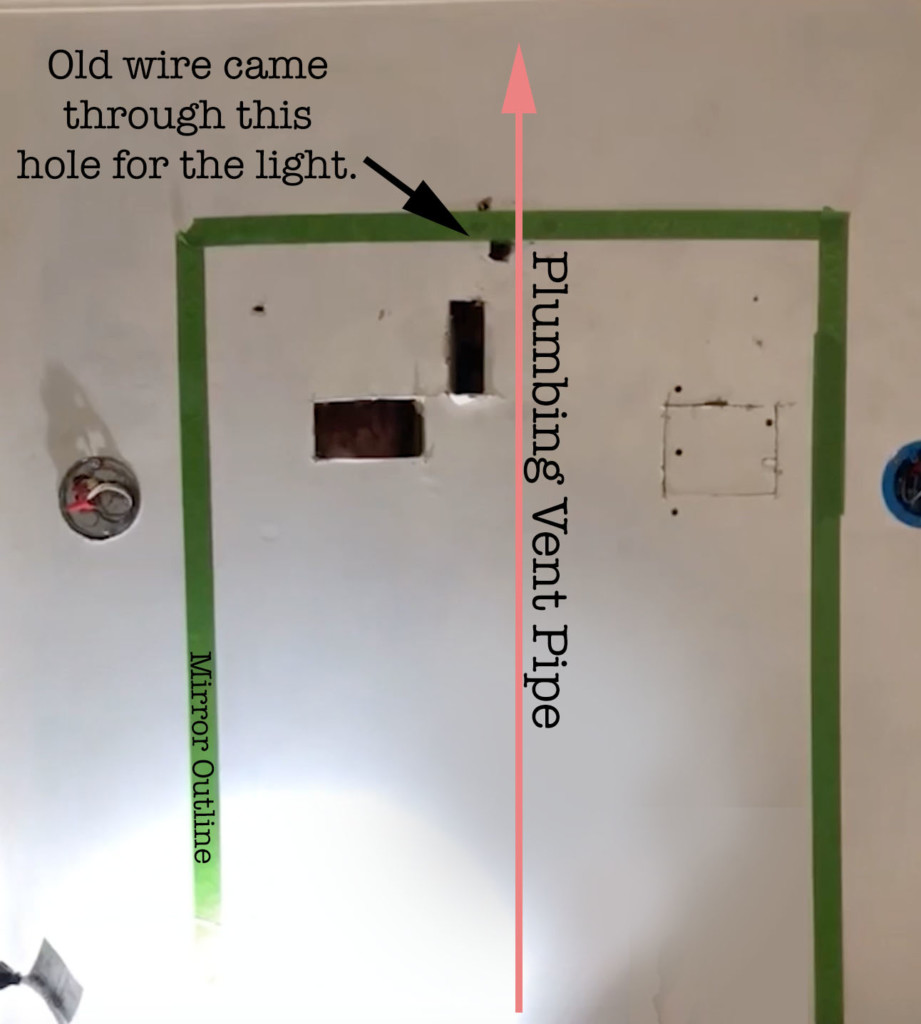
Some idiot had moved the wire out of the junction box and punched it through the wall in an attempt to center the light. (This a code violation because it’s a fire hazard when wiring connections are outside a junction box.) It was obvious they weren’t able to relocate the electrical box because the plumbing vent pipe was centered on the wall. Not wanting to hang the light off-center, Beth told the electrician she had to think about what she wanted to do with the light. Luckily, I had an idea that would be twice as nice. Why try to deal with one light that can’t be centered, when you can double the lighting with wall sconces? I showed Beth this photo and she instantly loved the idea.
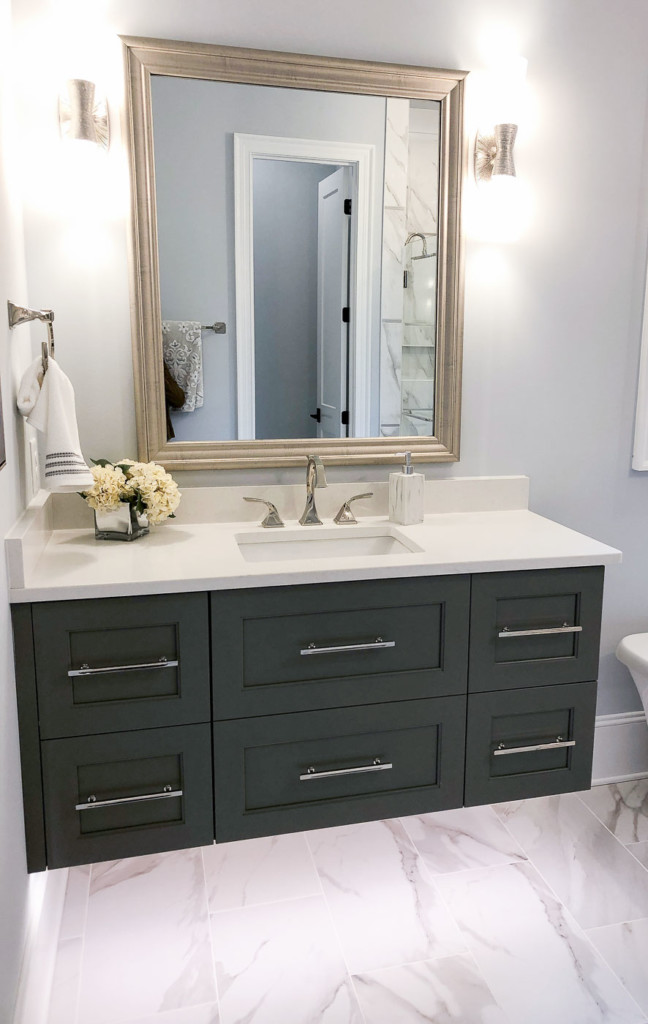
We were grateful when my electrician was able to swing back by and install the junction boxes on either side of the mirror area before we started painting the walls. Then I patched the holes he made and we were back in business (painting business that is.)
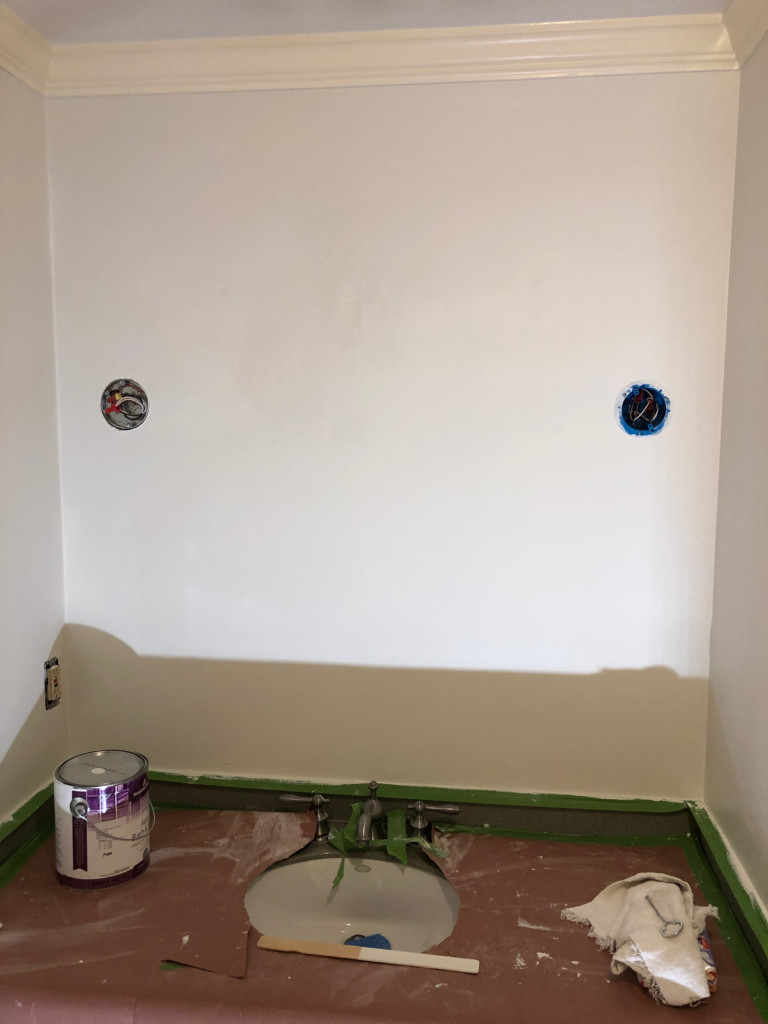
It’s hard to see the paint color in the photos, but we chose One Horn White by Magnolia Home. It’s white with a hint of green and it looks great in this bathroom.
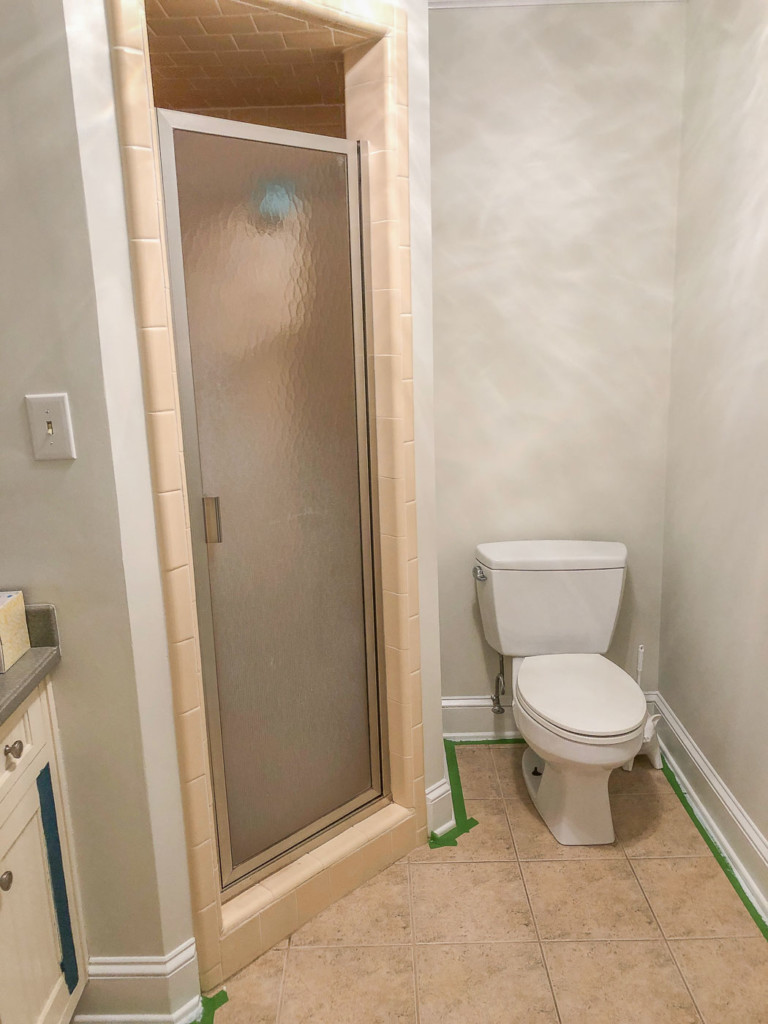
The off-white molding looked dingy with the new wall color, so we gave the baseboards and the crown molding a fresh coat of white paint.
New Lighting and a New Skill:
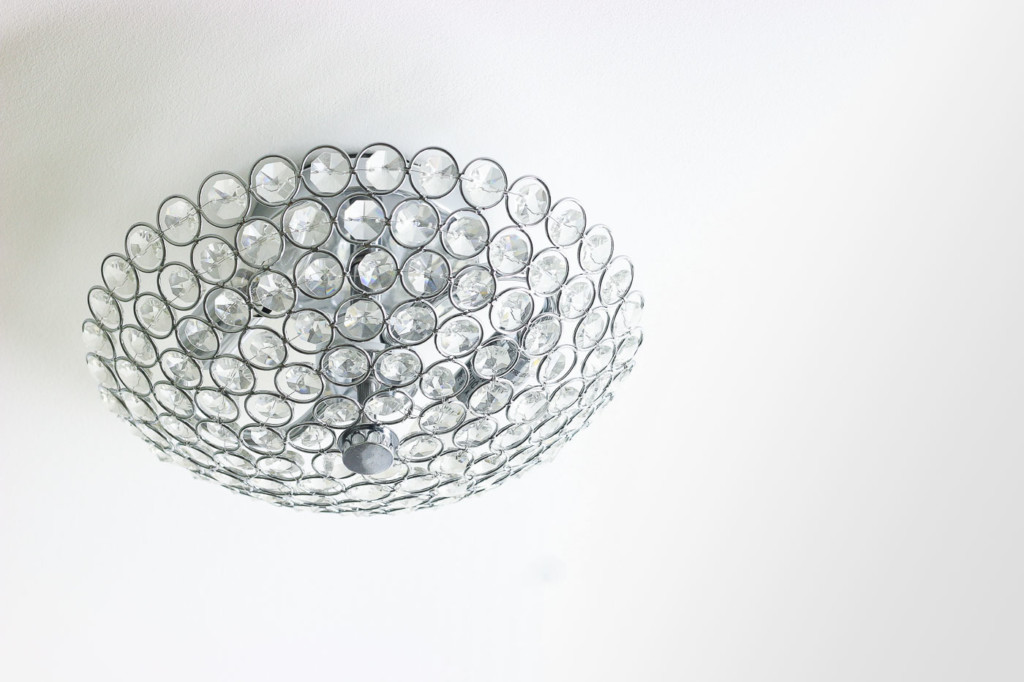
Part of the makeover involved teaching Beth how to install the new stunning crystal ceiling light she picked out! Although she was nervous at first, I taught her how easy it is to replace a light fixture. With her new electrical skills, I encouraged her to install the sconce lights as well.
Unfortunately, the sconces didn’t arrive in time for the surprise. But, we taped up a picture of the new sconces for the big reveal.
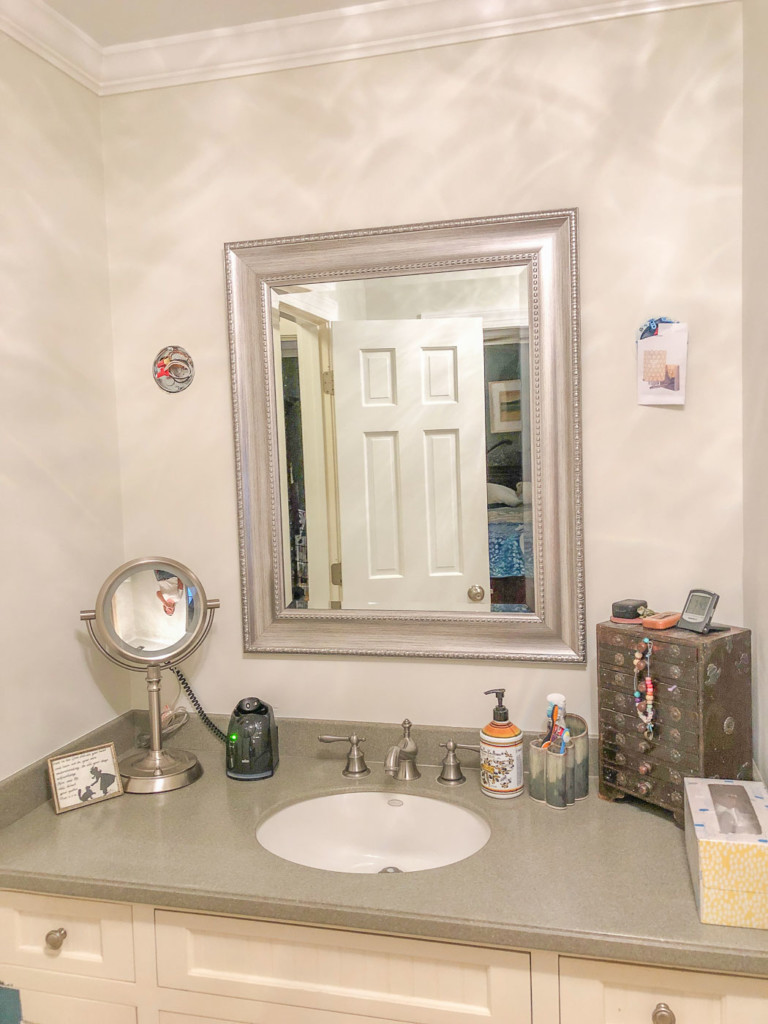
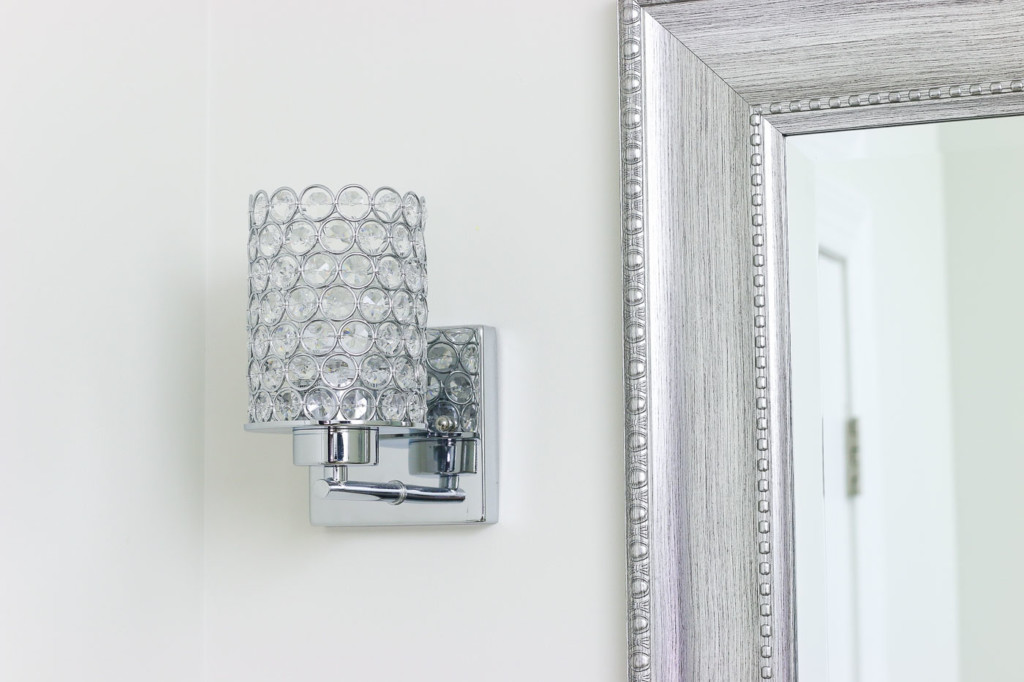
Later, Beth used her new skills to install the wall sconces when they arrived!
Budget Vanity Update:
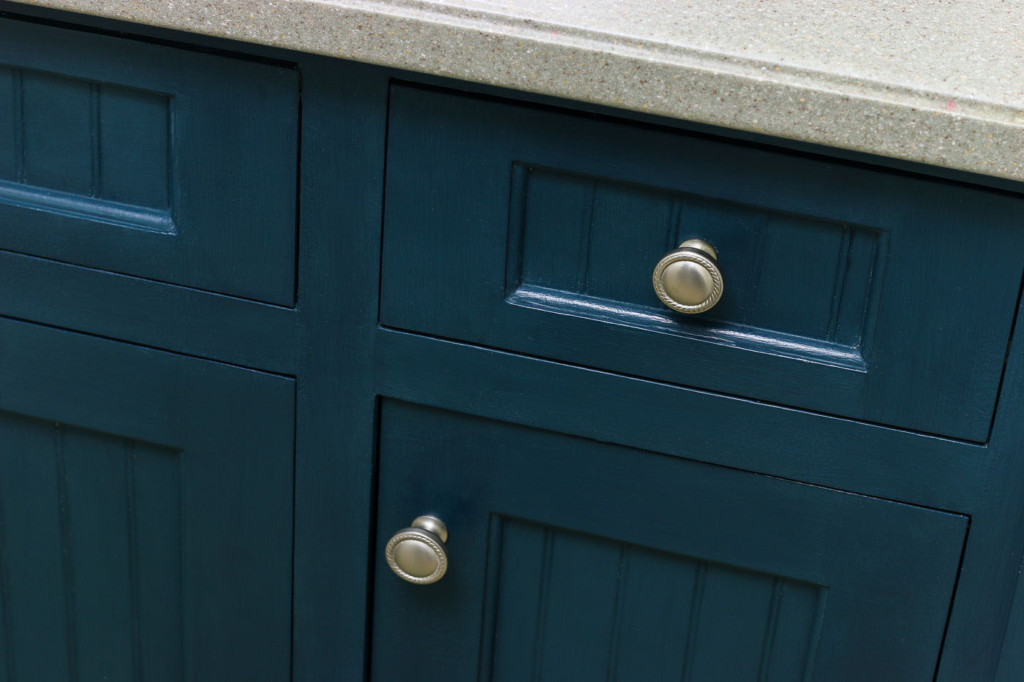
Instead of replacing the vanity, Beth painted it a beautiful dark teal color. The color is Weekend by Magnolia Home and I love the dark elegance and also a punch of color needed in this otherwise neutral bathroom.
Before we knew it, Sunday afternoon had arrived and although we weren’t able to completely finish the makeover in one weekend, it was still a big surprise for Beth’s husband. Even the kids were surprised. You have to watch the video to see their reactions. It’s priceless!
Finishing Up the Bathroom Makeover:
After our weekend of work, life got in the way of finishing their bathroom. Then a pandemic hit and we all dutifully stayed at home for several months.
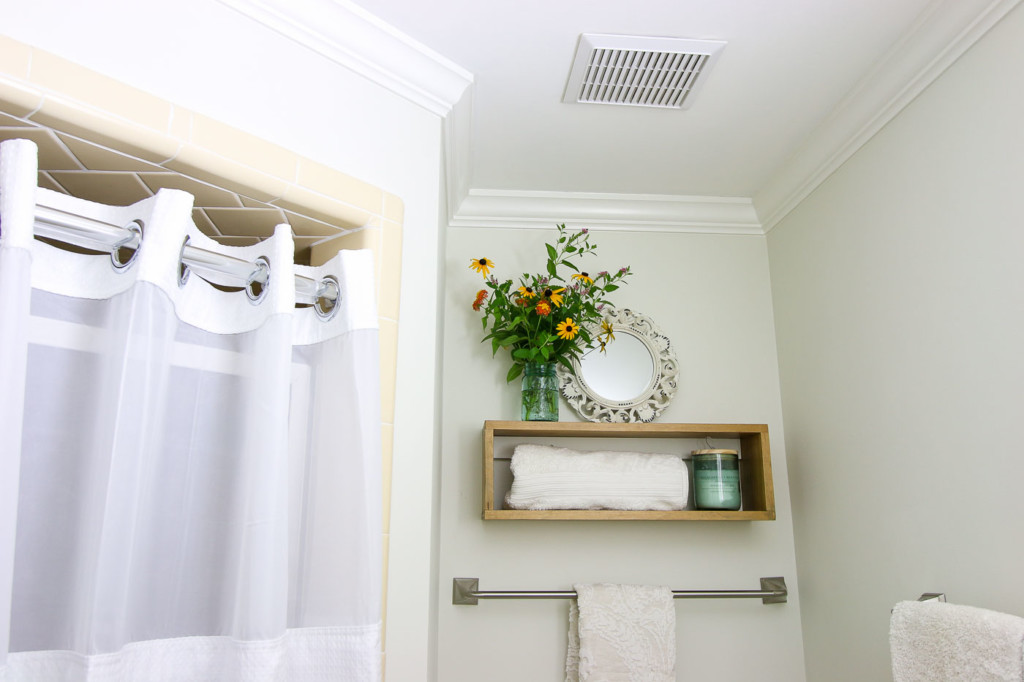
A few weeks ago, I helped Beth finish up the final touches like painting the exhaust fan, adding a finish coating to the vanity, and adding a floating shelf over the toilet.
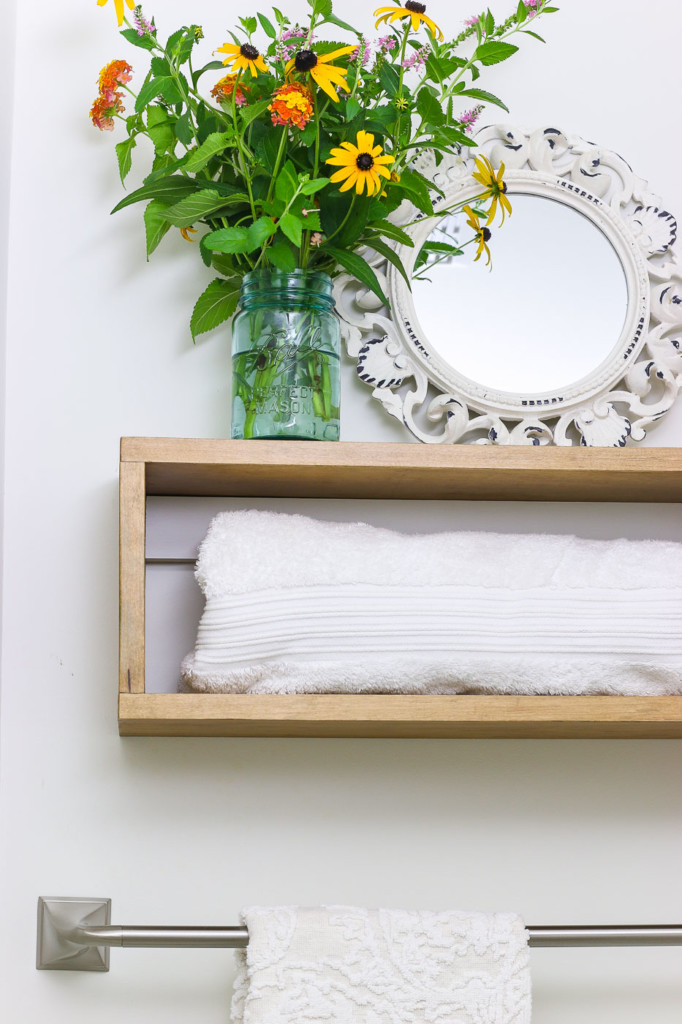
The shelf is a simple touch but adds some extra storage and style to this small bathroom.
Protecting the Bathroom from Drafts and Bugs:
While the bathroom vanity was empty, I took the opportunity to fill in the gaps around the water lines and drain pipe under the vanity using GREAT STUFF™. It’s a simple fix that takes no time at all, but makes a huge difference in controlling bugs and pests.
Those of us that live in the south know we have some Jurassic-size bugs that like to pop out of nowhere, making us scream like a little girl being spooked. (Pretty Handsome Guy is definitely guilty of being able to hit those higher octaves when he finds a roach in the house.) Some people call them water bugs or palmetto bugs, but they are big fat wood cockroaches! For this reason alone, it’s a great idea to seal those gaps around your pipes.
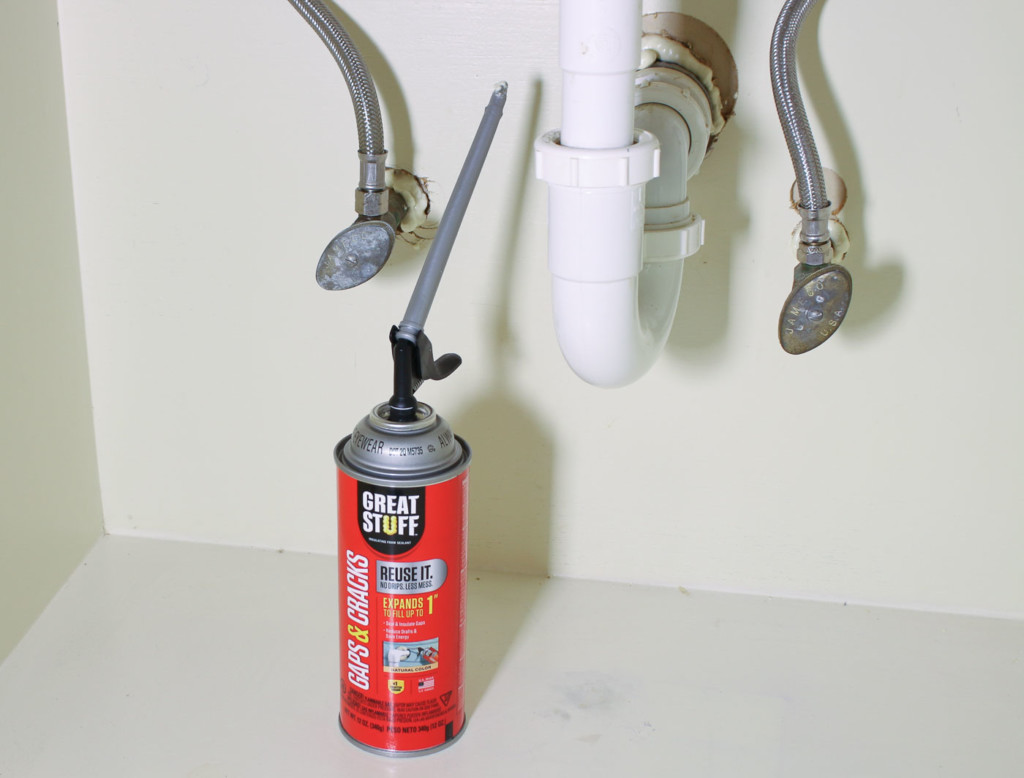
Sealing around the pipes with GREAT STUFF™ is super easy and it just got easier with the new Smart Dispenser which has fewer drips and can be re-used for up to 30 days! This was definitely one of my pet peeves about the original can. Previously, the GREAT STUFF™ material would harden in the dispensing straw making it unusable for future projects. (Click here to learn more about the GREAT STUFF™ with the Smart Dispenser and where you can purchase it.)
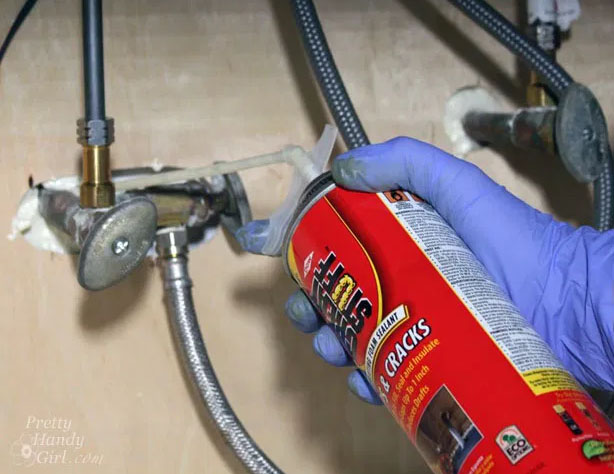
Lucky for us, GREAT STUFF™ cared enough to come up with an innovative solution to this issue—the smart dispenser!
The Reveal:
I’m thrilled to be able to show you the final reveal.
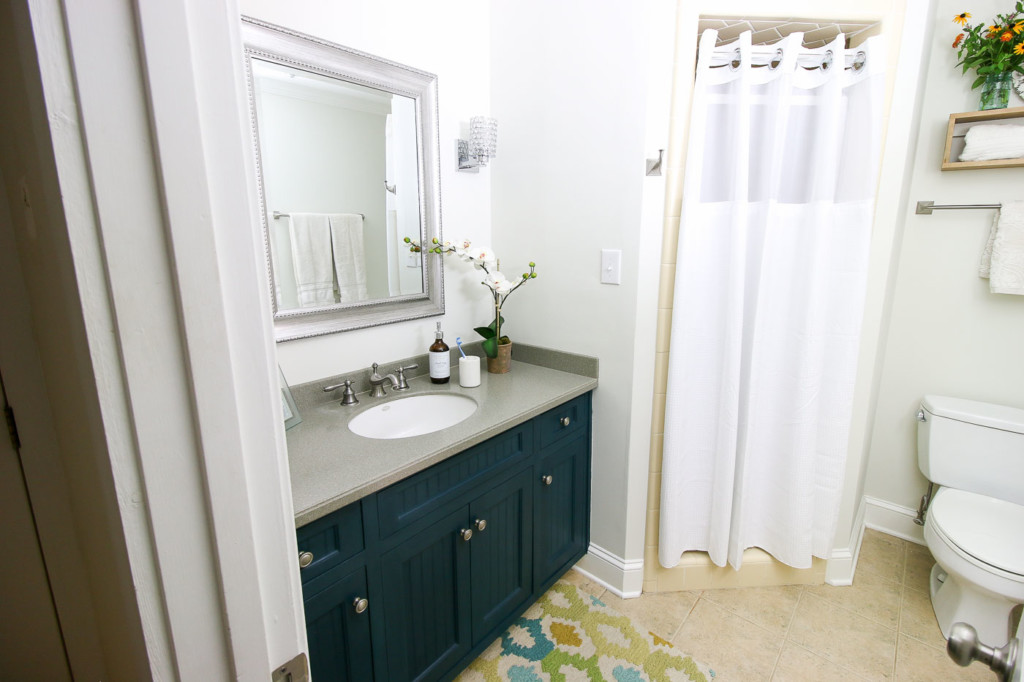
Beth and John are loving their new lighter and brighter bathroom.
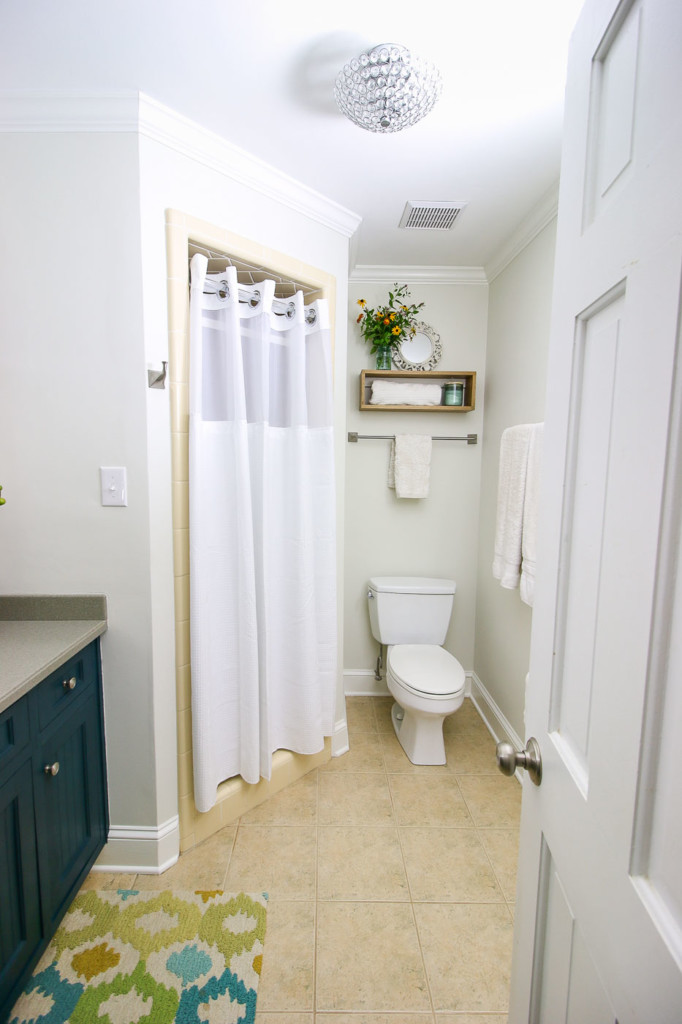
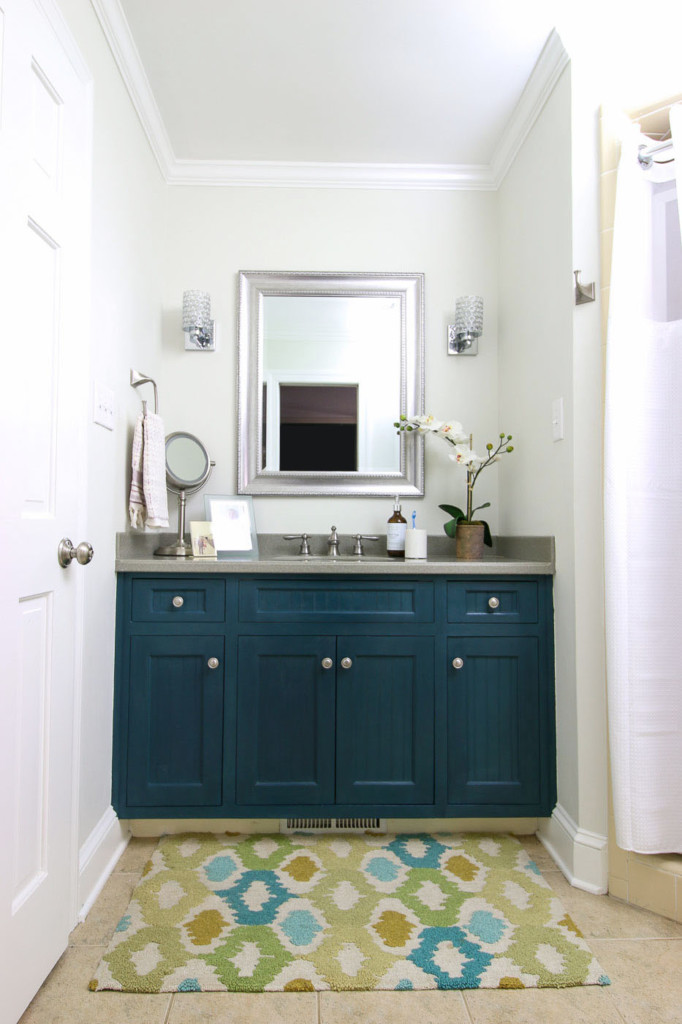
It’s amazing how choosing a cooler paint color downplays the creamy tiles. This is a great trick I use when giving dated bathrooms an inexpensive facelift.
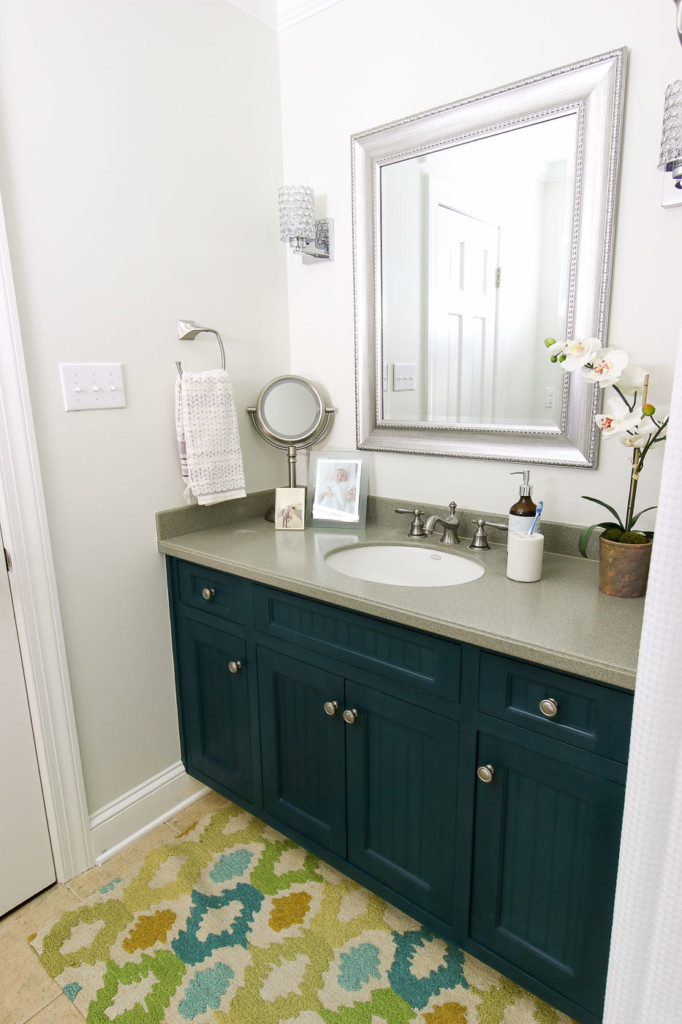
Speaking of facelift, what do you think about the painted vanity? We loved the dark teal color and how it plays nicely with the old countertop.
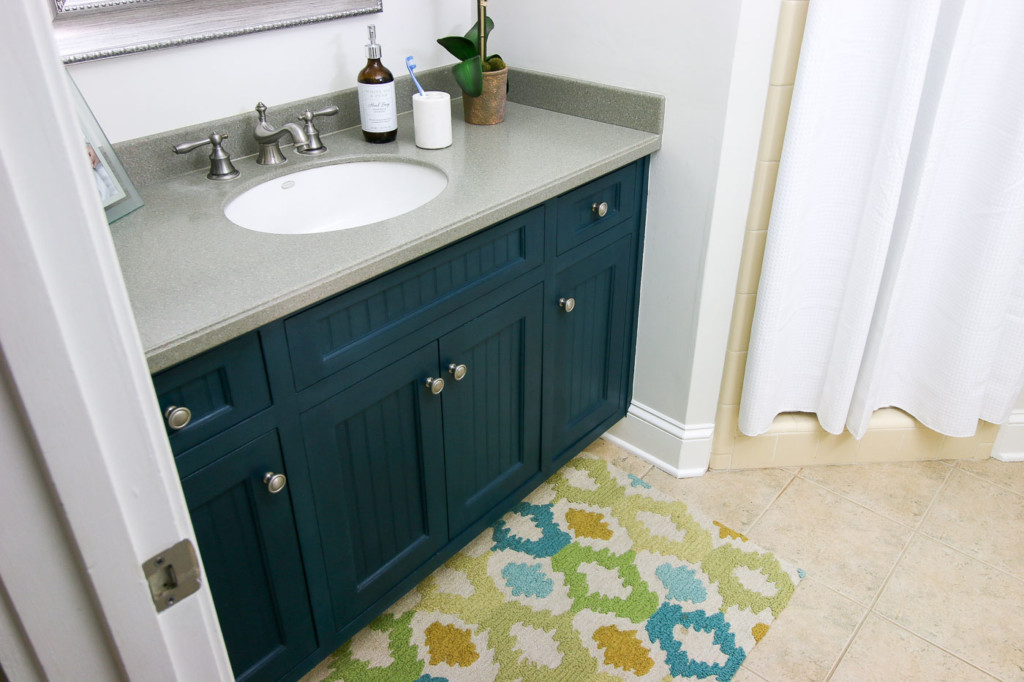
Beth reused the same knobs to stay under budget.

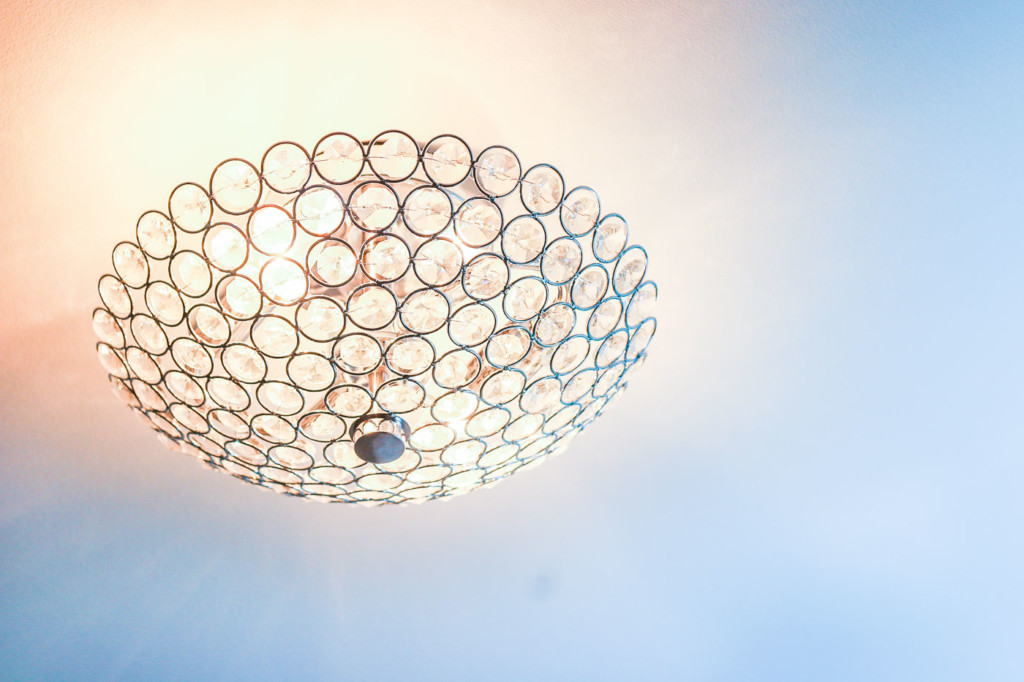
I love the elegant lighting Beth picked out for the room. The ceiling fixture is much brighter with two bulbs and reflective crystals!
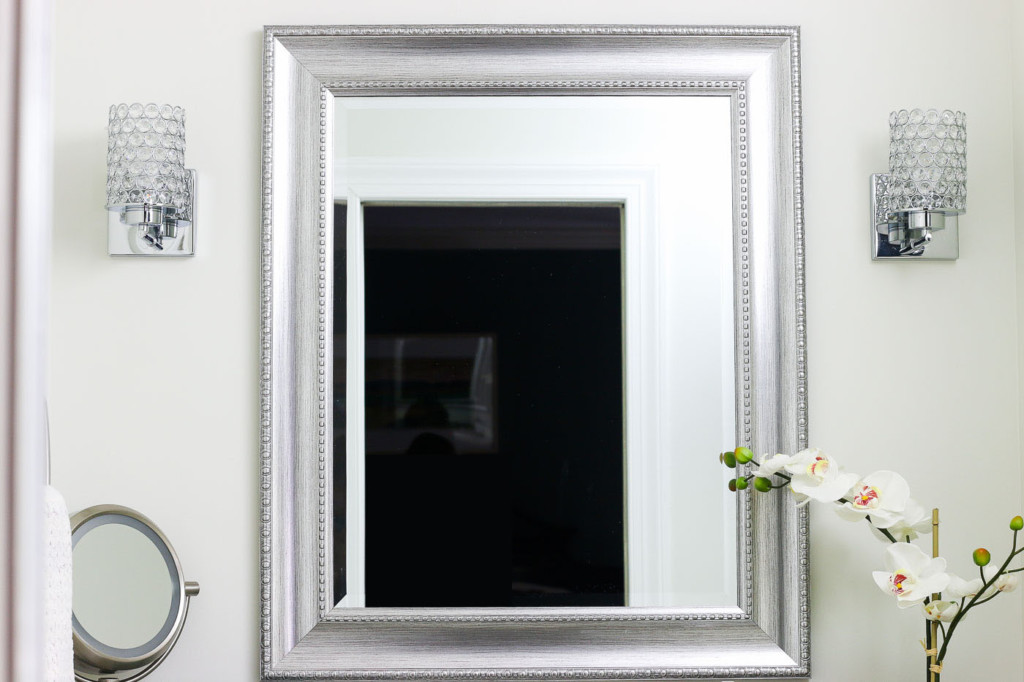
And, adding two sconces, dramatically improved the lighting in this bathroom!

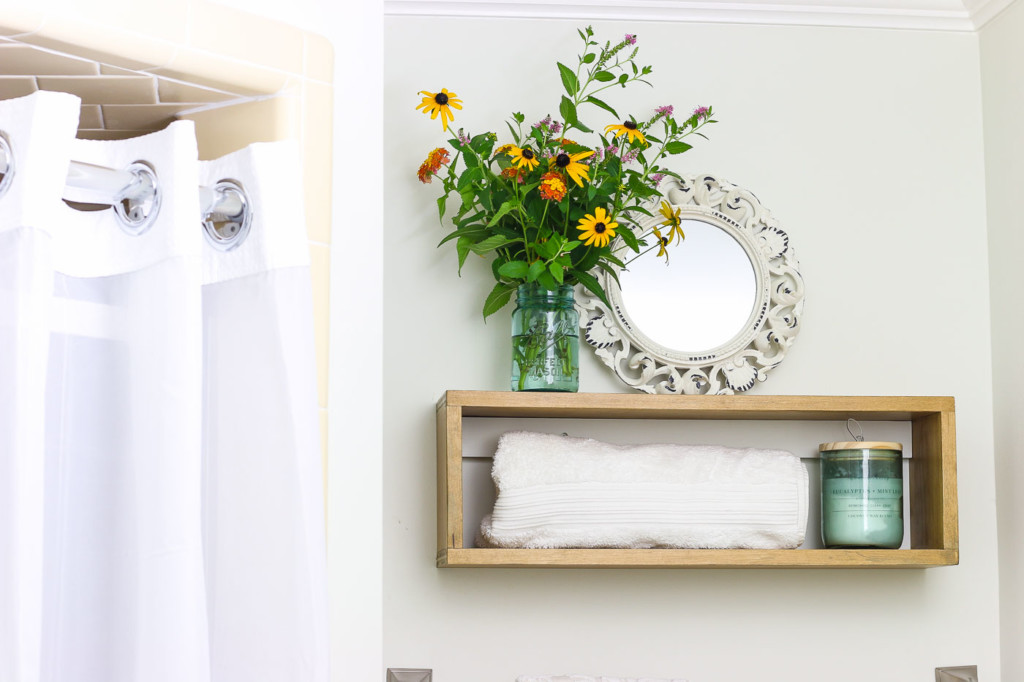
But, I have to say my favorite element is the simple modern floating shelf.
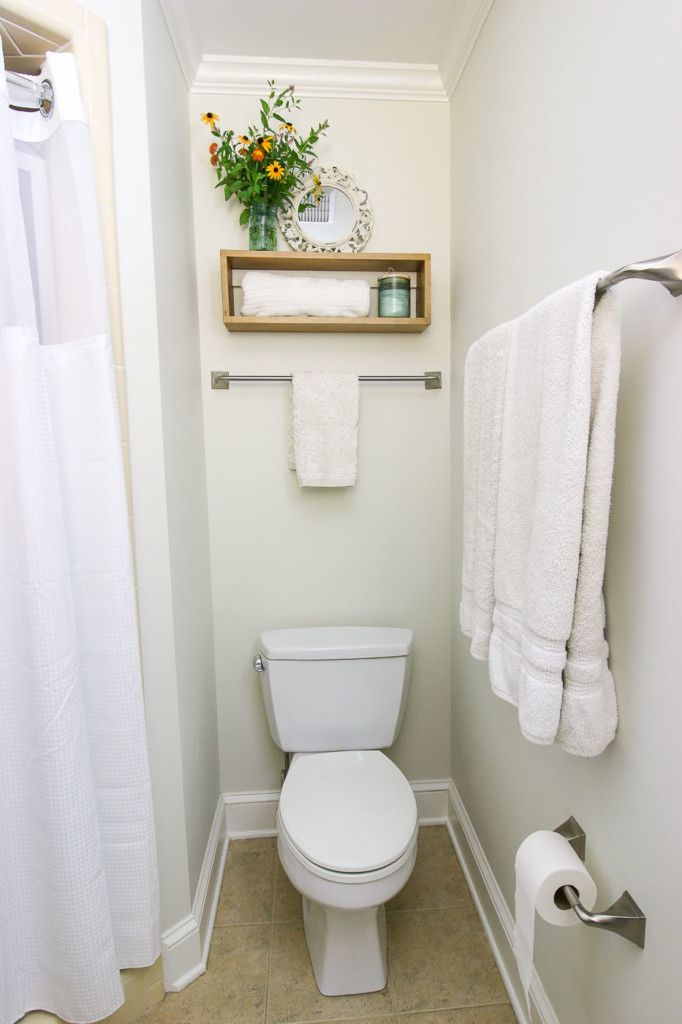
It adds a little storage and some style to an otherwise empty wall over the toilet.
Of course, we can’t forget the old exhaust fan. With a little spray paint, it looks brand new.
Cost Breakdown & Sources:
- Wall Sconces: $108 ($54 ea)
- Ceiling Light: $54
- Towel Bars & Hooks: $100
- Paint Supplies: $150
- Mirror: $50
Grand Total: $462
What do you think? Isn’t this an amazing makeover for under $500? Do you have a room that could use a makeover for less than $500? Do tell!

Disclosure: This is a sponsored post for GREAT STUFF™. I was honored to work with them on this project and was compensated for my efforts. All words and opinions are my own. I have not been told what to say. As always I am very particular about the sponsors I work with and you will be told if you are reading a post that has been sponsored or in which materials were provided.



Very nice makeover! Good work! I just used some ‘Great Stuff’ under my basement door threshold, and yippee, no more snakes! Somehow the wood supporting the threshold simply rotted away after a flood, and we had these adorable baby snakes coming in the basement through that area…so Great Stuff has worked! and who doesn’t like baby snakes..?
Such a huge transformation! Love the clean, crisp new look and ALL the light! Beautiful! I’ll be trying out Great Stuff VERY soon! Thanks for the ideas!!
What a wonderful transformation!!! Price was great too!!! I also wanted to read your article on stopping critters from entering your home but there is no link to it. Can you help me with that?
It’s in this same article, just before the reveal. 😉
Ooh, I love it! What a transformation! And her hubby’s surprise! I love the teal vanity also! I’d do it to ours when we get to that makeover, but I dislike the vanity, it’s too small, as is the whole bathroom. I’d swap for this bathroom anyday!
Thanks, glad you liked it. I hear you, our vanity to too small too.
Great Stuff is what we’ve always used – it has helped us in the battle against mice coming into our 170 year old house (needed all the help we could get!).
Great bathroom makeover, too!
Right Breida! So simple to use. And wow, 170 year old house. That sounds like my kind of house!
So much to ♥️ about this project! It looks fantastic. Thank you for the inspiration to DIY. Living in the South, I definitely am glad to know about GREAT STUFF foam sealants. Good bye gaps!
Great bathroom makeover! 🙂👍🏻
Thanks!