
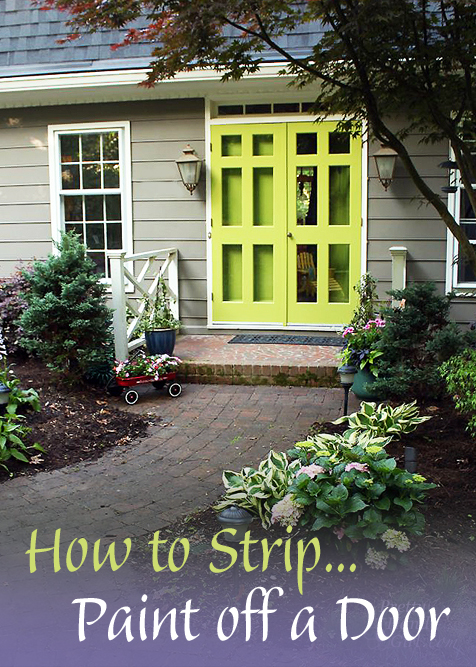
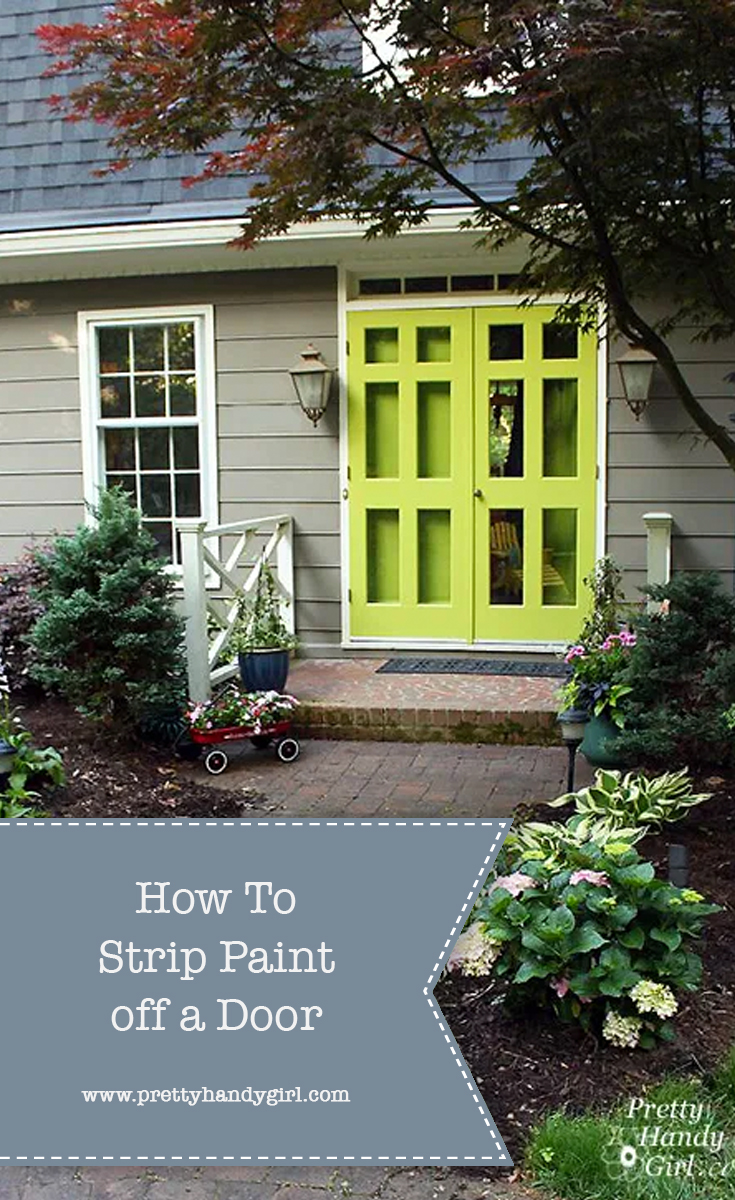
How to Strip…Paint Off a Door
Have you ever had to strip… paint off a door? (You must leave a dramatic pause after strip for the full effect! LOL. If you haven’t had to strip…paint off a door, consider yourself lucky. If you need to strip… paint, I have some tips and a tutorial for you!
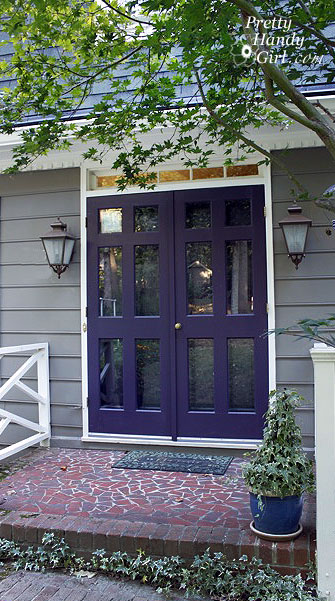
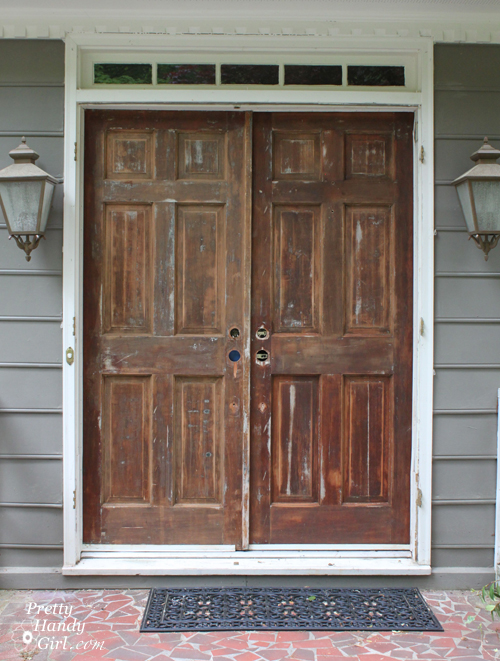
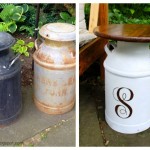
Here’s the back story: My home’s doors have been purple for over 7 years. I was over the dark and wanted some vibrancy. It was supposed to be a simple project. Just paint the front doors a beautiful green (Benjamin Moore Perennial Green.) I had tested the color on my custom house mailbox. That was TWO YEARS ago! (Life’s been a little busy, okay. Forgive me, I’ve been wrapped up in a major kitchen renovation.) All I had to do was get the paint mixed and get painting. Instead, I was caught in the middle of the DIY project from HELL!
I had five doors to paint (front two doors, one side door and two wooden storm doors.) But, this DIY project was doomed from the start. My friend Holly was sweet enough to offer to help me paint. The week we were supposed to start on the doors her son came down with scarlet fever. A few days later as I was getting ready to paint them myself, MY SON got scarlet fever.
I finally got around to sanding and priming the front door. I was elated as I finally began to brush the paint onto the doors. Ahhhh. Beautiful green. I finished the first coat on the front doors. Then proceeded to the side door. When I went back to give the front doors a second coat…a problem exposed itself. Nooooooo!
The paint was NOT sticking properly. A light scratch revealed the purple paint beneath. Ugh! What?! Nooooooooooo.
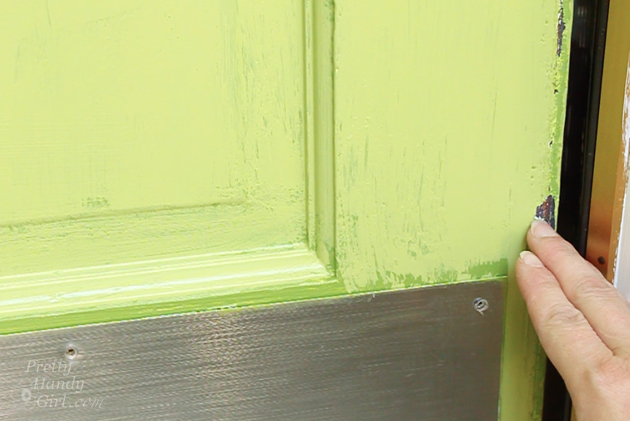
The paint was easily scraping off the front doors. I was miffed. I had done all the right things. I checked to make sure it was latex paint. I had sanded AND primed. And yet the paint refused to stick to the front door. My favorite paint guy and I could only deduce that perhaps at one time a previous homeowner used a chemical cleaner that was resisting the paint.
My only course of action was to strip… the paint off down to the bare wood and start over. I was crushed, I wanted to cry. Instead, I just got to work stripping. Here’s the best way to strip… a door if you find yourself in the unfortunate situation of needing to strip… paint.
Materials:
(I’ve included affiliate links for your convenience. I earn a small percentage from a purchase using these links. There is no additional cost to you. You can read more about affiliate links here.)
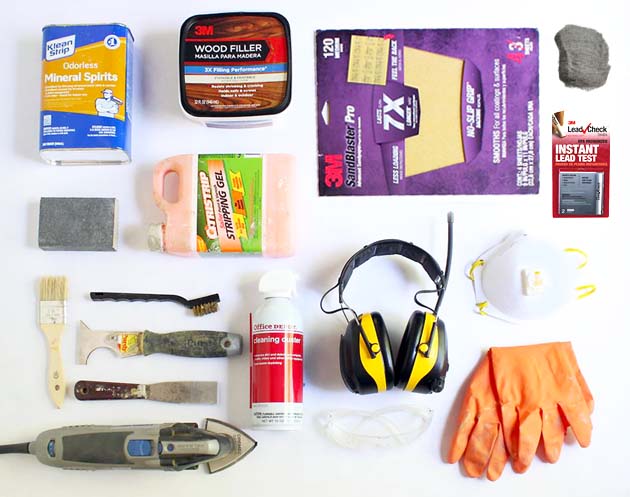
- ForceFlex™ MAX Safety Goggles
- 3M™ Worktunes™ Hearing protector
- Chemical resistant gloves
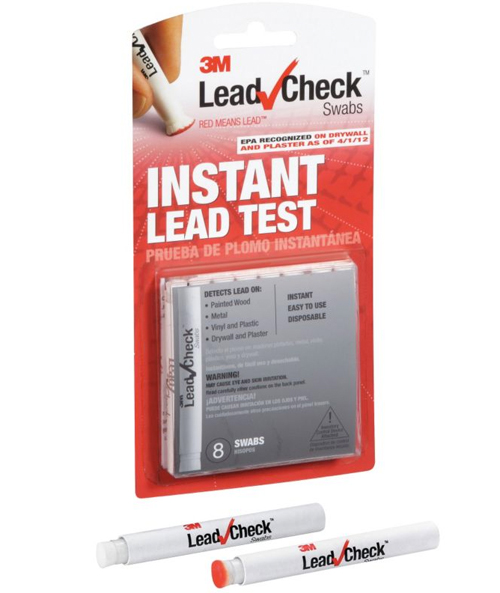
- 3M™ LeadCheck™ Swabs
- 3M Advanced Abrasives with NO-SLIP GRIP™ Backing (150 grit & 220 grit)
- Dremel Multi-Max™ and/or Power sander
- 5-in-1 Painter’s tool
- Citristrip® Stripping Gel
- Klean Strip® Mineral spirits
- Steel wood
- Metal bristled brush
- Putty knife
- 3M™ Wood Filler
- Wet rags
- Compressed can of air
- Vacuum
Safety precautions:
- It is imperative that you wear chemical resistant rubber gloves and eye protection while stripping paint. The chemicals (even the less toxic CitriStrip can be harmful to your skin or eyes.)
- Work in a well ventilated area, or you may choose to wear a respirator (especially when using the mineral spirits.)
- When working with power tools, like a power sander, wear adequate hearing protection. Continued exposure to loud noises even if they don’t seem loud at the time can damage your hearing.
- Always check your paint ahead of time for the presence of lead paint. If you have lead paint, wear your respirator and do not sand the paint. Strip it off and clean up ALL the paint chips and debris. Seal it in a plastic bag and dispose of it in the trash.
- Stripping paint is a DIY project that requires you to keep children away, especially if there is lead paint.
Instructions for Stripping Paint:
Here is a fairly thorough video showing you the process of stripping a door from start to finish:
Or you can read the step-by-step pictorial version here:
Begin by brushing CitriStrip onto your door. Cover all the paint with the stripper. Try not to brush over the stripper once you have applied it onto the door.
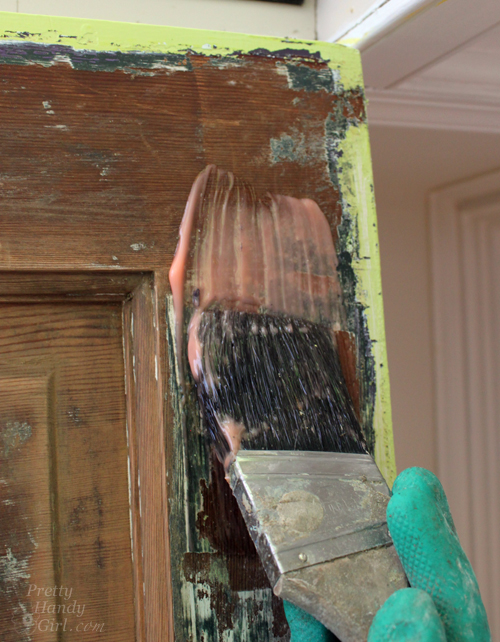
Let the stripper sit for 15 minutes. (<—I’m trying so hard not to be corny and comment about that sentence.)
After 15 minutes (or if you see the paint bubbling), start scraping off the paint.

Rotate your 5-in-1 Painter’s tool to see which edge works best at scraping along the different profiles.

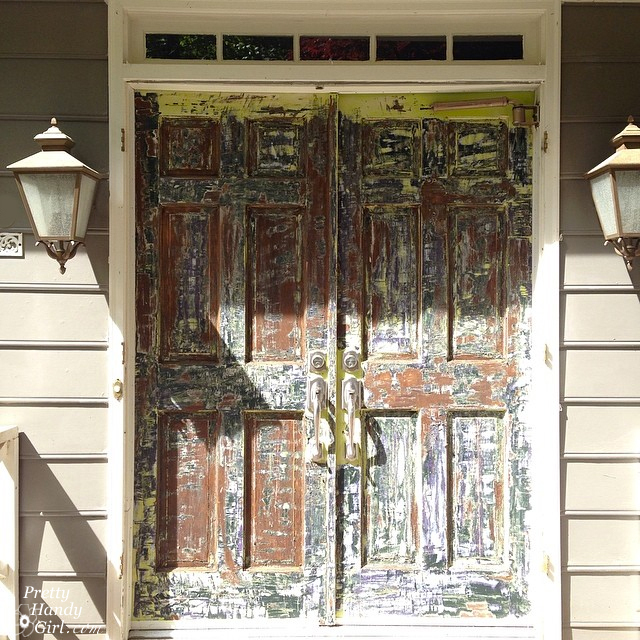
Needless to say, you will need to repeat applying stripper and scraping until you get down to the bare wood. Have patience, this process may take a while. (You can show me some sympathy as it took me three days to strip both doors. Granted, our doors had at least 5 coats of paint on them. So, there was lots of re-applying the stripper and waiting.)
Once you’ve removed the majority of the paint, use steel wool and/or the small wire brush dipped in mineral spirits to clean off more of the paint.
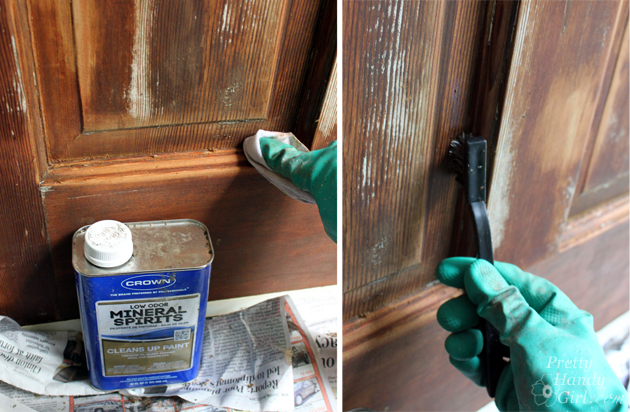
Using a simple putty knife can help pry out any leftover gunk out of the corners and crevices.
Once you’ve removed all the paint that is humanly possible to remove, wipe the door with a damp rag and allow it to dry thoroughly.
Repairing the door:
After the door has dried, assess your door for cracks or gouges. Now is the time to patch any imperfections.
Be sure to use a stainable wood putty if you will be staining your door. I use the same wood filler regardless of whether I’m staining or painting.
For cracks in the door, scrape or sand off any rough or raised edges. Spread the wood filler and allow it to dry. Hand sand small spots or leave them and sand it while sanding your door.

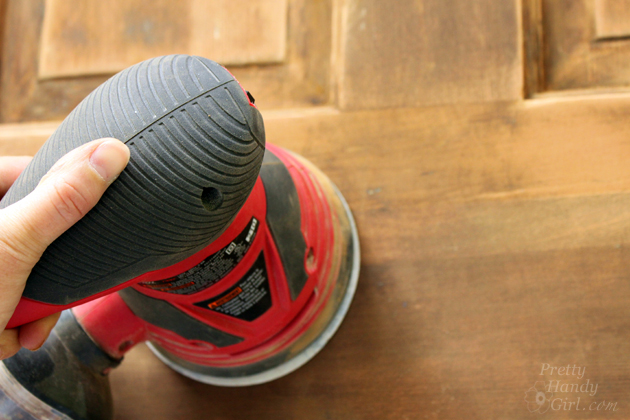
Sand the doors. Start with a 150 grit sandpaper. On the second sanding, switch to 220 grit, a finer grit sandpaper.
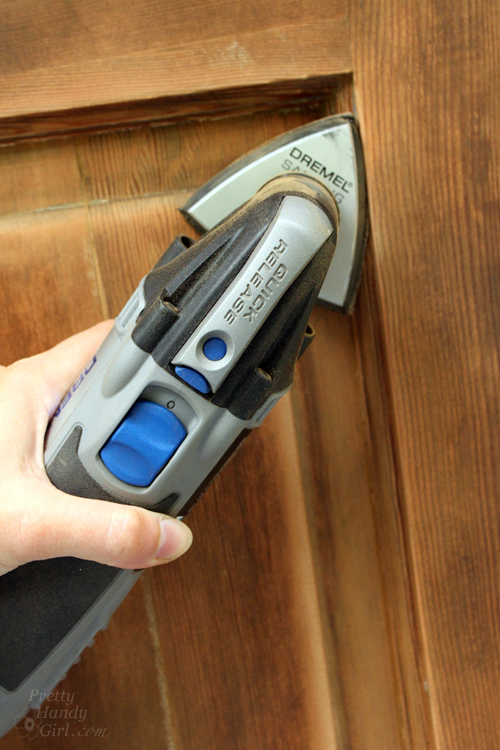
Use a Dremel Multi-Max with the triangular sanding head to get into all the corners and grooves.
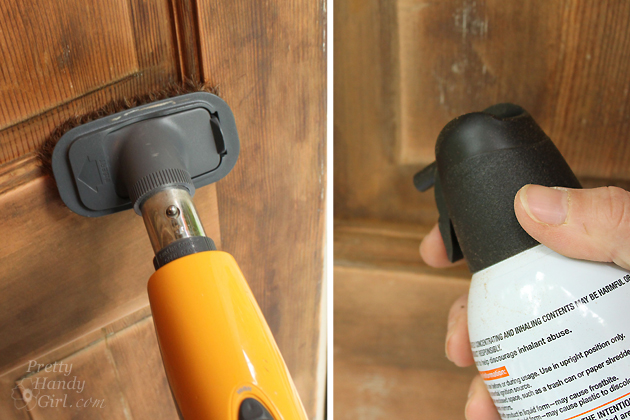
After the sanding is done, use a vacuum cleaner to suck up most of the sawdust. Use the can of compressed air to blow additional sawdust out of the corners and crevices.
Follow up with a damp rag to wipe any additional sawdust off the door.

This is where I spent 45 seconds enjoying the beautiful fruits of my labor.

Faster than you could say strip…paint off a door, the moment was gone and I had popped open the can of primer and started over again. (So depressing.) I wish I could have left the doors wood, but they aren’t in great shape and our side door was already painted a pretty vibrant green at this point.

After the primer dried, I gave each door two coats of Benjamin Moore Perennial Green.
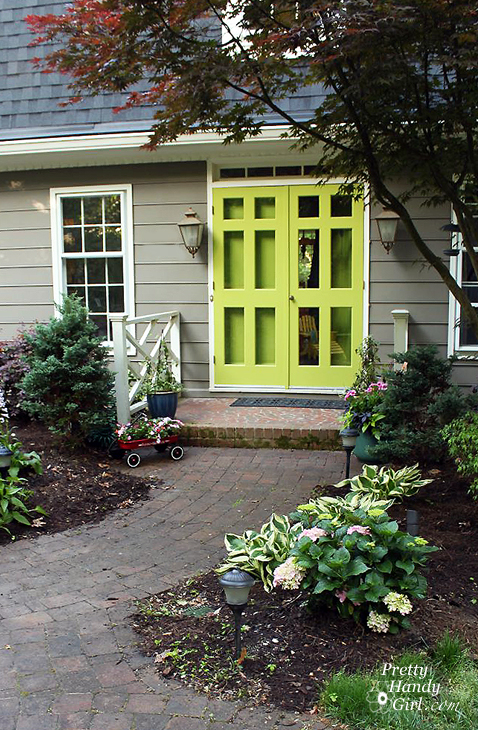
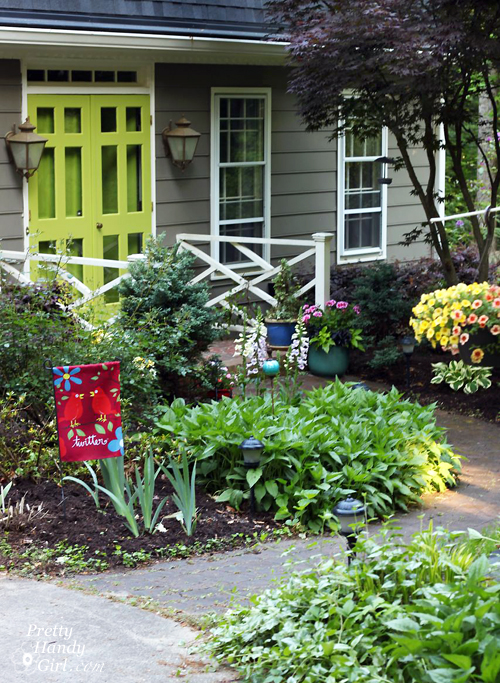
Yup, it only took two years and three days of stripping, but I finally have beautiful and colorful doors. The green is so pretty with my newly freshened up front flower beds. (More on that process another day.)
What is the worst DIY project you’ve ever been involved in? I’d love to hear about your DIY Hell! It might make me feel better at this point because I’m depressed that I spent an entire week painting my doors.
![]()

Disclosure: I am proud to be a 3M- sponsored blogger, and, as part of my responsibilities, I get the opportunity to evaluate new products from 3M DIY. Opinions are my own and additional product used in the project were selected by me.
For more great DIY tips visit 3M:
3M DIY Website, 3M DIY Facebook , 3M DIY Twitter , 3M DIY Pinterest
Pin for later!
Awesome post. When I saw the before pics of your door I smiled because that is exactly what I am dealing with right now. I bought a 125 year old house and the front door looked like crape paper. So far I have scraped 4 layers of paint off and am not looking forward to picking up where I left off this weekend. I just know there has to be beautiful wood under all that paint. And like you, I’ll be painting with a Benjamin Moore Camel color.
Thanks for the chuckle.
I thought I could just sand my oil based door and then paint with latex paint. Boy was I wrong. I am now going to have to strip it and start over. I hope it will be fairly easy. I have stripped furniture that had been painted…hutch, side board and china closet. The door has no windows, so hope this goes fast. Fingers crossed.
I so feel your pain– I started my own stripping project this weekend (and we are loving all the stripping jokes too!). Your beautiful door has given me hope that there will be light at the end of the tunnel. Thanks for sharing your tips about clean up– haven’t gotten to that step yet but I know your tips will be helpful!
This is so beautiful! That color. Oy! And you’re giving me hope. I’m about a strip a very old and paint-laden door at our house. It won’t be pretty. But hopefully the end result will be. Thanks for the kick in the pants.
Hey, Charles with Charles Graves Painting here. Based out of northern VA.
You actually wouldn’t have needed to strip the doors. That’s like doing surgery for a sprained ankle.
Here is where you should have started:
1) was purple paint oil based, or latex based? If it’s been purple since you bought the home, it could very likely have been oil based paint. Or even if you painted the door yourself 7 years ago, you perhaps could have used a solid stain (solid stain is also oil based).
2) If the undercoat was oil based, then you should have sanded with 150 then 220 grit sandpaper, THOROUGHLY, then applied an OIL BASED PRIMER (Sherwin Williams all purpose adhesion primer, to be exact, which is specially made for adhesion, for wood and metal).
3) if the undercoat was 100% latex based, you most likely just did not sand well enough. (Remember- you want to use 150 grit sandpaper and THEN 220 grit sandpaper, so that you really get good “tooth”).
Also: for the commenter who mentioned having to “scrape and strip all her interior trim”- I have to say, why wouldn’t you just replace the interior trim?
It is FAR CHEAPER and faster to just replace baseboards, door trim, etc.
About the only thing I might consider not replacing would be
1) window sills, as that can be complicated due to some cases them being part or attached of the window
2) “antique” trim which is historical or valuable so you don’t want it removed
3) collectors or discontinued Moulding which is beautiful etc
Aside from that, I would say, trim is $1-$4 per linear foot on average only. Often baseboards and door trim is on the low end of that.
Just replace! Need Measuring tape, miter saw, level, chalk line and a few other tools and you’re good to go
As always we do that project as well 😉
Charles, thank you for your comment. I’ve painted my fair share of doors and always know to check latex vs. oil. This door was definitely latex because I knew the previous owner who painted it and she even left the paint for me in the garage. I did indeed sand it very well. I talked to my paint pro and we think either a cleaner was used on the door at some point or the heat build up between the storm doors and the house doors altered the structure of the paint making it resist a new coat of latex. Believe me, I never would have anticipated having to strip the doors, but sometimes you have to do the difficult thing to get a professional result.
Firstly, not everyone has the money to replace the trim throughout their house. Secondly, even if you can afford it, it’s absolutely wasteful if the only thing wrong with it needs a little elbow grease.
The doors are over 85 yrs old, I presume they have oil base stain and or varnish on them and they are almost black in color not purple.I believe they need to use a good liquid stain remover and you tell me what you would suggest, thank you, Shirley
The Citristrip should work fine, but if it has multiple layers it make take several strips.
Hi there!
If you’re still reading this, we’re trying to do a cost/benefit of stripping vs just buying a new door.
As an estimate, this took you, an experienced DIYer, 3 full days to complete – so around 30 hours?
Adding on my lack of experience, this might be a 40+ hour job, plus cost of materials?
Would that be a sound estimate?
Thanks for any advice!
Kristina
Kristina, I’d guess so. But, it might take you less time to strip the doors. Our’s had three layers of paint, so it took several rounds of stripping and scraping. Maybe estimate 24 hours?
Hey there,
Thanks for a great tutorial! After you took the door down and put it on a pair of sawhorses, what did you cover the doorway with? Plywood or heavy-duty visqueen?
Thanks,
An aspiring stripper (uh..I mean paint stripper).
I never took the door down. I left it on its hinges.
But in situations that require you to take a door that goes from inside to outside off its hinges, what would you cover the doorway with in order to keep out vermin, rain and so forth?
Thanks.
I’d staple a tarp or heavy plastic over your doorway.
Hi, you did such a great job with this! Once you had the door stripped and repaired, could you have stained it if you wanted to? Do you think it would have come out looking nice with a dark stain? I have an old, painted front door and am considering stripping and then staining it. Thanks for any advice!
Oh Chris, if you only knew how badly I wanted to do just that. The door was cracked and worn too much to look good stained. But, yes, you certainly can strip and stain your door. Best of luck!
Yikes, I like to paint, but my experience is limited to interiors. I need to repaint my red front door. It faces west, so after 10 years, the paint has faded out and the door’s decorative moulding paint has cracked. I’m going to paint it the very same color to get it back to the original red. Do I have to strip it completely? I thought I might just scrape and do a little gentle sanding over the cracked moulding crevices, clean it off and start painting. The rest of the door is fine , except the faded color. The cracks are in the moulding crevices only. What do you think?
Sally, you may not have to strip your door. If you know that you front door is latex, you can paint right over it with more latex. OR oil paint? Paint over it with oil paint. For some reason my door paint was resisting the new paint. Otherwise, I wouldn’t have stripped it.
Thank you for this wonderful tutorial! I bought an old wooden door that was painted several times. I follwed your instructions – and I have successfully stripped off the 5-6 layers of paint down to the wood! I actually had to do 2 passes of the Citristrip. I did it once which got me through 2-3 layers of paint. Then I added another coat of the stripper – the next day and the last layers of paint came off very easily.
This is definitely a labor of love, but well worth it! I paid $140 for a solid, well crafted used door + the cost of supplies – which is way less than what a brand new door would cost!
I am now allowing it to dry before I finish up the project. Thank you again for the very detailed information, it was very helpful (and my husband is impressed I tackled it)!