Stenciled and Dyed Scarves Tutorial
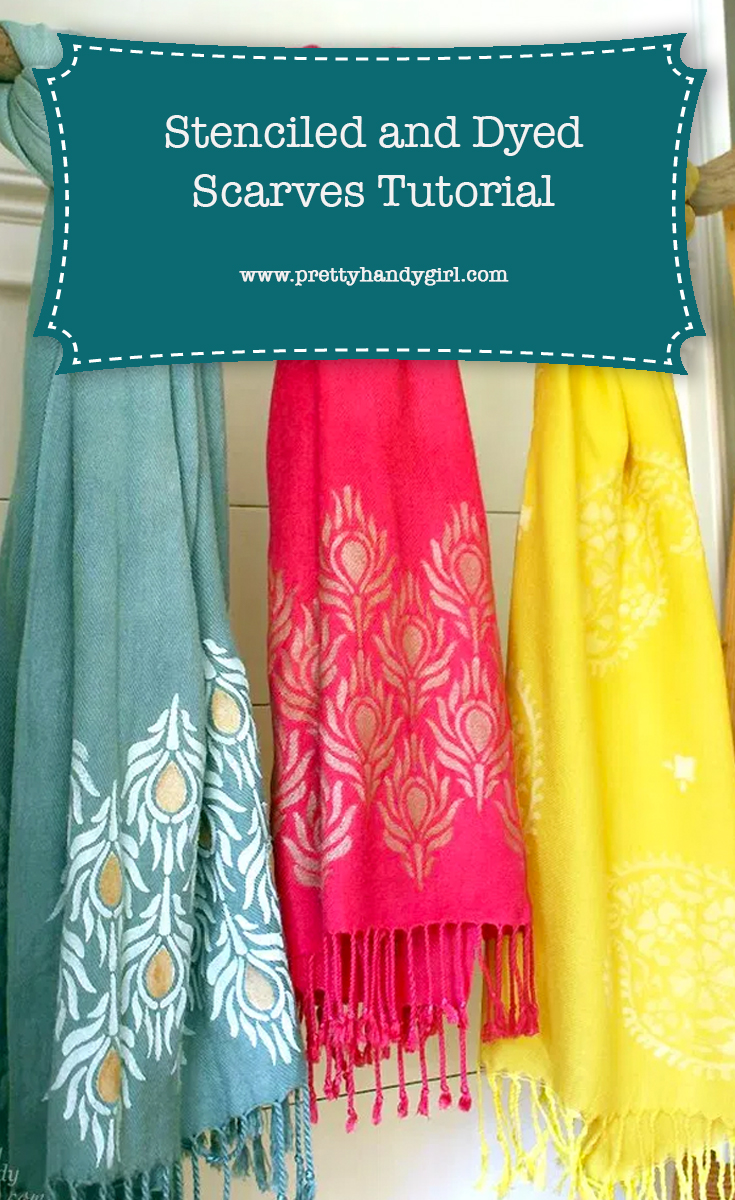
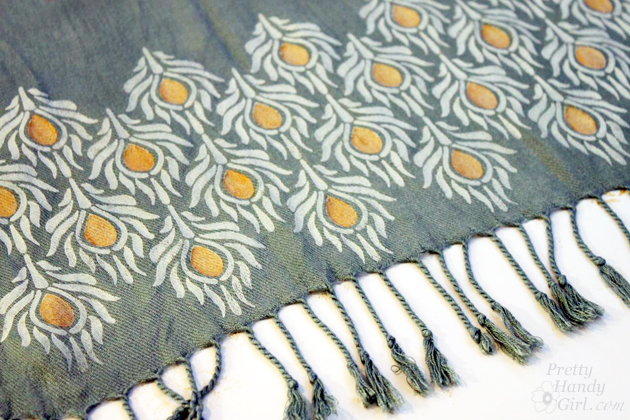
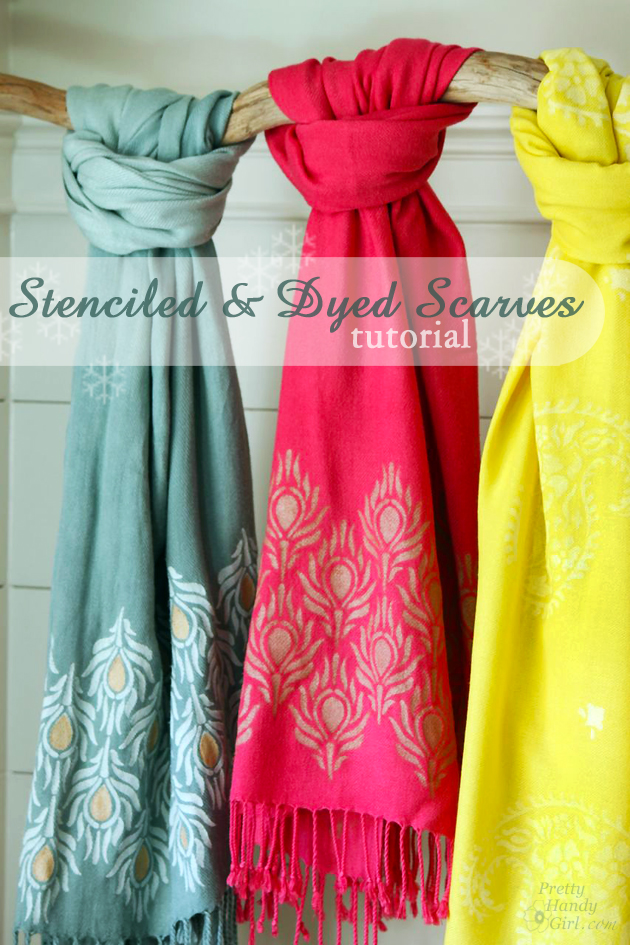
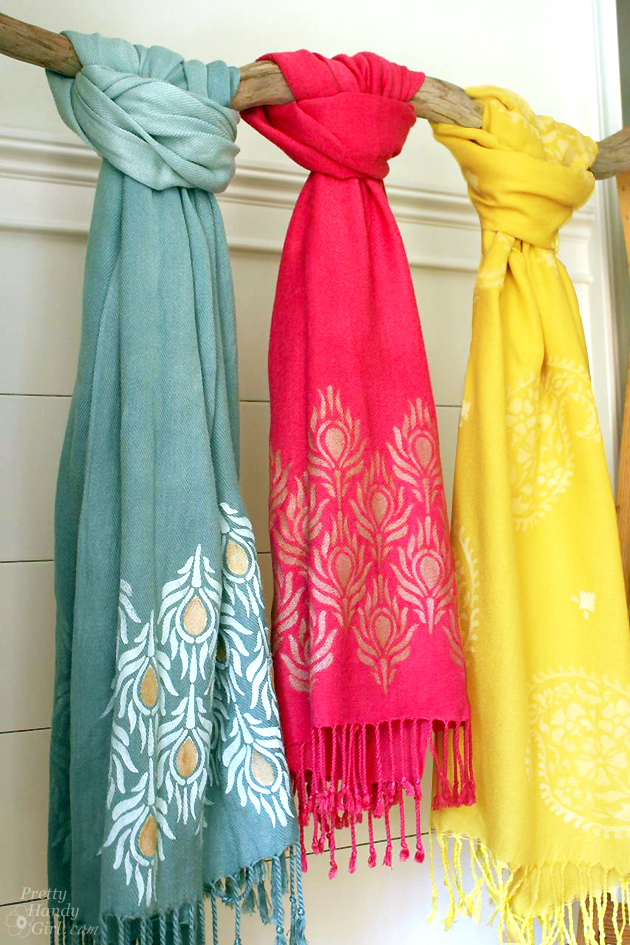
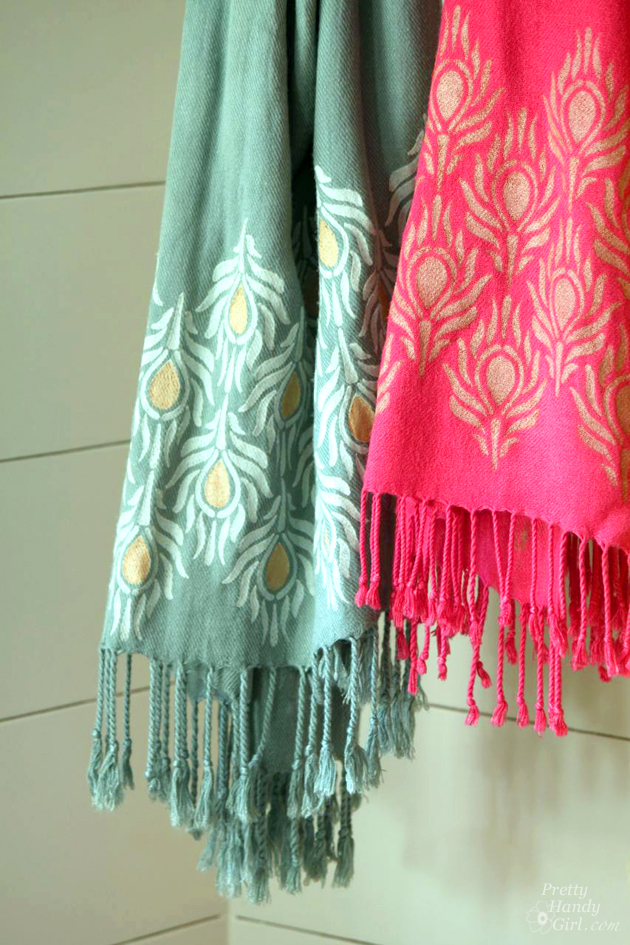
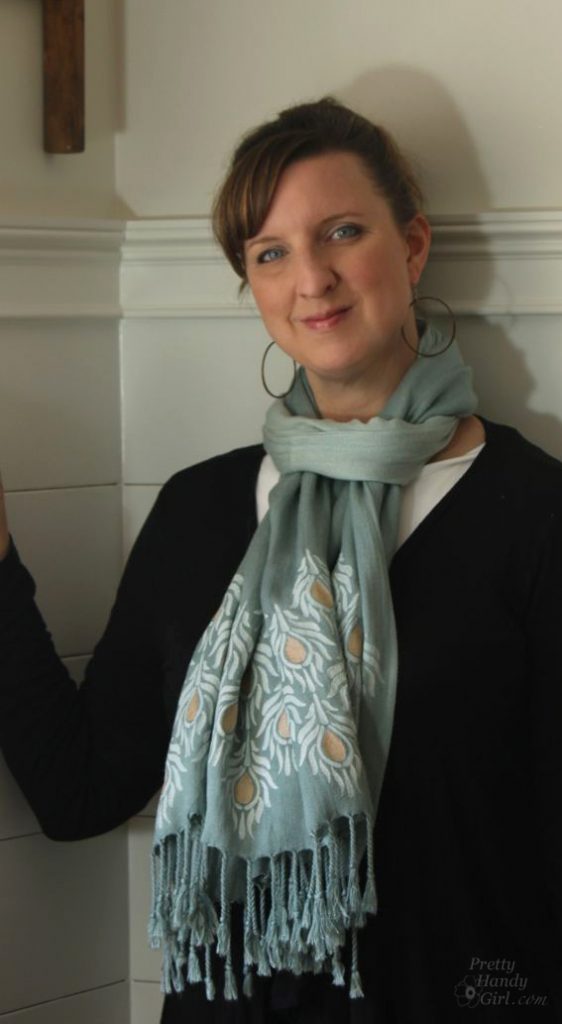
Once again I’ve created a DIY gift that I want to keep for myself! It’s true, I’ve fallen in love with these stenciled and dyed scarves that I created this week. In particular, I’m rather fond of the blue/gray and yellow ones. So, my question to you is, which looks better on me? (Because I might have to keep it.) The blue/gray ombré scarf with the peacock feathers.
Or the sunny yellow scarf with paisleys. I always thought I didn’t look good in yellow, but I think the picture is proving my thoughts wrong.
For this gift idea, you can either purchase colored scarves or buy white scarves and dye them. I prefer to do the latter because frankly I don’t usually like the scarf colors offered (at least the inexpensive ones.) But, that’s up to you and your time availability. Let’s get on to the tutorial, shall we?
Materials for stenciling scarves:
(I’ve included affiliate links for your convenience. I earn a small percentage from a purchase using these links. There is no additional cost to you. You can read more about affiliate links here.)
- Scarf (I found mine for $6.99 at Kroger & CVS)
- Fabric paint (or paint for multi-surfaces)
- Stencil roller
- Stencil pouncer
- Baby wipes
- Painter’s Tape
- Stiff board or foam core board
- Stencils (I used Peacock Fancy Small and Printed Indian Paisley Damask from Royal Design Studio)
Materials for Dyeing Scarves:
- Rit Dye (choose your own color combo here)
- The custom colors I mixed were Warm Red #122 and Teal #412 (but I added some more Teal Rit Dye to the recipe)
- Rubber Gloves
- Measuring cup
- Salt or Vinegar (depending on your fabric)
- 2 Buckets
- Liquid Detergent
- Stir stick
- Yard stick or pole (for ombré dyeing)
Instructions for Dyeing Scarves:
To keep this tutorial from being crazy long, I’m going to show you the quick and basic steps for dyeing, but I highly recommend that you follow the instructions on your package of dye or on the RitDye.com website.
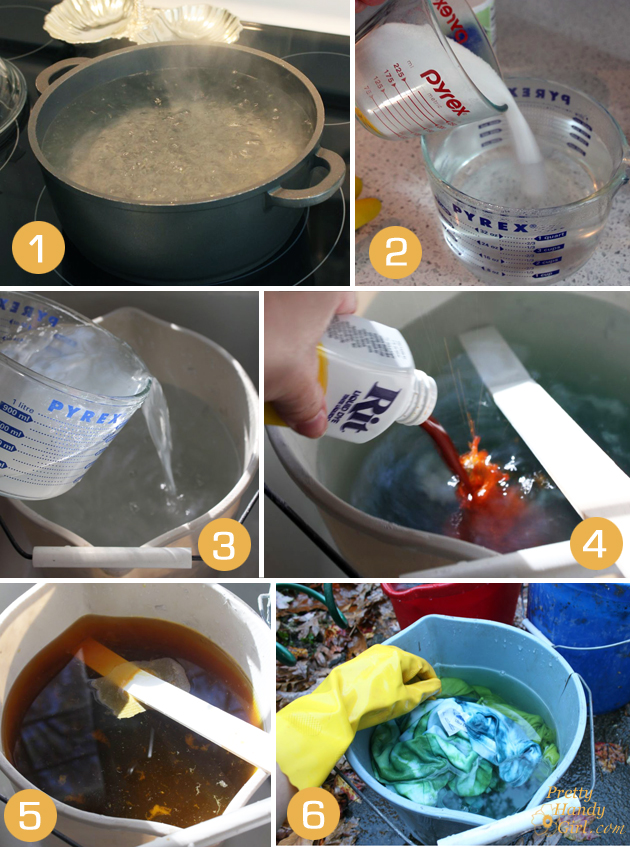
1) Boil 4 cups of water.
2) Pour 1 cup salt [recommended for use with viscose (same as rayon)] in the hot water and stir to dissolve.
3) Pour hot salt/water mixture into a bucket with 2 gallons of hot water inside. Stir.
4) Pour appropriate dye amount (look on bottle or color formula chart) into the bucket.
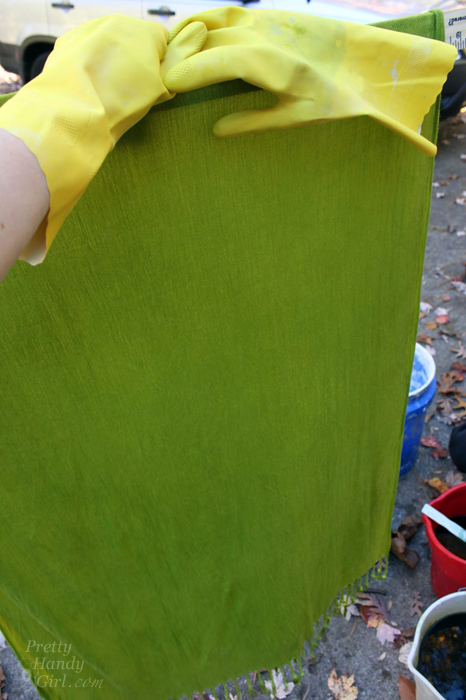
5) Mix well. Dip scarf inside the bucket. Stir and let scarf sit for several minutes (about 10 minutes.)
6) Remove scarf and wring out any excess dye. Place in a separate bucket that has clean water in it. Rinse and wring scarf in water. Change water often and continue until the water remains mostly clear (this takes a while.)
Ombré dyeing technique:
If you wish to create an ombré scarf, drape the scarf over a ruler or pole. Gently dip the bottom third of the scarf into the dye bath. Do not let the scarf sit, bounce it up and down. After a few minutes, dip the scarf in lower (about 2/3 way) and continue to bounce it in the dye bath. Finally, the last minute, dip the entire scarf into the bath and remove immediately. Dip it about six more times, constantly dipping to create a gradiation or ombré effect.
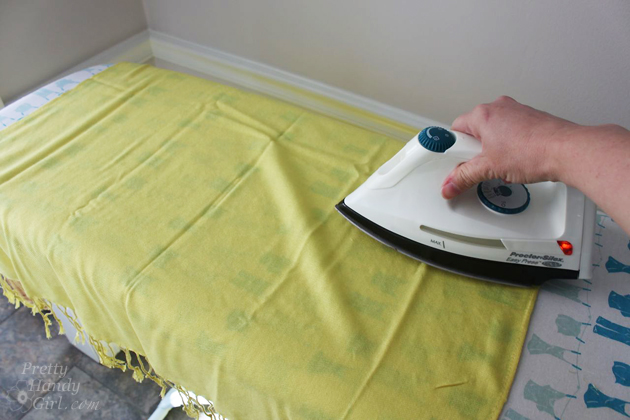
After the scarf is thoroughly rinsed, wash it with like colors in the washing machine. Dry. Iron all wrinkles out of the scarf.
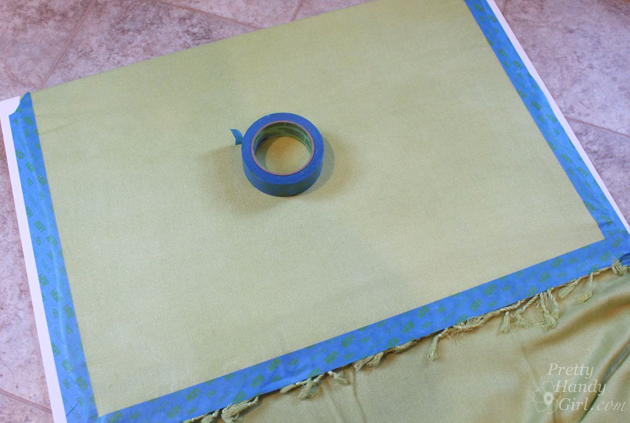
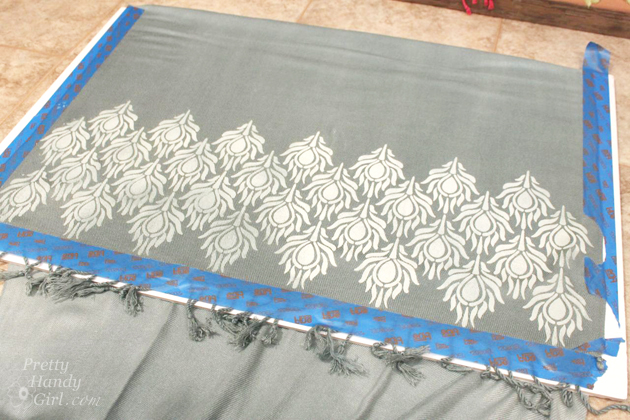
Tape one end of the scarf to a board with painter’s tape. Make sure the fabric is taught.
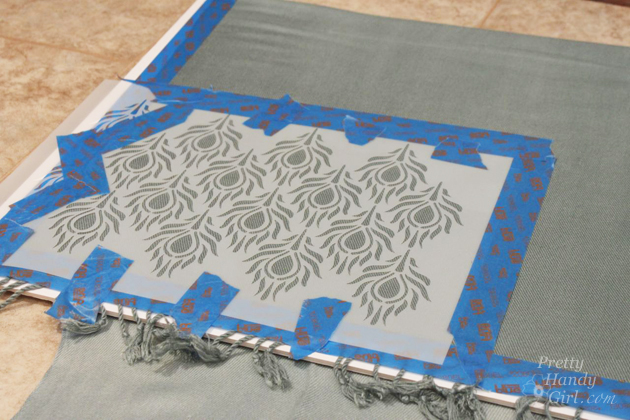
Tape your stencil onto the scarf. If there are areas on the stencil that you wish to block, tape over them.
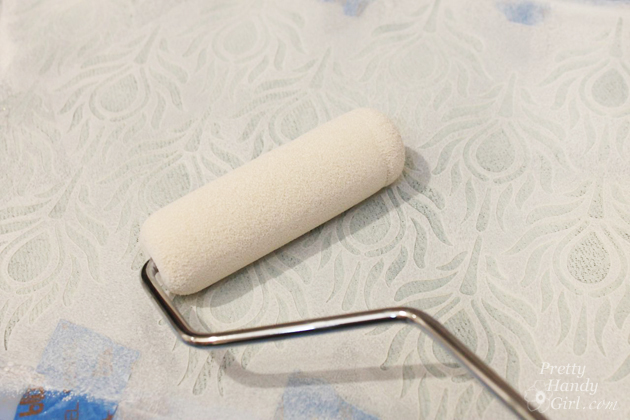
Roll your roller into the paint. Roll any excess paint off the roller until it is almost dry. Then roll your paint over the stencil. You’ll have to roll over it multiple times to build up enough saturation of the paint.
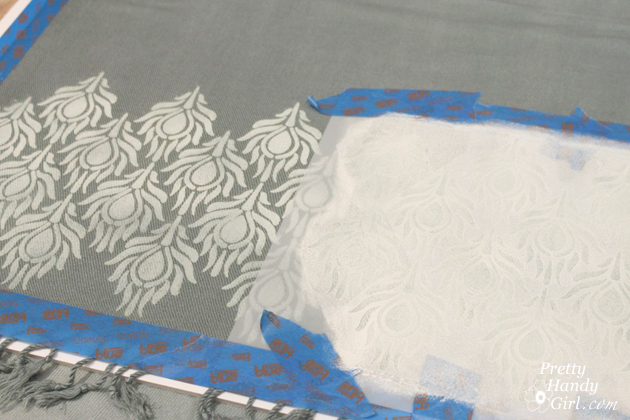
Lift the stencil and position it next to the printed area.
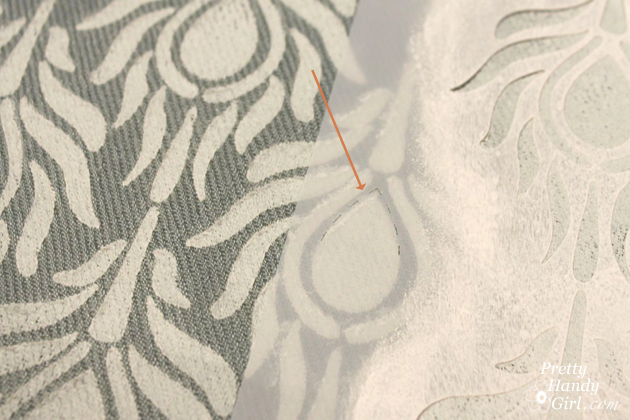
Line up the registration marks with the last row of your stencil design.
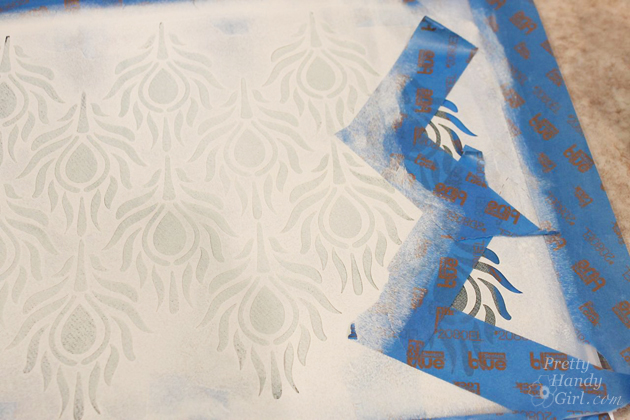
You might need to remove the areas you masked off and adjust to the opposite side.
Roll your paint onto the stencil until you have good coverage. Remove the stencil.
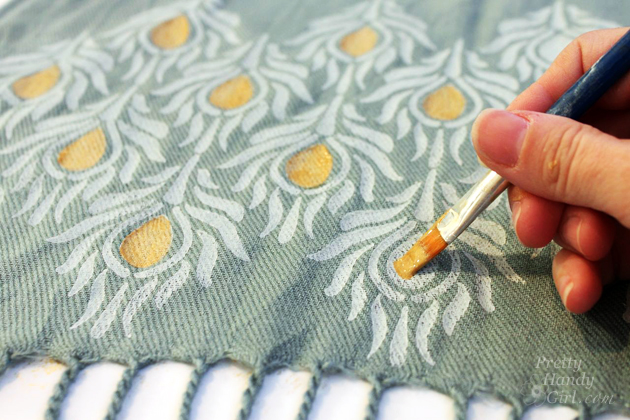
Allow the paint to dry. Remove the scarf and print the other end of your scarf. For extra color, you could paint some areas of the pattern with a second color.
Allow to dry and enjoy your beautiful creation!
If you would like more of a visual demo, you might enjoy watching the Google Hangout hosted by HomeTalk on stenciling that I did on Wednesday with Melanie from Royal Studio Designs and Jesse from Scout & Nimble. It was a blast and there were some really awesome holiday ideas shared! They could also be Très Frugal DIY Gift Ideas!!!
I am in absolute love with the results of these scarves!
Which is your favorite? I still can’t decide…blue/gray…
or yellow?
Pin for later!




Those are beautiful!
Thanks Gina.
Love the blue/gray, it looks best on you too!
Thank you!
What a wonderful gift craft! I definitely have to try this. Both the blue and yellow look great on you, but my preference is the blue … though the yellow would brighten up winter!
Thanks Guerrina.
}
both are beautiful. why not keep both….LOL. Seriously though, I prefer the blue and thanks to your inspiration I will be making some myself.
Thanks, Brittany! Then I will definitely have to go to Royal Design Studios.
Gotta go with the majority here (so against the grain with me 🙂 ). The blue grey looks the most fab on you. They are all gorgeous. Do you have a Five Below store in your area? Haven’t been this year but last 2 yrs. they’ve had a great assortment of scarves, colors for $5! So want to do this. Great tutorial. Thanks, Happy Thanksgiving!
These look great! 🙂
Blue/grey looks marvelous on you….great tutorial.
Happy Thanksgiving!
Oh my gosh Brittany!! The scarves are ALL beautiful, the photography is beautiful, and YOU are beautiful. You rock in all of them. LOVE this stencil tutorial and project idea and loved hanging out with you on the Google+ chat!! 🙂 Have a wonderful holiday season!!!!
Thanks Melanie. Of course, those awesome stencils made them easy 😉
Well done! Although all of them are gorgeous, and for you—- I vote for the the blue/gray.
you are beautiful! and this is such a great idea! and dang….i still owe you jewelry!!! 🙁 bad friend!
Lisa, you are a busy friend ;-). I have a function on December 18th if that helps to have a deadline ;-D