Sanding Tutorial and Prepping a Branch Towel Bar
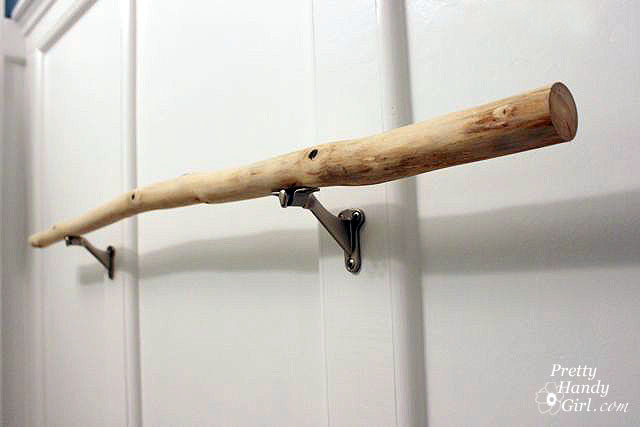
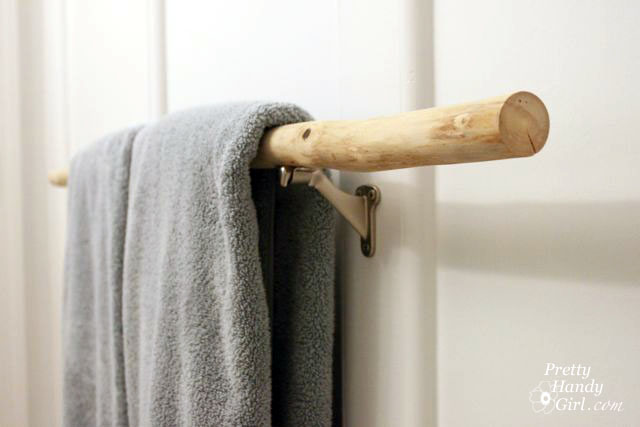
We’ve moved several times and each time I’ve packed one special tree branch with us. I have had this branch so long that I can’t remember where I found it. I do know that I picked it up on one of our camping trips. Whether it was Yellowstone, Acadia, Nova Scotia or somewhere else I’ll never know. What I do know is that I kept it because I thought I could do something really special with it someday. Well, that day has arrived. I decided to turn the branch into a towel bar for my sons’ bathroom.
(This post contains affiliate links. To learn more about affiliate links, you can read my disclosure page.)
Materials:
- Tree branch stripped of bark and branches
- Coping saw or other hand saw
- Sandpaper (80, 120, & 180 grits)
- Pencil
- Scissors
- Power sander
- Gloves
- Dust mask
- Safety glasses
Tutorial:
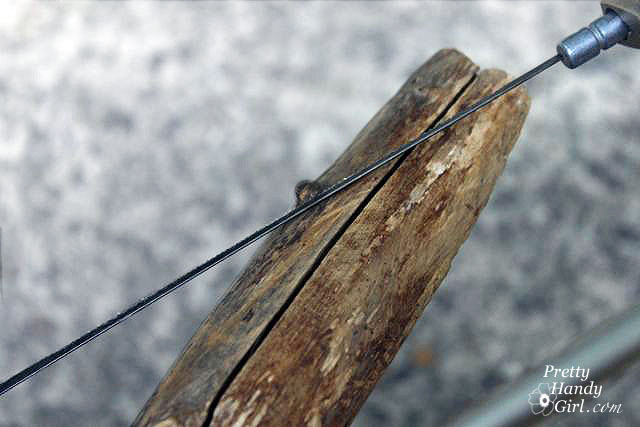
Start by sawing off any nubs, knots and sticks using a coping saw.
Pull out the sandpaper and power sander. 3M just sent me these color coded sandpaper sheets. I think the idea of color coding them is brilliant! It really helps you grab the right grit quickly. I give them two gloved thumbs up.
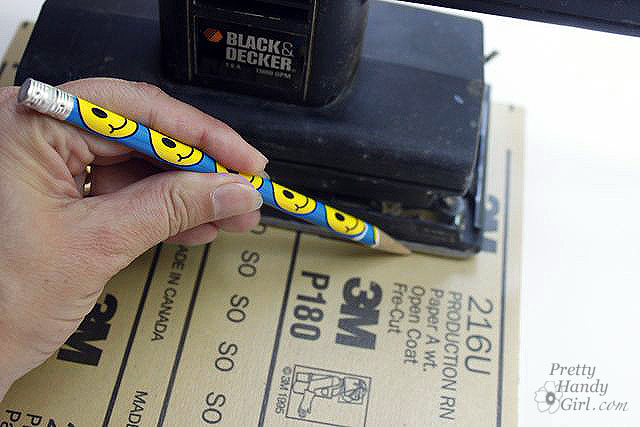
Stack your sandpaper sheets. Lay the sander along one edge of the papers and trace a line along the edge of the sander with a pencil. Be sure to leave excess on both ends to attach under the clips of your sander.
Cut the papers along the pencil line.

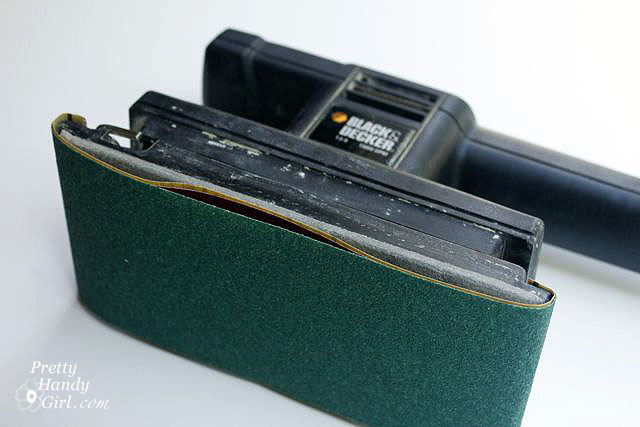
Load all three pieces of sandpaper into the sander (if possible). The coarsest grit (80 grit) should be on the outside, followed by the 120 grit and finally the 180 grit sandpaper.
Now you are ready to start sanding!
Here is a video tutorial on sanding the branch down. I’ve upped my level of professionalism, so I hope you enjoy my efforts.
Coming up next. Installing and finishing the branch towel bar.





LOVE the branch towel bar. I pinned it!
I love the towel rack! I think I might try something like it outside. I can hang my bbq tools and a towel on it.
Thanks for sharing! 🙂
love the video, Britt! You’re a natural.
The towel bar looks great, but mostly I love the “sanding music” on your video. lol. All around awesome project!
~k
I too am drawn to wood and think this wrack is great. Thanks for sharing.
Love unique ideas that you don’t see on other blogs. Beautiful!
The wait was worth it – it’s beautiful and such a unique and great idea!!
I did comment there! In the giveaway post. Wow, love the branch. I have a stone wardrobe and for days I wondered what I can install there as a hanger. Steel looked ugly. I think I found what I was searching for. Wood in a black stone open wardrobe. Wouldn’t it be so scandinavian? What say?
Great post. Love the pictures and the details. I am going to do this for my folks for their cabin. They will love it! Thanks
OK, I LOVE that! Great way to add wood without it being too much! You are so creative! I noticed the super cute kids rooms – I’d like to invite you to my new blog party for kids decor! You can link up any age room and at any stage of progress. I hope you can make it! Here is a direct link: http://playfuldecor.blogspot.com/2011/08/tuesdays-nursery.html
Enjoy your week!
Nan
Way neat! What a very cool idea! We own a tree service and I’m always looking for ways to incorporate what we do for a living in our home. There’s not a whole lot of neat tree stuff out there, so I’m definitely going to do this in our upstairs bathroom! Now, to get the hubs to save me some branches from his next job and not chip them all! 🙂
How cool is this? I love it. Thanks for sharing!
that is GORGEOUS~! oh my~
i love stuff from wood in it’s basic state. Very cool! I’m doing a mobile with a twig…
thanks for sharing with all of us!