Rustic Red Pie Safe Painted with Miss Mustard Seed Milk Paint
Over the holidays, I had the good fortune to attend one of Miss Mustard Seed’s painting demos here in Raleigh. Marian is such a joy to watch. She’s so laid back about her painting techniques, that you want to jump up there with her and start painting. Of course, I resisted the urge that day. But, I did have a little time to experiment with some Miss Mustard Seed Milk Paint over the break. I know, I must be one of the last people to give it a whirl, but you know this handy girl has been a little busy ;-).
(I’ve included affiliate links for your convenience. I earn a small percentage from a purchase using these links. There is no additional cost to you. You can read more about affiliate links here.)
The process wasn’t without a few questionable moments. Mostly, I was questioning my paint mixture. But, I’ll share all with you so you won’t feel timid or shy about trying milk paint on your own piece of furniture.
To start, I poured some pigment into a disposable container. Then slowly added water. I mixed the paint with a stirrer, but ultimately ditched the stirrer and used the paint brush to stir.
After mixing it as best as I could, I let it sit about 5 minutes as I lightly sanded the pie safe.
Then I dove in red-handed. Hahahaha.
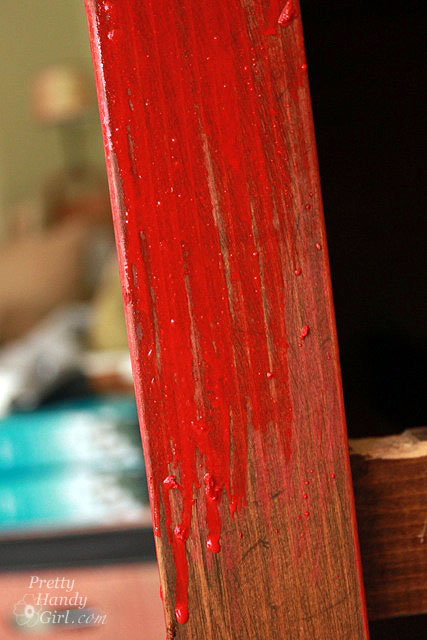
The paint was very thin compared to the chalk paint I had been using before. And as Marian had warned, there might be some lumps, but as you brush over them they should break up and smooth out.
The close up above shows the consistency I used, which in hindsight was probably a little on the runny side.
I checked with Marian (aka Miss Mustard Seed) to see if I had mixed the paint the right consistency. This was her reply:
“Tricycle is one of the toughest colors to mix, since it’s so highly pigmented. Because the paint is thinner, it does usually take two coats when painted over existing finishes, depending on what you’re painting. If it runs, it’s too thin, if it’s clumpy, it’s too thick.”
– Milk Paint Guru, Miss Mustard Seed
As the paint dries, it will have a matte finish and loses its sheen.
I lightly distressed the hutch by gently rubbing a 5-in-1 painter’s tool over the surface.
I put two coats of Tricycle red milk paint on my pie safe and then waited for it to dry (which didn’t take long.) I admit, at this point, I wasn’t sure about the color. The red was a bit pasty looking. But, I proceeded with some Miss Mustard Seed furniture wax.
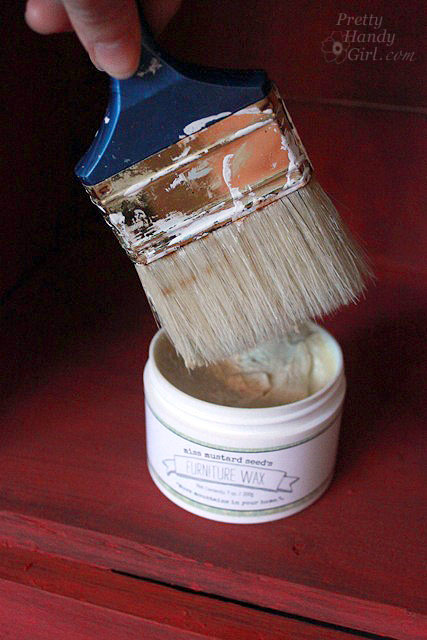
Using a soft bristled brush, I dipped the bristles into the wax (not using too much.)
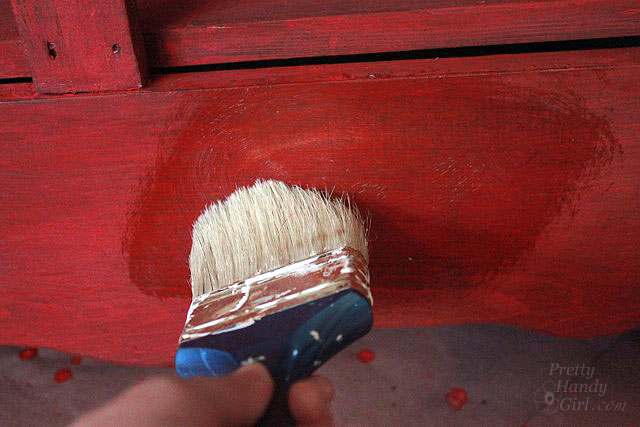
Then rubbed the wax onto the pie safe using circular motions.
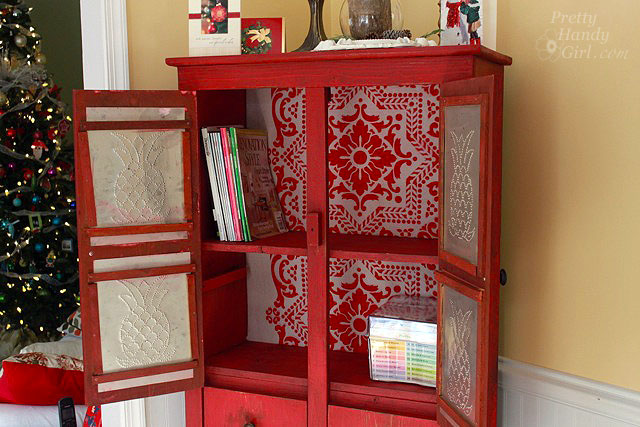
You can see the wax gave the paint a rich red color with dimension and luster. Beautiful! Truth be told, I actually had to add two coats of wax onto my pie safe because the wood was so dry it just soaked it up.
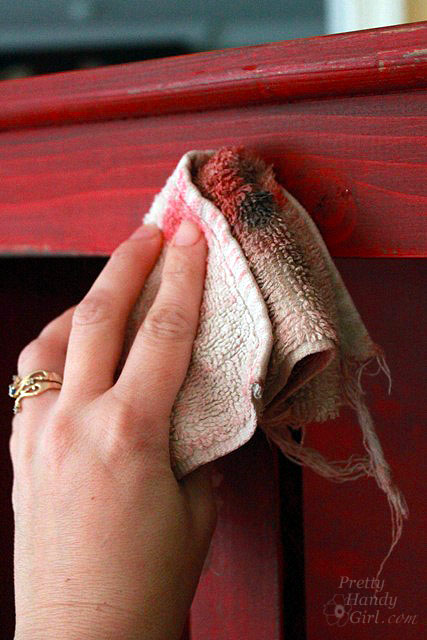
After each coat, I lightly buffed the wax with a clean cloth. The pigment did come off on the cloth a little bit. But, I haven’t had any problems with the paint bleeding or rubbing off onto anything that touches it since then.
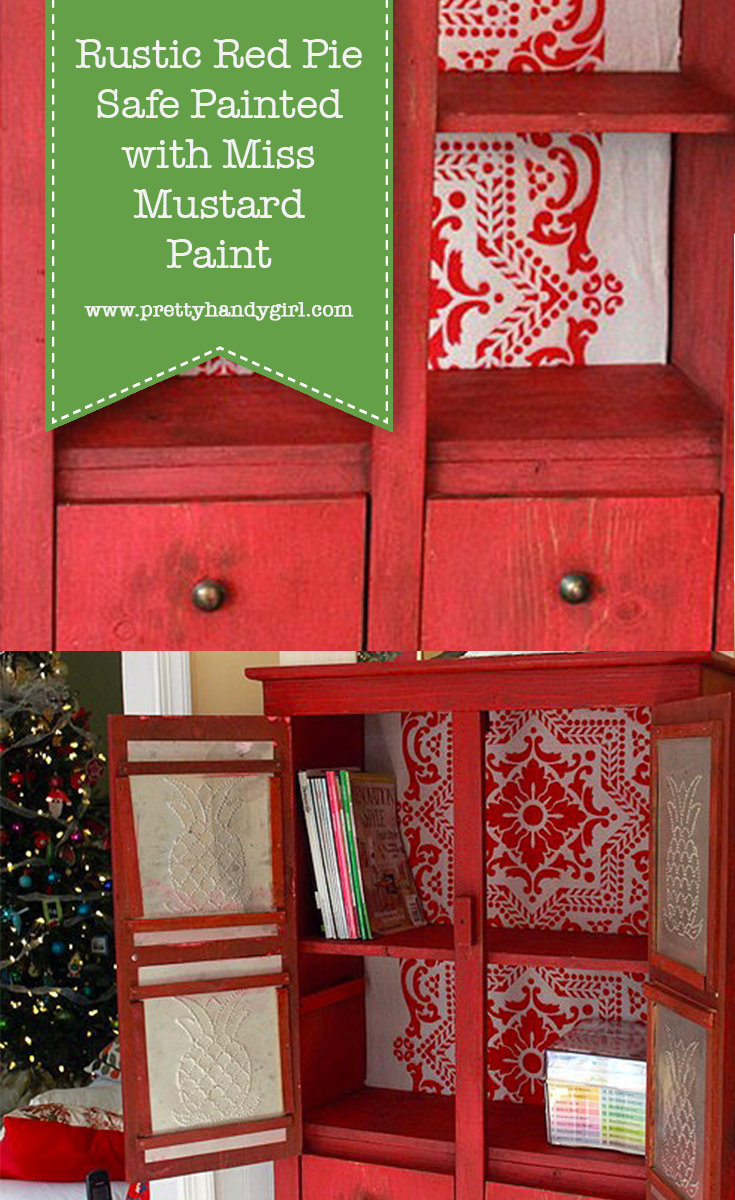
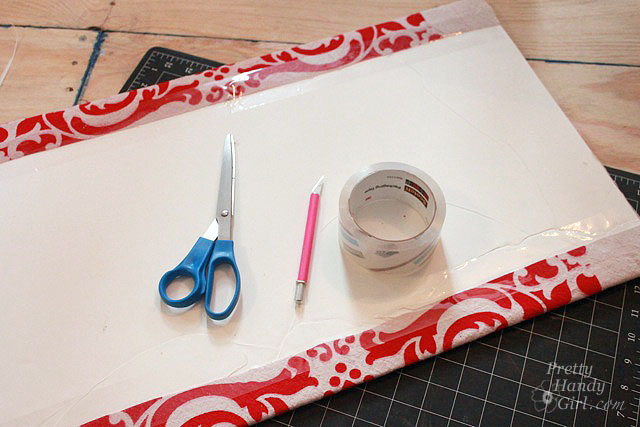
For a fun addition, I taped some of the leftover stenciled table runners I made onto foam core.
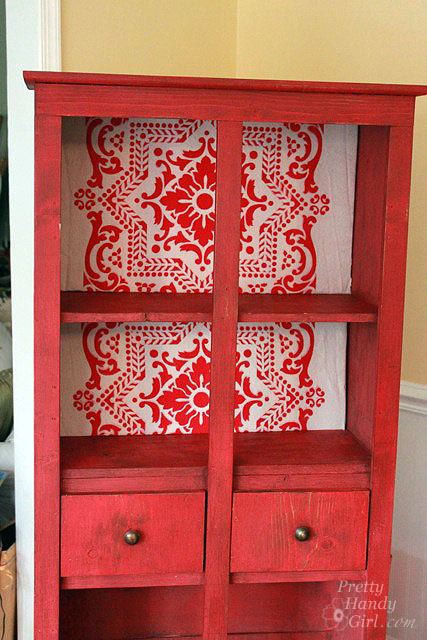
Then slipped it into the back of the pie safe.
I added another fabric covered foam board on the bottom shelf and called it a day.
Oooo, she looks so pretty and perfectly dressed for the holiday season.
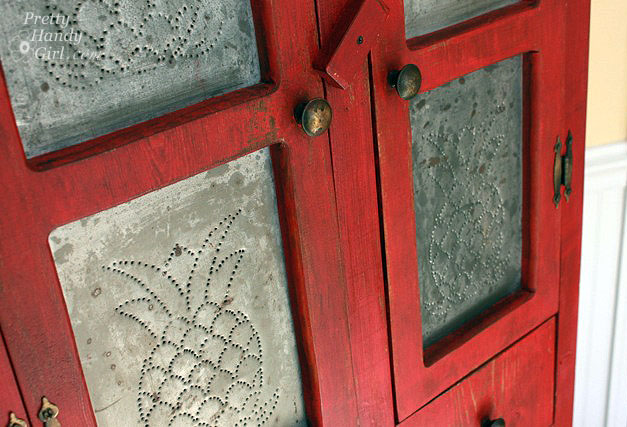
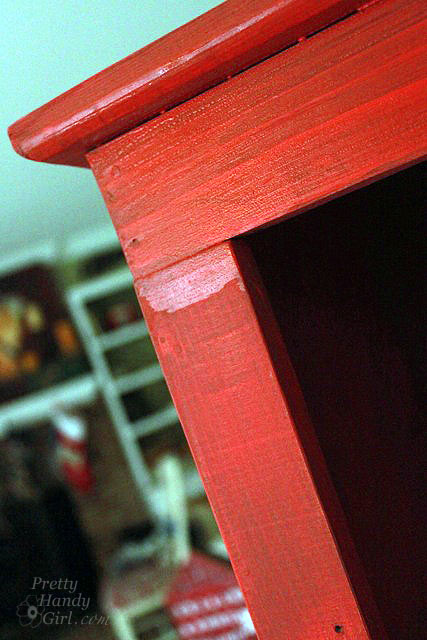
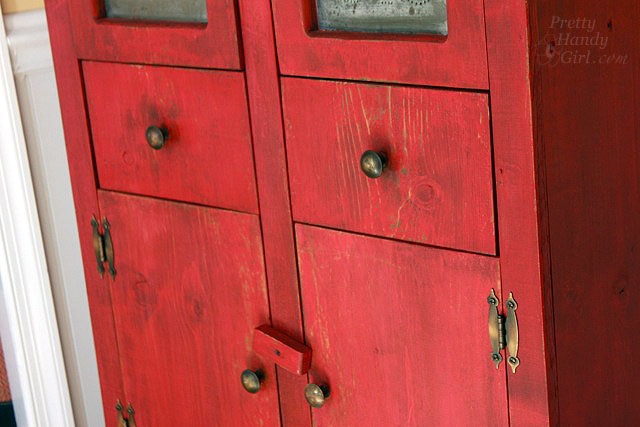
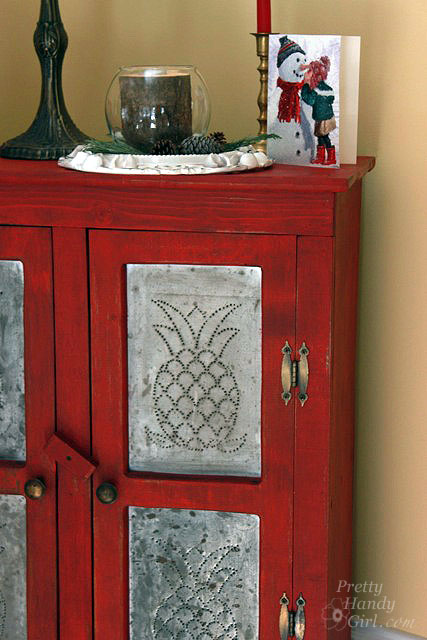
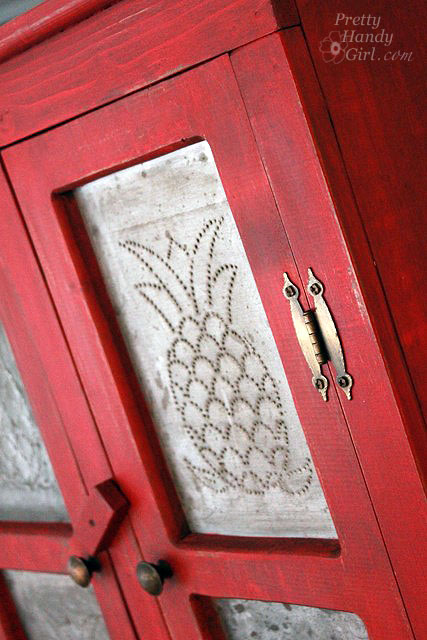
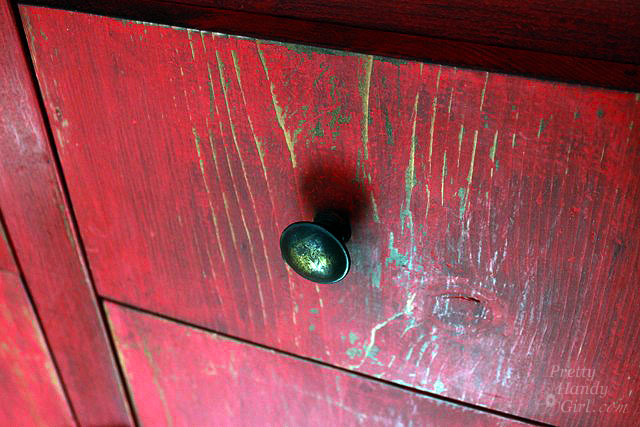
Here are some close up pictures of the milk painted pie safe.
I really like the results. It has a rich red stained chippy look. You’d never know that it was freshly painted only a few hours ago!
I’m not a pineapple fan, but the punched tins have the rustic patina that makes me go gah gah.
Sadly this pie safe needs a new home. It doesn’t have a spot in our new kitchen, so it is up for sale on Craig’s List.
Disclosure: I was provided with complimentary sample of Miss Mustard Seed’s milk paint. However I was not compensated. This is not a sponsored post. I was not told what to write. All opinions are my own.
Pin for later!






Does not matter what paint type you use red is the hardest.
The way to paint is to put a grey base on first.
Thank you so much for posting this step by step look. I am painting a giant dresser, and I am experienced in MMS Milk Paint, but found it more difficult, and so your graphic explaining that is a confidence booster.
Also, I am covering a deep campy blue with Tricycle, but was wondering when I would be satisfied and if the wax is when it will develop that classic bright red. Your post explained all of that.
Although I think I pinned this long ago, I found this post again via Google search.
I have a double pie safe on my covered front porch. It’s oak and the exterior finish is in good shape .. am thinking about creating a cozy little interior with chalk paint and leaving the doors open. Thanks for the inspiration. Love the red color after you waxed it.
Thank you. That red is cheery!
Hi Brittany,
This pie chest is truly beautiful.
Can this technique be used to weather new hemlock on a barn? Will it hold up to the elements?
thanks so much for your thoughts, Allison
Allison, according to the Miss Mustard Seed Milk Paint website (http://www.missmustardseedsmilkpaint.com/about/), you can use it for exterior purposes: “When absorbed into the surface, Milk Paint will never chip or peel. It is suitable for both interior and exterior applications and is naturally mold resistant. Milk paint provides a completely breathable coating and is ideal for painting wood, plaster, drywall and a variety of other surfaces. It is environmentally friendly, non-toxic and contains no VOCs.”
Hi Brittany,
The pie safe is just beautiful – you’re very clever!
I was wondering if there were any tips for the foam board backing? Was it it as simple as measuring it neatly enough so it was a snug fit without having to be otherwise secured? Any recommendations on the choice of board or how you cut it?
Did you find you used much of the wax? I also use it and think that I am being too generous with it?!
Thanks very much Brittany!
Admirer from Sydney, Australia 🙂
Anna, you’ll be surprised how easy using the foam board backer is. It’s also called foamcore. It’s the rigid poster boards that are two sheets of paper with a foam layer inside. Does that make sense?
Try reading this post for more information.https://prettyhandygirl.com/2012/02/fabric-backed-open-kitchen-cabinets-diy-on-a-dime-the-tutorial.html
I did find that I had to use more wax than I thought, but the paint was very dry on this piece.