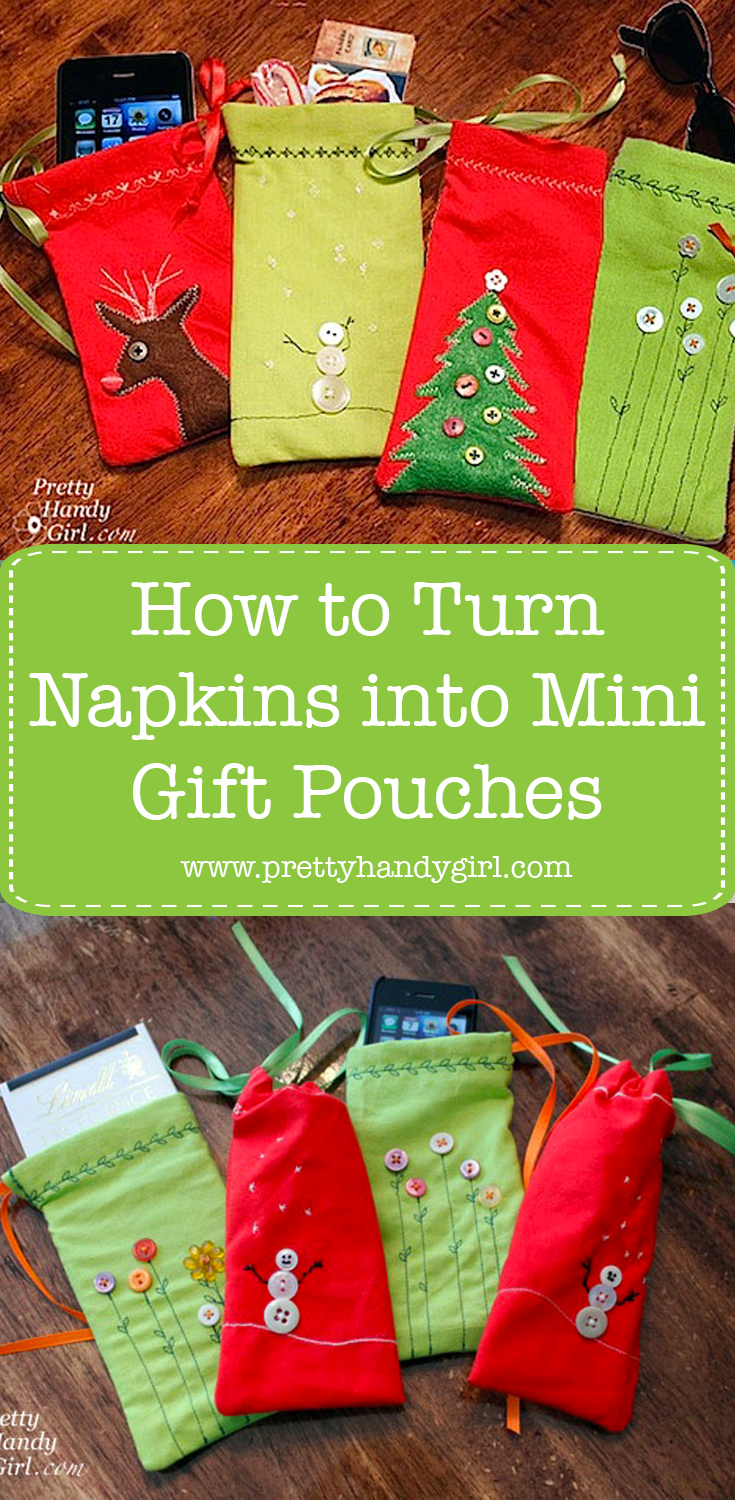
Mini Gift Pouches from Napkins
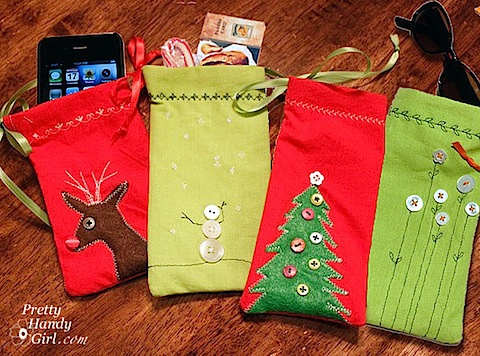
 Oh the quandary of what to get my boy’s teachers, the sitter, and all those other important people in our lives. Usually I take the easy way out and buy gift cards. Well – okay – I’m still going to give the gift cards, but this year I wanted to present them in something a little nicer. Something handmade with love. Cute mini gift pouches!
These little handmade pouches are perfect for holding a gift card and some holiday treats. And then after the holiday season has ended, the recipient can use the pouch to protect and store valuables!
My pouches started like this:
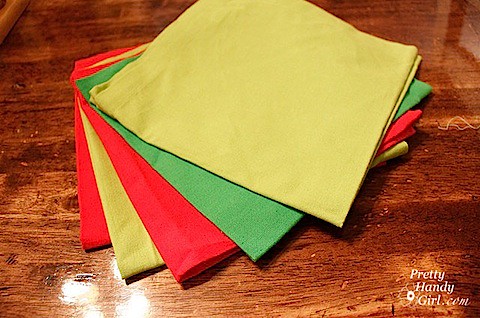
Discounted cloth napkins! 90 cents for each napkin. And here is how they became cute little mini gift pouches:
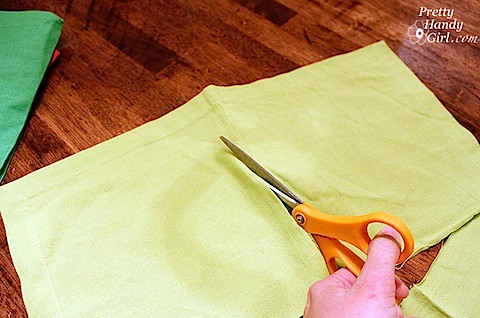
Open the napkin up and cut it into quarters.
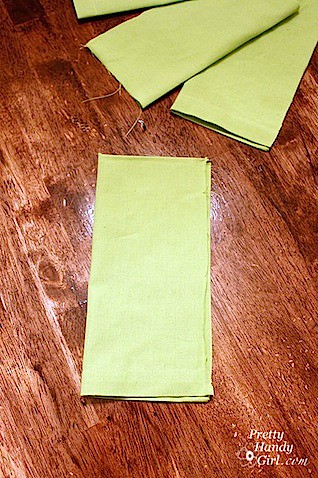
Fold the napkin in half.
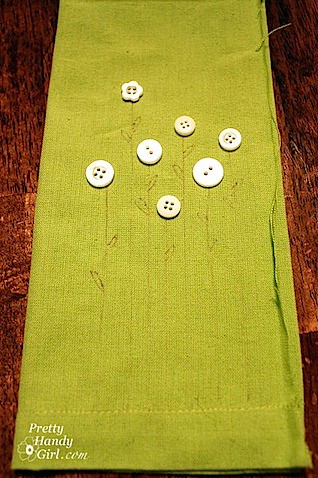
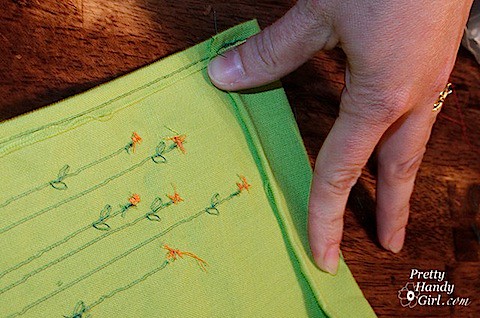
Allow 1/4 inch seam allowance on the open edge of your pouch, then layout your design and sketch with a disappearing marker where your stitch lines will appear.
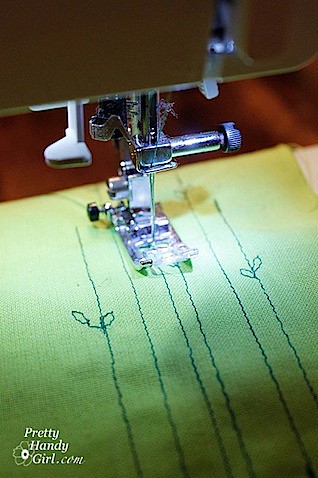
Sew along the lines you drew. (My machine has a few decorative stitches, but I could have done them by hand instead.)
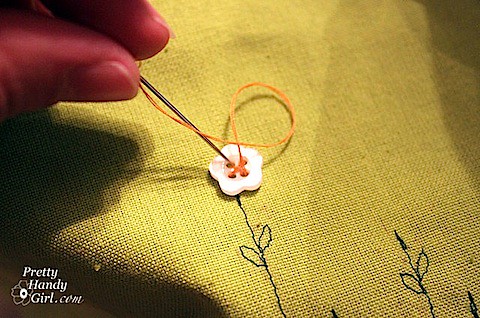
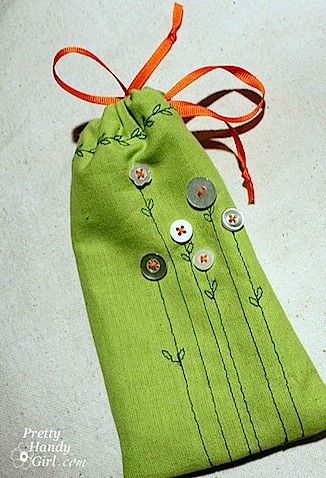
Then hand sew the buttons on where you want them.
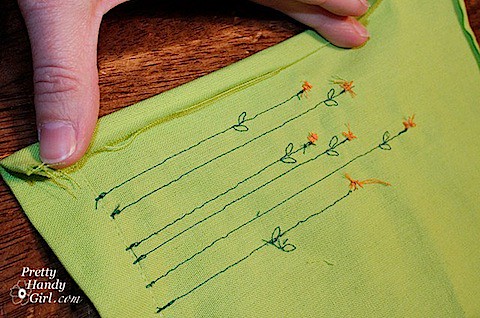
Once your design has been completely stitched You will need to hem the raw edge on your napkin.
Next, fold over the top of your pouch approximately 1/2″ to accommodate your ribbon drawstring.

Stitch the ribbon drawstring pocket closed. If your sewing machine has decorative stitches you may choose to use one of them, but be sure to sew on the right side.
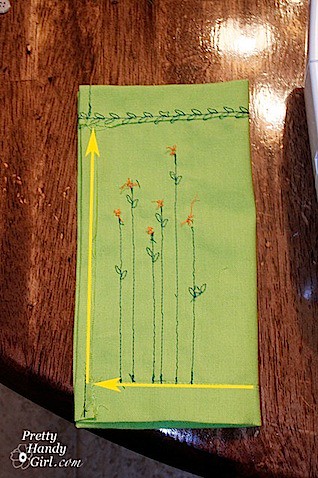
Fold your napkin back in half with the right sides together, and stitch along the bottom and open sides of your pouch. (I stitched this pouch a little higher on the bottom edge to make the flower stems end in the seam.) Be careful to stop stitching up the side before the drawstring opening.
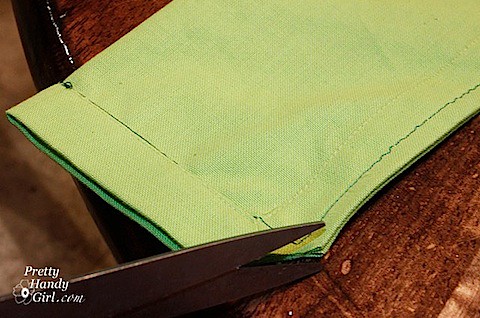
Snip off the corners of your pouch.

Turn your pouch right side out.
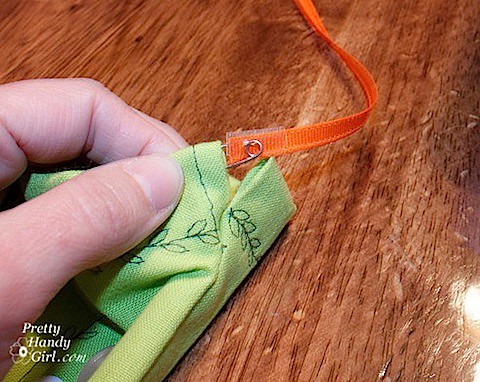
Cut a length of ribbon long enough to thread through the top of your pouch and to tie a bow. Then attach a safety pin to one end of the ribbon. (I added some scotch tape so the pin wouldn’t fray the ribbon.)
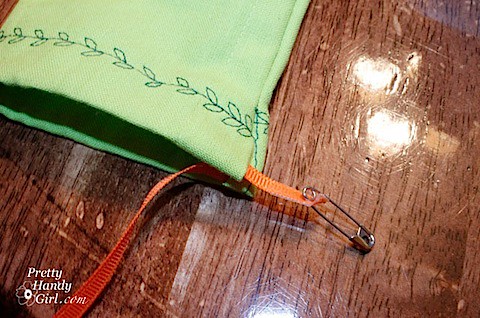
Gently feed the ribbon through the bag using the safety pin to push its way through.
Add some goodies to your pouches and tie the ribbon to close it up.
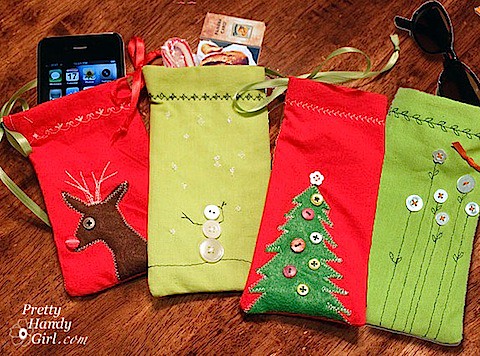
For the Rudolf and tree bag, I simply cut out the shapes using felt and stitched around the edges.
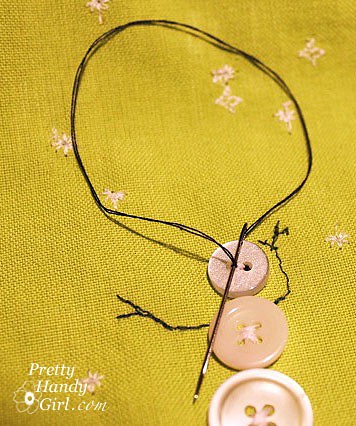
One more trick for you. The snowman’s eyes were added after I stitched the button on using white thread. Then I re-threaded my needle and sewed in and out a few times on each hole to give him little black eyes.
I will be the first to admit that I need to center my designs a little better, but for now I’m happy with them. And, hey, isn’t it the imperfections that make them look handmade?

Update: I made a few more pouches last night, and altered my snowmen to a four hole button which gave me the option to add a mouth. I’m also perfecting my technique and getting better (not perfect) at centering the designs.

Pin for later!


I love the stems and button flowers! The gift pouches are a great idea! Thanks for linking up Topsy Turvy Tuesday's!
As a teacher who has gotten her fair share of handmade gifts that are lovingly given, yet not so useful or pretty, I have to say….I LOVE THESE!! I'll teach your kiddos!
Katrina
Oh, so cute! I love your fun designs. I would have the patience to do one and then stop! Ha! Great job, thanks for sharing!
So cute! I love it!
Come enter to win a free pair of sandals!
http://gigglesglitzandglam.blogspot.com/2010/12/sseko-giveaway.html
This are perfectly cute, Miss Handy. What a great gift with a gift.
These are adorable!!!!!!!!!!! I especially love that little button snowman. 🙂
What a great idea! I am wayyyyyy too far behind to get these made by Christmas, but the flower one would be adorable for Valentine's Day. A fun project to kick off the new year! Happy Holidays and thanks for sharing such great details.
These are cute and practical to give a treat!
I have posted my first giveaway on my blog and would like if you and anyone who reads this post would come enter. It is a gift card from CSN stores.