Make Your Own Back Pillow
Okay, no over 40 jokes! Yes, I use a back pillow, and without it my neck hurts. Sadly I lost my way too expensive memory foam back pillow on the airplane trip to Ca. I couldn’t bring myself to buy another one, so I decided to see if I could make one.
This is definitely an easy project. Plus, it is sure to improve your posture!
Materials:
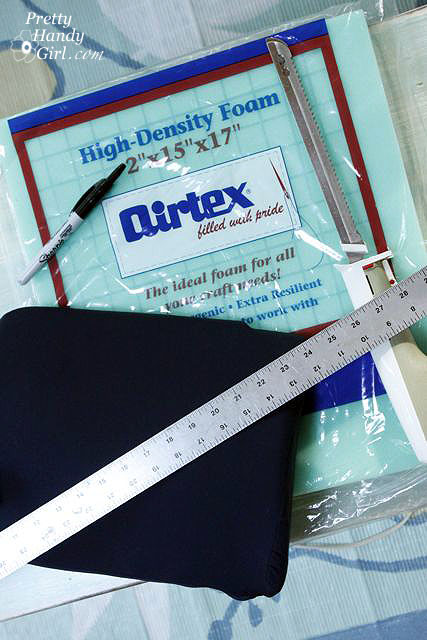
- 2″ thick foam cushion
- Batting
- Fabric
- Sharpie or fabric marker
- Coordinating thread
- Velcro
- Pins
- Sewing machine
- Electric carving knife
Instructions:
I used another back pillow as a guide to create the shape for my DIY back pillow:
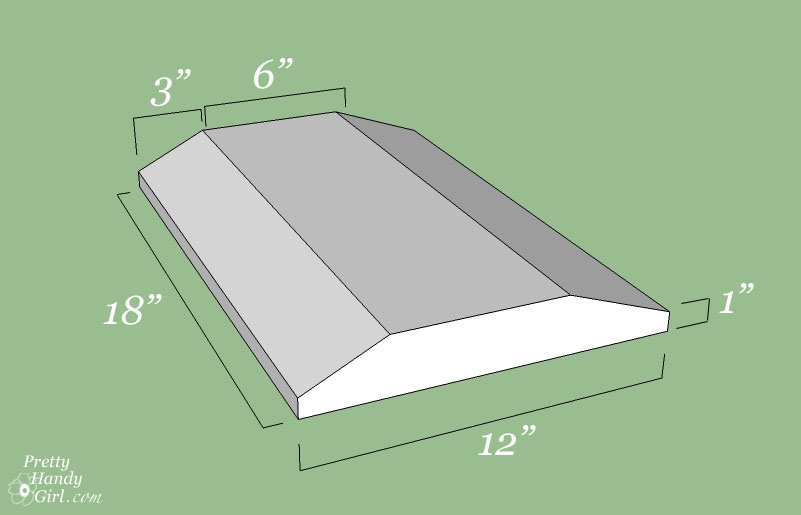
Here are the dimensions I used for my pillow.
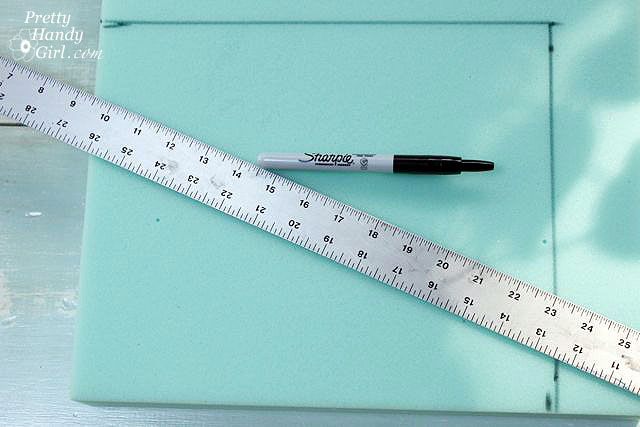
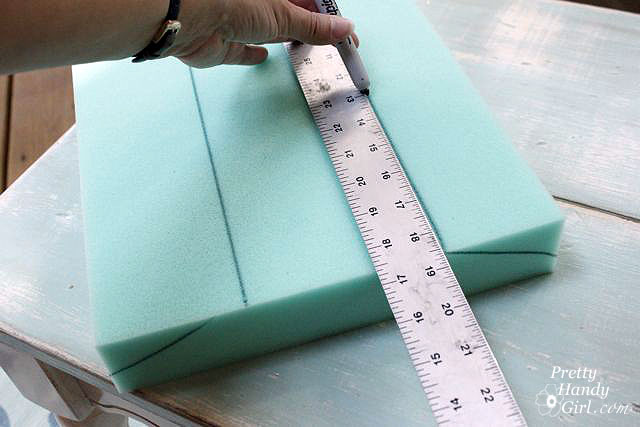
1. Mark the outer dimensions onto your foam.
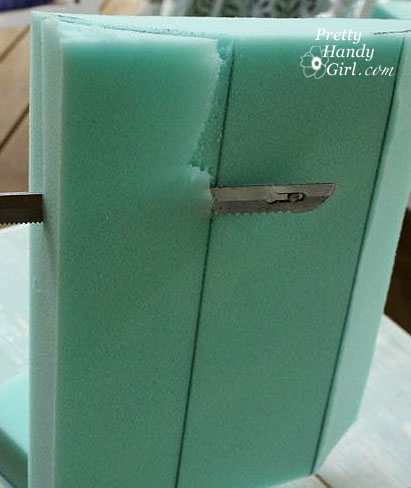
2. Cut the shape out using an electric carving knife (you can try scissors or x-acto knife, but nothing cuts through foam “like butter” than an old fashioned electric carving knife.)
3. Mark 3″ in from the side on top of the cushion and 1″ up from the bottom on the side. Connect the dots with a diagonal line. Repeat on the opposite side. Then draw a line connecting the points on the front of the cushion.
4. Use the carving knife to cut off the diagonal shapes.
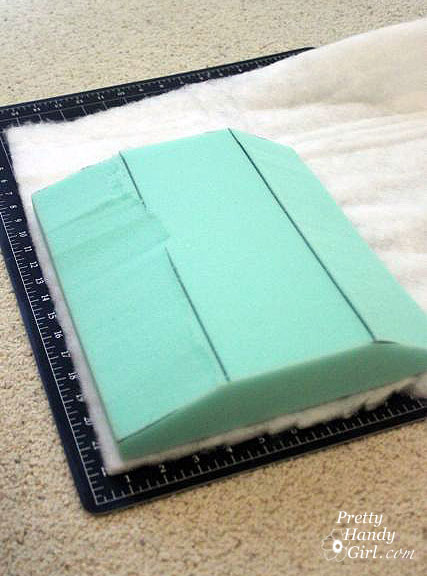
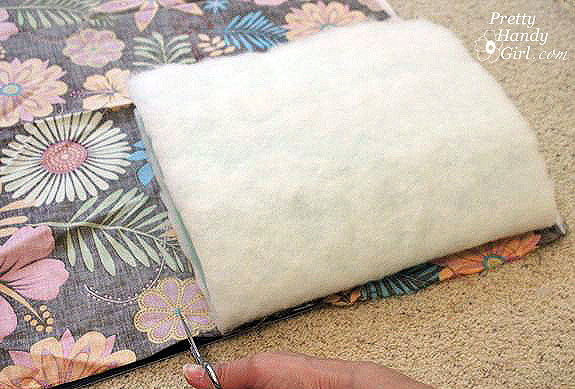
5. Lay the foam cushion on top of the batting.
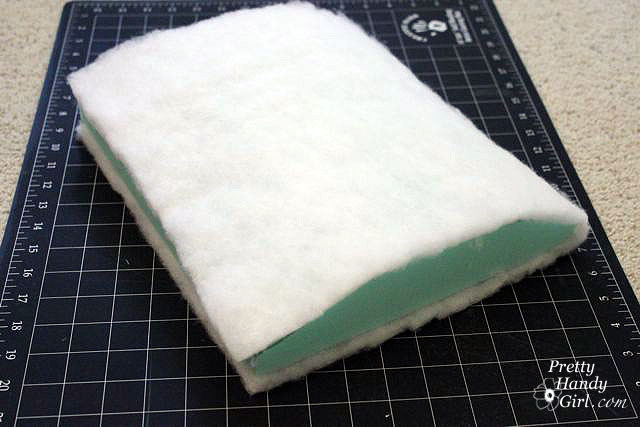
Use the foam as a guide to cut enough batting to wrap around your pillow form as shown:
6. Cut a piece of fabric that will also wrap around the cushion and and leave an extra 5″ on the length. Also, allow an extra 3/4″ for seam allowance on the sides.
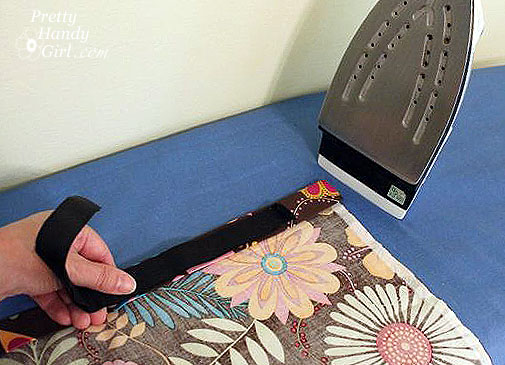
7. Fold over one end two times for a hem. Make sure the hem is large enough to accommodate the width of the velcro. Iron the hem to hold it in place.
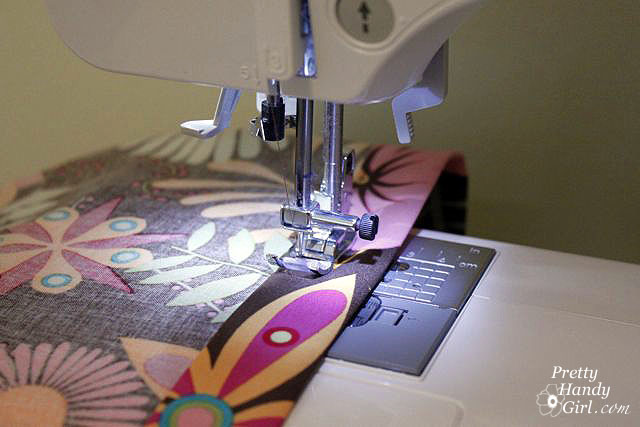
8. Sew the hem.
9. Pin the velcro onto the hem you just sewed.
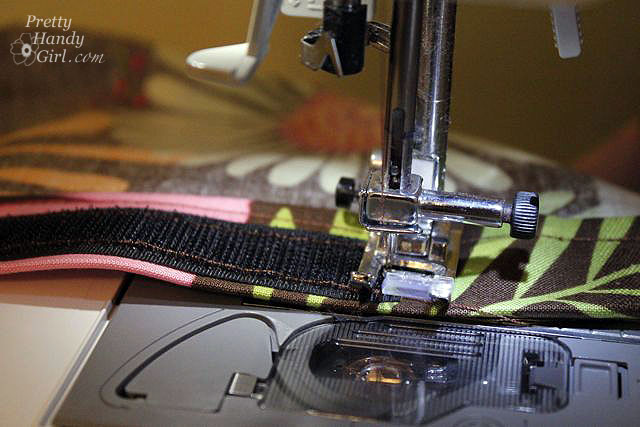
10. Stitch the one velcro strip ont0 the right side of the fabric.
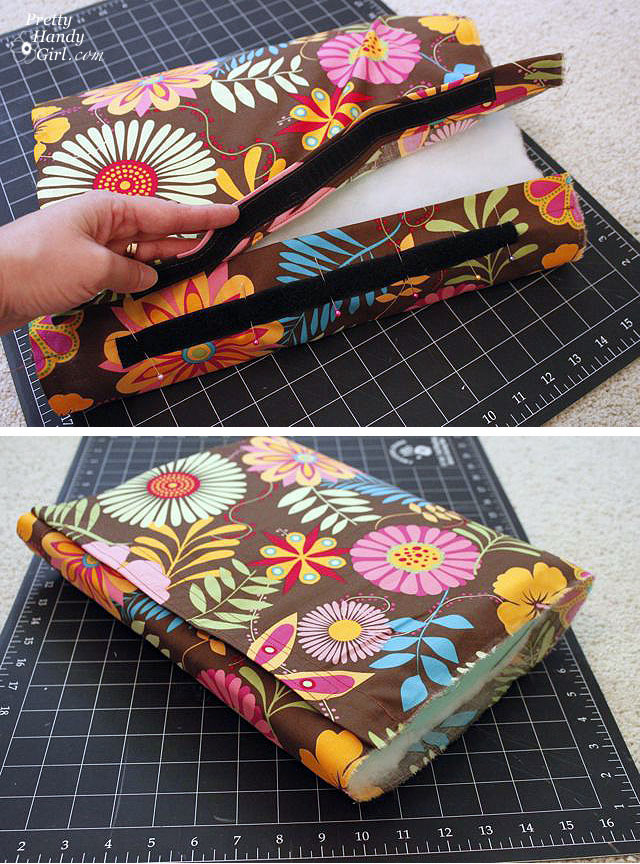
11. Figure out where the other strip of velcro needs to sit and pin it in place. Fold over the raw edge and sew the hem. Then stitch your 2nd piece of velcro in place.
Test the fit to make sure the fabric is pulled snug over your cushion when the velcro is secured.
12. Time to add the sides. Stand your cushion up on its end and draw around the shape, allowing at least 3/4″ seam allowance. Cut two identical pieces (one for each side).
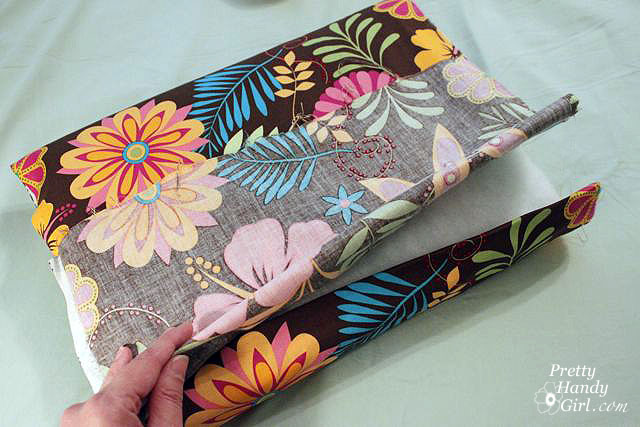
13. Put the cover on the cushion inside out. And pin your end shapes inside the cover.
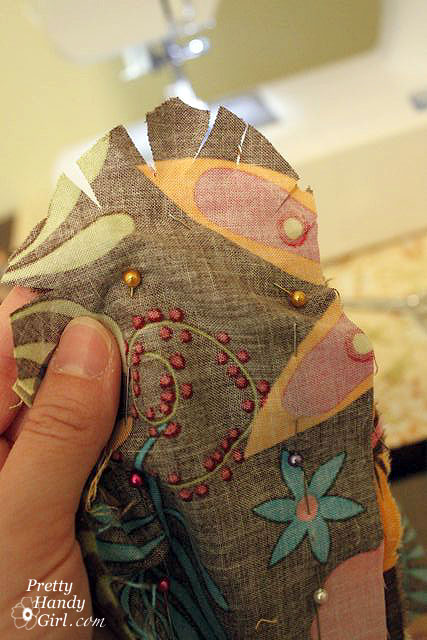
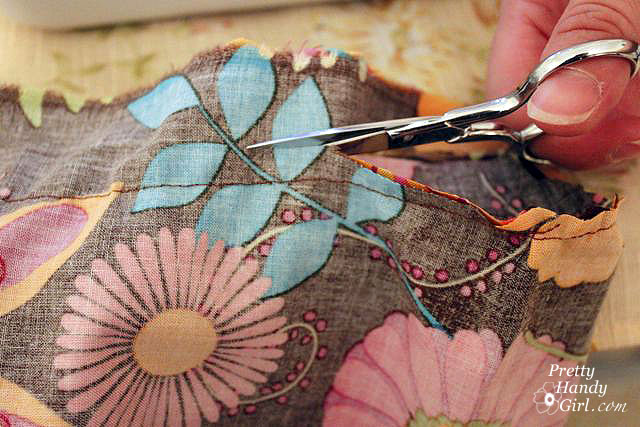
Cut small slits to fringe the ends of the tight radius turns. Do not cut past where your stitching will go.
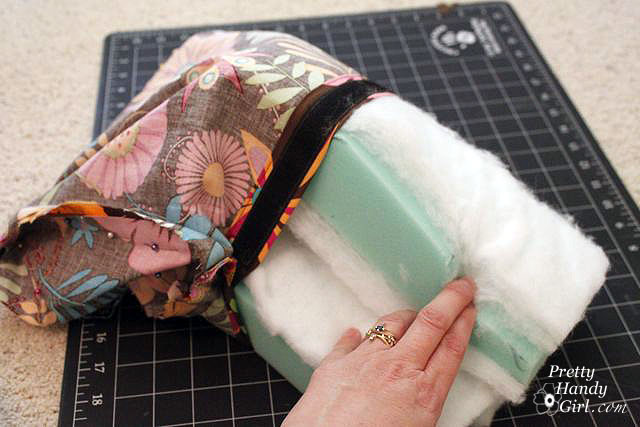
14. Carefully remove the cushion from the cover.
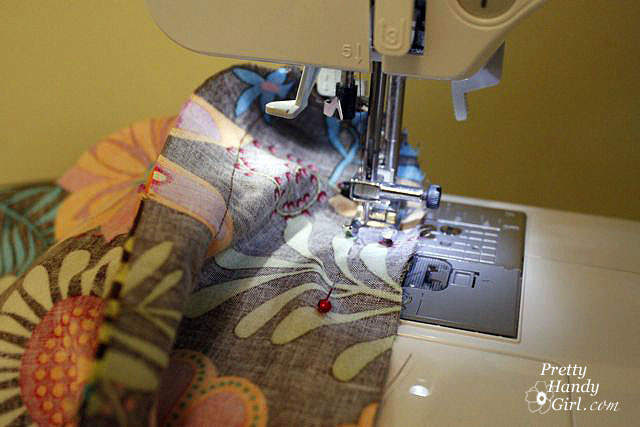
Stitch the ends onto the body of the cover.
Trim the excess fabric off the seams.
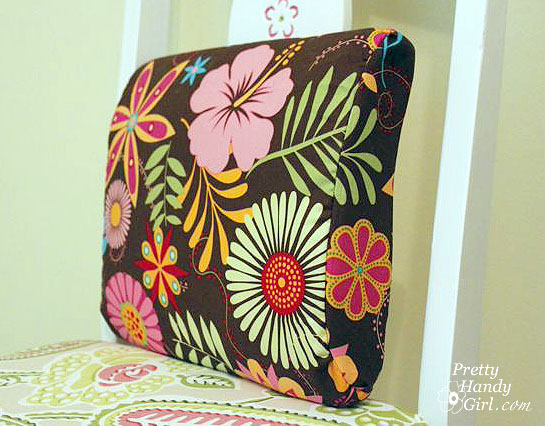
15. Turn the cover right sides out and insert your cushion into the cover. Hooray! You are done!

I actually use this cushion in the car for driving. It fits perfectly between the sides of the seat.









thanks for this project, especially for the measurements, i will make one for myself to maintain my back in good shape
This looks great! Too bad I haven’t yet learned to use the sewing machine I got 2 Christmases ago. 🙁 *sigh* Pregnant with number 2 and number 1 is 19 months. Who knows when I will finally learn – it seems so daunting.