Made in USA Star Shirts using Silhouette Interfacing
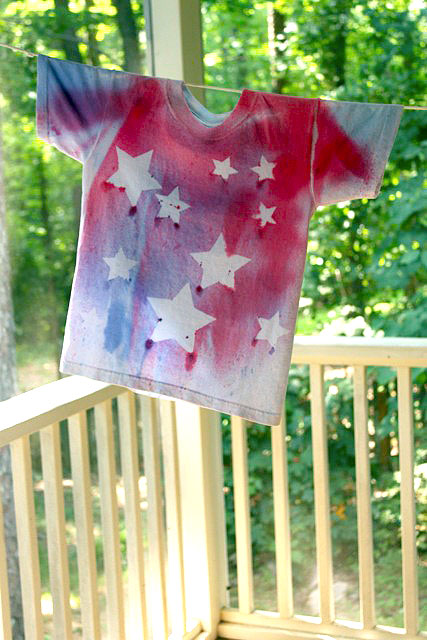
Around Memorial Day and the Fourth of July I love to make t-shirts for the boys showing our patriotic spirit. Last year the boys and I made these spray dyed star shirts:
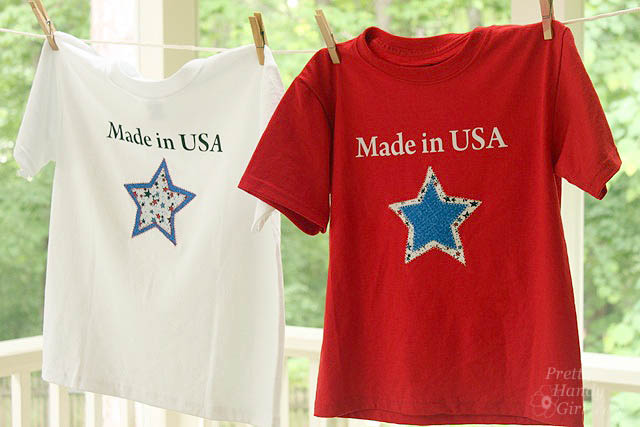
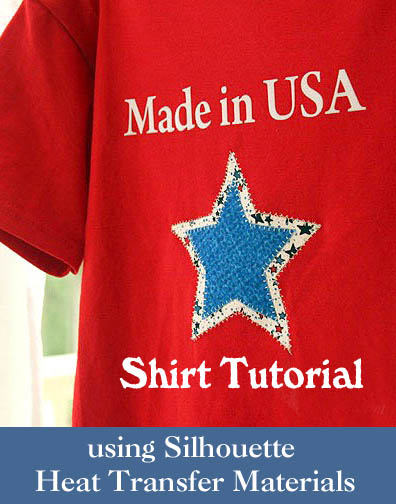
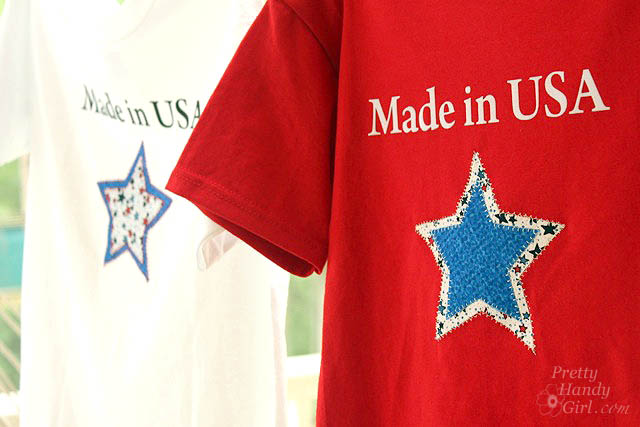
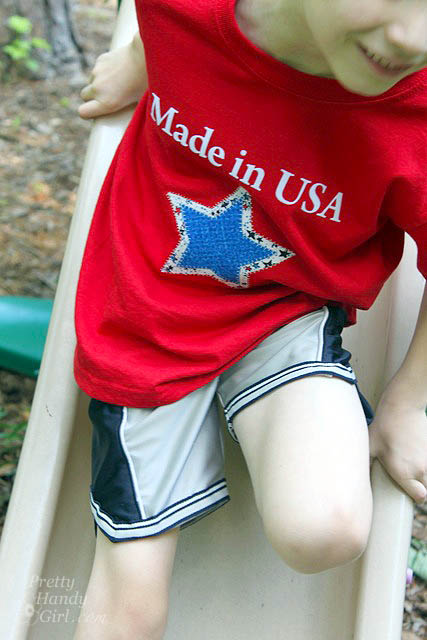
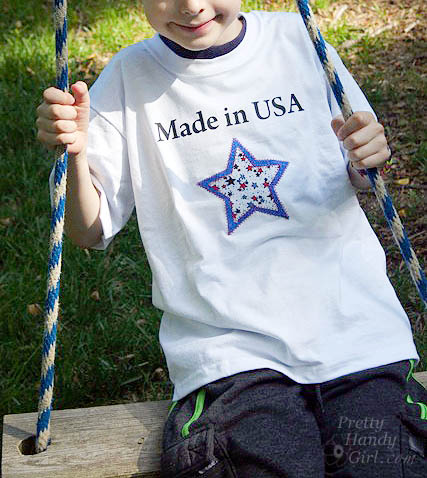
This year I decided it would be fun to brand my sons as “Made in USA.”
(I’ve included affiliate links for your convenience. I earn a small percentage from a purchase using these links. There is no additional cost to you. You can read more about affiliate links here.)
Materials:
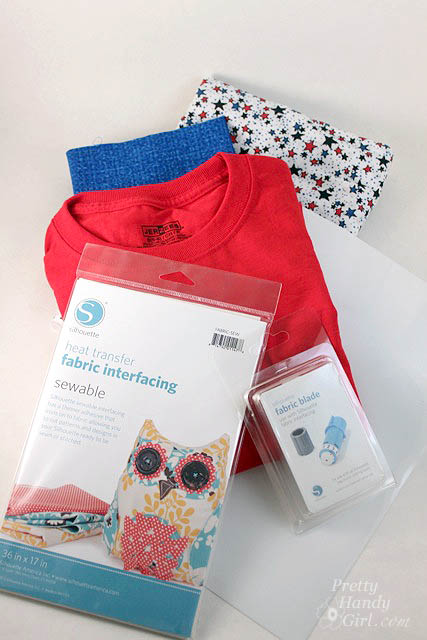
- T-shirt
- Coordinating fabric
- Thread
- Silhouette heat transfer fabric interfacing (sewable)
- Silhouette heat transfer flocking
- Fabric blade
- Iron
- Ironing board
- Optional: Sewing machine
Instructions:
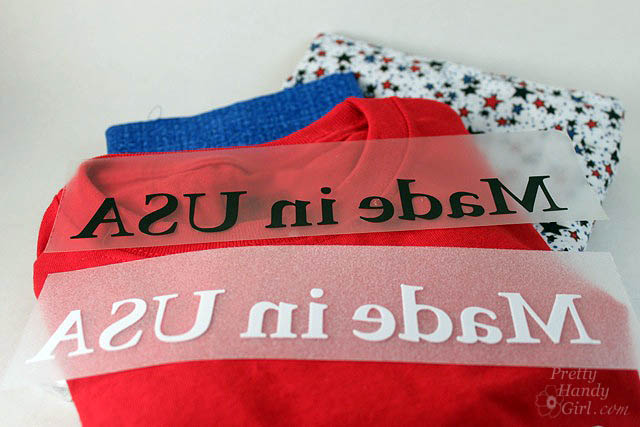
Print “Made in USA” in your font of choice in the Silhouette studio software. Using the menu at the top, go to: “Object > Transform > Mirror Options” and choose flip horizontally from the tool options at the right of your screen.
Set the blade depth to the suggested cut depth number. Feed the flocking into the machine fuzzy side up. Send the file to cut on your Silhouette cutter.
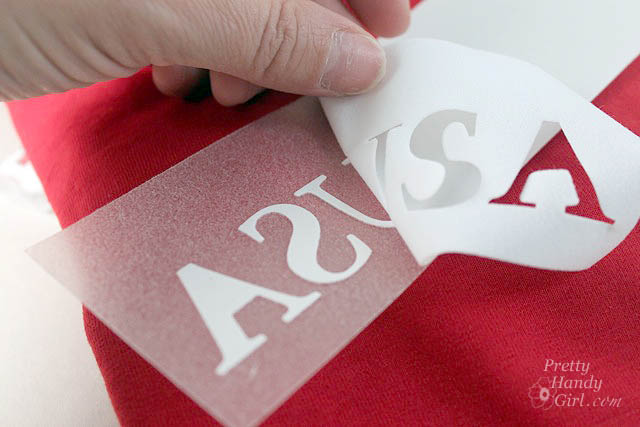
Peel off the background flocking. Set the words aside.
Draw two stars in the Silhouette studio software. One star should be smaller than the other. Cut a piece of scrap fabric large enough to fit the two stars on. Cut a piece of interfacing slightly smaller than your scrap of fabric.
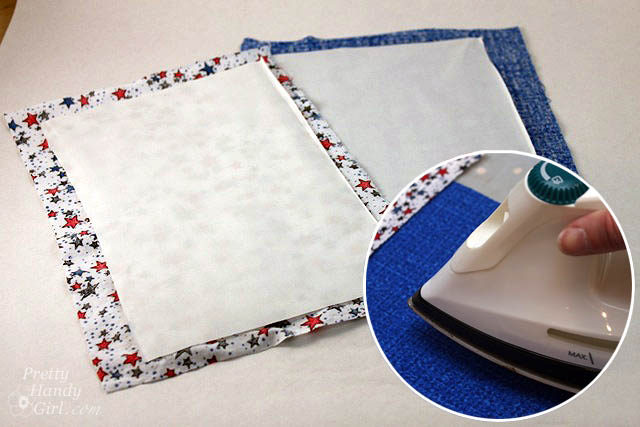
Lay the interfacing, shiny side down onto the backside of the fabric. Flip the fabric over and iron it for about 10 seconds.
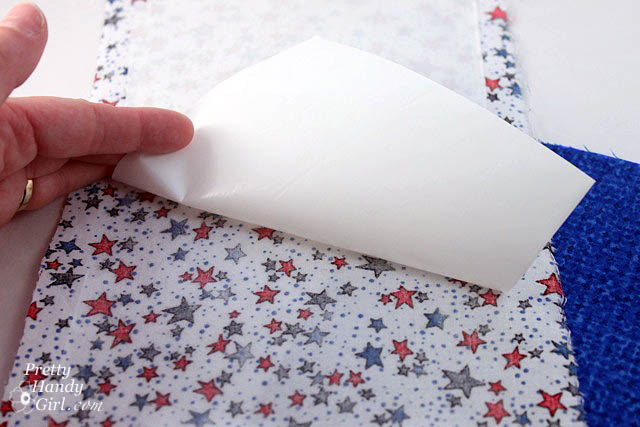
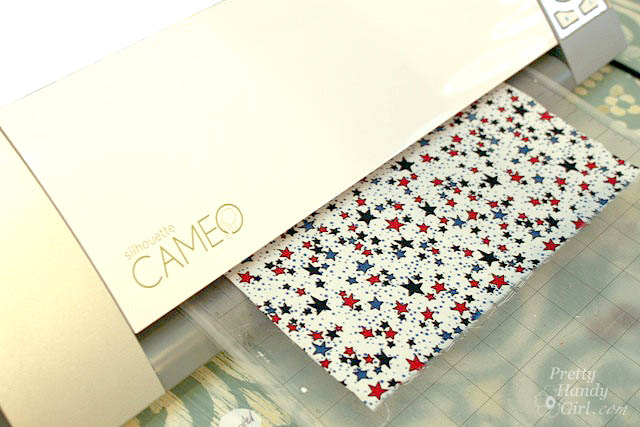
Remove the backing from the interfacing. Lay the fabric, interfacing side down onto the Silhouette cutting mat. Feed the mat into the cutter.
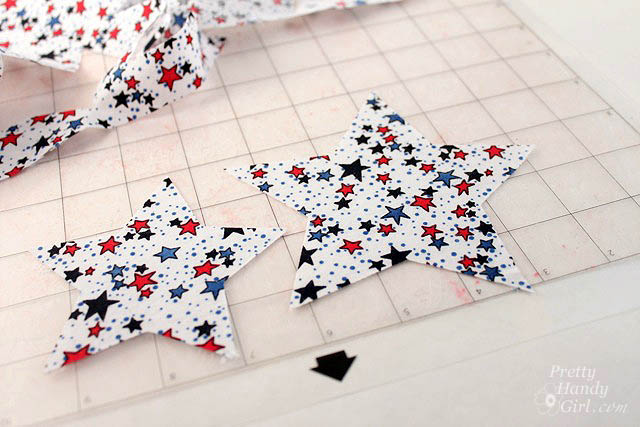
Adjust the cutting depth per the suggested setting. (Side note: I found I needed to set it the cutting depth one more number than suggested.) Send the file to the cutter. Peel away the background fabric.
Repeat the steps for cutting the stars on a coordinating piece of fabric. (I cut four stars, 2 small and 2 larger to create two shirts.)
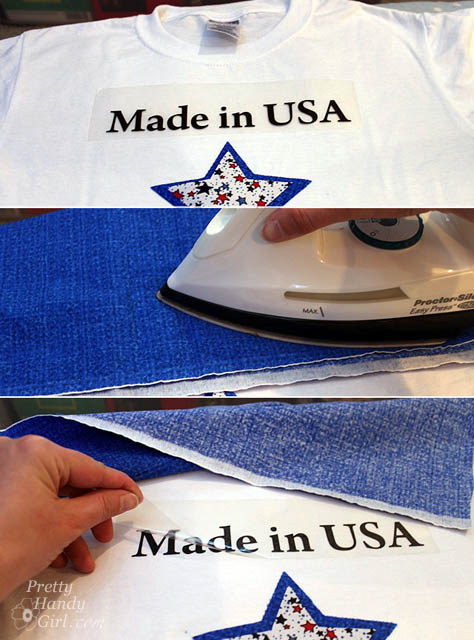
Layout the stars and the Made in USA flocked letters onto the shirt (the flocked letters should be placed with the acetate side up.)
Lay a piece of fabric over the flocked letters and iron for 30-45 seconds until the letters adhere to the shirt.
Peel up the acetate cover.
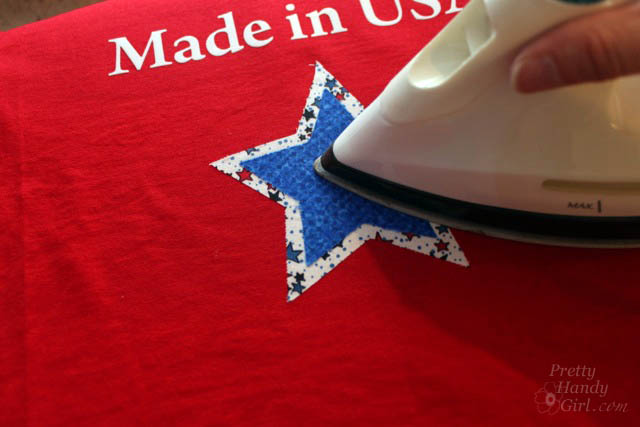
Quickly run the iron over the star to adhere it to the shirt.
Set coordinating thread onto the sewing machine. Sew stitches around the edges of the stars to secure them and to add a decorative border.
You now own two sweet Made in USA shirts for Memorial Day or Fourth of July!
My boys were excited to wear their new shirts. They couldn’t wait for the holiday.




Your T-Shirts turned out wonderful. Love the fabrics you chose. Fingers crossed for the Silhouette.
Have a Wonderful Weekend,
Suzanne
Pieced Pastimes
Suzanne, thank you. I actually can’t take full credit for the fabric. They were leftovers from a quilt project that my Mother-in-law made for my son ;-).
Your t-shirts are awesome! I want to make some for my kids!
I think you’re link to Silhouette America is broken. It’s taking me to your fabric backed cabinet post.
Ruth, goodness, thank you soooo much for pointing that out. I just fixed it ;-). xxxooo
i was a follower of everything…except twitter…i don’t twitter…am i disqualified? ;0( this is my hundreth attempt to win one of these, lol!!!
Debi, nope! You get one entry per follow. So, you got your entries. And honestly, I keep doing the giveaways because I want to try to get all of my followers a free Silhouette 😉
🙂 I’ve signed up a ton too! Maybe one day I’ll actually win one!