It’s a ScotchBlue Painting Party and a Cabinet Door Revamp

“It’s a Party and I’ll Paint if I Want to…Paint if I Want to… Paint if I Want To…You Would Paint Too if you had Scotch Bluuuueee!”
I think I’m going to call 3M ScotchBlue right now and suggest this as their new jingle. Kind of catchy isn’t it?!
Check out my project tutorial on revamping an old cabinet door below.
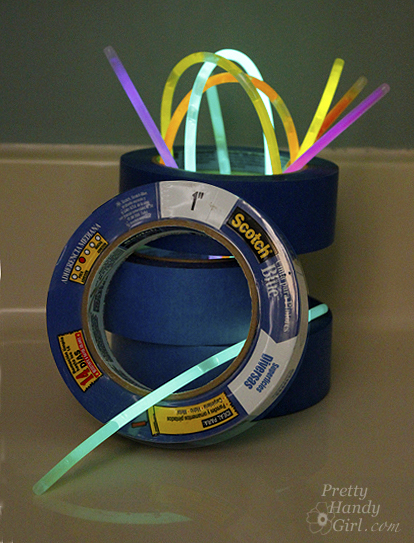
Go ahead, grab your paint and brushes — and don’t forget a roll of ScotchBlue painter’s tape!
I have been using ScotchBlue painter’s tape for a while and I really like it. I am not being paid to say this (even though they did send me a few free rolls of painter’s tape.) You’d know I like ScotchBlue tape if you have read the backlit bookcase post, painting the bamboo rug post and the painting like a pro post (where I share some tips for using ScotchBlue Painter’s Tape!)
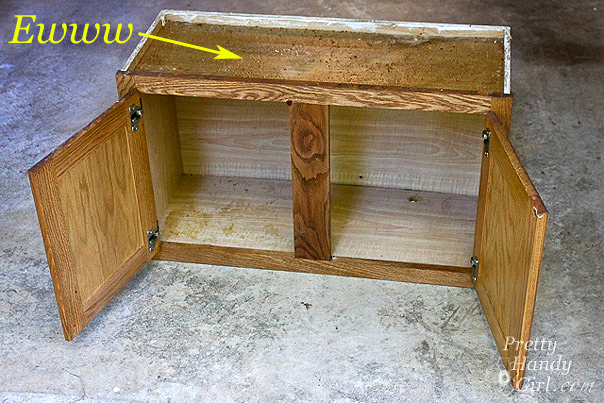
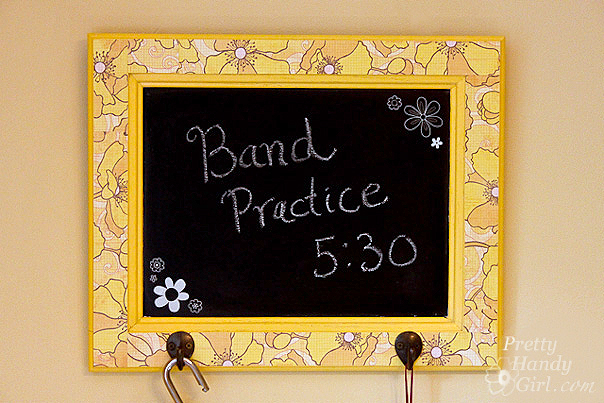
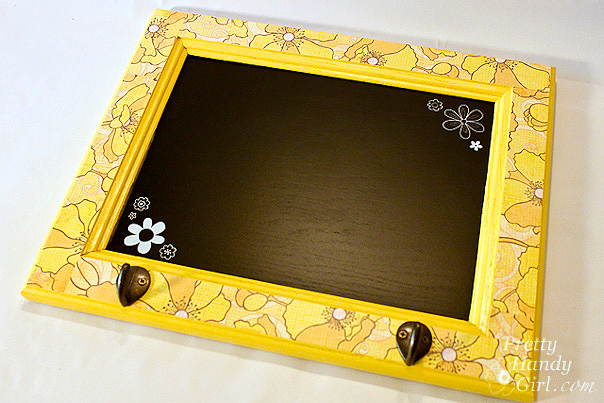
But, enough looking back, I want to share with you how to make something out of a disgustingly filthy grease covered discarded cabinet door. So, let’s hop to it! While building my mudroom bench, I took off the doors and kept them in the hopes of being able to use them another day. I’m working on a new bench for my Habitat ReStore demonstration, so I have more cabinet doors now! I devised a plan to reuse the doors in a creative way, a way that would be fun and yet help us keep track of our comings and goings. Meet my cabinet door turned into a chalkboard message board with hooks:
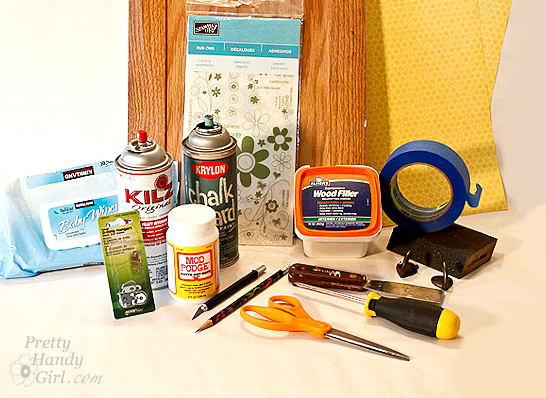
Materials:
(I’ve included affiliate links for your convenience. I earn a small percentage from a purchase using these links. There is no additional cost to you. You can read more about affiliate links here.)
- ScotchBlue painter’s tape
- Cabinet door
- Baby wipes
- Kilz spray primer
- Rustoleum spray paint – summer squash color
- Krylon chalk board spray paint
- 3M sanding block
- Wood putty
- Putty knife
- Screwdriver
- Drill
- Mod podge
- Scrapbook paper
- Rub on decals (optional)
- Garment hooks
- D-ring hangers
- Scissors
- x-acto knife
- Drop cloth
Instructions:
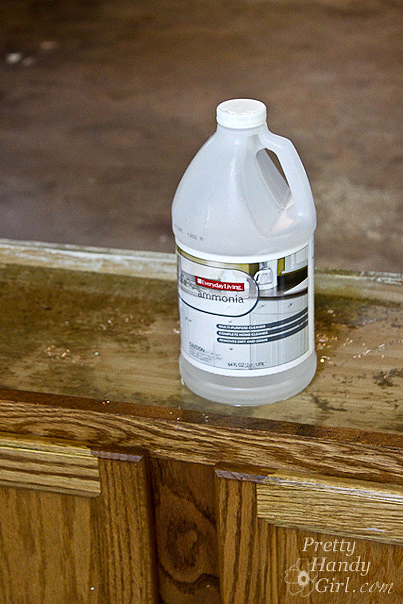
Clean the doors! If you have a cabinet that has finished it’s first life as a kitchen cabinet, and has so much grease on it that you could grease a pig…well, you need to clean it off. I experimented with several different techniques (GooGone, Dawn Detergent, Shakelee DeGreaser Spray, and Ammonia), but the one that worked best was inexpensive ammonia mixed with hot water.
I saturated the cabinet with the ammonia mixture. Let it sit for a few minutes and voila! The grease came off like butter (no pun intended.)
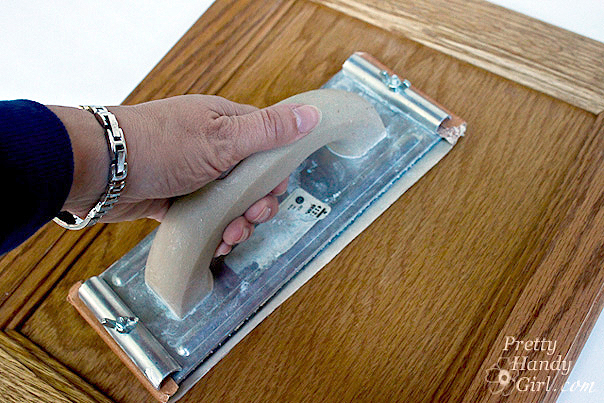
Dry the cabinets and gently sand all the surfaces to rough them up slightly. (Don’t rough ’em up too much boys, we need him to be alive. LOL! Spoken like a true Western character.)
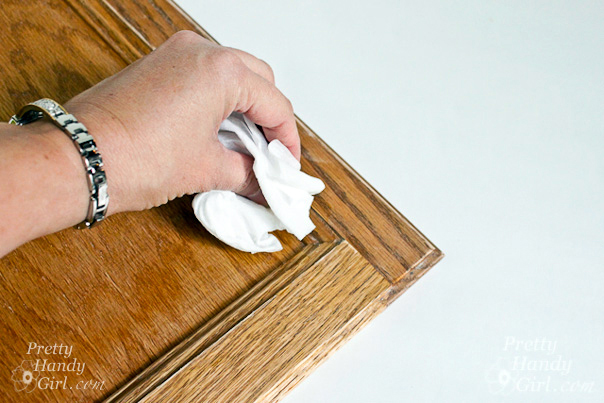
Wipe off the door thoroughly with a damp baby wipe.
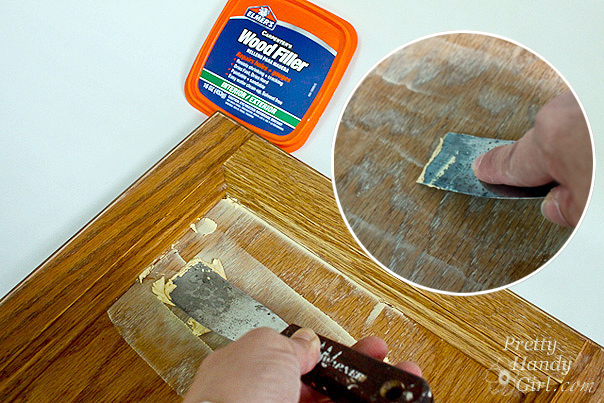
Use wood putty to fill in the wood grain on the middle panel of the cabinet. (You could also fill in the cracks on the frame of the cabinet too, but I have other plans for the frame.)
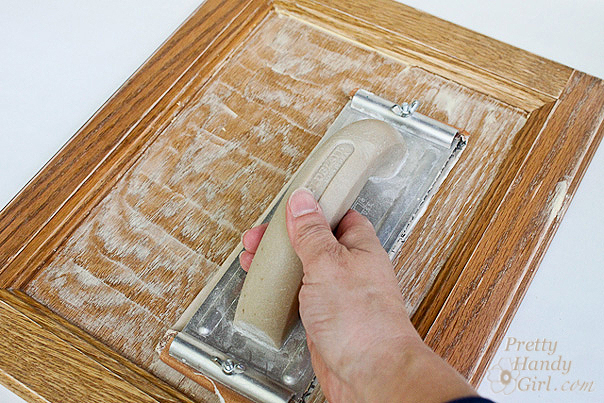
Let the putty dry for about 10 minutes. Sand the panel until it is smooth.
Wipe off the cabinet door again. Be sure to get all the sawdust off.
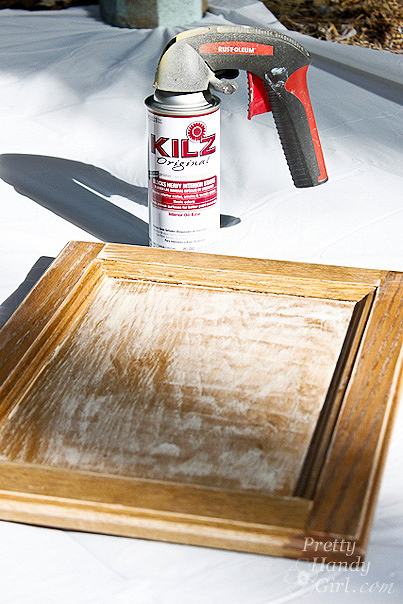
Spray your cabinet door with spray primer. One coat should be enough to cover the door. It helps to elevate the cabinet with a block or two underneath so it doesn’t stick to your drop cloth.
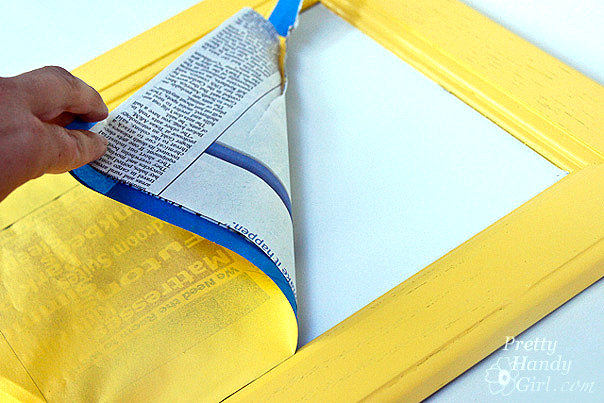
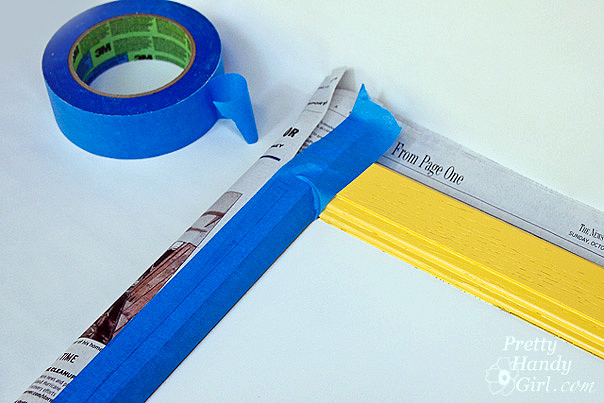
Mask off the middle of your door with newspaper and ScotchBlue Painter’s Tape. Press the edges down firmly by running a finger along the edge. (If your cabinet door is very textured, you can seal the edges by brushing matte medium where the tape meets the door.
Spray the frame with 2 even coats of the summer squash yellow color (allowing the paint to dry between coats.)
Remove the mask, now ooo and aaaa over that clean edge! Give the paint about an hour to cure before the next step.
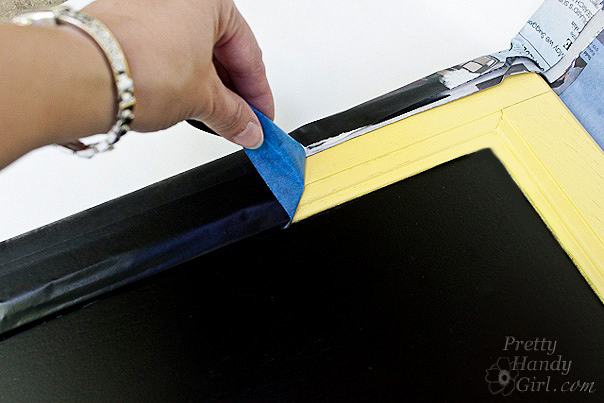
Wrap newspaper around the back of the cabinet door and fold the edges up. Use ScotchBlue painter’s tape to tape the edges of the frame off (cover all the yellow with tape or newspaper.)
Spray the inside panel with 2-3 even coats of the chalkboard paint. Let it dry throughly before you remove the tape and newspaper mask.
It is starting to look rather purrrrdy, ya think?! Feel free to stop here and say that you are done…
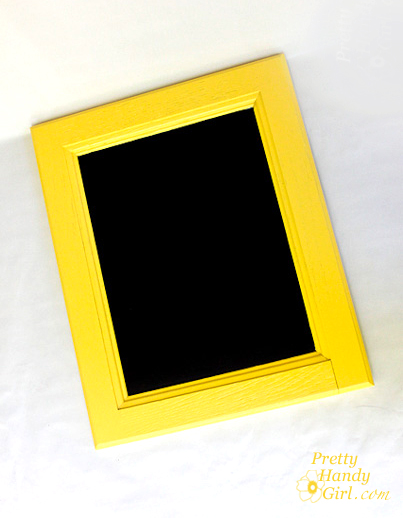
…or if you are a perfectionist (like me), you will want to cover the woodgrain on the frame with scrapbook paper.
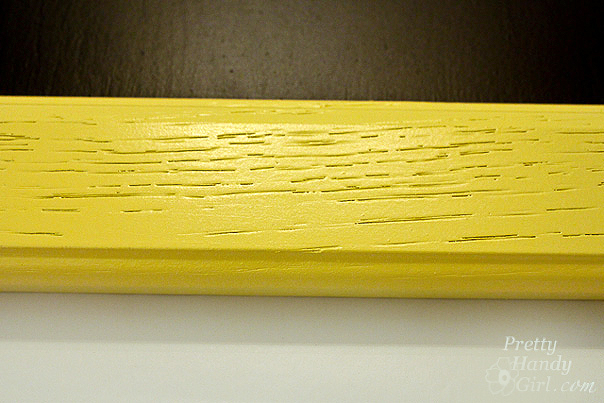
Simply measure your border and cut scrapbook sheets to that width. It is okay if your sheets aren’t long enough to fit on one length, you can tile them.
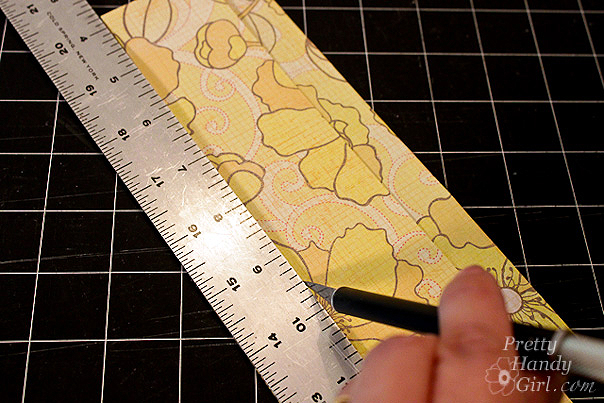
Brush one layer of mod podge onto the frame then lay the scrapbook paper on top of the mod podge. Press out all the air bubbles. Let the mod podge/paper dry for a few minutes.
Then brush 1-2 coats of the mod podge on top of the scrapbook paper borders to seal the paper.
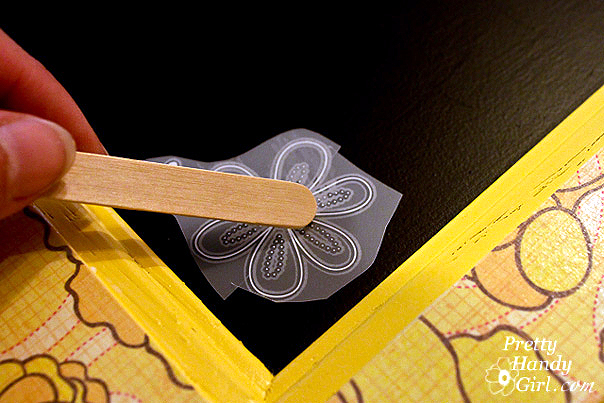
If you want to embellish your chalkboard frame, you can rub on transfer decals (or paint some decorations using white acrylic paint.)
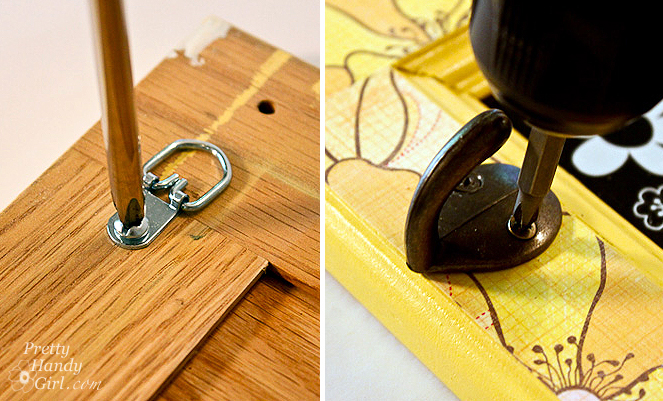
To make your chalkboard frame more functional, add 2 D-rings on either side of the back for hanging purposes. Then add some garment hooks to the front.
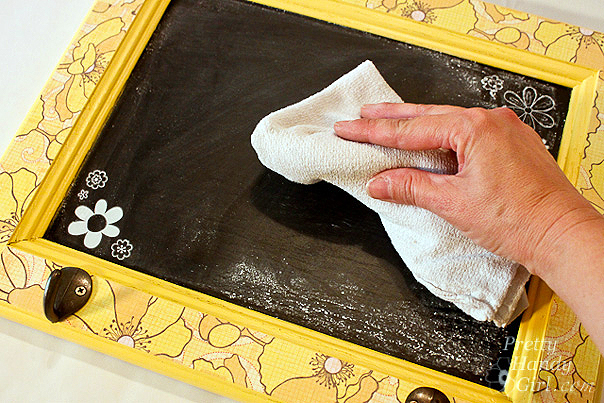
Don’t forget to season your chalkboard. (I prefer Old Bay seasoning…just kidding! I always wanted to say that.) Rub a piece of chalk on its side all over the surface and then wipe it off with a dry rag.
And that concludes the tutorial. Don’t you think the results are sweet! Especially because it is made from something that would have otherwise been discarded.
I envision a wall with several of these chalkboard frames lined up, one per family member. That way a message can be written to each person. I guess I better get busy and make 3 more.
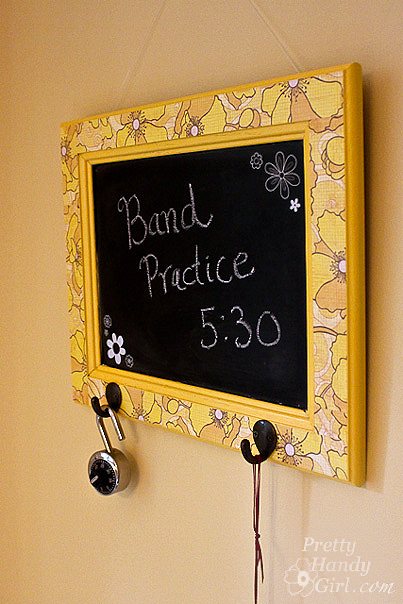
I love how the hooks add additional storage! Be sure to use two picture hangers (one for each D-ring hook.) If you have good eyesight you might have noticed my fishing line that is hanging the cabinet above. This was for photography purposes only. Unless you want your frame to rip the drywall and land on the floor the first time your child wants to hang something heavy on the hooks, do as I say, not as I do.
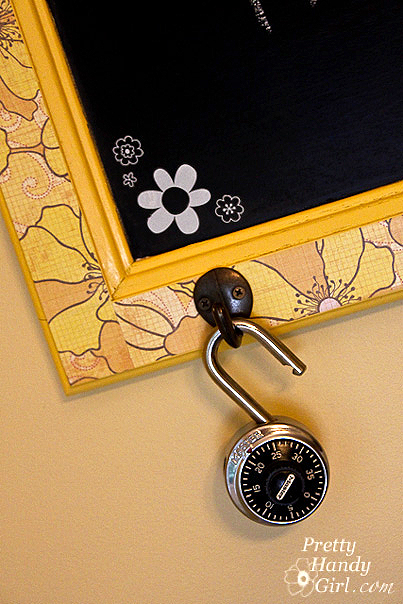
Awww, isn’t she just a perfect little slice of sunshine on a blank wall? She makes me happy.
![]()
You made it through another one of my insanely long tutorials! Congrats!
Disclaimer: I was one of the bloggers chosen to host a ScotchBlue Painting Party. I was not paid or compensated for this post. I was sent a few rolls of ScotchBlue painter’s tape, but I honestly can’t remember if it was 2 or 3 or 5 because they promptly got added to the collection of ScotchBlue tapes I already own.








I love your project, makes a great chalkboard.
I would love some of that 3M blue for some canvases I picked up at Goodwill that I want to paint over.
Thanks for all your inspiration!
LOVE the chalkboard from cabinet door – purely inspire! I’d use scotch blue to mask off my next chalkboard project 🙂 the inset of the craft room door.
Love the chalkboard idea. I’d like to make a floorcloth and this tape would come in handy.
I would make one of these chalkbords or I would repaint my dining room.
Love this project of yours. I would use the tape to help me paint an old file cabinet that I want to redo – would like to do something fancy with it.
Wow! I love how the cabinet door turned out. I’ve never even though about using painter tape for a project but I do use it for taping off a room when I’m painting! I’m just stopping by from tonight’s chat at TCB to say hi!
great tute brittany! Love your cupboard door turned chalkboard!
gail
I would try painting a pattern on an old dresser we have.
I would love some painters tape to do my kiddo’s bookshelves. They are plain wood right now and I am dying to jazz them up a bit with some stripes.
Your chalkboard is really cute! I *always* am in need of painter’s tape. My next big painting project is my front room (I think), and it would come in handy!
I love it! I love seeing old things become new again! Terrific work!
I like the jingle too and your cabinet door makeover. What an idea. Turn a cabinet door into a framed chalkboard! If I wont a roll of painter’s tape I’d also add it to my stash too but hey, Wouldn’t hurt to stock up!
SO stinkin cute!! Makes my day a little brighter!
That looks great! I agree you should call them about your jingle…I’m still singing it!
Brittany it turned out great! Love the upcycling!