I have a dirty little secret….my master bathroom is UGLY!
I can’t believe I’m about to show you my dirty little secret. But, I feel bad for my friend Sandra from Sawdust and Paper Scraps. She has some work to be finished in her master bathroom. So, I hope she’ll feel better after I share my awfully tiny and incredibly outdated bathroom.
I’m warning you now, what you are about to see is disturbing. If you have children, please escort them from the room.


Pretty Handsome Guy and I knew that one day we would be gutting this bathroom. Therefore, we decided not to do anything to the bathroom knowing that it was going to be euthanized renovated at some point.
Well, after about a year, I couldn’t stand it anymore. As a surprise for Pretty Handsome Guy, I gave our teeny 1970’s bathroom a minor face lift while he was away on business. I spent about $100 to give us a calmer start to our morning.
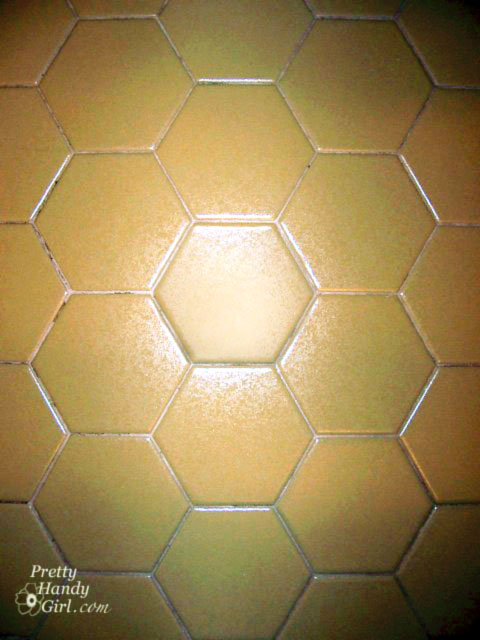
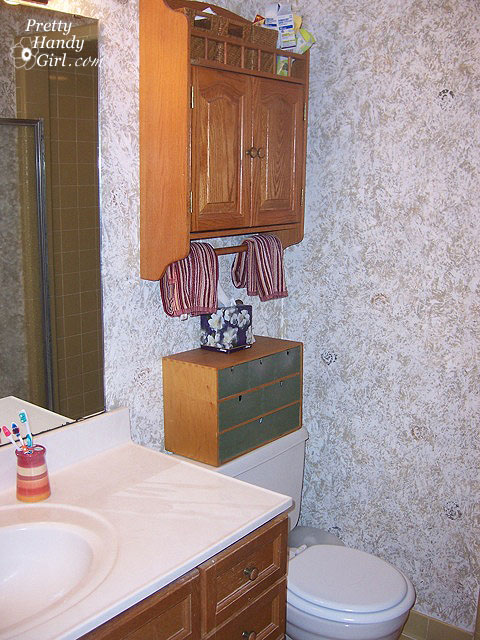
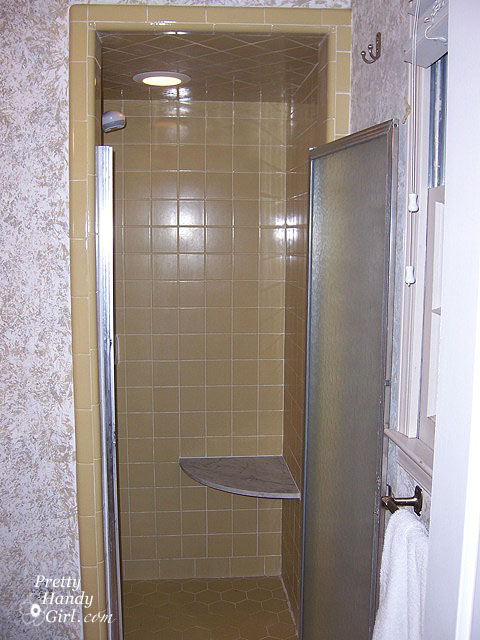
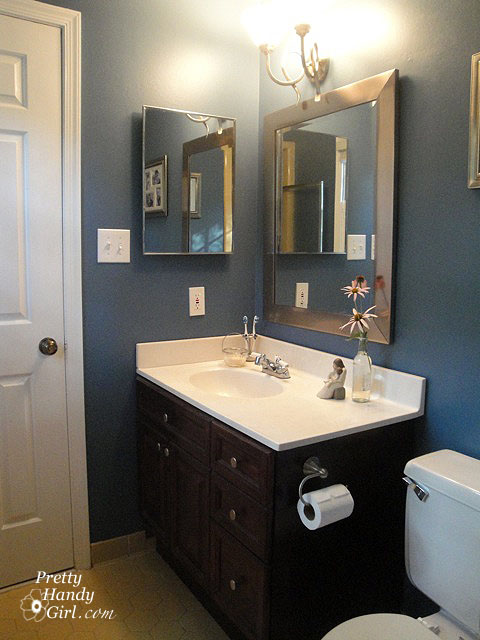
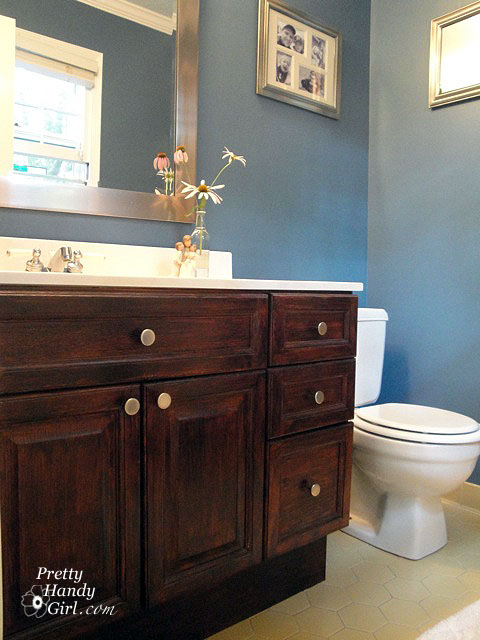
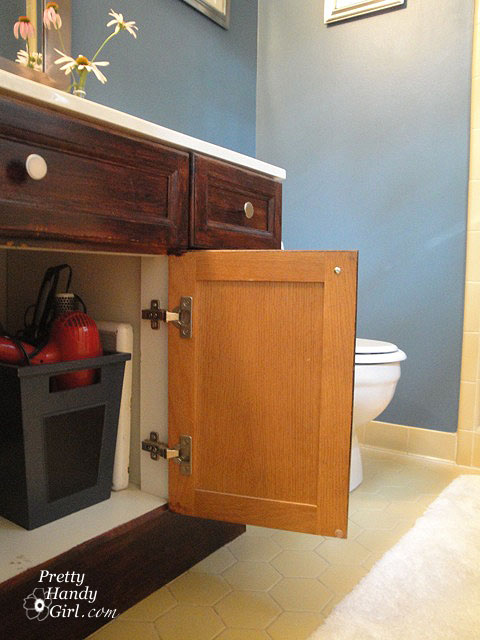
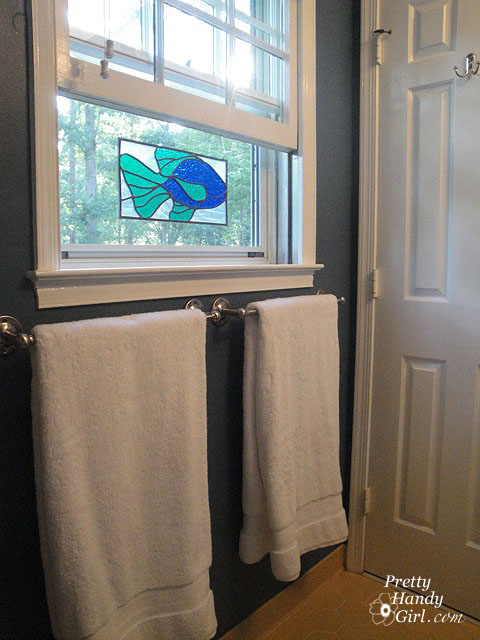
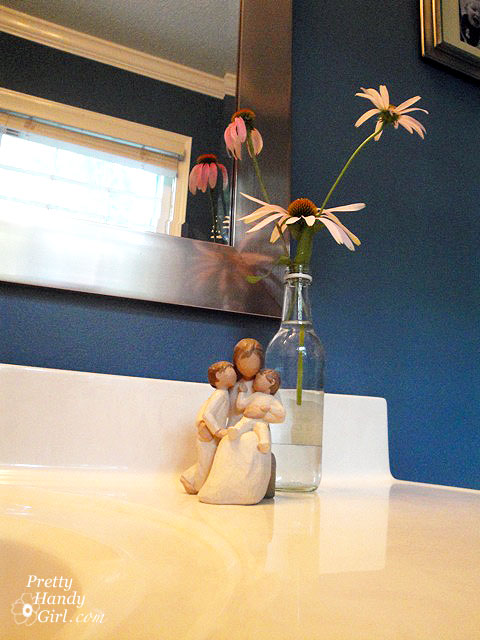
First I took down that ugly wall cabinet. Then patched all the holes in the wall. I sanded the walls to remove some of the bumps from all the random paint. I painted all the trim a glossy white. And the walls got a fresh coat of Ralph Lauren Durango Blue. I chose a deep color to draw attention away from the harvest gold tiles.
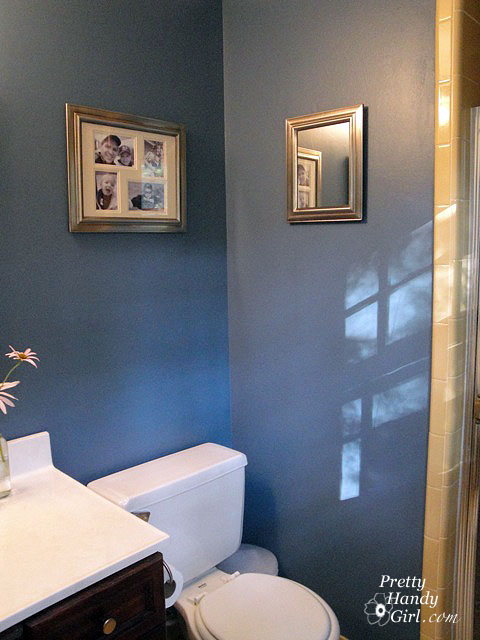
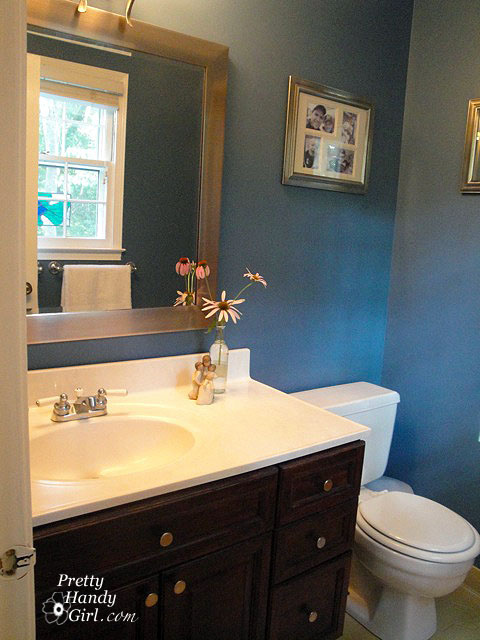
I ditched the Hollywood strip lights and replaced them with this very affordable Craig’s List find.

I really did not want to spend a lot of time on the vanity (stripping and sanding), so I roughed it up a little and put some Brazillian Rosewood gel stain on it. And left it for 24 hours to dry. Yup, that’s right, I didn’t wipe off the stain.

But, we now have a bathroom that we can enter without the risk of leaving with a migraine.
I am able to live with the bathroom as it is, until the happy day when I can knock down some walls, haul out some outdated tile and build my dream master bathroom.
Here are my plans for this dream:
Existing Floor Plan: Luckily an old washer and dryer closet backs up to the other side of this bathroom. This will give us another 3′ of space along one wall!
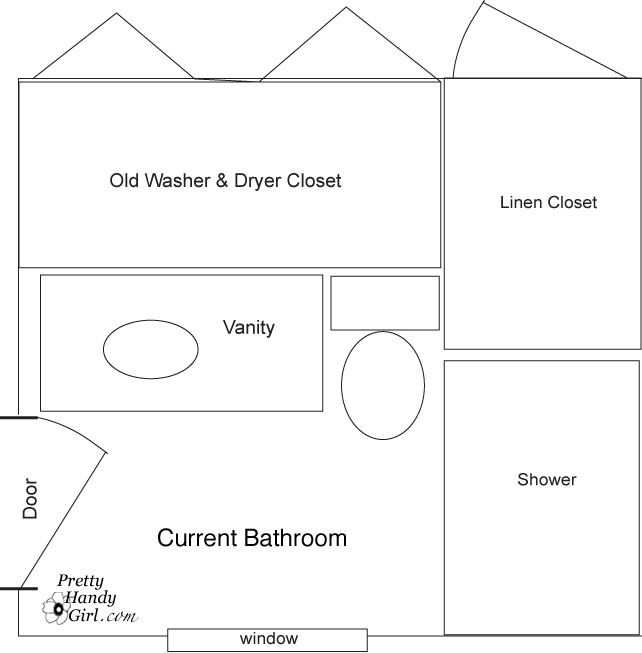
Renovation Floor Plan:
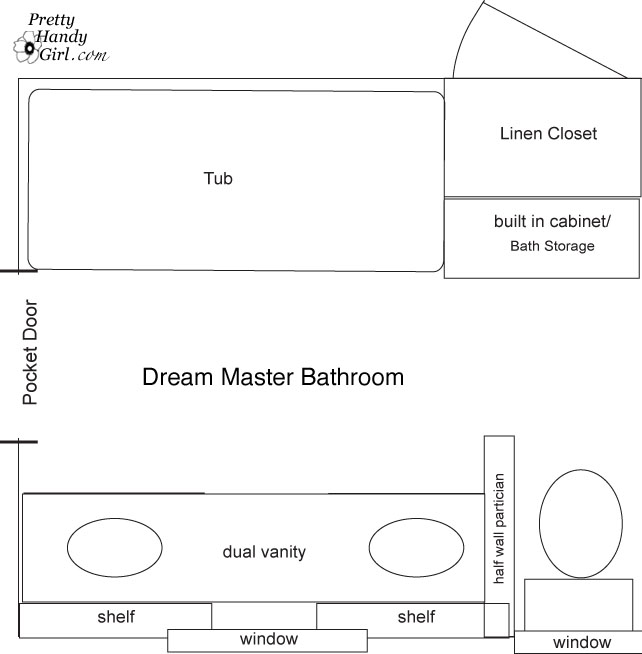
And this is what I envision our bathroom will look like one day!


Thanks to Lori Gilder of Interior Makeovers, Inc., who somehow has a window into my mind to see what I want our master bathroom to took like. She posted these photos from her portfolio on Houzz.com. She’s a fabulous interior designer who lives in Beverly Hills. Check out her blog and portfolio.
Sooooo, do you have a room or a space that is hideous? But, you don’t have the time, money, or effort to give it a full renovation? Why not make a few frugal changes so you can live with it until you can DESTROY IT (and then rebuild it of course.) It is amazing what some paint, new towels, pillows and/or a few fixtures can do.
What an improvement! Very inspiring. Really like the paint color with the tile color.
I live in Georgia and a friend of mine had her bathroom shower/tub redone. It was tiled in white but very dingy (home over 30 years old). There is a company that sprayes a special type of paint over the tile/grout etc. It seals it and covers the existing color. You might check on some bath refinisher companies and see if this can be done in your area. It should not cost much and what a difference it could make for you until you redo your bath. Hope this is helpful. By the way you did good with all the things that you redid in the bathroom. WOW!
Just the paint is a major improvement! You've done a marvelous job so far. In our last home, the bathroom was strictly 50s – all that pink and grey tile. Pink tub, too. Crazy it was! We painted the tile and put in a new tub and sink. That helped immensely!
lol – we live in a house that comes with my husband's job, so we don't want to put too much into making it work for us. When we arrived our master bath had a sponge paint job that makes yours look like fine art ! I had to paint within 2 weeks, couldn't take it at all. You made it longer than I would have. BThose little facelifts in a room can bring you some peace in your heart for a while.
WOW! I can't believe you only spent $100 and got a fab result. You rock!
LOVE your blog! Thanks for buzzing over to mine! I love your motto too:
I hope I can empower you to try a DIY project for yourself. Just remember, if a human can do it, then there is a 95% chance that you can do it too! -Brittany (aka Pretty Handy Girl)
Totally true!
You made such a big difference in there already! I used some gel stain on my faded baseboards and vanity as a temporary fix in my bathroom, too!
You are smart to make it livable until you demo it. Much smarter than I was with starting the demo and then walking away for 2 years and living with some giant holes in walls and duct tape on the shower doors! I likey your mini makeover. yes, I tried to spell likey that way.
Nice job! My bathroom is borrrring and someday I plan to do a bit of an update too!
What a wonderful makeover, you did a great job!
Rondell
Wowzer! What a huge difference a little paint and some accessories can make. Don't you just love the gel stains?!?! Now, if I were the one doing the bathroom facelift it would totally backfire and my hubby would say, "we totally don't have to do anything to it now!" And, maybe that's why I refuse to buy a new shower head that actually works. I don't want him getting too comfortable in there 🙂
Nice job! We have the same terrible bathroom and did the band-aid makeover for now too. At least our tile is a more manageable co
We plan to do the same make-over one day – gut the laundry closet, linen closet and existing bathroom to create a fabulous master bath. Maybe you'll beat me to it so I can steal some good ideas :). We'll turn what is our guest bedroom into part hallway to the bonus room and part new fabulous giant laundry room, then add a new guest bedroom and 3/4 bath on the third floor. With all that, its going to be a while!
My bath is the size of a postage stamp. It functions, but oh so very small. I really want to bust it out and expand, but I also wonder what I can do within its own footprint. Oh to dream. I really like how you picked blue to paint the walls. It really does counteract the harvest yellow.
It is amazing what paint can do! Your facelift made a big difference. We are currently in the process of gutting our master bath that is very similar in size and layout to yours. I love what you plan to do with yours.
Your face lift, or bathroom lift, was certainly a big change! Love your plans for the new bath. I have seen that inspiration photo before and I really love it! Where will you move your laundry to though?