DIY Twinkling Pendant Light + Lighting Challenge Link Up
Happy Leap Day!
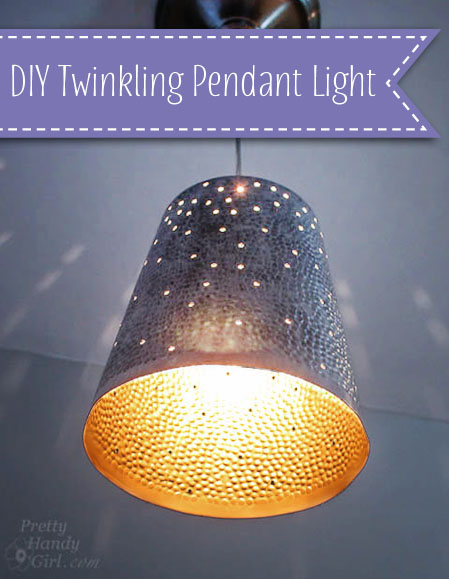
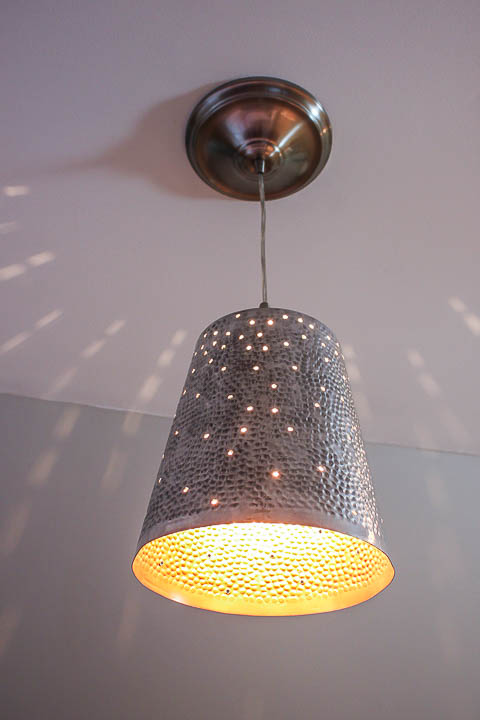
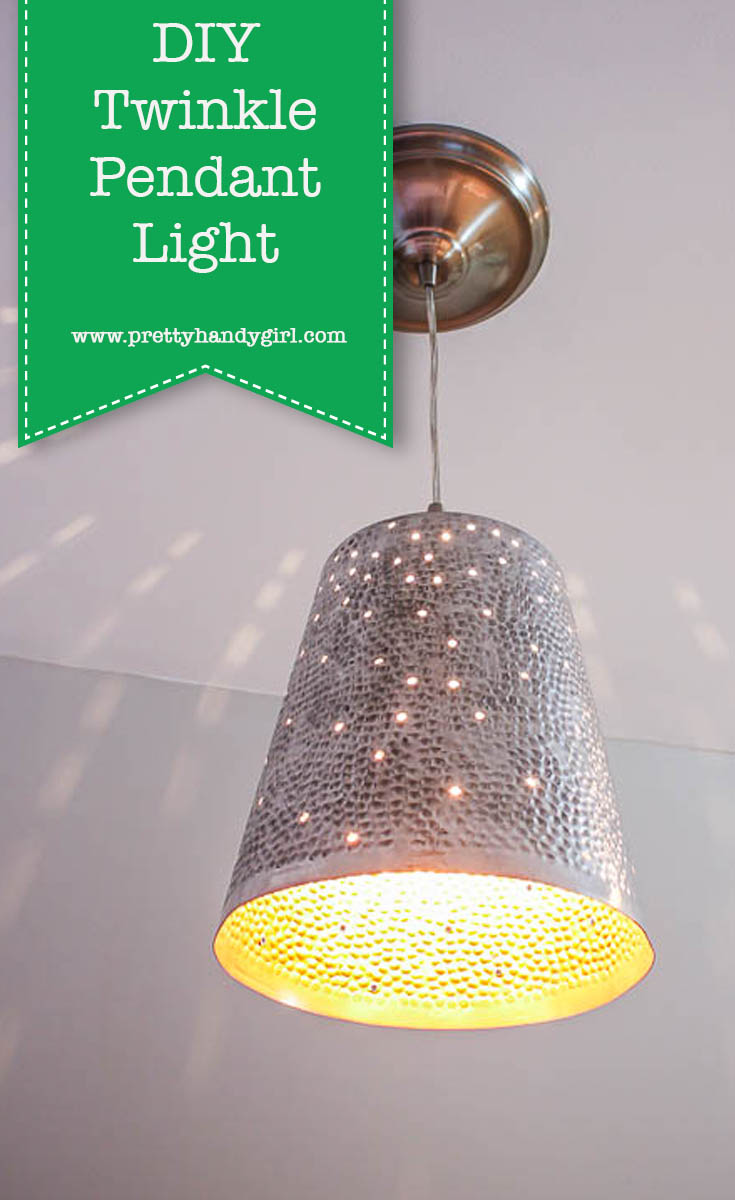
How was your weekend? I had so much fun making this DIY Twinkling Pendant Light. This idea has been floating in my head for a while. It’s a relatively easy light to make. You need very few supplies. I used a waste paper basket from Lowe’s that I bought a year ago. I’m not sure if the same can is available, but you can buy this similar one on Amazon (affiliate link).
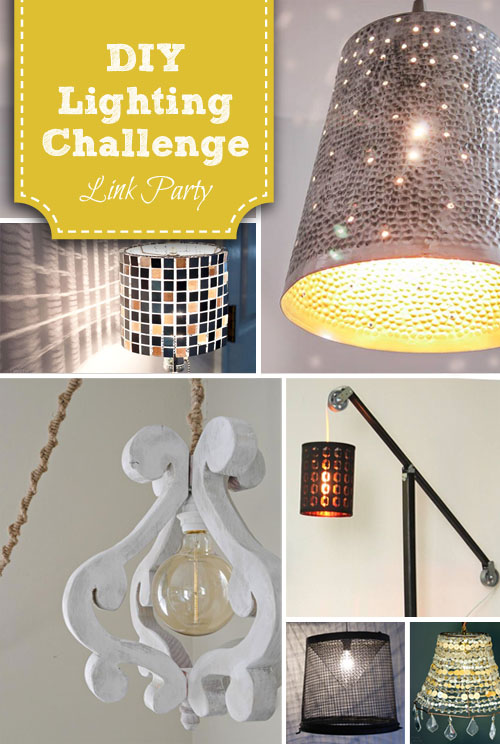
You’ll also want to check out my fellow creative DIYers and the amazing light fixtures they made:
The House of Wood | Sawdust 2 Stitches | My Love 2 Create | Kim Six Fix | The Ugly Duckling House
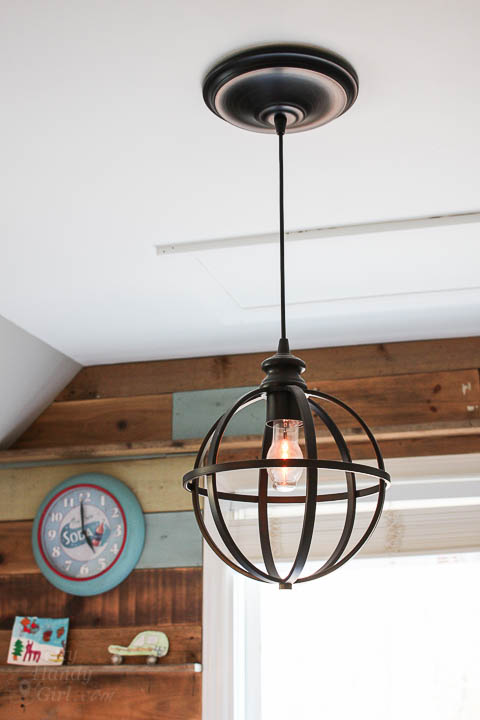
The best part about my project, is that I didn’t need to do any wiring. I used a recessed can converter kit from Worth Home Products. I used a similar one a few years ago to convert a recessed can light to hang this sphere light in our art & craft room. I’m a huge fan of the convenience of this product.
Want to make your own DIY Twinkling Pendant Light? Grab a few supplies and let’s get started.
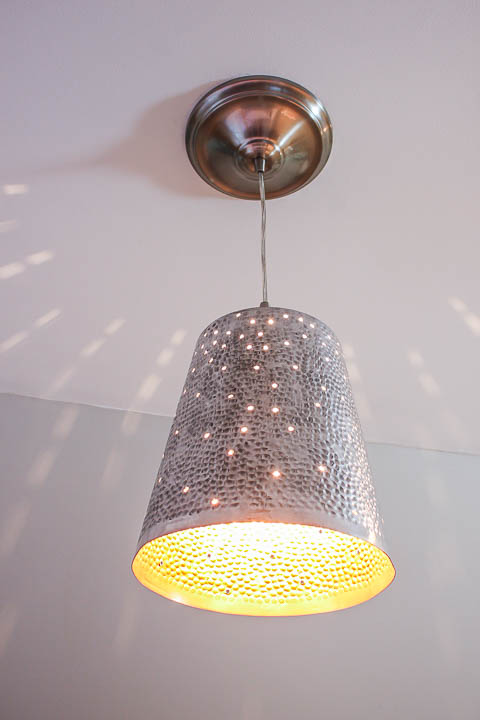
Materials:
(I’ve included affiliate links for your convenience. I earn a small percentage from a purchase using these links. There is no additional cost to you. You can read more about affiliate links here.)
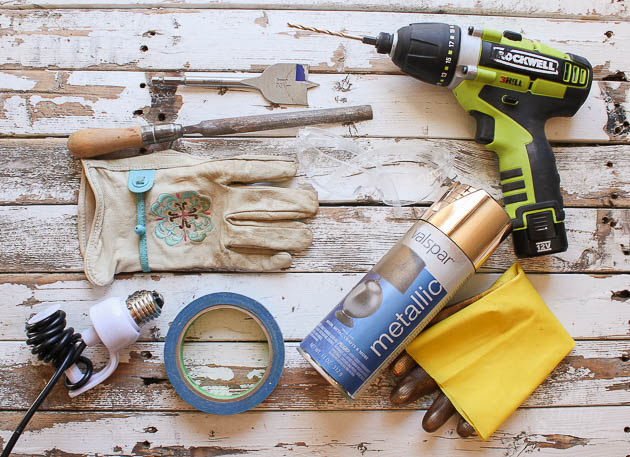
- Waste paper basket
- Drill
- 1.5″ spade drill bit
- 1/8″ drill bit
- Instant Pendant Converter Kit
- Painter’s tape
- Gold spraypaint
- Gloves
- Newspapers
- Leather gloves
- Ruler
- Marker or pencil
- Metal file
Instructions:
Clean your waste paper basket and dry.
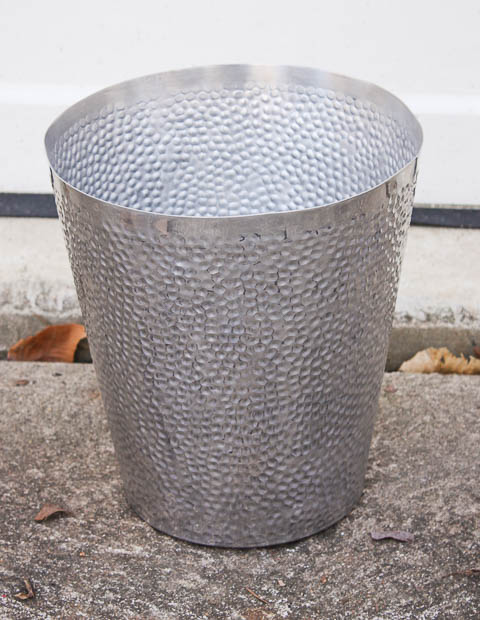
Tape painter’s tape around the basket bin.
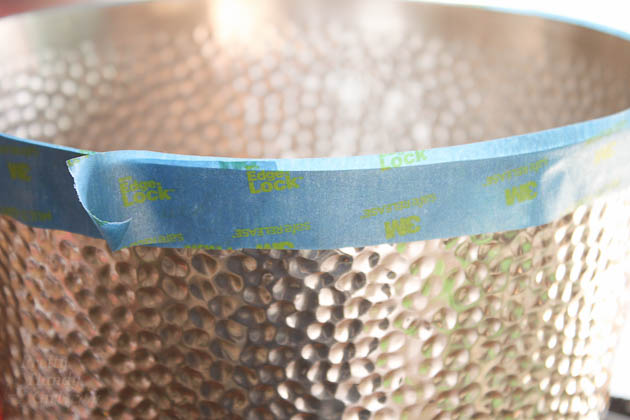
Apply newspaper under the painter’s tape to protect the exterior of your wastepaper can.
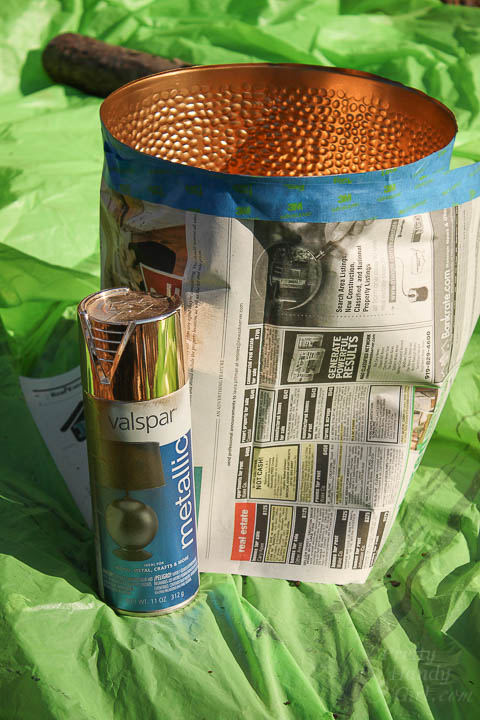
Put on rubber gloves and spray the inside of your can with gold spray paint until it is coated. Use several light coats to avoid drips.
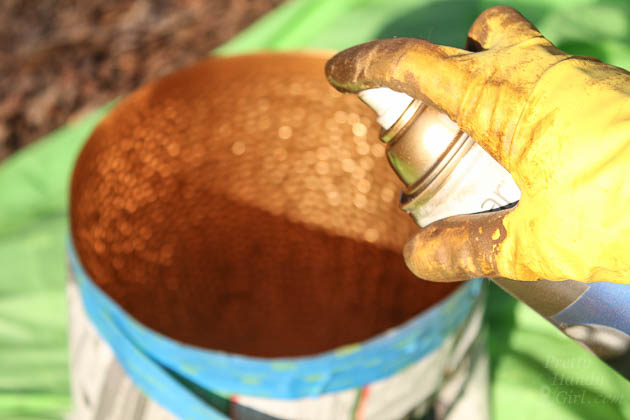
Allow the basket to dry and remove tape.
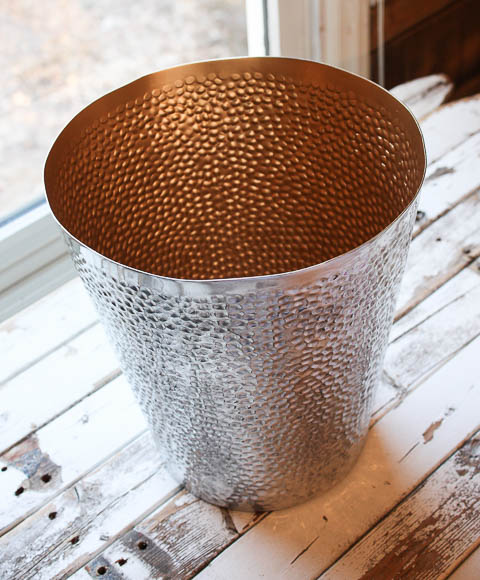
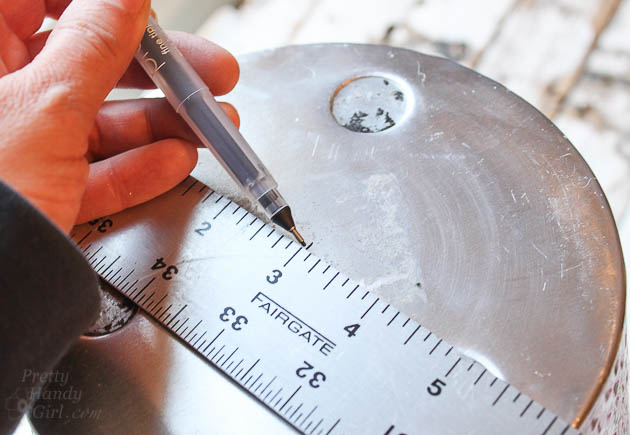
Turn the waste paper basket over and mark the center of the base.
Use your drill and the 1.5″ spade bit to drill into the center of the base.
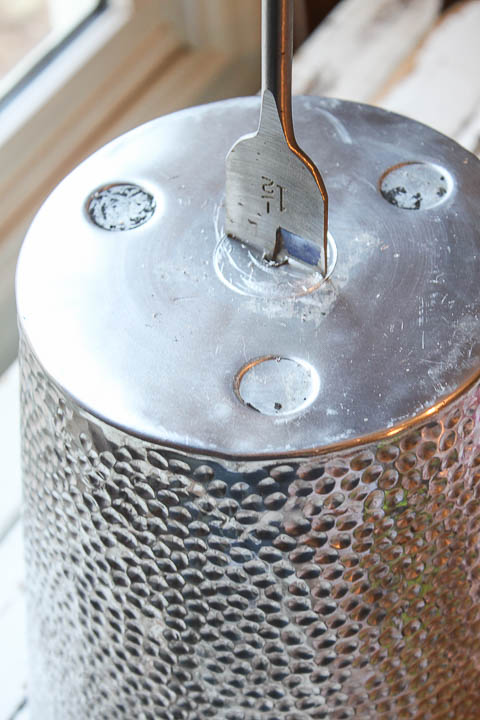
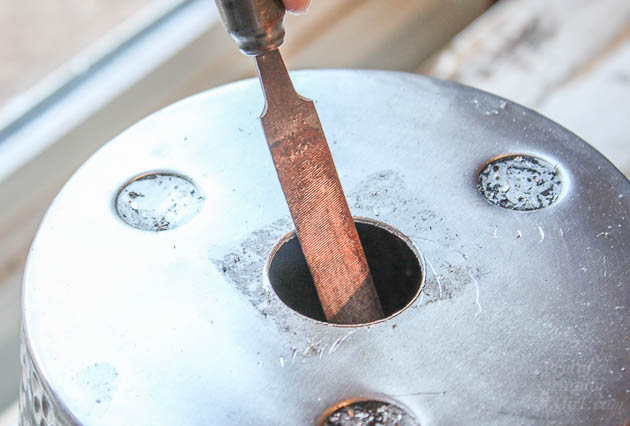
Smooth any rough edges and slightly enlarge the hole with the metal file.
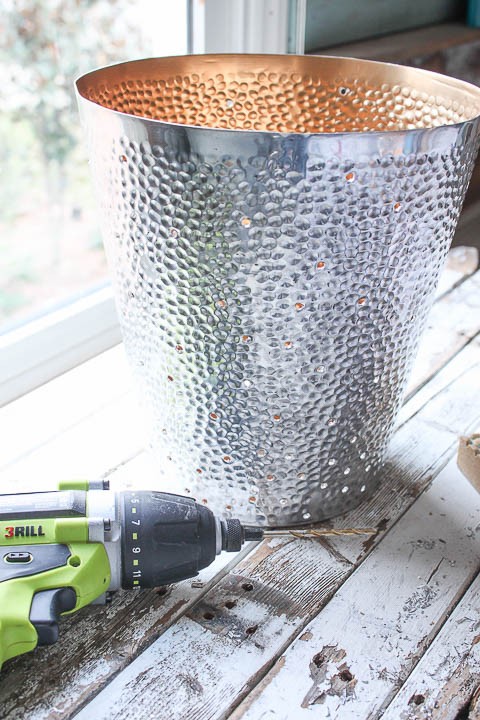
Drill holes into the sides of the waste paper basket with the 1/8″ drill bit.
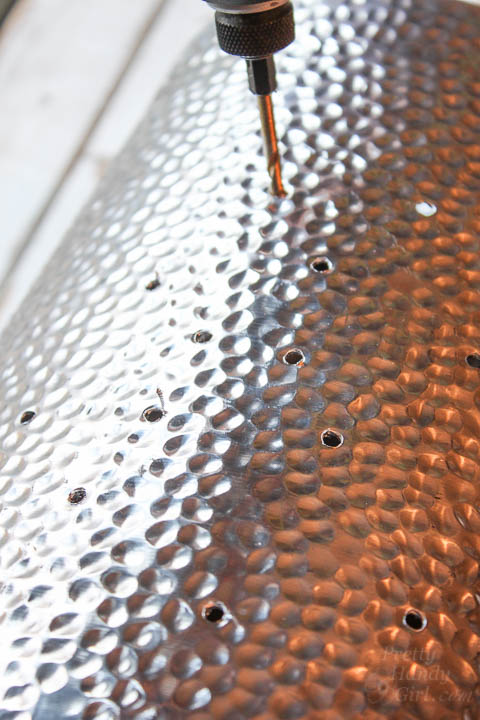
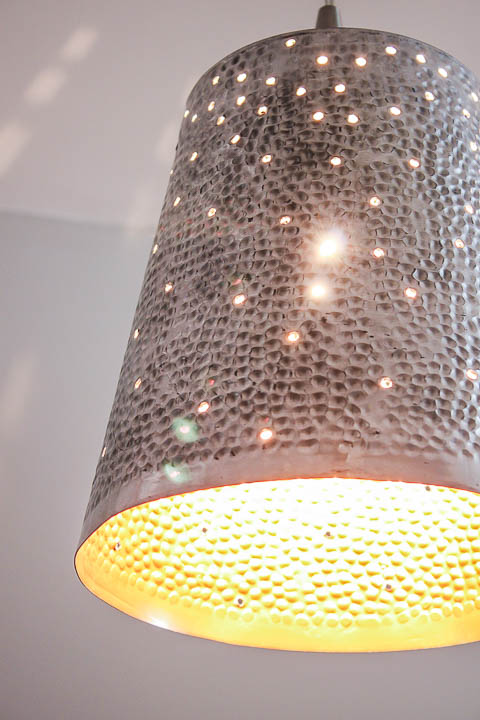
I added more holes near the base and less near the rim, but you can add your own pattern.
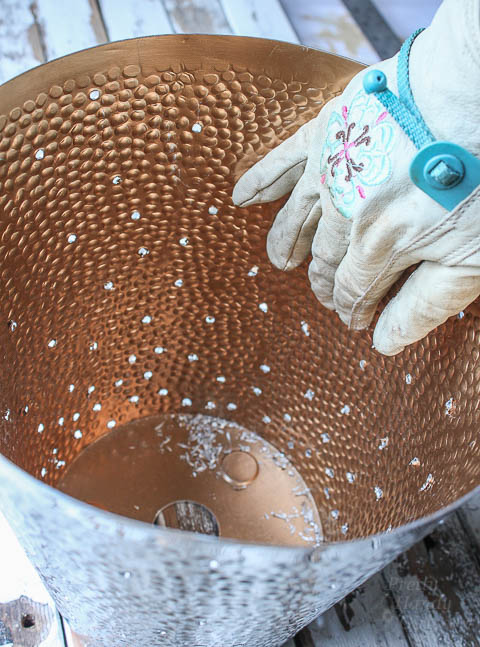
Put on your leather gloves and rub any sharp edges off the interior of the basket.
Thread your pendant kit socket end into the base of the waste paper basket.
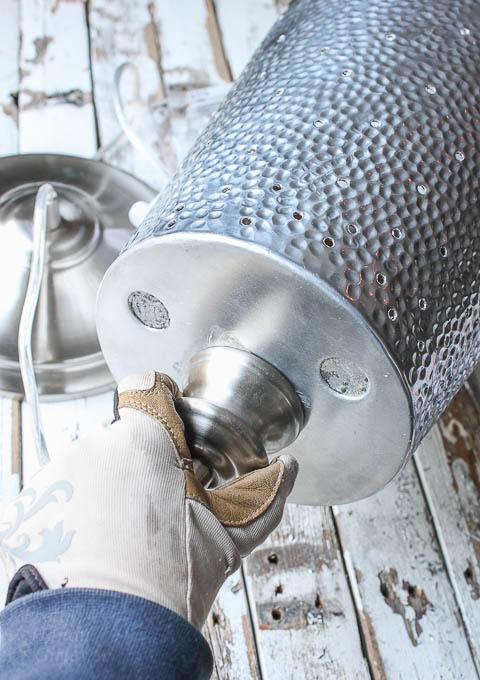
Secure the pendant light with the socket ring inside the basket.
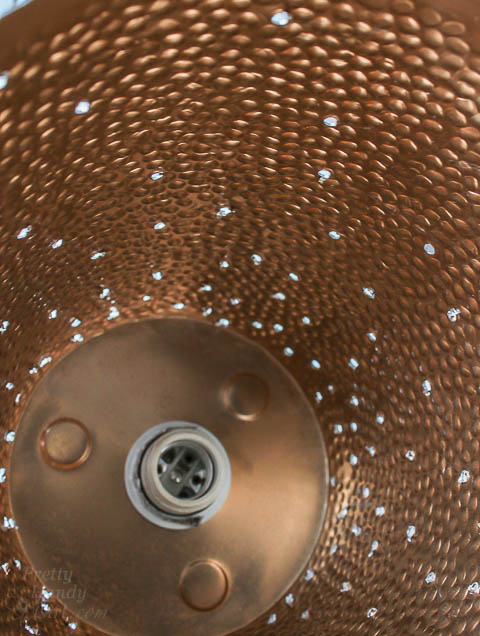
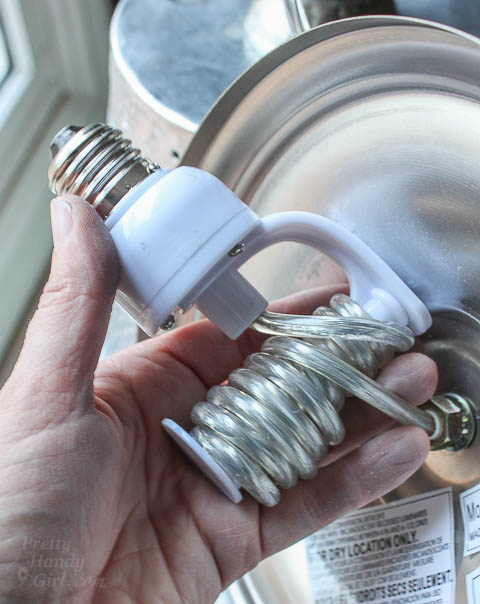
Measure the height you want your fixture to be. Wind the excess cord onto the spindle bracket.
Thread the adapter into the recessed light.
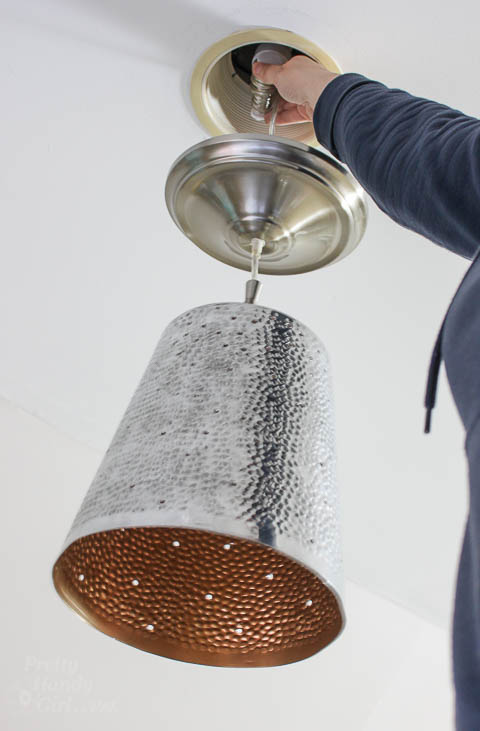
Slide the canopy up against the ceiling and secure the canopy with the compression nut.
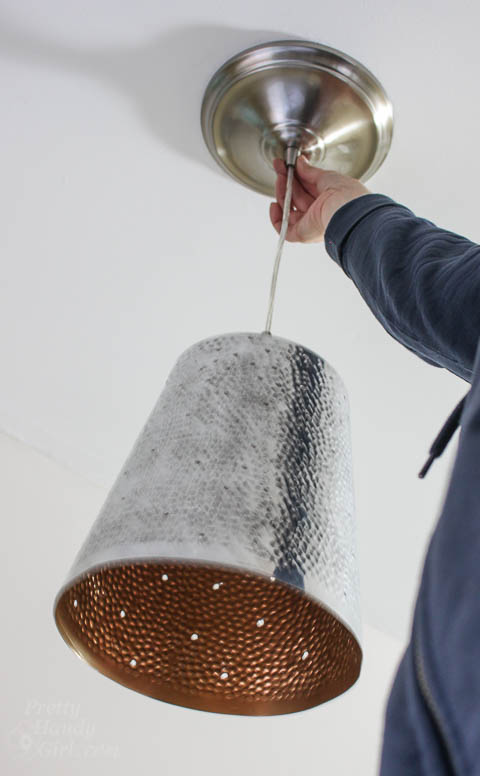
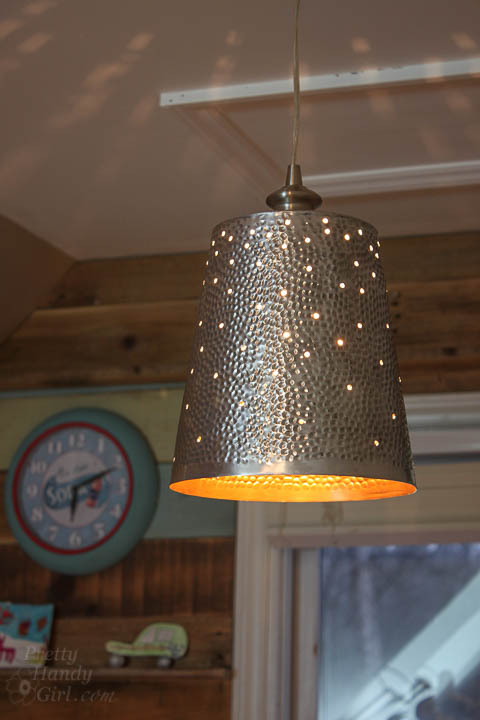
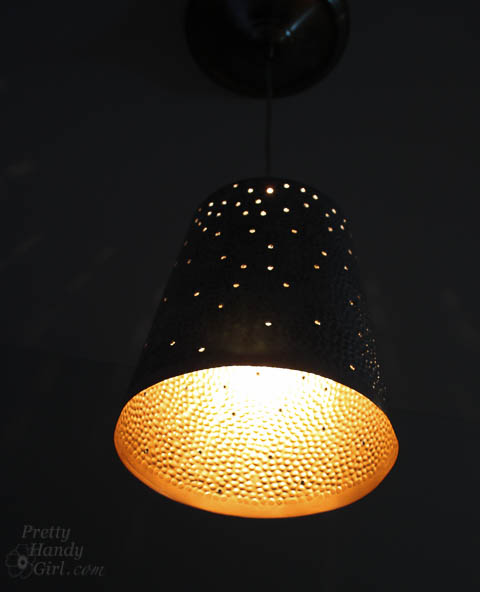
Turn on your light and admire your beautiful twinkling pendant light.
![]()
Disclosure: Worth Home Products sent me the pendant light kit for this project. I was not paid to use the product. I was not told what to write about their product.
Pin for later!

This is totally awesome! :o)
Very clever and what a fantastic look! Glad I saw this as I’m rethinking our foyer light. Thanks for sharing!
This is so cool looking and it must be really cool when you turn it on at night and get that disco ball effect.
Love the lamp you made! The gold on the inside is just so cool!
I LOVE your lamp, Brit! The texture is the absolute coolest!
Brittany this is so awesome! I love the twinkle aspect and the way you sprayed gold on the inside! Pretty!
This is amazing!!! Love love love this idea!!!
Laura
http://www.blackcoffeebeautiful.com