Chalk Painted, Stenciled and Distressed Dumpster Table
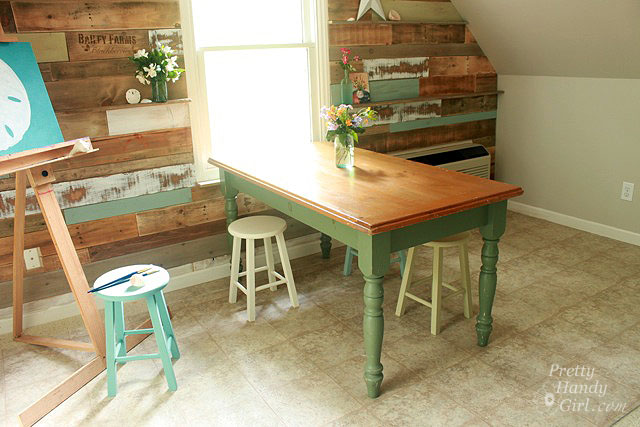
Dear Beautiful Table, your scandinavian antique beauty has us mesmerized. What’s your story? Did a family of four sit around you and talk about the day’s adventures on the farm? Or were you an antique table brought over from Europe and passed down for generations? Or were you simply an ugly table left by the dumpster of an apartment complex in Raleigh, NC? {insert record scratch sound bite here} Yup, would you believe that a few short weeks ago, this beauty was sprawled in pieces by a dumpster? All the pieces (including the leg bolts) were neatly in a plastic baggy and secured to the table. This is one of the best pieces of furniture I’ve ever found in the trash (well next to it to be exact.) I didn’t have to do any structural repairs, just reattached the legs. But, it looked like the below photo when I picked it up:
It wasn’t in horrible shape. A few gouges in the top. But, the green and honey top were dated in style. No doubt the previous owners were moving and didn’t want to haul the dated table to the new digs.
Luckily I didn’t have the boys with me, so I was able to wrestle the entire table into my CRV.
Materials:
(I’ve included affiliate links for your convenience. I earn a small percentage from a purchase using these links. There is no additional cost to you. You can read more about affiliate links here.)
- Shellac Based Primer
- Sandpaper
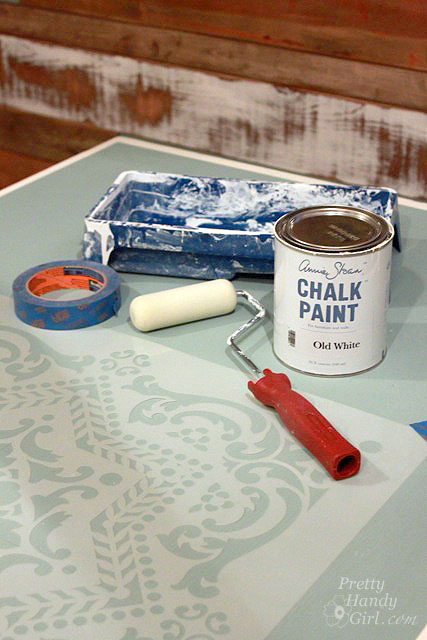
- Annie Sloan Chalk Paint in: Old White, Duck Egg Blue, Versailles and Cream
- ScotchBlue painter’s tape
- Tape measure
- Pencil
- Royal Studio Design Lisboa wall stencil
- Foam roller
- Small paint tray
- Stencil brush
- Small flat artist brush
- Palm sander
- Damp rag
- 2″ paint brush
- Antiquing Glaze (my formula)
- Minwax Polyacrylic Water Based Sealer
Instructions:
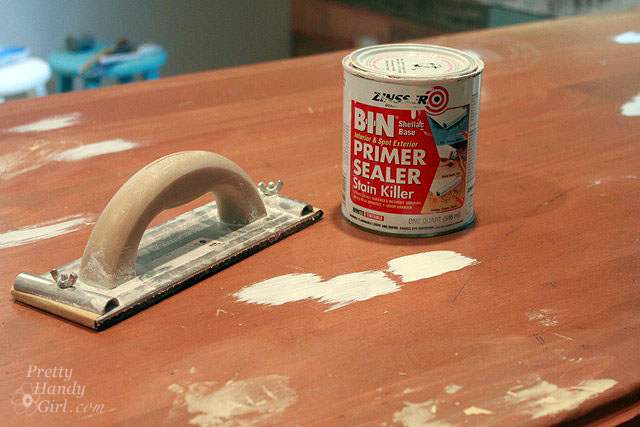
The table had lots of knots. To prevent them from bleeding through the paint, I used BIN primer (a shellac-based primer) to seal the knots. I also added a little wood putty in some of the deep gouges and grooves, but left some alone to keep the distressed look.
When the primer and wood putty had dried I lightly sanded the entire table.
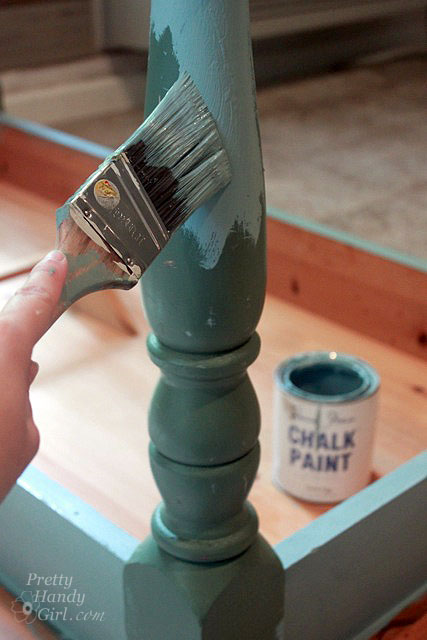
Flip the table upside down and paint one coat of Annie Sloan Chalk paint in duck egg blue on the legs and skirt of the table. So now, notice that I didn’t have to prime the entire table?! That’s the beauty of chalk paint, no need to prime and only one coat covered the green.
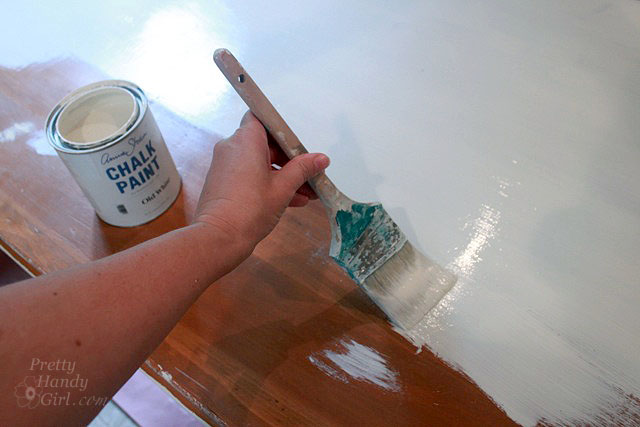
After that flip the table over and paint the top with two coats of old white paint. (Two coats have better coverage and will stand up to distressing better.)
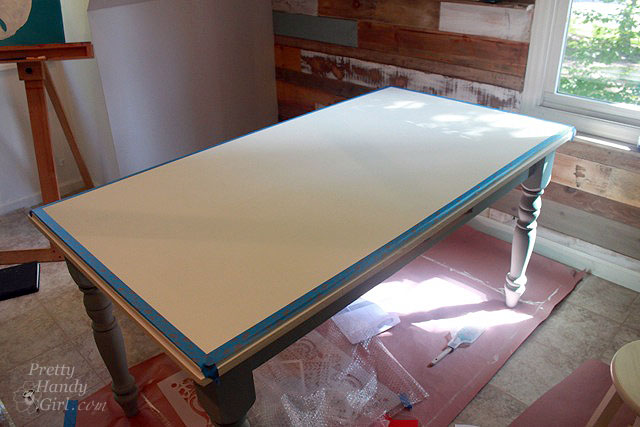
After the paint dries, tape off the edges of the table with ScotchBlue painter’s tape.
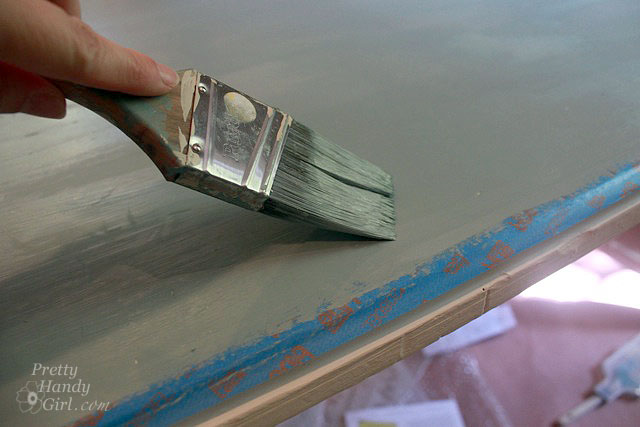
Paint duck egg’s blue chalk paint inside the tape lines.
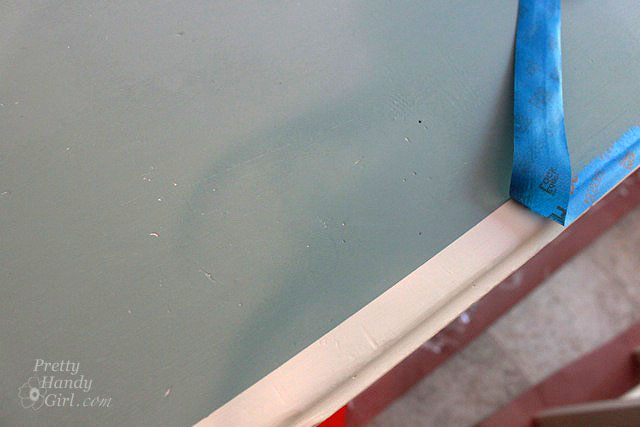
You can lift up the tape as the paint is drying. Ooooo, clean sharp line:
Measure the table length and width and mark intersecting center lines in pencil.
Line up the center of the Lisboa stencil with the center crosshair. Check that all the stencil points are lined up on the center lines as well.
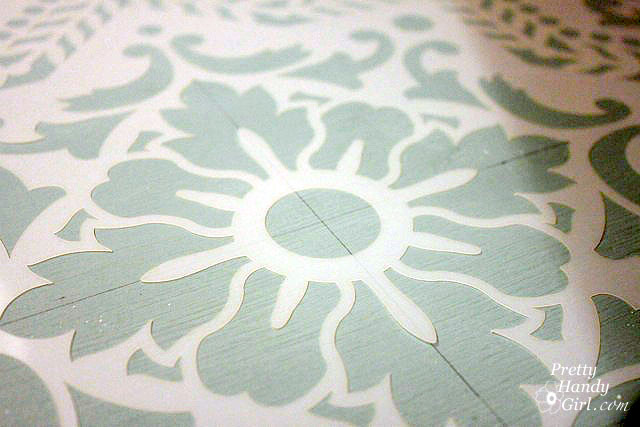
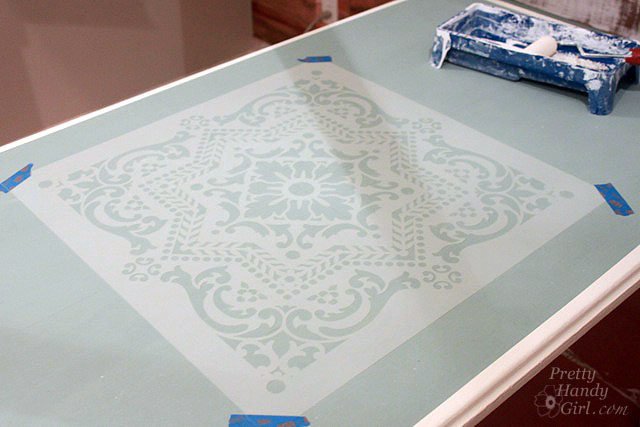
Tape the corners of the stencil down with painter’s tape.
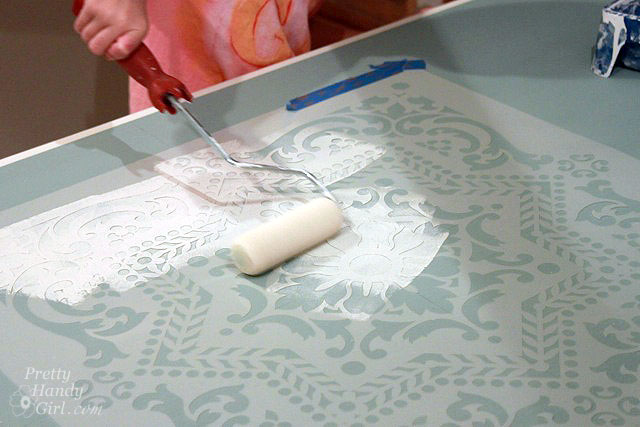
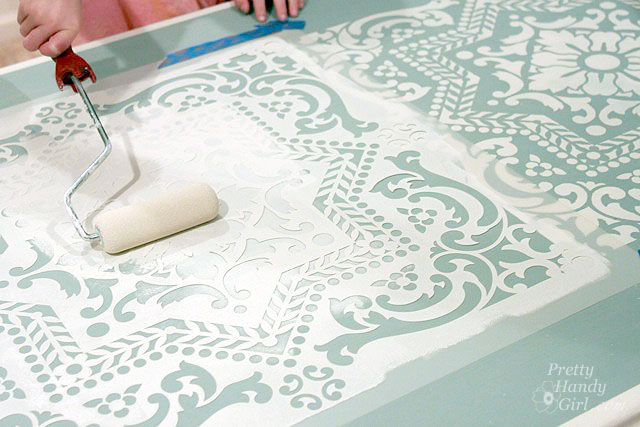
Pour some Annie Sloan Old White chalk paint into the paint tray. Enlist an assistant (curious six year old boy) to roll paint over the entire stencil. Less paint and multiple passes is better than too much paint.
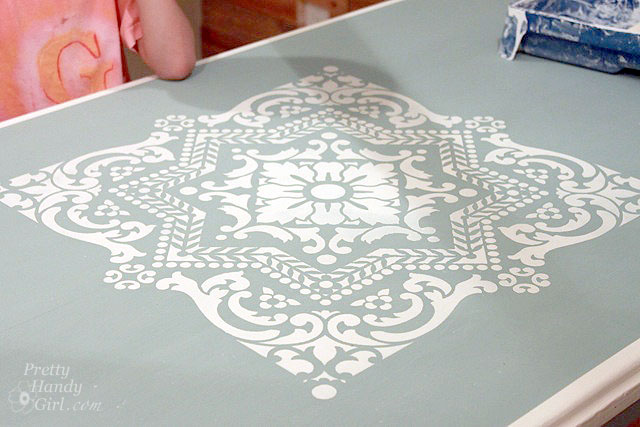
Lift off the stencil to admire the design. Then, wait a few minutes for the paint to dry.
Position the stencil up to the corners of the first print. (The corner circles will overlap and repeat with the first print.)
Your assistant will likely be eager to roll paint again.
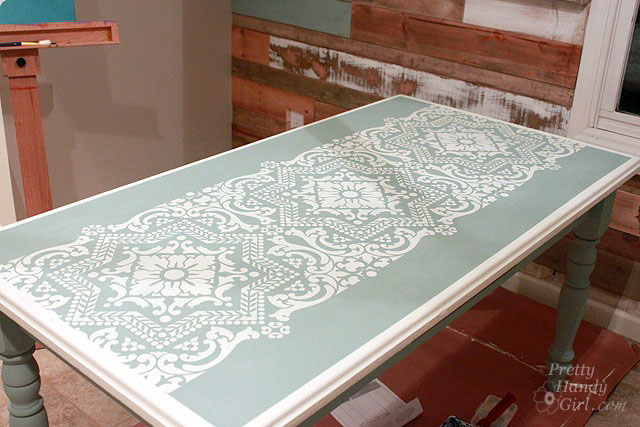
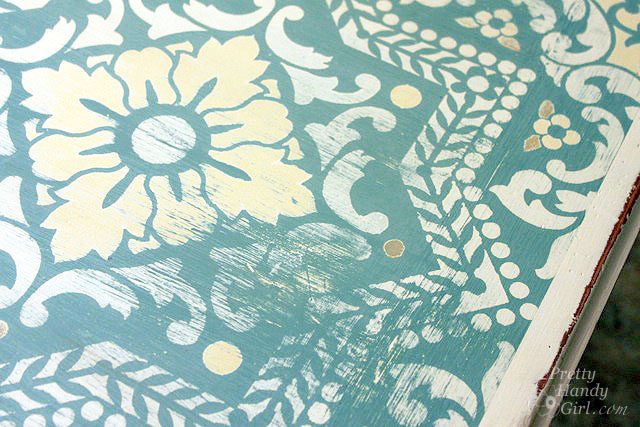
After three tiled passes, the table looked like this. I was tempted to leave it as is because the stencils make a stunning decorative runner.
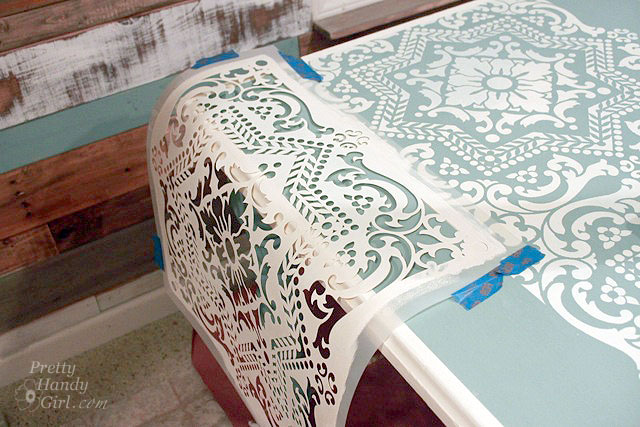
But, I had bigger plans. Next, line the stencil up with the edges of the pre-painted pattern. Gently support the stencil edge that isn’t on the table and roll paint over the stencil.
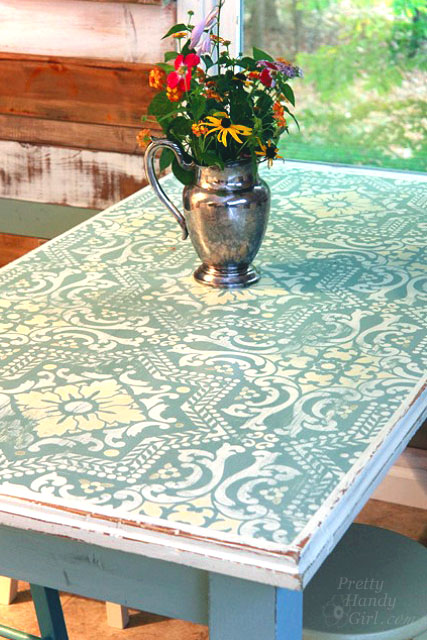
The table took nine placements of the stencil. But, it looks AH-maze-ing!
To add some added dimension, tape around the center leaf pattern and the corner design on the stencil.
Using the stencil brush, pounce cream chalk paint into the center and corner areas.
The cream is a very light yellow, but it immediately adds some dimension to the table top. Then continue moving the stencil around and painting the taped off areas with cream chalk paint.
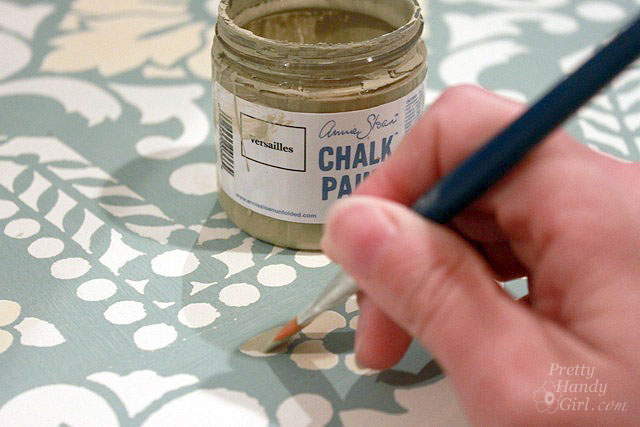
Finally use a small flat artist brush and paint some small leaves and dots with versailles green chalk paint.
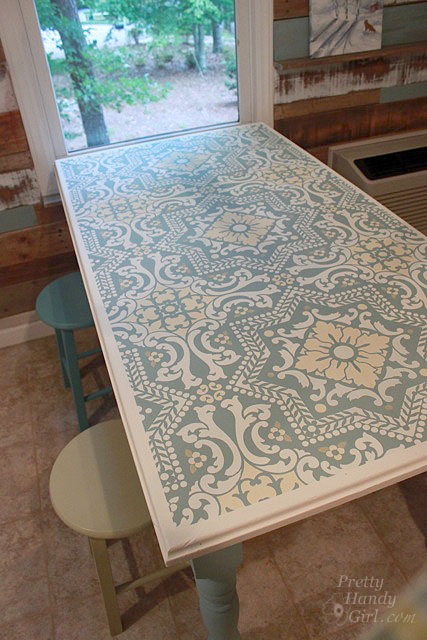
Finished painting. She’s beautiful isn’t she? But, she’s missing her story…
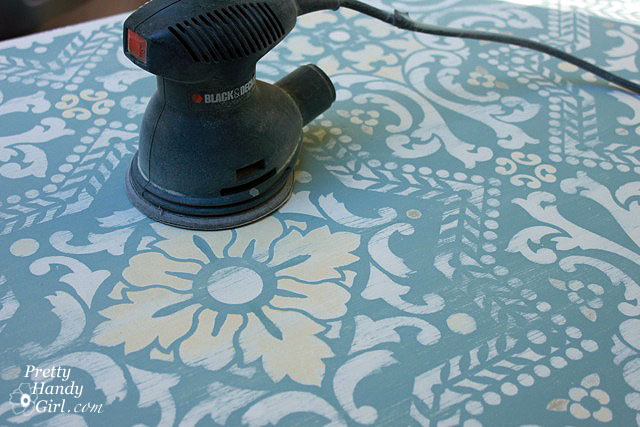
…I had to abuse her with the orbital palm sander. Sand down through some of the layers of paint. Sand along the table edges and a little bit on the table legs.
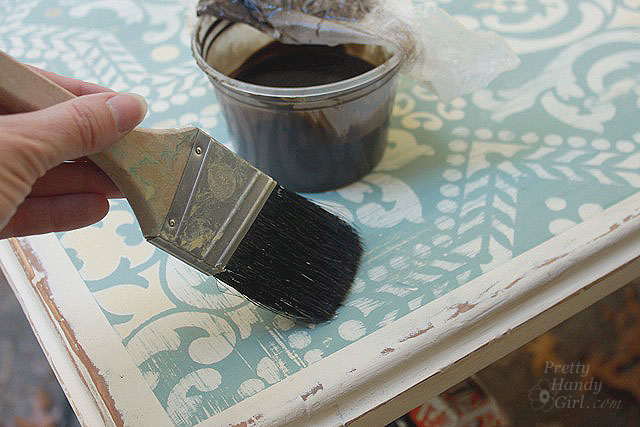
Wipe the table with a damp rag. Lightly brush some of my aging antique glaze over the table. Wipe off any excess.
Apply 2-3 coats of Minwax polycrylic sealer.
And let the fun begin. The kids have been using this table for drawing. And I’m not going to stress about any stray marks because the table is distressed and busy enough to hide them. AND, we’re making stories of our own on the table.
I know the distressed look isn’t for everyone, but I love how the table looks old and weathered. But, you knew that about me anyway.
She’s beautiful, isn’t she? I painted four unfinished wood stools from Wayfair with the different chalk paint colors to match the table.
Do you think I’m crazy for distressing the table? Heck, you probably think I’m crazy for hauling a table from the trash.
Have a great rest of your week y’all. And safe travels.
Disclosure: Royal Studio Design sent me the Lisboa stencil per my request. I was not compensated for this post, nor was I told what to write. All ideas, words and photos are my own.









Hi! I’m an editor for Remodelaholic.com and am writing to request permission to use one of your table photos in an upcoming post. We would like to feature this in a round up and would include a backlink and clear credit to you.
Additionally, we routinely publish round-up style posts on our site and if you’re willing to allow us to use one photo from other posts you’ve done, we would love to add you to our directory of sites to feature. As a bonus, your site would then be on our radar for possible Facebook shares as well.
Please let me know if this would work for you. Thanks for your consideration!
Kimberly
Hi, I know this is an older post but I have a question… What do you do about the pencil lines you marked? I am in the throes of a similar project and I am reluctant to mark the table because I think they will be visible still.
Savannah, you can erase them after.
fabulous. Am I to understand you simply requested the stencil from Royal Design and they sent it you? How doesw that happen? I looked in the comments to see if someone already asked you about the stencil, but to no avail. I apologize if you covered it. Do you repaint then sell furniture? I am wanting to do that!
Just fabulous! I will definitely pin it. Am I to understand you merely asked the Royal Designs company for the stencil and they sent it to you? If your response is already posted , I could not find it in the comments. Do you repaint items and resell them? Love the table!
Please eliminate one of my posts!
This is pretty freaking cool!!!! Thank you for the tutorial, I’m going to re-vamp a piece of furniture my husband built with this look.
I love your table! The colors and stencils look amazing! How do you apply the Minwax polycrylic sealer? How do you get it so smooth? I have hard time getting the sealant I use to dry smooth even though I use a sponge brush.
Hi Brittany, your table looks amazing! I love the colors you chose. How do you apply the Minwax polycrylic sealer? Do you have any tips for it to dry smooth? The sealant I use for acrylic paint is tricky to get a smooth finish. I do wet/dry sanding in between coats to help ease the imperfections but it doesn’t look smooth like yours. How do you get yours so smooth?
I think it looks amazing. I distress everthing, buy old cheap furniture and distress it to give it a new lease of life. I recently got an old table and chairs for only £50.00, excellent condition and solid wood. I knew I was going to distress it but was unsure of what to do with the top to make a mark, now I know. Tomorrow I’m off to the DIY store to buy a stencil and do mine. Thanks for this tip, it is amazing.
This is amazing! I just found the perfect table and am anxious to try this. Love Chalk Paint! Did you have any problems with the intricate stencil pattern not being perfectly flat when taped to the table and ready to roll on the paint? Mine has some places that are slightly bent/raised and I’m concerned about the paint seeping under the stencil when rolling it on. Did you have any problems with this or hints? Thanks! Just discovered your website. Can’t wait to dig into it!
Vanda, the less paint you use on the roller the better when you have a bent stencil. Try your best to bend it back to flat, but you will probably be okay. You can also always go back to touch up any bleed.
What a fantastic project! Thanks for sharing. I can’t wait to try it!!
Love the table, the stencil and your excellent assistant. Great job to both artists! I have an old piece to re do and now I AM convinced that Annie Sloan paint is for me.
Thanks for a great site and wonderful ideas.