Build a Wood Plank Desktop For About $40
Hey there, everyone! I’m Katie from Addicted 2 DIY. I’m so, so excited to be here today sharing this simple — and most importantly — inexpensive way to update a desk! I’m in the middle of updating our den/kid’s office space and one of the biggest things that had to go was the awful eyesore my boys used as a desktop.
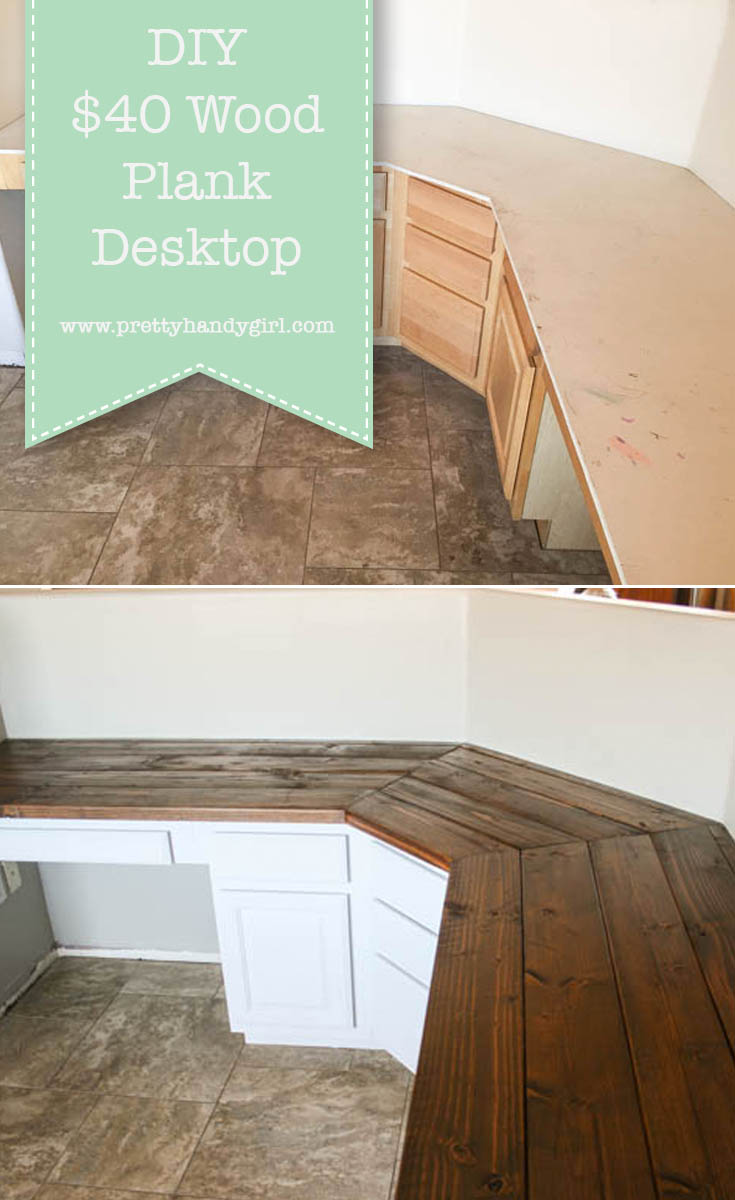
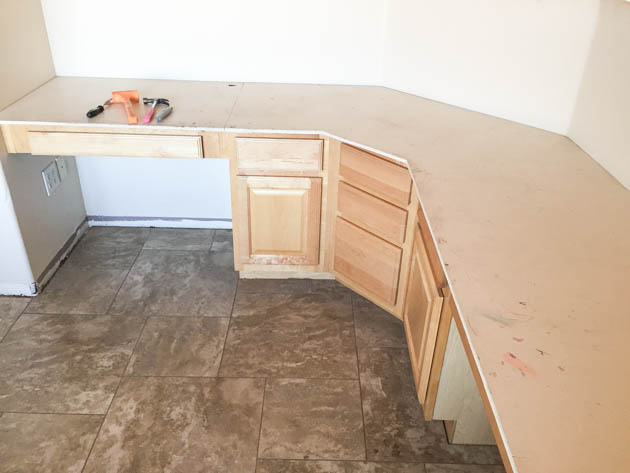
This was the glorious before photo of their desk area. The particle board top was from the previous homeowners. While we were remodeling the house, we slapped a coat of paint on it until we could decide what to do with it. Four years later, I decided enough was enough. I was tired of feeling embarrassed when anyone saw this room. I took the old top off, painted the cabinets, and built a new wood top for it. Here’s how you can Build a Wood Plank Desktop for About $40!
Build a Wood Plank Desktop Materials:
- 8 – 2″ x 6″x 8′ pine boards
- 2 – 2″x 2″ x 8′ pine boards (if you need the extra width)
- drill
- 2 1/2″ screws
- compound miter saw
- scrap pieces of 3/4″ wood
- wood shims
- belt sander and/or orbital sander
- sandpaper discs and sheets (80 grit and 220 grit)
- wood stain
- polyurethane
- paint brush
Build a Wood Plank Desktop Instructions:
If your desk area is straight or an L shape, you can ignore these four steps below and measure and cut your pieces to the length needed using your miter saw.
If your desk shape is similar to mine, follow these steps:
1. Cut your 2×6 pieces to slightly overlap the middle section on each side. Make sure the pieces are long enough to accommodate the angled cuts you’ll be making.
2. If you don’t have a tool to determine the cut angle, lay your middle pieces of wood on top of the side pieces you’ve already laid out and mark where the lines intersect.
3. Mark where the line intersects on the first and last pieces of wood with a pencil.
4. You can snap a chalk line to get your angle, or you can use a long ruler and draw the line with a pencil.
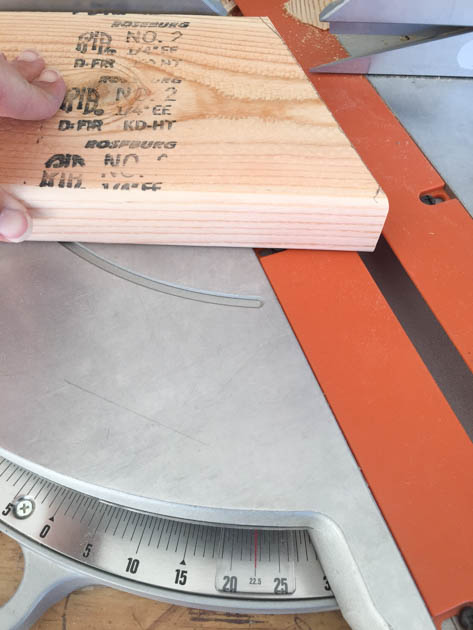
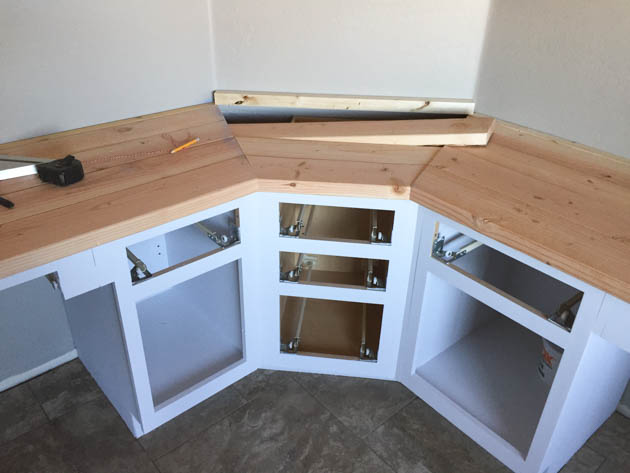
Determine the angle of your cuts based on where the miter saw blade lines up with the chalk line. In this case, it was 22.5 degrees. That being said, this desktop was built between two imperfect (and not completely square) walls and some of the cuts had to be tweaked slightly on the angle.
Line up all of the pieces of wood on the desktop to prepare for the wood in the center.
Measure and mark each plank for the center section and make your cuts accordingly.
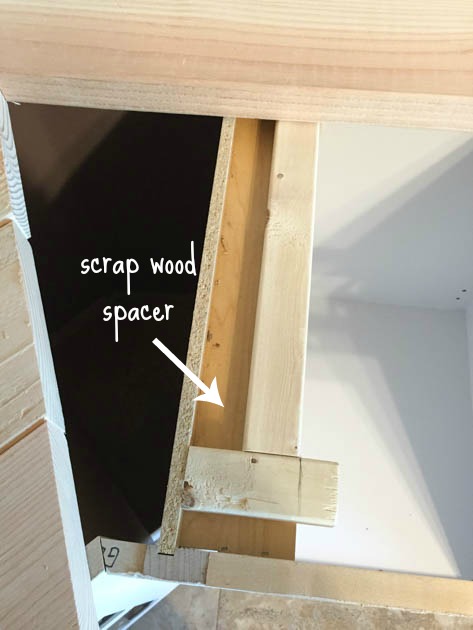
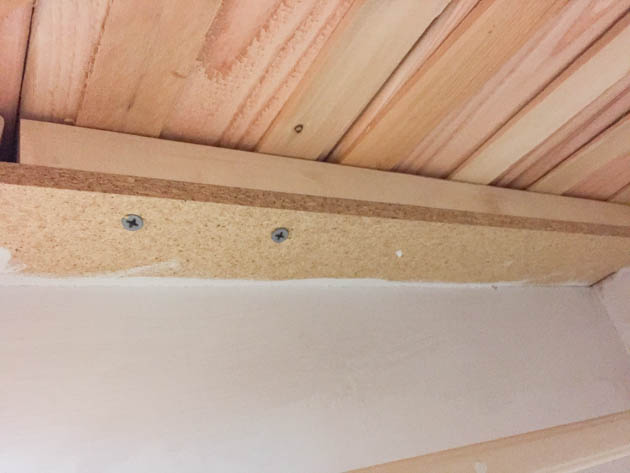
Depending on the type of desk you are using, you may be able to attach the top with angle brackets. If your desk is made of cabinets like ours, you will need to use scrap wood to fill in the space between the cabinet and the top. Just measure and cut the length you’ll need.
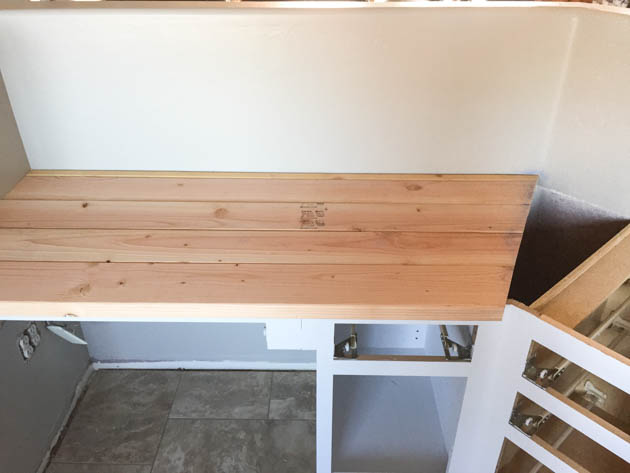
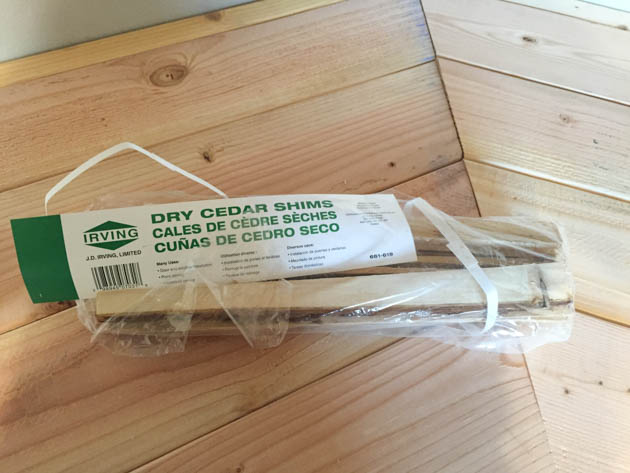
Not all cabinets are put together completely even and shims work perfectly to make sure all of your planks are flush at their joints.
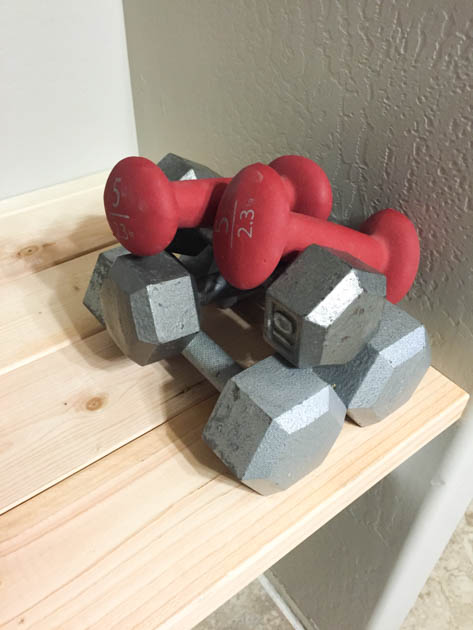
You’ll want downward pressure on your wood planks while you’re attaching them from underneath. Since my boys were not willing participants and hubby was at work, I put my dumbbells to good use.
Attach the wood planks to the cabinets using a drill and 2 1/2″ wood screws. (You can see where I shimmed my planks to line up with the middle section in the photo below.)
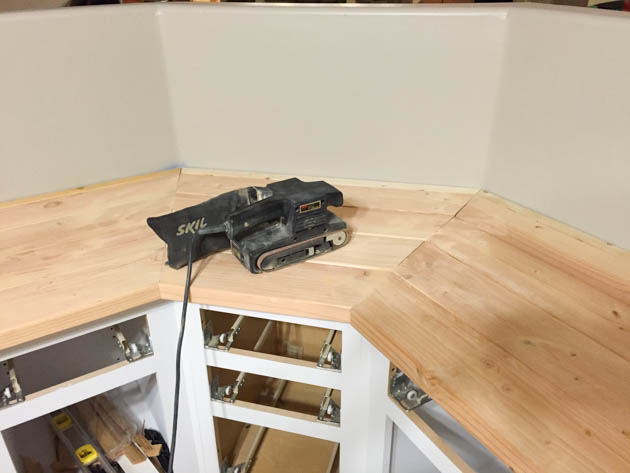
Once the entire desktop is attached, sand it down. If you have a belt sander, it is perfect for this job. I used both my belt sander with 80 grit sandpaper and my orbital sander with 220 grit sandpaper. When working indoors, make sure to wear a dust mask and have plenty of ventilation. If your shop vacuum is able to hook up to your sander, that’s even better!
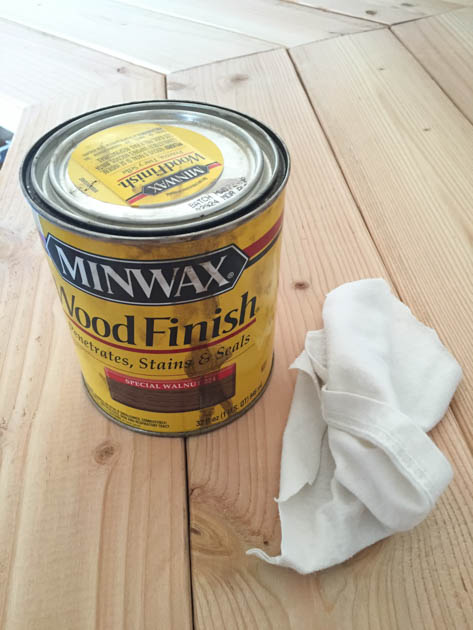
Vacuum off any loose sawdust and wipe your desktop down with a clean, damp cloth. Apply your wood stain of choice using a lint-free rag (aka t-shirt) or brush. Finish off with polyurethane. I recommend using 2 to 3 coats of polyurethane. I chose 3 coats because this desk will be used and abused on a daily basis by my 6 and 8 year old boys. Also, to protect the wood from crayons, glue, and markers, I ordered these clear desk pads. They will make a perfect writing surface while still being able to see the beautiful wood underneath.
Believe it or not, my boys threw a huge fit when I told them I was building this desktop. Apparently, they liked their old desktop and didn’t want a change.
Before:
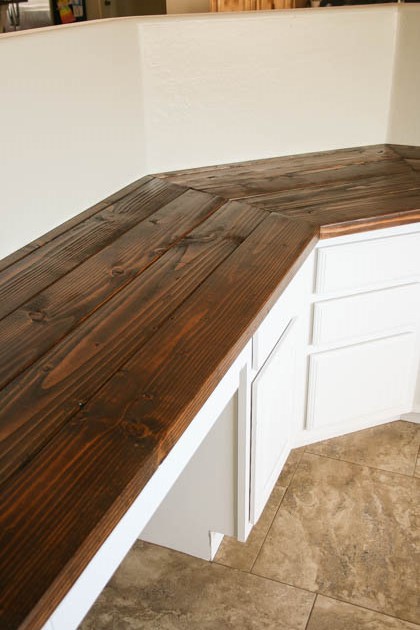
After all was said and done, my oldest loves it.
After:
My nonconformist younger child won’t say if he does or doesn’t like it, but I’m pretty sure he just doesn’t want to admit that mommy was right.
I actually love this new desk space so much I’m tempted to take it for myself and build them desks for their bedrooms! I’m still adding all of the finishing details to this space and I’ll be posting my progress and the final reveal on my blog, Addicted2DIY. If you have any questions on any of these steps, I’ll be happy to answer them the best I can!
Pin for later!







you are amazing!! what a beautiful job! how would this work for a kitchen counter top? could you leave the laminate and do something like this over it?
So pretty, and completely a steal at $40!
Thank you Colleen! Yes, she and I do seem to have a lot in common, which is awesome!
Thank you Elizabeth! I was nervous at first, but I definitely love the results!
Thank you Penny! I actually ordered clear desk mats for my boys to write on and they arrived a few days ago. They work perfectly and you can still see the beautiful wood underneath:)
Thanks Jodie! Yes, it was one of those “aha” moments after staring at the wood for about an hour;)
Welcome Katie & what a Gorgeous transformation you’ve made. Awesome tutorial & just as Brittany said, you guys have cloned yourselves!
This looks great! I love the dark wood with the white base. Thanks for sharing this project!
What you did is beautiful, you might want to put a peace of plexi glass on it so when they try to wright on paper it wont get holes in it and start to frustrate your boys. Now you should never fill embarrassed about anything in your home, company comes over because they like you, not to judge you our your home, and if they are judging you our your home, then they need to read there bible. GOD bless.
What a difference! The chalk line angle tip may have just changed my DIY life- odd angles can be intimidating, but that trick makes it so easy! Thank you!